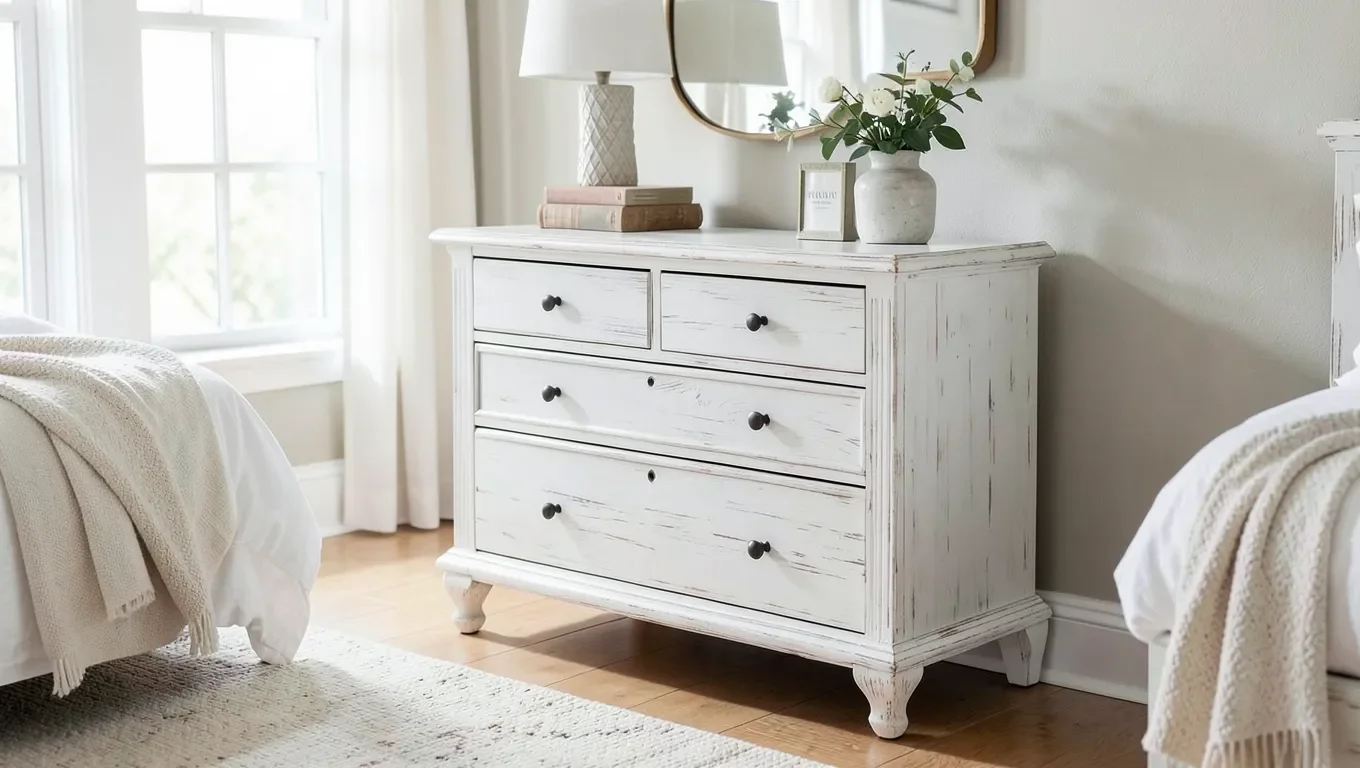
How to Whitewash Wood Furniture: Step-by-Step Guide
Whitewashing turns dark, dated wood furniture into something that looks pulled straight out of a coastal cottage or farmhouse remodel – and it’s one of the few finishing techniques you can genuinely do in an afternoon with materials from a hardware store. Done right, the wood grain still shows through a soft veil of white. Done wrong, you get chalky, uneven patches that look more like spilled paint than a finish. This guide covers the actual mixing ratios, application order, and the wood-species quirks that most tutorials skip entirely – so your first attempt looks intentional instead of accidental.
What Whitewashing Actually Does to Wood
Whitewashing isn’t paint and it isn’t stain – it’s a diluted, translucent layer that settles into the wood’s pores and grain lines instead of forming an opaque film on top. That’s the whole appeal: you get the color-lightening effect of paint with the grain-revealing texture of a stain. How the finished piece looks depends on two things: how much you dilute the mixture, and how open the wood’s grain is to begin with.
Best Pickling Stain for a No-Dilution Whitewash
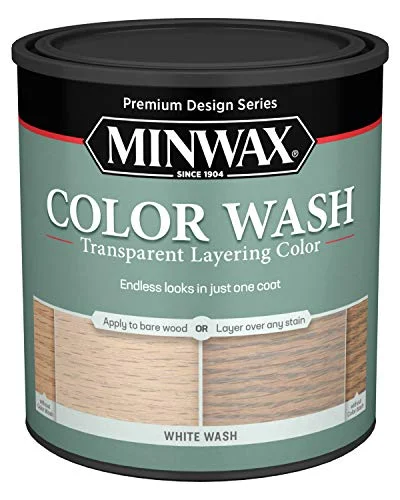 |
Minwax Color Wash, White Wash Pickling Stain – $14.98 Skips the paint-and-water guesswork entirely – this is a pre-mixed, water-based pickling stain made specifically for the whitewash look on bare or already-stained wood.
|
Does Whitewash Work the Same on Every Wood Type?
Most whitewashing tutorials skip this, and it’s the reason a lot of first attempts come out patchy. Wood grain comes in two broad categories – open and closed – and each one takes a whitewash differently.
Open-grain woods like oak and ash have larger, more porous vessels running through the wood, so a diluted whitewash soaks in evenly and pools slightly in the grain lines, which is exactly the look most people picture when they think “whitewashed.” Oak in particular gives the most predictable, Scandinavian-style result with the least correction needed.
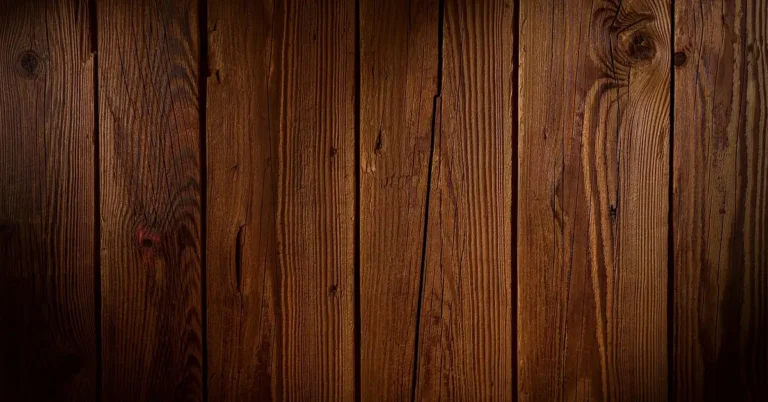
Closed-grain, softer woods like pine are a different story. Pine is soft and absorbent, which sounds like it should take a wash easily, but the density varies a lot piece to piece – knots and tight grain patches soak up far more color than the surrounding wood and turn noticeably darker or blotchy. If you’re whitewashing pine, wipe on a pre-stain wood conditioner first and let it sit 15 minutes before applying the whitewash; it evens out the absorption so the color goes on consistently instead of in random dark spots. Always test on a hidden edge or scrap offcut from the same piece before committing to the whole surface.
What You’ll Need
You don’t need a specialty kit for this project – most of it is already sitting in a hardware store’s paint aisle:
- Sandpaper, medium (120-150 grit) and fine (220 grit)
- Tack cloth or a lint-free rag
- White latex paint or a ready-mixed whitewash pickling stain
- Water (if diluting paint yourself)
- A synthetic-bristle brush and/or a clean cotton rag
- Wood conditioner (for closed-grain softwoods like pine)
- Water-based polyurethane or polycrylic sealer
- Drop cloth, gloves, and a dust mask for sanding
Step-by-Step: How to Whitewash Wood Furniture
1. Strip and Sand
If the piece already has paint, stain, or varnish on it, you need to cut through that sheen first or the whitewash will bead up instead of soaking in. Sand with medium-grit sandpaper to break through the old finish, then switch to fine-grit to smooth the surface. Sand with the grain, not across it, and wipe everything down with a tack cloth when you’re done – leftover dust is the single most common cause of a gritty, uneven finish.
2. Mix the Whitewash (or Skip Mixing Entirely)
For a sheer, subtle wash, mix white latex paint and water in a 1:1 ratio. For a heavier, more opaque coverage, go closer to 2 parts paint to 1 part water. Start thinner than you think you need – you can always add another coat to deepen the color, but you can’t easily lighten a coat that’s gone on too heavy. If you’d rather skip the mixing altogether, a pre-made pickling stain (like the one above) goes on straight from the can with consistent results every time, which is worth the few extra dollars if this is your first whitewash project.
3. Apply in Sections
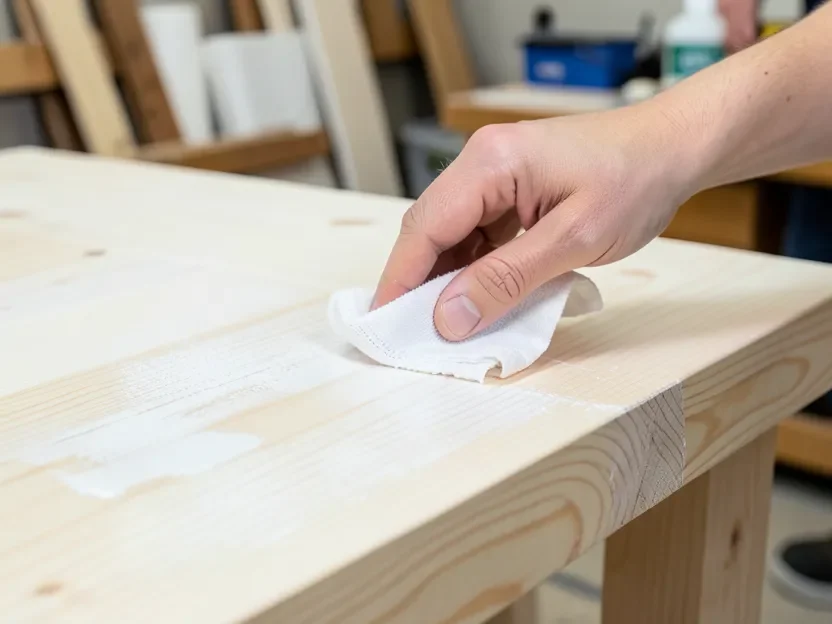
Work one section at a time – a drawer front, a tabletop, one panel – rather than trying to cover the whole piece in one pass. A brush gives you more even coverage and control on large flat surfaces; a rag gives you a more textured, worn look and lets you wipe back excess wash before it sets. Apply with the grain in long strokes, and if you want more wood to show through, wipe the surface with a clean rag 30-60 seconds after applying, before it starts to dry.
Getting a Specific Look
Layering builds opacity gradually – apply a thin coat, let it dry fully (about an hour for most latex mixes), and assess before adding a second. Each layer should be thinner than the first so you don’t lose the grain underneath. For a more rustic, weathered look, try a dry-brush technique: dip just the tips of the bristles in the whitewash, wipe most of it off on a paper towel, and drag the nearly-dry brush across the surface in short strokes. It catches on the raised grain and skips the low spots, which reads as naturally worn rather than freshly painted.
Drying and Curing Time
A diluted latex whitewash is usually dry to the touch within an hour and safe to recoat after about 24 hours. A ready-made pickling stain dries faster, typically 1-3 hours between coats. Humidity slows all of this down – in a damp basement or bathroom, add a few extra hours before handling the piece or applying a sealer. Good airflow (a fan or open window) cuts drying time noticeably and helps avoid a tacky, uneven surface.
Sealing So It Doesn’t Yellow
Once the whitewash is fully dry, protect it with a water-based polyurethane or polycrylic. This step matters more than it seems – an oil-based sealer will amber over time and turn a crisp white finish yellow or cream within a year or two, which defeats the point of whitewashing in the first place. Apply thin, even coats with a foam brush and lightly scuff-sand between coats with 320-grit sandpaper for the smoothest final result.
Fixing Common Whitewashing Mistakes
Streaks and blotches: usually caused by uneven application or too much product pooling in one spot. Lightly sand the affected area and reapply in a thin, even layer, working in the same direction as the rest of the piece.
Too opaque or too thin: if the wash looks heavy and chalky, wipe it back immediately with a damp rag while it’s still workable, or sand it back once dry and start a new, thinner coat. If it’s too sheer to read as “whitewashed” at all, add a second thin coat rather than mixing a heavier batch from scratch.
Dark, blotchy knots on pine: this is the wood-conditioner issue covered above – if you skipped it, sand the blotchy area back and apply conditioner before recoating just that section.
Caring for Whitewashed Furniture
Clean whitewashed pieces with a soft, slightly damp cloth and a mild soap-and-water mix, wiping with the grain. Skip abrasive cleaners or anything with ammonia – they can dull or strip the sealed finish over time. Keep standing water off the surface, since excess moisture can cause the wood underneath to swell or discolor even through a sealed whitewash. For small scuffs or scratches, dab on a little matching whitewash with an artist’s brush and feather the edges so the touch-up blends rather than sitting as a visible patch.
Frequently Asked Questions
What is the easiest way to whitewash furniture?
The fastest reliable method is a pre-mixed pickling stain applied straight from the can with a rag or brush, wiped back if you want more grain to show. If you’re mixing your own, sand the piece first, then brush on a 1:1 mix of white latex paint and water and wipe back the excess before it dries.
What kind of paint do you use to whitewash furniture?
Water-based latex paint is the standard choice because it thins evenly with water and cleans up with soap and water. Milk paint gives a chalkier, more rustic result and needs less sanding to distress. Avoid oil-based paint for the wash itself; it doesn’t dilute the same way and complicates cleanup.
Do you have to sand furniture before whitewashing?
Yes, on any piece that already has a finish. Sanding removes the old varnish or paint sheen so the whitewash can soak into the wood instead of beading up on top of it. Bare, unfinished wood needs only a light scuff-sand to open the grain.
Does whitewash work the same on every type of wood?
No. Open-grain woods like oak and ash take a whitewash evenly and show the clearest grain through the finish. Closed-grain, softer woods like pine absorb unevenly and can blotch around knots, so a pre-stain wood conditioner and a test patch are worth the extra ten minutes.
Do you need to seal whitewashed wood?
Yes. A water-based polyurethane or polycrylic protects the finish without discoloring it. Oil-based sealers amber over time and will turn a crisp white wash yellow within a year or two.
Conclusion
Whitewashing is one of the most forgiving ways to lighten up a piece of furniture – the ratios are simple, the tools are cheap, and mistakes are easy to sand back and redo. The two things that actually separate a clean result from a patchy one are diluting conservatively and matching your prep (especially wood conditioner) to the type of wood you’re working with. Changed your mind later? Our guide to removing whitewash from wood covers stripping it back off safely.
Sponsored / affiliate links. As an Amazon Associate I earn from qualifying purchases. I may earn additional commission from eligible campaigns.