How to Harden a Wood Surface: Wood Hardener, Sanding, Sealing
A wood surface is hardened by soaking it with a penetrating liquid wood hardener, not by compressing or heat-treating it — those industrial methods only work on raw lumber before it’s cut and installed. Skip this distinction and you’ll waste time chasing a factory process at home. This guide covers what wood hardener actually does, when sanding and sealing alone is enough, and the step-by-step method for a lasting repair.
What Wood Hardener Actually Does
Best Wood Hardener Pick

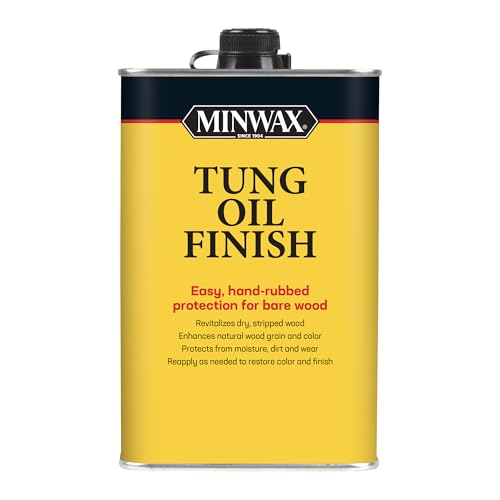
Minwax High Performance Wood Hardener (1 Pint) – $18.35
The penetrating resin treatment this guide describes — soaks into soft, weathered wood and cures solid enough to sand and finish, usually within about 2 hours.
- Best for: soft windowsills, deck board edges, and door frames that have started to punk out from moisture
- Why we picked it: solvent-based formula penetrates deeper than water-based alternatives for a more durable repair
- Main drawback: strong solvent odor and flammable until cured — use with ventilation, away from open flame
As an Amazon Associate we earn from qualifying purchases.
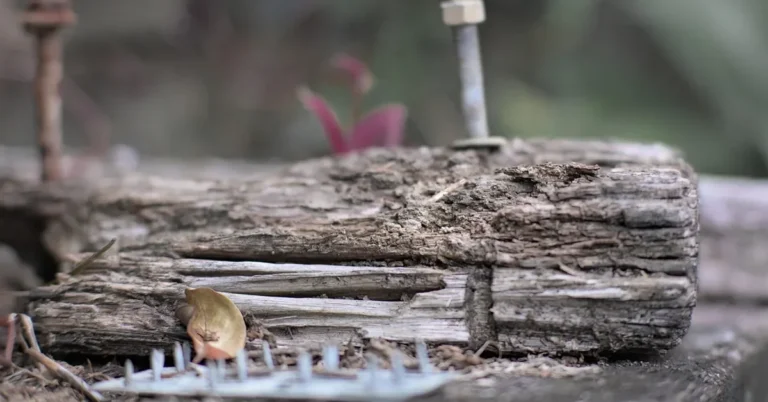
Liquid wood hardener is a thin resin solution — not paint or varnish — that soaks into soft, weathered, or slightly rotted wood fiber and cures inside it. Once dry, the resin binds the loosened fibers back together, turning mushy or punky wood solid enough to sand, fill, and repaint. It does not add hardness to wood that’s already sound; its entire job is restoring wood that’s already gone soft from moisture or early-stage rot.
This makes it the right fix for a soft windowsill, a spongy deck board edge, or a door frame that’s started to punk out — not a way to make healthy, intact wood surfaces tougher than they already are. If the wood is more than about 1/4″ soft all the way through, or crumbles rather than just flexing, epoxy wood filler after hardening (or full replacement) is the better call than hardener alone.
Which Woods Benefit
- Softwoods (pine, cedar, fir) are the most common candidates — they’re softer to begin with and more prone to moisture-driven rot at joints, sills, and end grain.
- Hardwoods (oak, maple) rarely need hardener since they resist rot better, but a hardener still works the same way on a hardwood spot that has gone soft from prolonged wet exposure.
- Plywood and veneers can be hardened at exposed edges where water has wicked into the layers, though badly delaminated plywood needs replacement, not hardener.
How to Apply Wood Hardener (Step by Step)
- Dig out any loose, crumbling material with a putty knife or awl until you reach wood that resists light pressure.
- Let the area dry completely — wood hardener needs a dry substrate to penetrate and cure properly, not damp wood.
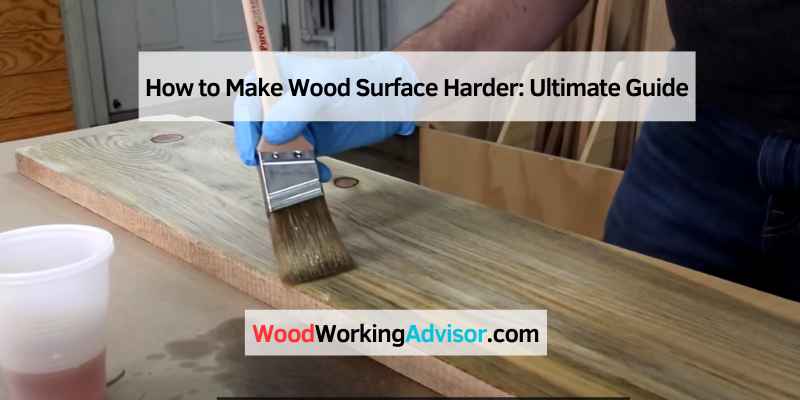
- Brush or drip the hardener liberally onto the soft area, working it into the grain. Softer spots will keep absorbing liquid; keep applying until the wood stops soaking it up.
- Let it cure per the product label (typically a few hours to overnight) before sanding, filling, or painting.
- If the repair left a gap or low spot, fill with an epoxy wood filler once the hardener has fully cured, then sand flush.

Sanding and Sealing for Sound (Not Rotted) Wood
If the wood surface is already sound and you simply want it more resistant to future wear, moisture, and dents, sanding and sealing does that job — no hardener needed.
Sanding
Sand through progressively finer grits (120, then 180, then 220) to smooth the surface and open the grain enough for finish to bond well. Always sand with the grain, and vacuum or tack-cloth the dust before finishing.
Sealing
A film-forming finish — polyurethane, varnish, or a hard tabletop epoxy for a work surface — is what actually adds impact and scratch resistance on top of sound wood. Two to three thin coats, lightly sanded between coats, hold up far better than one thick coat that stays soft.

Why Compression and Heat Treatment Don’t Apply Here
You may see wood compression and thermal modification mentioned alongside wood hardening. Both are real processes — but they happen at a mill, to raw lumber, before it’s ever cut into boards and installed. Roller and hydraulic compression densify green lumber under tons of pressure; thermal modification bakes lumber at 356–446°F to change its cell structure. Neither can be done to a deck board, windowsill, or piece of furniture that’s already built and finished — there’s no home or shop equivalent. If a product or guide claims to “compress” or “heat-harden” an installed wood surface, that’s not what’s actually happening; what you’re using is still a penetrating hardener or a film finish.
Maintaining a Hardened or Sealed Surface
- Wipe with a soft, damp cloth — skip harsh chemicals or abrasive pads that can scratch a film finish.
- Keep the surface out of direct sun where practical; UV breaks down both wood fiber and finish over time.
- Use coasters, trivets, and placemats to prevent new spot damage on a repaired area.
- Re-coat with sealer every year or two on high-wear or outdoor surfaces — the finish wears out long before the hardened wood underneath does.
For wood that’s gone beyond what hardener can fix, see our guide to wood rot repair with epoxy or repairing rotted wood without full replacement.
Frequently Asked Questions
How can I make a wood surface harder?
For soft or weathered wood, apply a penetrating liquid wood hardener, let it cure, then sand and seal. For wood that’s already sound, sanding and applying a film finish like polyurethane adds the scratch and moisture resistance you’re after.
Can wood compression or heat treatment harden a surface I already have installed?
No. Compression and thermal modification are mill processes applied to raw lumber before installation. There’s no way to compress or heat-treat wood that’s already built into furniture, flooring, or trim — use a liquid wood hardener and a film finish instead.
Is it possible to harden wood surfaces at home?
Yes — liquid wood hardeners are a standard hardware-store product made for exactly this. Dig out loose material, let the area dry, apply the hardener until the wood stops absorbing it, then sand and finish once cured.
Conclusion
Match the fix to the problem: a penetrating wood hardener restores wood that’s already gone soft, while sanding and sealing protects wood that’s still sound. Industrial compression and heat treatment aren’t something you can apply to an installed surface, so don’t chase them for a repair job. Dig out loose material, dry the area, harden, fill if needed, and finish — that sequence handles the vast majority of soft-wood repairs.
Sponsored / affiliate links. As an Amazon Associate I earn from qualifying purchases. I may earn additional commission from eligible campaigns.