What Grit Sandpaper Removes Varnish from Wood? (Start at 80-100)
Start with 80-100 grit sandpaper to cut through varnish on wood, then step up to 150 grit and finish at 220 grit before refinishing — going coarser than 80 grit risks gouging the bare wood underneath. Skipping grits or sanding across the grain leaves scratch marks that show through stain or a new topcoat. This guide covers the full grit progression by how much varnish has built up, when a chemical stripper beats sanding, and how to tell the wood is actually bare.
Grit Progression by How Much Varnish Has Built Up
Best Varnish-Sanding Pick
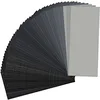
120-5000 Grit Sandpaper Assortment (48-Pack)
Covers the full 120 to 5000 grit range in one box, so you have every step from stripping varnish down to polishing the bare wood without buying separate packs.
- Best for: Working through the full coarse-to-fine progression on one project
- Why we picked it: One pack covers 80/100 through 220 and beyond, so you’re not mid-job with the wrong grit
- Main drawback: Sheets are thin — they wear out faster than shop rolls on large, heavily varnished surfaces
Compare more varnish-removal tools
 Option 1 DEWALT 20V MAX Orbital Sander
|
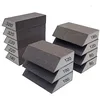 Option 2 Sanding Sponge Block Set (80-320 Grit)
|
 Option 3 3M OV/P100 Dust Respirator
|
As an Amazon Associate we earn from qualifying purchases.
Not every varnished surface needs the same starting grit. A tabletop with one thin factory coat sands off faster and with less risk than an old porch rail with three or four coats built up over years. Match your starting grit to the actual buildup, not just a single blanket recommendation:
| Varnish Condition | Starting Grit | Finishing Grit | Typical Passes |
|---|---|---|---|
| Single thin coat, mostly worn | 100-120 grit | 220 grit | 2-3 passes |
| 2-3 intact coats, still glossy | 80-100 grit | 150-220 grit | 3-4 passes |
| Heavy buildup, drips, or painted over | 40-60 grit | 150-220 grit | 4-5 passes |
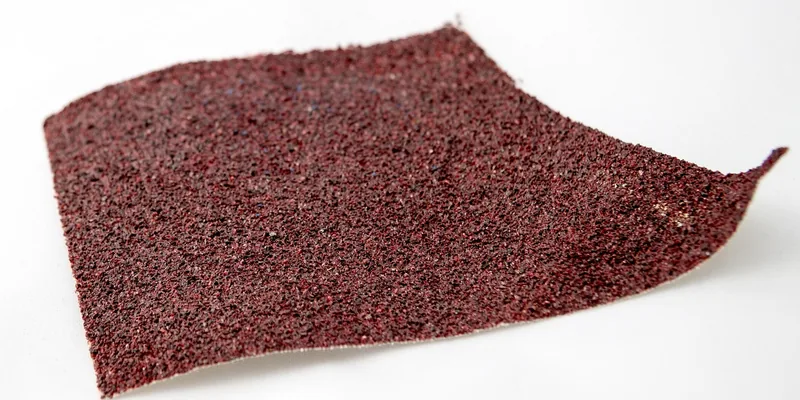
Sandpaper grit is a number that rates how coarse or fine the abrasive particles on the sheet are — the lower the number, the coarser the grit and the faster it strips material. A grit under 80 removes varnish quickly but can burnish or gouge the wood grain if you press too hard, especially on softwoods like pine.
Sanding vs. Chemical Stripper vs. Heat Gun
Sandpaper isn’t the only way to get varnish off, and it isn’t always the fastest. Here’s how the three common methods compare for a typical furniture piece:
| Method | Speed | Mess | Best For |
|---|---|---|---|
| Sandpaper (hand or orbital) | Slow to moderate | Dust, low fumes | Flat surfaces, pieces you’ll restain |
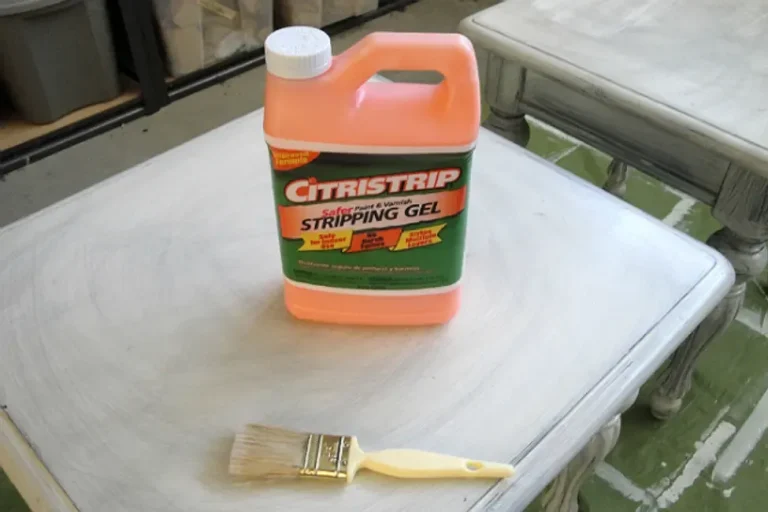
| Chemical stripper | Fast on thick coats | Fumes, sludge cleanup, gloves required | Carved details, turned legs, heavy buildup |
| Heat gun | Fast, needs practice | Scorch risk, no chemical fumes | Painted-over varnish, outdoor work |
If the piece has carved details, turned spindles, or is going straight to paint rather than a clear finish, a chemical stripper will save hours compared to sanding into every groove by hand. For flat tabletops, doors, and floors you plan to restain, sandpaper stays the better choice because it doesn’t leave any residue that can blotch a new stain coat.
“Chemical strippers work, but on furniture I plan to restain, I still reach for sandpaper first — strippers can leave a waxy residue that blotches new stain if it isn’t neutralized and rinsed thoroughly before the wood dries.”
Step-by-Step: Sanding Varnish Off Wood
Preparation
- Wipe the surface down to remove dust, wax, or grease before sanding — grit clogged with debris stops cutting fast.
- Wear safety glasses, gloves, and a dust respirator rated for fine particulates, not just a paper dust mask.
- Clear the work area and lay down a drop cloth to catch dust and chips.
Sanding Process
- Pick your starting grit: Match it to the varnish buildup table above — 80-100 grit for most furniture, 40-60 grit only for heavy, drippy buildup. For the full grit progression after the varnish is off — medium sanding through final polish — see our guide on what kind of sandpaper for wood furniture.
- Sand with the grain: Work in the direction of the wood grain in long, even strokes — cross-grain scratches show through stain even after finer grits.
- Check progress often: Stop every minute or two and look for bare wood versus remaining varnish sheen — don’t sand past what’s needed on any one spot.
- Step up in grit: Move to 150 grit once the varnish is gone, then to 220 grit to remove the coarse-grit scratch pattern.
- Clear dust between grits: Wipe with a tack cloth or vacuum before switching grits — leftover coarse grit dragged under a finer sheet re-scratches the surface.
- Inspect under raking light: Hold a work light at a low angle across the surface — it reveals leftover varnish sheen and scratch marks that overhead light hides.
Random Orbital Sander vs. Sanding by Hand
A random orbital sander clears varnish far faster than a hand block on flat surfaces like tabletops, doors, or floors — what takes 30-40 minutes by hand often takes under 10 minutes with a machine. The tradeoff is control: an orbital sander can burn through veneer or round over an edge if it sits in one spot too long, so keep it moving constantly and let 120-150 grit finish the leveling instead of leaning on coarse grit with the machine.
For carved details, turned legs, or anywhere a machine pad can’t reach, switch to a sanding sponge or folded sandpaper by hand — they conform to curves that a flat orbital pad flattens out.
How to Tell When All the Varnish Is Gone
Bare wood looks matte and slightly rough to the touch, with no glossy sheen even when you tilt it under light. Remaining varnish shows up as small shiny patches, usually in pores, corners, or low spots that the sandpaper skipped. Run a damp cloth over the surface — bare wood darkens evenly and dries back to its original color, while a patch still holding varnish stays lighter and repels the water slightly.
📊 Sanding wood finer than 220 grit before staining can burnish the surface and reduce stain absorption — most finishing guides cap pre-stain sanding at 180-220 grit for this reason, even though higher grits exist for polishing bare wood without a finish.
Common Mistakes When Sanding Varnish Off Wood
- Skipping grits: Jumping from 80 straight to 220 leaves the coarse scratch pattern underneath — it will still show once stain highlights it.
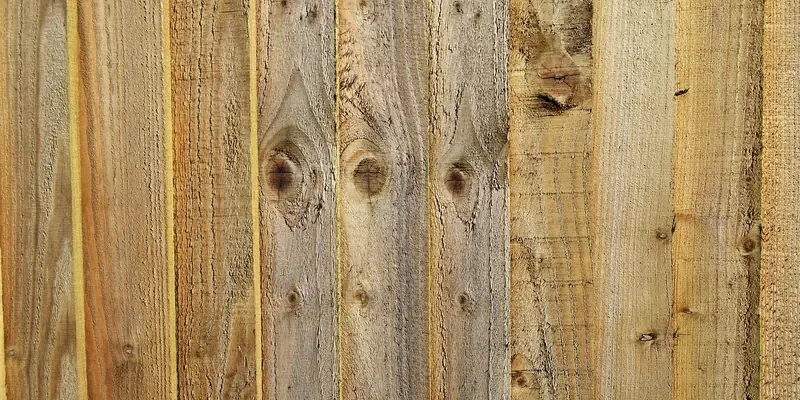
- Sanding across the grain: Even a quick cross-grain pass leaves marks that run perpendicular to the wood’s natural lines and catch light differently than the surrounding surface.
- Leaning hard with coarse grit: Extra pressure with 40-60 grit doesn’t speed things up much — it mostly increases the risk of gouging or burning softwoods like pine.
- Skipping the dust mask: Old varnish and finish dust is fine enough to get deep into lungs — a rated respirator matters more than it looks like it should for a “quick sanding job.”
- Not checking under raking light: Overhead light hides leftover sheen — a low-angle work light or flashlight reveals spots you missed.
Frequently Asked Questions
What Is the Easiest Way to Remove Varnish From Wood?
For most furniture, sandpaper starting at 80-100 grit is the easiest reliable method — no fumes, no waiting for a stripper to dwell, and no risk of scorching from a heat gun. For carved or turned pieces with hard-to-reach detail, a chemical stripper removes varnish faster than sanding into every groove by hand.
Can You Use an Orbital Sander to Remove Varnish?
Yes — a random orbital sander removes varnish from flat surfaces much faster than sanding by hand. Keep the sander moving constantly and avoid dwelling in one spot, since it can burn through thin veneer or round over an edge if left in place too long.
Do You Have to Sand Down to Bare Wood Before Restaining?
Yes, for an even stain color you need to remove all the old varnish down to bare wood — any leftover finish blocks stain from soaking into the fibers underneath it, leaving lighter, blotchy patches where varnish remains.
What Happens If You Use Sandpaper That’s Too Coarse?
Grits below 80, especially 40-60 grit, can gouge the wood surface or leave deep scratches that require several finer grits to remove. On softwoods like pine, too much pressure with a coarse grit can also burnish the surface, making it resist stain absorption later.
What’s the Difference Between Sanding and Stripping Varnish?
Sanding physically abrades the varnish layer off with an abrasive grit, while chemical stripping uses a solvent to soften and dissolve the finish so it can be scraped away. Sanding leaves no chemical residue but takes longer on heavy buildup; stripping is faster on thick coats but needs neutralizing and rinsing before restaining.
Conclusion
Match your starting grit to how much varnish has built up — 80-100 grit for most furniture, 40-60 grit only for heavy, drippy coats — then step up to 150 and finish at 220 grit before refinishing. Sand with the grain, check progress under a raking light, and clear dust between grits so a coarser scratch pattern doesn’t carry through to the final finish. For carved or turned pieces, a chemical stripper or a solvent will usually beat sanding into every groove by hand, and a random orbital sander speeds up flat surfaces considerably. For the full range of finishing options beyond just removing the old coat, see our complete wood finishing guide.
Sponsored / affiliate links. As an Amazon Associate I earn from qualifying purchases. I may earn additional commission from eligible campaigns.