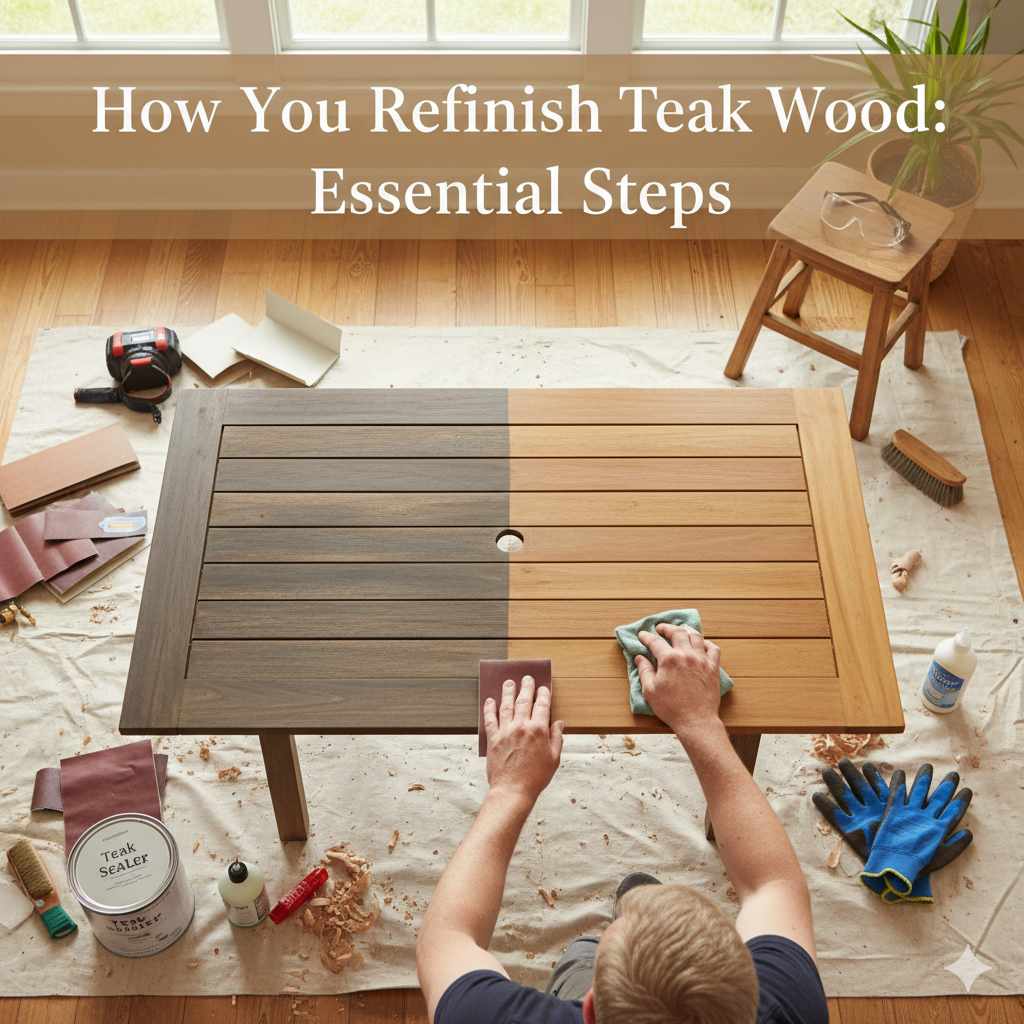
How You Refinish Teak Wood: Essential Steps
Refinishing teak wood is a straightforward process. Clean and lightly sand the surface, apply a specialized teak oil or sealant, and allow it to cure. This revitalizes its natural beauty and protects it from weathering, making it a rewarding DIY project.
Is your beloved teak furniture looking a little tired? Perhaps the vibrant golden-brown hue has faded to a dull, grayish tone from years of sun and rain. It’s a common sight for teak owners, and the good news is, you don’t need to be a master craftsman to bring it back to life! Refinishing teak wood is a deeply satisfying project that can transform old pieces into stunning focal points once again. It’s more accessible than you might think, and with a little guidance, you can achieve professional-looking results right in your own home.
We’ll walk you through each essential step, from preparing the wood to applying the final protective coat. By the end, you’ll have the confidence and knowledge to tackle your teak refinishing project with ease. Let’s get started on restoring that beautiful, rich luster to your teak!
How to Refinish Teak Wood: Essential Steps for Beginners
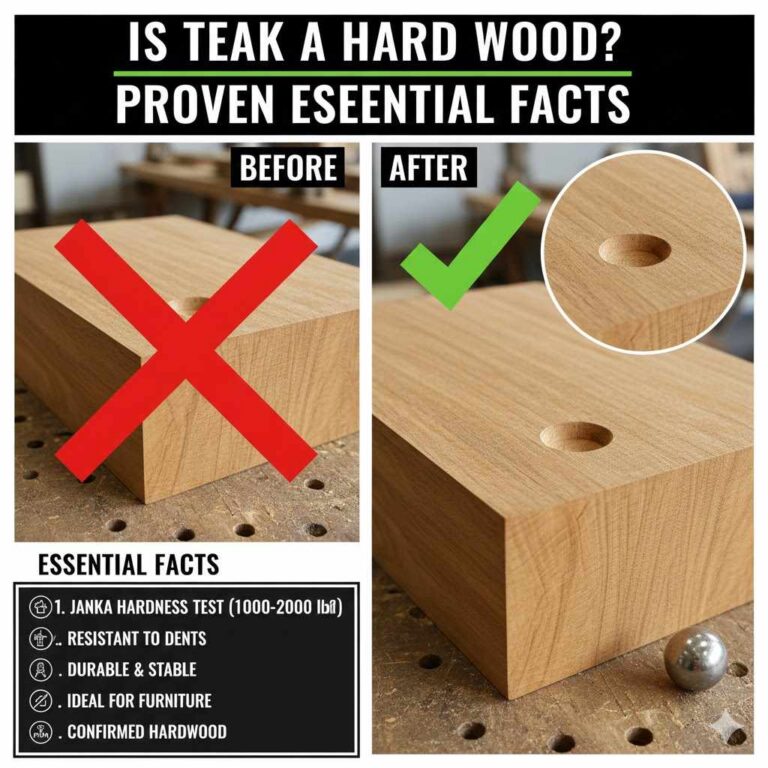
Teak wood is renowned for its natural beauty, durability, and resistance to the elements. However, over time, exposure to sunlight and moisture can cause the wood’s characteristic golden-brown color to fade into a soft, silvery-gray patina. While many appreciate this weathered look, if you prefer to restore teak’s original warmth and luster, refinishing is the perfect solution. This guide will break down the entire process into simple, manageable steps, ensuring even absolute beginners can achieve fantastic results.
You’ll be amazed at how a little elbow grease can revive your teak furniture, bringing back its rich color and smooth feel. We’ll cover everything from the tools you’ll need to the best finishing products to use. Get ready to give your teak wood a new lease on life!
Why Refinish Teak Wood?
Refinishing teak wood offers several compelling benefits, making it a worthwhile endeavor for many homeowners and DIY enthusiasts. Beyond just aesthetics, the process can significantly extend the lifespan of your teak items.
- Restores Natural Beauty: The primary reason most people refinish teak is to bring back its warm, golden-brown color. Years of UV exposure can bleach the wood, turning it a uniform gray. Refinishing removes this gray layer and reveals the rich tones underneath.
- Protects Against Weathering: Teak has natural oils that protect it, but these can diminish over time. Refinishing, especially with a suitable oil-based product, replenishes these oils and adds a protective barrier against moisture and UV damage, preventing further degradation.
- Enhances Durability: A well-refinished and sealed teak surface is more resilient to stains, scratches, and environmental wear. This means your furniture will look great and last longer.
- Increases Value: Whether it’s outdoor furniture, a deck, or boat trim, well-maintained teak is valuable. Refinishing can significantly improve its appearance and, consequently, its market value if you ever decide to sell.
- Satisfying DIY Project: For many, the act of transforming a weathered piece of wood into something beautiful is incredibly rewarding. It’s a tangible way to improve your home and possessions.
Essential Tools and Materials
Before you begin, gather all the necessary tools and materials. Having everything on hand will make the process smooth and efficient. Don’t worry if you don’t have everything; many items are readily available at your local hardware store, and some can even be improvised.
Tools:
- Safety Glasses
- Work Gloves
- Dust Mask
- Sanding Sponges or Sandpaper (various grits: 80, 120, 220)
- Orbital Sander (optional, but recommended for larger areas)
- Clean, Lint-Free Cloths or Rags
- Stiff Scrub Brush (non-metallic, like nylon)
- Bucket
- Mild Soap or Teak Cleaner (specifically designed for teak)
- Mineral Spirits or Denatured Alcohol (for cleaning surface residue)
- Small Putty Knife or Scraper (for repairs)
Materials:
- Teak Oil or Teak Sealer (a high-quality, specialized product is crucial)
- Wood Filler (if making repairs)
- Steel Wool (fine grade, like #0000, for final gentle buffing if needed)
Choosing the right teak oil or sealer is vital. Look for products specifically formulated for teak. These often contain UV inhibitors and mildewcides to provide maximum protection. Some popular options include:
- Tung Oil: Offers good water resistance and a natural look but can take longer to cure and may require more frequent reapplication.
- Linseed Oil: A traditional choice, but it can darken teak and may promote mildew in damp climates.
- Specialty Teak Oils: These are usually blends of oils and resins designed for durability and protection, often with UV filters. They tend to be the most effective and easiest to use for beginners. Brands like Star Brite, Semco, or West Marine often have excellent teak products.
Step-by-Step Guide to Refinishing Teak Wood
Let’s dive into the process. Remember to work in a well-ventilated area, especially when using cleaners or finishes.
Step 1: Cleaning the Teak Wood
The first step is to thoroughly clean the teak to remove dirt, grime, mildew, and any old, flaking finish. This prepares the wood for sanding and ensures an even finish.
- Sweep or Brush Away Debris: Start by using a dry cloth or a soft-bristled brush to remove any loose dirt, cobwebs, or debris from the teak surface.
- Prepare the Cleaning Solution: Mix a mild soap (like regular dish soap) with warm water in a bucket. For tougher grime or mildew, you can buy specialized teak cleaners, which are often highly effective and safer for the wood than harsh chemicals. If using a commercial teak cleaner, follow the manufacturer’s instructions precisely. A popular DIY approach for stubborn spots is a solution of 1 part bleach to 3 parts water, but test this on an inconspicuous area first, as it can lighten the wood more than desired.
- Wash the Teak: Dip a stiff, non-metallic scrub brush or a clean cloth into the cleaning solution. Scrub the teak surface gently but effectively. Always scrub with the grain of the wood. Work on one section at a time.
- Rinse Thoroughly: Use a clean bucket of fresh water and a clean cloth or sponge to rinse away all traces of soap or cleaner. Ensure no residue is left behind, as this can interfere with the sanding and finishing stages. A garden hose with a gentle spray can also be used for rinsing, but avoid high pressure, which can damage the wood fibers.
- Allow to Dry Completely: Let the teak wood dry thoroughly. This can take anywhere from a few hours to a full day, depending on humidity and temperature. Ensure it’s bone dry before moving to the next step. You can speed this up with a fan, but direct heat might cause cracking.
Step 2: Sanding the Teak Wood
Sanding is crucial for removing the weathered gray layer and creating a smooth surface for the new finish. The key is to start with a coarser grit and gradually move to finer grits.
- Choose Your Sandpaper Grits: You’ll typically need 80-grit sandpaper to start, followed by 120-grit, and then 220-grit for a smooth finish. If the teak is in good condition, you might be able to skip the 80-grit.
- Sanding with Coarser Grit (e.g., 80-grit): If your teak is heavily weathered or has deep graying, begin with 80-grit sandpaper. Use a sanding block or an orbital sander for larger, flat surfaces. Sand with the grain. Apply even pressure. The goal here is to remove the gray layer and reveal fresh wood. You’ll see the golden color starting to emerge. An orbital sander can be a great time-saver for larger pieces. For detailed areas, use sanding sponges or wrap sandpaper around a block.
- Progress to Medium Grit (e.g., 120-grit): Once the gray layer is removed and you’re seeing the natural wood color, switch to 120-grit sandpaper. This step refines the surface and smooths out any scratches left by the coarser grit. Again, sand with the grain.
- Final Sanding with Fine Grit (e.g., 220-grit): For a silky-smooth finish, sand using 220-grit sandpaper. This will polish the wood and prepare it perfectly for the oil or sealer. Take your time with this step to ensure a uniform surface.
- Clean Off Sanding Dust: After each sanding stage, it’s important to remove the dust. You can use a vacuum cleaner with a brush attachment, a soft brush, or a tack cloth. For the final sanding, wipe down the entire piece with a clean, lint-free cloth dampened with mineral spirits or denatured alcohol. This removes any remaining fine dust and also helps to open the wood pores, allowing the finish to penetrate better. Ensure the wood is completely dry after this cleaning before applying any finish.
Tip: If there are any damaged areas, dents, or gouges, you can try to repair them before sanding or during the coarser sanding stages. For minor dents, wetting the area with water (the wood will swell) and then applying gentle heat (like from an iron held above the surface) can sometimes lift the wood. For deeper damage, use a teak-specific wood filler, following the product instructions. Let it cure fully before sanding.
Step 3: Repairing Imperfections (Optional but Recommended)
Before applying the finish, take a moment to inspect your teak for any minor damages. Small repairs can make a big difference in the final appearance.
- Minor Scratches and Gouges: For shallow scratches, the sanding process itself might be enough to blend them in. For deeper gouges, you can use a teak-compatible wood filler. Choose a filler that matches the color of your sanded teak as closely as possible or one that accepts stain or oil well.
- Applying Wood Filler: Apply the filler with a putty knife, pressing it firmly into the defect. Overfill slightly, as wood filler can shrink as it dries. Allow the filler to cure completely according to the manufacturer’s instructions.
- Sanding Filler: Once cured, sand the filled area smooth and flush with the surrounding wood, using your finest grit sandpaper (220-grit). Feather the edges to blend it seamlessly.
- Cleaning After Repairs: After sanding any repairs, thoroughly clean the area again with your chosen solvent (mineral spirits or denatured alcohol) and a clean cloth to remove all dust. Let it dry completely.
Step 4: Applying the Teak Oil or Sealer
This is where the magic happens. The oil or sealer will bring out the beautiful color of the teak and provide protection.
- Choose Your Finish: As mentioned earlier, a high-quality teak oil or a specialized teak sealer is best. Avoid products containing petroleum distillates or harsh chemical solvents, as these can dry out the wood over time. Natural oils like pure tung oil are good but require more maintenance. Proprietary teak oils are often a good balance of protection and ease of use for beginners.
- Application Method: Apply the oil or sealer liberally using a clean, lint-free cloth or a natural bristle brush. Work in sections, applying the finish generously to one area at a time.
- Allow Penetration: Let the oil/sealer soak into the wood for about 10-15 minutes. You’ll see it being absorbed.
- Wipe Off Excess: After the penetration time, use a clean, dry, lint-free cloth to wipe off any excess oil or sealer from the surface. It’s crucial to remove all the excess to prevent a sticky or uneven finish. Ensure you wipe in the direction of the wood grain.
- Allow Drying/Curing: Teak oil and sealers have different drying and curing times. Check the product’s instructions. Typically, it will be dry to the touch within a few hours but may take 24-72 hours (or longer) to fully cure. Avoid heavy use or exposure to moisture until fully cured.
- Apply Additional Coats (Optional): For deeper protection and a richer look, you can apply a second coat. Wait until the first coat is dry to the touch (or as recommended by the manufacturer). Apply the second coat in the same manner: apply, let penetrate, and wipe off excess. Some people apply 2-3 coats, while others find one is sufficient.
Important Note on Oily Rags: Rags soaked with linseed oil or other drying oils can spontaneously combust when piled up. Always lay them flat to dry completely outdoors or soak them in water in a sealed metal container before disposal. While most teak oils today are safer, it’s a good practice to be aware of this fire hazard.
Step 5: Final Buffing (Optional)
Once the finish is completely dry and cured, you can optionally buff the surface for an extra smooth, lustrous sheen.
- Use Fine Steel Wool or a Soft Cloth: You can use a very fine grade of steel wool (like #0000) very gently, moving with the grain. Alternatively, a clean, soft buffing cloth works well.
- Buff Gently: Gently buff the entire surface to bring out a subtle sheen.
- Clean Again: Wipe away any dust generated by buffing with a clean, dry cloth.
You’ve now successfully refinished your teak wood!
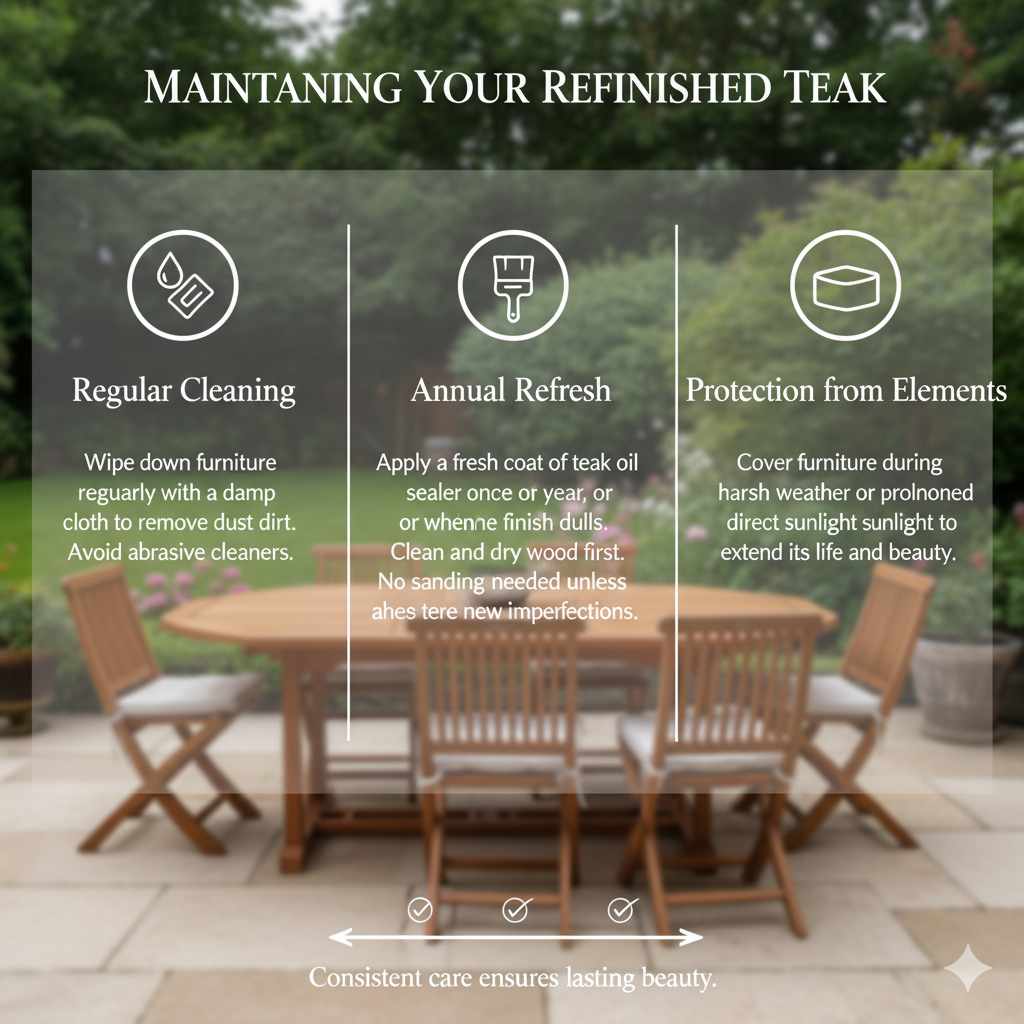
Maintaining Your Refinished Teak
To keep your teak looking its best, regular maintenance is key. The frequency depends on where the furniture is located and how much it’s used.
- Regular Cleaning: Wipe down your teak furniture regularly with a damp cloth to remove dust and light dirt. Avoid abrasive cleaners that can damage the finish.
- Annual Refresh: Once a year, or whenever the finish starts to look dull, consider applying a fresh coat of teak oil or sealer. This simple reapplication will protect the wood and maintain its rich color. Clean the wood first, let it dry, then apply the oil as described in Step 4. You usually don’t need to sand unless there are new imperfections.
- Protection from Elements: If possible, cover your teak furniture during harsh weather or prolonged periods of direct sunlight. While teak is durable, extra protection can prolong its life and beauty.
- Address Spills Immediately: Wipe up any spills promptly to prevent staining.
Consistent care will ensure your refinished teak remains a beautiful and admired part of your home or outdoor space for years to come.
Frequently Asked Questions about Refinishing Teak Wood
Q1: How often should I refinish my teak wood furniture?
A1: It depends on the environment. For outdoor furniture exposed to sun and rain, an annual refresh of teak oil is often recommended. Indoor furniture might only need it every 2-3 years or when it starts to look dull. Inspect your teak regularly; if it loses its sheen or color, it’s time for a refresh.
Q2: Can I paint or stain teak wood?
A2: While you can, it’s generally not recommended. Teak’s beauty lies in its natural grain and color, which are enhanced by teak oils and sealers. Painting or staining can hide these beautiful characteristics. If you choose to do so, ensure the wood is thoroughly prepped, and use a high-quality exterior paint or stain suitable for wood.
Q3: What is the difference between teak oil and teak sealer?
A3: Teak oil is typically a blend of natural oils (like tung or linseed) and solvents that penetrate the wood to nourish and protect it. It brings out the natural color and provides a warm, low-sheen finish. Teak sealers often contain more resins and UV inhibitors, forming a more protective barrier on the surface, sometimes offering a slightly more durable finish or a different sheen level. Both are designed to protect teak from the elements.
Q4: Do I need to use a wood conditioner before applying teak oil?
A4: For most teak refinishing projects, a separate wood conditioner isn’t necessary. Proper cleaning and light sanding will open the wood’s pores. The teak oil itself will act as a conditioner by penetrating and replenishing the wood’s natural oils. If you’re dealing with exceptionally dry or porous teak, a dedicated oil-based wood conditioner could be used before the final teak oil application, but it’s usually an extra step that many beginners can skip.
Q5: My teak looks blotchy after oiling. What did I do wrong?
A5: Blotching usually occurs when excess oil or sealer is not wiped off completely. It can also happen if the wood was not uniformly sanded or if there were varying densities in the wood that absorbed the oil differently.