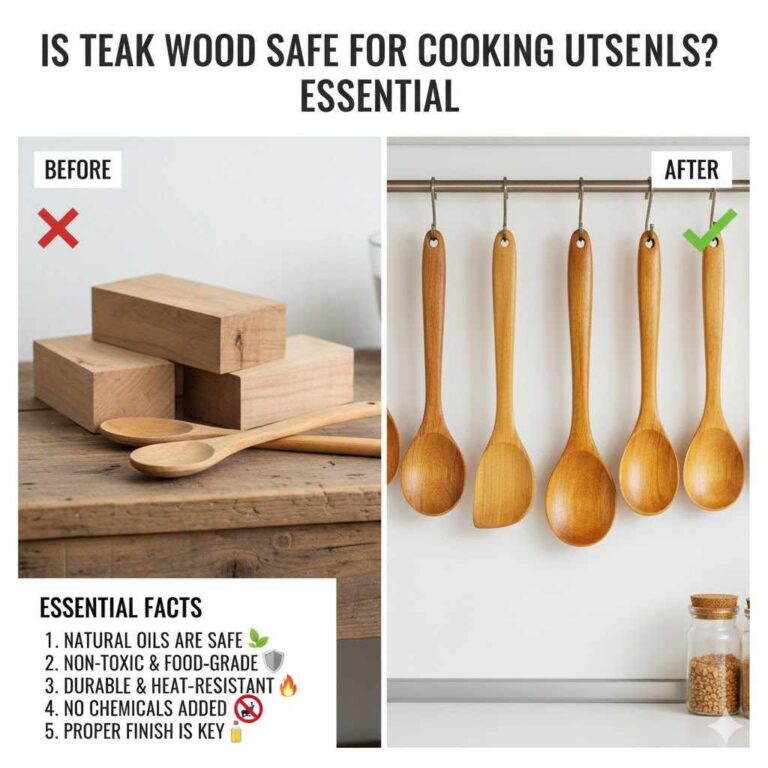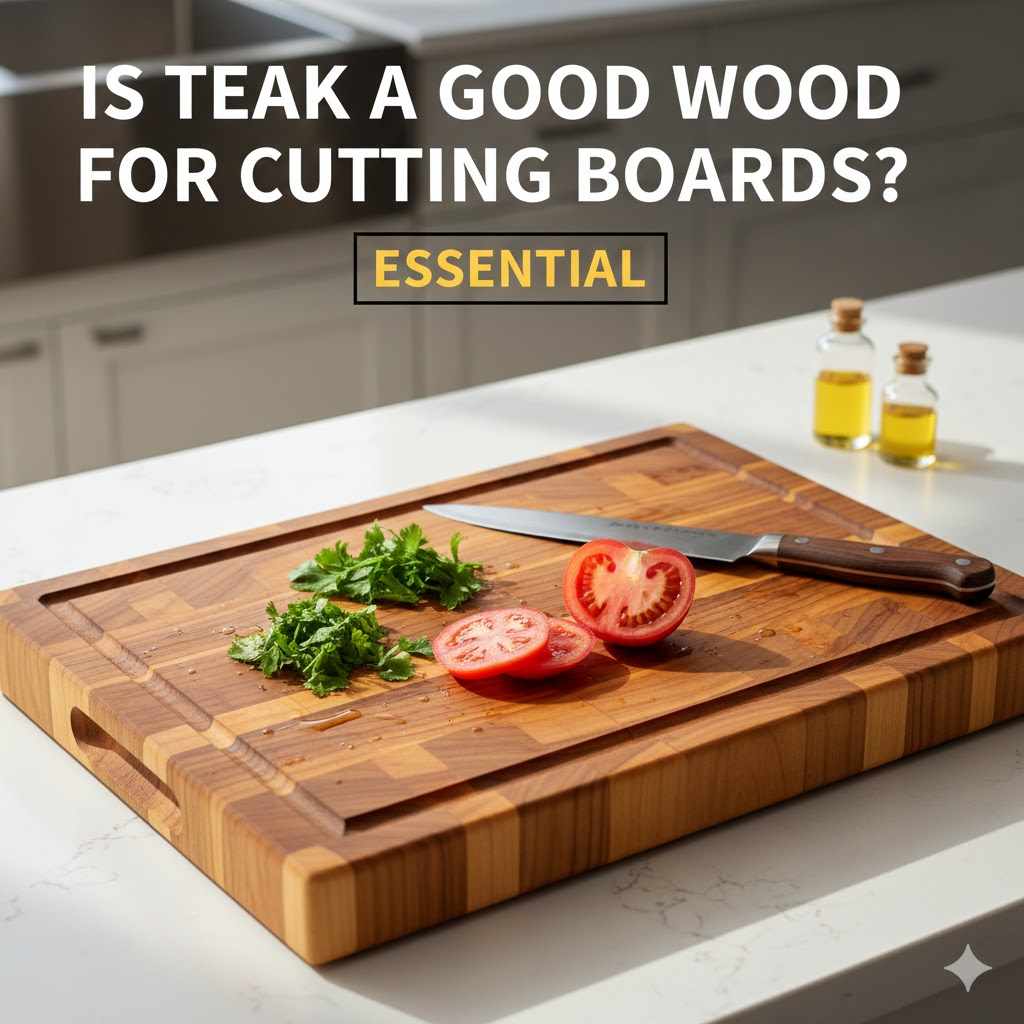
Is Teak A Good Wood For Cutting Boards: Essential
Yes, teak is an excellent wood for cutting boards, prized for its natural oils that resist moisture, bacteria, and warping, making it highly durable and suitable for kitchen use, though proper sealing is important.
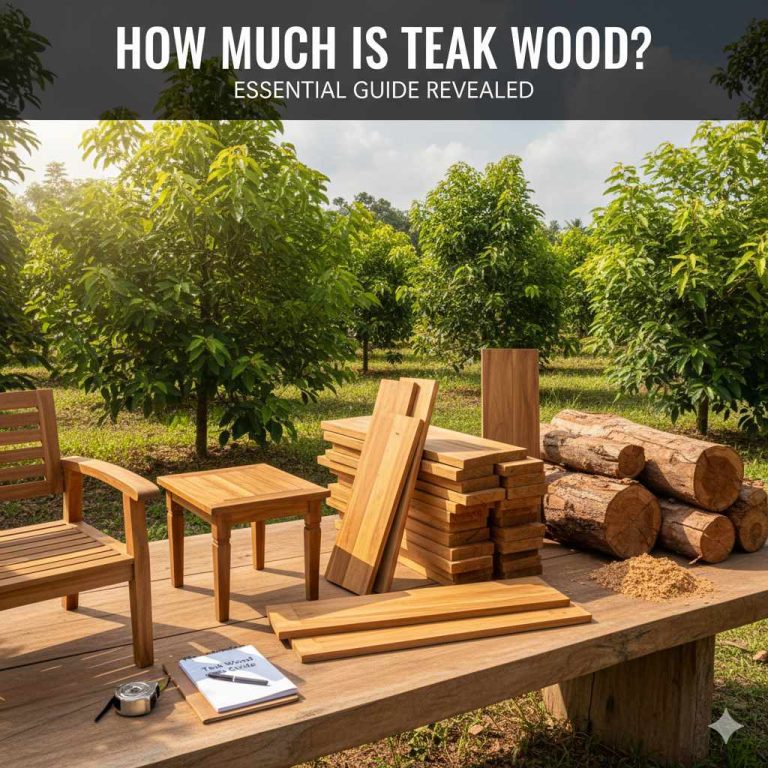
Welcome to the workshop! Choosing the right wood for a cutting board is a common puzzle for DIY beginners. You want something sturdy, safe for food, and beautiful enough to leave on the counter. Teak often comes up in these discussions, but is it really a good choice for your kitchen? Many folks worry about its hardness or suitability around food. Don’t fret! We are going to break down exactly why teak shines in the kitchen, what you need to know before you start, and how to use it confidently.
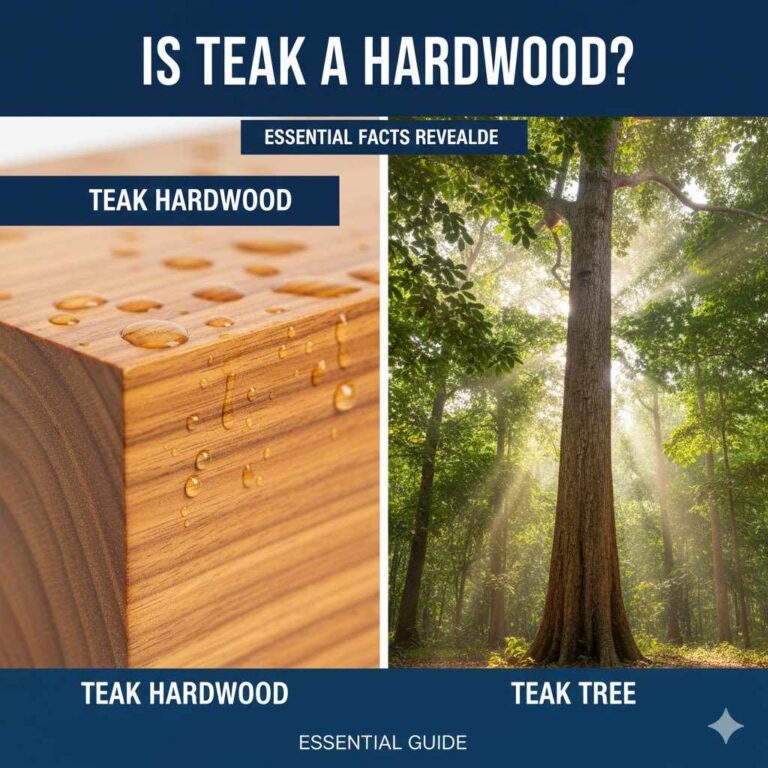
When we talk about making a great cutting board, we are looking for four main things: durability, stability, food safety, and knife friendliness. Teak (Tectona grandis) scores very well on most of these metrics, making it a premium choice. As your woodworking mentor, I can tell you that handling teak is rewarding, and the results are worth the effort.
This article will cover everything you need to know, from teak’s natural benefits to the necessary prep work so you can build a fantastic, long-lasting cutting board with confidence.
The Essential Pros and Cons of Using Teak
Every wood has its superpowers and its weaknesses. Understanding these helps you make an informed choice. For teak, the balance leans heavily toward the positive, especially for kitchen items.
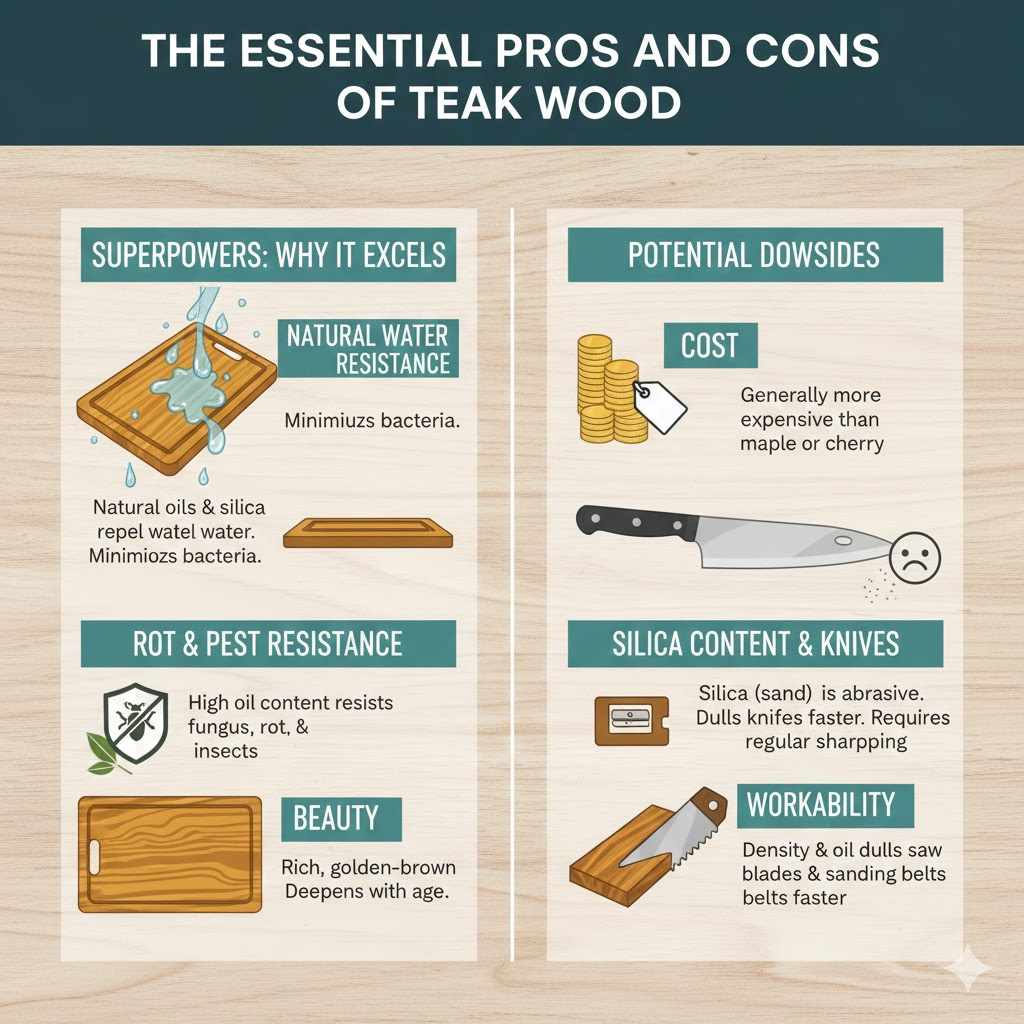
Teak’s Superpowers: Why It Excels for Cutting Boards
Teak’s unique structure gives it several advantages that other domestic woods sometimes lack. These features are why chefs and woodworkers seek it out.
- Natural Water Resistance: Teak is loaded with natural oils and silica. These oils act like a built-in sealant, repelling water and minimizing absorption. This is a huge win because wet wood encourages bacteria growth.
- Exceptional Durability: It’s known as a very stable wood. This means it resists warping, cracking, or checking (splitting) when exposed to the repeated wetting and drying cycles that cutting boards endure.
- Rot and Pest Resistance: The high natural oil content also makes teak naturally resistant to fungus, rot, and boring insects, meaning your board will last for decades if cared for properly.
- Beauty: Teak offers a rich, golden-brown hue that deepens with age, making for a truly beautiful presentation piece.
Potential Downsides to Keep in Mind
Nothing is perfect, and teak has a few points that beginners should watch out for, mainly related to cost and maintenance.
- Cost: Genuine teak, especially sustainably sourced, is generally more expensive than woods like maple or cherry.
- Silica Content and Knives: Teak contains high levels of silica (sand). While this makes it water-resistant, that silica is abrasive. It means that teak will dull your kitchen knives faster than softer woods like maple or walnut. This isn’t a deal-breaker, but you must commit to regular knife sharpening.
- Workability: Because of its density and oil content, teak can sometimes be tougher on saw blades and sanding belts over time, dulling tools faster than woods without high oil content.
Teak vs. Other Popular Cutting Board Woods (Comparison Table)
To see how teak stacks up, let’s compare it side-by-side with two very common cutting board choices: Hard Maple (the industry standard) and Black Walnut.
| Feature | Teak | Hard Maple | Black Walnut |
|---|---|---|---|
| Janka Hardness (Lbs) | 1000–1155 | 1450 | 1010 |
| Natural Water Resistance | Excellent (High Oil) | Good | Fair to Good |
| Knife Edge Retention | Fair (Silica content dulls knives) | Excellent (Low silica) | Very Good |
| Overall Cost (Relative) | High | Low to Medium | Medium to High |
Mentor Tip: While maple is harder and gentler on knives, teak’s natural oil content offers unparalleled defense against moisture ingress, which is the primary cause of warped boards.
Food Safety and Regulations: Is Teak Safe?
This is the most crucial question for any food prep surface. We must ensure that the wood doesn’t leach harmful substances.
Natural Safety Factors
For kitchen safety, we look at hardness (Janka rating), density, and known extractives (the natural chemicals in wood). Teak is widely considered food-safe when sourced correctly.
Many tropical hardwoods used for food preparation have been vetted over time. Teak has been used traditionally for ship decks and high-humidity outdoor furniture precisely because of its non-toxic durability.
The Importance of Sourcing (Preventing Chemical Issues)
When you buy lumber, especially for food projects, sourcing matters more than the wood species itself. Always ensure you are using “Kiln-Dried (KD)” or “Air-Dried (AD)” lumber intended for woodworking, not raw industrial timber.
- Avoid Treated Wood: Never use pressure-treated wood (often tinted green) in your kitchen. This treatment introduces chemicals meant to repel bugs outdoors, which you absolutely do not want near your food.
- Check the Source: Look for wood labeled as “FAS Grade” (First and Second quality lumber) or specifically sold for culinary use. Sustainable sourcing certifications are also a great sign of quality control, like those from the Forest Stewardship Council (FSC). According to experts at the Wood Database, the primary concern with many hardwoods used for cutting boards (including teak) is ensuring no chemical finish or treatment has been applied.
Step-by-Step Guide: Making Your First Teak Cutting Board
Ready to get your hands dirty? Building a cutting board is a fantastic beginner project. We will focus on a simple edge-grain board, which is the easiest to glue up for beginners. Always remember that safety first—wear your eye protection and hearing protection!
Tools and Materials Checklist
Gathering everything beforehand saves time and prevents frustration. Think of this as setting up your mini-assembly line!
Materials:
- Teak lumber (At least 1.5 inches thick, rough sawn or jointed is fine).
- High-quality waterproof wood glue (Titebond III is the industry standard for food surfaces).
- Food-grade mineral oil (or a specialty board conditioner).
- Optional: Rubber feet/silicone pads for the bottom.
Essential Tools:
- Table Saw or Circular Saw (for initial breakdown).
- Jointer and Planer (if starting with rough lumber—these create perfectly flat faces). If you don’t have these, you might buy pre-dimensioned, perfectly flat teak from a hardwood dealer.
- Random Orbital Sander (with grits from 80 up to 320).
- Clamps (lots of them—you need more clamps than you think!).
- Router or block plane (for easing sharp edges).
Phase 1: Milling the Boards Perfectly Flat
The success of any cutting board hinges on how flat your pieces are before gluing. If they aren’t flat, your glue-up will fail, resulting in a messy, gapped board.
- Break Down the Lumber: Cut your thick teak boards into strips that are the length and final width of your desired board.
- Joint One Edge: If starting with rough material, run one face of every strip across the jointer until it is perfectly flat and smooth. This will be your “reference face.”
- Plane the Opposite Face: Now, run the opposite face through the planer to achieve your final board thickness, making sure it’s parallel to the jointed face. All strips must be the same thickness.
- Edge Jointing (Crucial Step): Take the strip with the jointed face down, and run the opposite edge over the jointer until it is perfectly square (90 degrees) to that reference face. Every single edge that will meet another strip must be square.
Phase 2: The Glue-Up
Teak’s high oil content means the glue needs help to grab tight. Don’t skip these checks!
- Dry Fit First: Lay out your strips on a flat surface and clamp them together without glue. Check all seams for gaps. If you see light passing through, you need to re-joint or re-sand that edge.
- Wipe Down Seams: This is critical for oily woods like teak. Use a cloth lightly dampened with denatured alcohol or acetone (use caution and proper ventilation) and wipe down only the edges that will receive glue. This temporarily removes surface oils, allowing the glue a better bite.
- Apply Glue: Apply a thin, even coat of Titebond III to one side of every mating edge. Work quickly, as you have a short “open time” once glue is applied.
- Clamp and Apply Pressure: Assemble the strips and apply heavy, even pressure using your clamps. You want to see thin beads of glue squeezing out evenly along the entire seam.
- Clean Squeeze-Out: While the glue is wet (before it sets but after clamping), use a damp cloth or putty knife to scrape off the major squeeze-out. This saves significant sanding later. Let it cure according to the glue manufacturer’s instructions (usually 12–24 hours).
Phase 3: Flattening and Shaping
Once the glue is dry, your board will look like a giant, oddly shaped brick. Time to make it beautiful!
- Remove Glue Residue: If there are any remaining hardened glue lines, use a sharp hand plane or sanding block to level them down. Glue residue will not accept stain or finish and must be removed.
- Flatten the Faces: Use a large random orbital sander, starting with a lower grit (80 or 100), to flatten both large faces until the entire board is perfectly flush, with no remaining clamp marks or glue ridges. Work up through the grits: 100, 120, 150, 180, and finally 220.
- Square the Sides: Use a table saw or a track saw guide to trim the ends and sides perfectly square and smooth, bringing the board to its final dimensions.
- Edge Treatment: Sharp 90-degree corners are prone to chipping. Use a small hand plane, router with a chamfer bit, or simply sandpaper (with a block) to round over or slightly bevel all the sharp edges and corners.
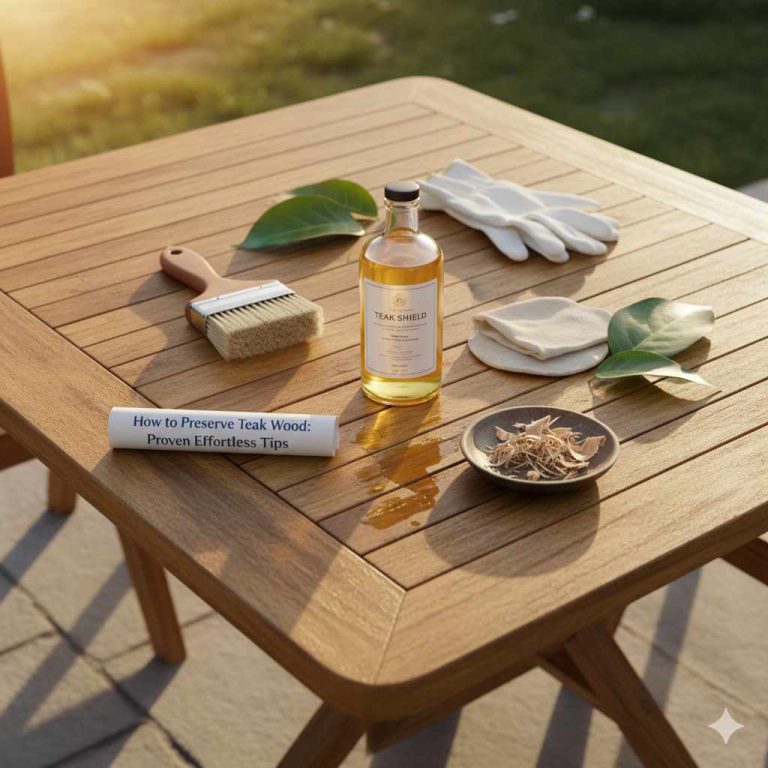
Phase 4: Oiling and Finishing (Sealing the Teak)
Since we are using teak, we want to use a food-safe oil that saturates the wood and then sets, enhancing the natural color and maximizing its water resistance. For this, the FDA approves mineral oil for incidental contact, but a better choice is often a professionally blended “Board Butter” (mineral oil mixed with beeswax/carnauba wax).
- Light Sanding: Before oiling, give the whole board a final pass with 220 grit sandpaper. Wipe off all dust with a tack cloth or a slightly dampened cloth.
- Application: Liberally apply your mineral oil or conditioner to the entire surface. Let it soak in for at least 20–30 minutes. Teak is oily, but it still drinks up the first few coats.
- Wipe Off Excess: After soaking, wipe off all the excess oil until the surface feels dry to the touch, not greasy.
- Repeat: Repeat the oiling process several times over the next few days until the wood stops visibly soaking up the oil quickly.
- Final Coat (If using Beeswax Mix): If you used plain mineral oil, consider applying a coat of Board Butter. Buff this in well; the wax sits on the surface and provides a nice layer of sacrificial protection.
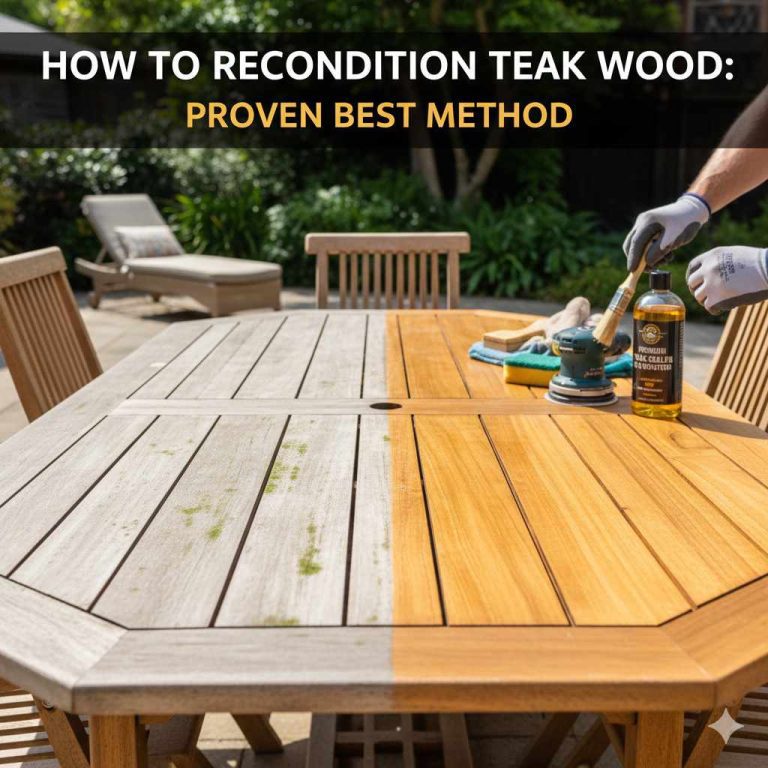
Maintaining Your Teak Cutting Board for Lifelong Service
Even the best wood needs care, especially in the demanding kitchen environment. Good maintenance ensures your teak board stays food-safe and gorgeous for years. Think of this routine as honoring the craftsmanship you put in!
Daily Cleaning Tips
Because of teak’s inherent water resistance, cleaning is usually fast. Never put your board in the dishwasher!
- Rinse Immediately: As soon as you are done chopping, rinse the board off.
- Scrape and Wipe: Use a plastic scraper or spatula to remove food bits. Wipe the board down with hot water and a mild dish soap.
- Sanitize (Optional but Recommended): For raw meat contact, occasionally wipe the surface with a very dilute solution of white vinegar or a 5% hydrogen peroxide spray, then wipe clean again. (See USDA guidelines for proper home sanitization for general principles).
- Drying: Always stand the board up on its edge to dry completely, never leave it flat on the counter where water can pool underneath.
Monthly Re-oiling Schedule
The goal is to replenish the oils that cleaning washes away.
- If you use your board daily, aim to re-oil thoroughly once a month.
- If you see dry, light patches appearing, that’s your signal—it’s time for more oil, regardless of the calendar.
- Simply apply oil until the surface darkens fully, let it soak for 30 minutes, and wipe off the excess thoroughly.
Teak Grain Orientation: Edge Grain vs. End Grain
The way you assemble the wood blocks profoundly affects how the board performs. For beginners, the edge-grain (which we detailed above) is the easiest to manage.
Edge Grain (The Workhorse Board)
This is where the strips are glued edge-to-edge (like the side of a standard bookshelf). The fibers run parallel to the cutting surface.
- Pros: Easiest to construct, generally cheaper if using scraps, highly stable.
- Cons: Harder on knives because the fibers are being cut across.
- Best For: General utility, chopping, and high-volume work.
End Grain (The Premium Choice)
This involves gluing small wood blocks together so the ends of the fibers face upwards, creating a “butcher block” look where the fibers look like straws standing on end.
- Pros: Best for knives! When you cut, the knife edge slides between the wood fibers instead of cutting through them, allowing the wood to self-heal the scratch.
- Cons: Much harder to construct for a beginner (requires precise squaring), more expensive, and these boards tend to absorb more moisture, meaning they need more diligent oiling to prevent drying out.
Since teak has high natural oil content, an edge-grain teak board offers fantastic moisture protection with a relatively straightforward build process. If you want the absolute gentlest surface for your knives, you might consider an end-grain board made of Maple, but for durability and easy construction, edge-grain teak is fantastic.
Addressing Common Teak Concerns for Beginners
As a woodworking mentor, I know that doubts pop up after the glue dries. Here are quick answers to the biggest concerns hobbyists have when first using teak for food projects.
| Concern | Md Meraj’s Advice |
|---|---|
| Is the oil in teak toxic? | No. Teak’s natural oils are non-toxic and provide its water resistance. Ensure the wood is sourced without industrial chemical treatments. |
| Will I have to sharpen my knives constantly? | Yes, more often than with Maple due to the silica content. Commit to using a honing steel frequently and professional sharpening occasionally. |
| Can I use vegetable oil instead of mineral oil? | Please don’t. Vegetable oils (like olive or canola) go rancid (spoil) over time, causing a foul smell and potentially contaminating food. Stick to food-grade mineral oil. |
| Does teak need to be oiled as much as other woods? | Initially, yes, it drinks the finish. Over time, because of its high natural oil content, it often requires less maintenance than woods like Ash or Beech. |
Working with Teak: Tips from the Workshop
Handling teak requires respect for its density and oiliness. Here are a few specific tips that will help beginners feel more in control of the material.
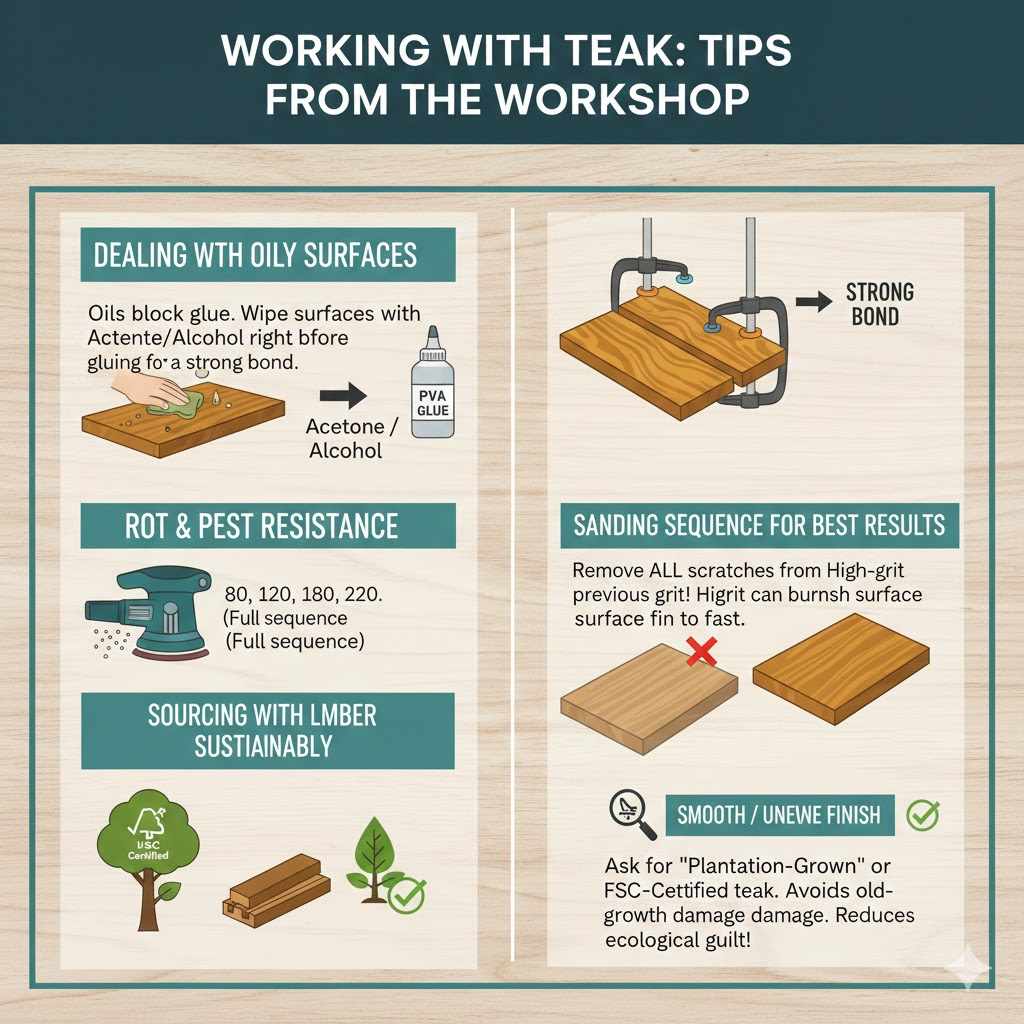
Dealing with Oily Surfaces Before Gluing
We mentioned this briefly, but it bears repeating because it’s the most common failure point when gluing oily woods:
The natural oils sit on the surface, creating a weak barrier that prevents the glue from forming a strong chemical bond with the wood fibers. You must actively remove this surface film. A quick wipe-down with acetone or denatured alcohol on the glue faces cleans this film away better than simple scraping or sanding, giving your PVA glue a fantastic opportunity to grab hold.
Sanding Sequence for Best Results
Because teak is dense, high-grit sandpaper can sometimes “polish” the surface too quickly, creating burnishing marks where the heat melts the silica slightly. Always make sure you completely remove the scratch patterns from the previous grit before moving on.
- If you stop at 180 grit and the 150 grit scratches are still visible, the board will look hazy even after oiling.
- A full sequence of 80, 120, 180, and 220 usually yields a surface smooth enough for kitchen use without excessive sanding time.
Sourcing Lumber Sustainably
Teak is historically harvested from old-growth forests, leading to environmental concerns. As responsible woodworkers, we prioritize sustainability.
When shopping, ask your hardwood dealer specifically about “plantation-grown” or “FSC-certified” teak. This ensures that the wood was grown specifically for lumber purposes and harvested under responsible forestry guidelines. Buying this sustainable alternative lets you enjoy teak’s amazing properties without the ecological guilt. High-quality plantation teak is often perfectly suited for indoor use.
Frequently Asked Questions (FAQ) About Teak Cutting Boards
Q1: Can I leave water stains on my teak board overnight?
A: You should try to avoid it. While teak is very water-resistant, leaving pooled water on any wood surface for hours will eventually lead to saturation, which causes darkening, potential mold growth (though rare in teak), and eventual warping. Always dry your board on its edge.
Q2: Does teak require a special food-safe finish?
A: Teak’s own oils offer initial protection. However, you still need to replenish those oils with a penetrating food-grade mineral oil or a board butter finish. This topical coating prevents the wood from drying out completely and provides the best barrier against odors and bacteria absorption.
Q3: Is teak too heavy for a cutting board?
A: Teak is moderately dense, often landing between maple and walnut in weight (as shown in the table). While an end-grain board made of teak will feel heavy, it is generally manageable for standard use. If weight is a major concern, opt for a thinner edge-grain design.
Q4: How do I deal with deep knife marks on my teak board?
A: Deep marks can harbor bacteria. You can typically sand them out using 120-grit paper until the surface is flush again, working your way back up through the finer grits (150, 180, 220). If the damage is only slight, a heavy application of mineral oil will often temporarily make small scratches disappear visually.
Q5: Is teak hard on surfaces underneath, like granite countertops?
A: Because teak is naturally durable and often has some roughness on the bottom if not fully sanded, it is highly recommended to attach small rubber feet or silicone pads to the underside of the board. This provides grip and prevents scratching delicate surfaces.
Q6: Does teak smell like the ocean or boats?
A: Raw, freshly cut teak has a distinct, somewhat pungent odor, often described as leathery or earthy, not necessarily “marine.” Once properly finished with food-safe oil, this smell significantly dissipates and will not transfer to your food.
Conclusion: Teak Is a Confident Choice for Your Kitchen
My advice to you, the dedicated DIYer, is this: Yes, teak is absolutely a good wood for cutting boards. You are choosing a species renowned globally for its resilience against the rigors of humidity and daily use.
The primary adjustments you need to make when working with teak are manageable: you must diligently clean the glue surfaces of surface oils before assembly, and you must commit to keeping your kitchen knives sharp due to the wood’s natural silica content. By following the milling steps—especially ensuring those edges are perfectly flat and square before clamping—you are set up for success.
Go ahead and tackle that teak board project. With good preparation and a commitment to regular oiling, you won’t just have a functional tool; you will have a beautiful, durable piece of craftsmanship ready to anchor your kitchen for many meals to come. Happy building!