Lanham Hardwood Flooring Co: Genius & Essential Advice
To get a professional result like Lanham Hardwood Flooring Co, focus on perfect subfloor prep, letting the wood acclimate to your home, and using the right tools. Careful planning and taking your time are the most important secrets to a beautiful, long-lasting floor. This guide makes the whole process easy to follow.
Have you ever looked at a perfect hardwood floor and felt a little intimidated? It looks like a job only for expensive pros. Many people feel this way. But you can install a stunning floor that looks just as good as one from the experts at Lanham Hardwood Flooring Co. The secret is knowing the right steps. I’m here to walk you through it, simply and clearly. Together, we will turn that intimidating project into a success you can be proud of. Let’s get started.
The Foundation of a Great Floor: Secrets from the Pros
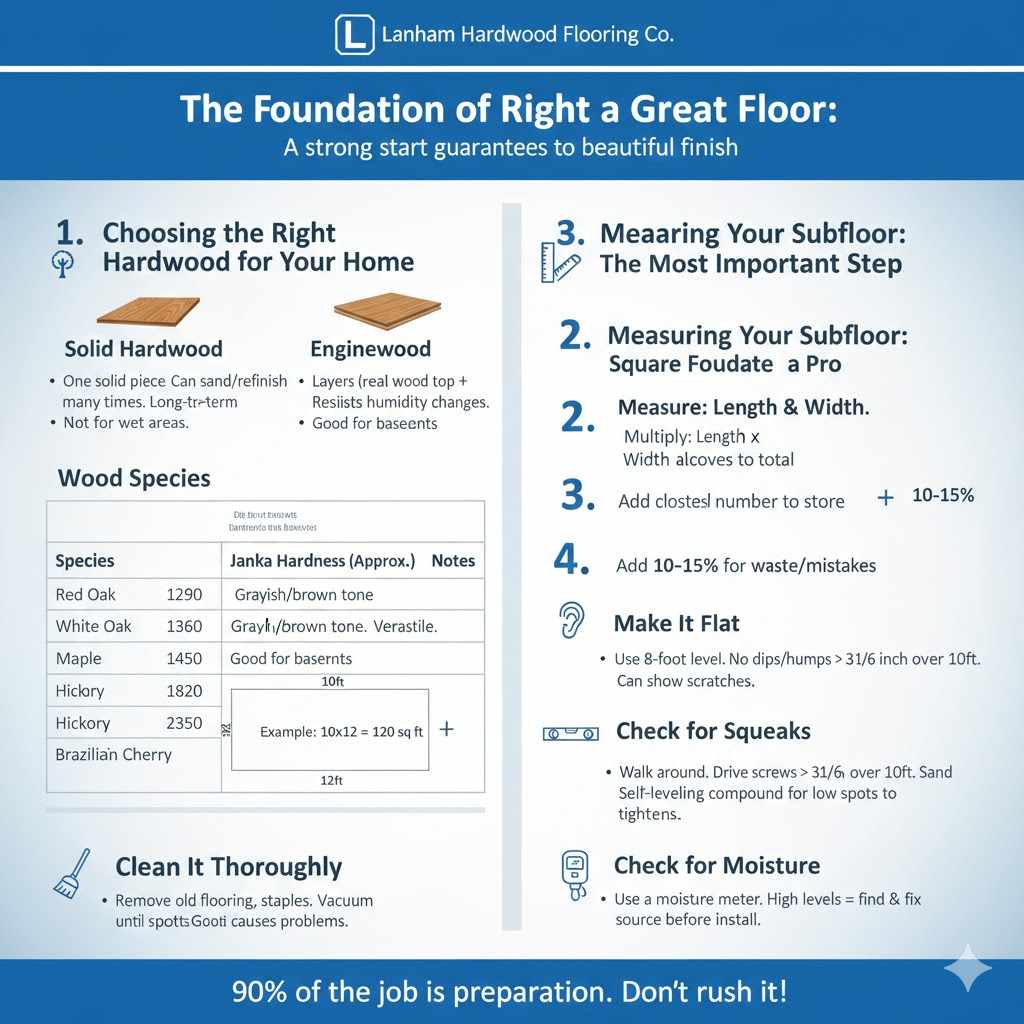
The best hardwood floor isn’t just about the beautiful wood you see. It’s about the careful work done before the first board is ever laid. Top companies like Lanham Hardwood Flooring Co know that preparation is 90% of the job. Rushing this stage is the number one mistake I see DIYers make. Let’s make sure you get it right from the very beginning. A strong start guarantees a beautiful finish.
1. Choosing the Right Hardwood for Your Home
Walking into a flooring store can be overwhelming. So many choices! But picking the right wood is simpler than it seems. Think about your lifestyle, your room, and your budget. There are two main types to consider:
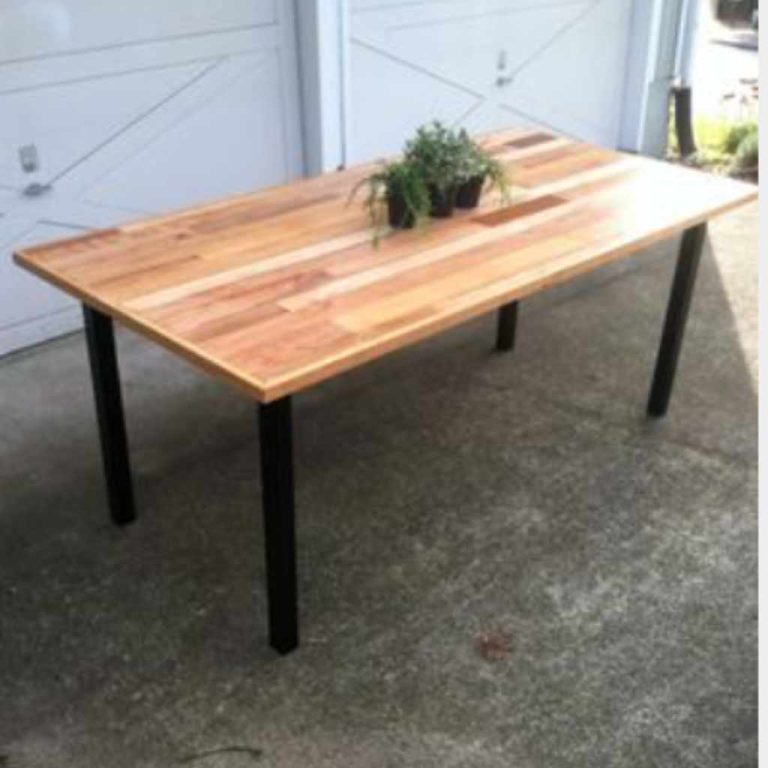
- Solid Hardwood: Each plank is one solid piece of wood. It’s the classic choice. You can sand and refinish it many times over its long life. This makes it a great long-term investment. However, it’s not ideal for basements or bathrooms where moisture is a concern.
- Engineered Hardwood: This type is made of layers. It has a real hardwood layer on top and multiple layers of plywood or high-density fiberboard underneath. This structure makes it more stable. It’s less likely to expand or shrink with changes in humidity. This makes it a great choice for basements or homes in humid climates.
Next, consider the wood species. Each has a different look, hardness, and cost. Hardness is measured on something called the Janka scale. A higher number means the wood is harder and more resistant to dents.
| Wood Species | Janka Hardness Rating (Approx.) | Appearance & Notes |
|---|---|---|
| Red Oak | 1290 | Very popular, strong grain, reddish tone. Hides scratches well. Great for busy homes. |
| White Oak | 1360 | Slightly harder than red oak, with a grayish or brown tone. Classic, versatile look. |
| Maple | 1450 | Very hard, light color, subtle grain. Gives a clean, modern look but can show scratches more easily. |
| Hickory | 1820 | Very hard and durable. Strong color variations and grain patterns for a rustic feel. |
| Brazilian Cherry | 2350 | Extremely hard. Rich reddish-brown color that deepens over time. A beautiful, bold choice. |
2. Measuring Your Room Like a Pro
Guessing is not your friend here! Accurate measurements save you money and headaches. Follow these simple steps:
- Measure the length and width of your room. Write these numbers down.
- Multiply the length by the width to get the square footage. (Example: a 10-foot by 12-foot room is 120 square feet).
- If your room has closets or alcoves, measure them separately and add them to your total.
- Always add 10-15% to your final number. This is for cutting waste and any mistakes. It’s much better to have a few extra boards than to run out at the end.
Take your final number to the store. This tells them exactly how much flooring you need to order.
3. Preparing Your Subfloor: The Most Important Step
Your beautiful new hardwood needs a solid, clean, and dry base to sit on. This base is your subfloor. Getting the subfloor right is a non-negotiable step that ensures your floor won’t squeak, buckle, or warp later. According to the National Wood Flooring Association (NWFA), most installation failures are due to subfloor issues.
- Clean It Thoroughly: Start by removing the old flooring completely. Pull up any carpet, vinyl, and all the staples or old nails. Scrape away any old adhesive. Then, sweep and vacuum the subfloor until it is spotless. Any little bump or piece of debris can cause problems later.
- Make It Flat: Your subfloor needs to be very flat. Use a long, straight edge (like an 8-foot level) to check for high and low spots. The general rule is that the floor should not have any dips or humps of more than 3/16 of an inch over a 10-foot span. Use a belt sander to sand down any high spots. Use a self-leveling compound, which you can find at any home improvement store, to fill in any low spots. Let it dry completely.
- Check for Squeaks: Walk all over the subfloor. Do you hear any squeaks? If you do, fix them now. Drive long screws through the subfloor into the floor joists below to pull everything together tightly.
- Check for Moisture: Wood and water don’t mix. Moisture is the biggest enemy of a hardwood floor. You must test your subfloor for moisture, whether it’s wood or concrete. You can buy an inexpensive moisture meter online or rent one. Follow the meter’s instructions to get a reading. If the moisture levels are too high, you must find and fix the source before you can proceed.
Your Essential Toolkit for a Flawless Finish
Having the right tools makes any job easier, safer, and more enjoyable. You don’t need the most expensive professional gear, but a few key items are essential. Many of these can be rented if you don’t want to buy them.
Key Tools & Materials
- Safety Gear: Safety glasses, hearing protection, dust mask, and knee pads. This is not optional!
- Measuring Tools: Tape measure, combination square, and a chalk line.
- Cutting Tools: A miter saw is perfect for making clean, straight cuts at the end of boards. A table saw is needed for cutting the last row of boards lengthwise. A jigsaw is handy for cutting around vents or tricky corners.
- Fastening Tools: A pneumatic flooring nailer (or cleat nailer) is the star of the show. It drives special flooring nails at the perfect angle. You will also need a finish nailer for the first and last rows.
- Other Essentials: A rubber mallet for tapping boards into place, a pry bar, wood filler that matches your flooring, and tapping block.
- Materials: Your hardwood flooring, a moisture barrier or underlayment (check flooring manufacturer recommendations), and the correct size flooring nails or cleats.
A Quick Note on Safety
Power tools can be dangerous if not used correctly. Always read the manufacturer’s instructions before you start. Protect your eyes and ears. Pay attention to where your hands are at all times. The Occupational Safety and Health Administration (OSHA) has excellent guidelines for tool safety that are helpful for everyone, not just professionals.
Installing Your Hardwood Floor: Step by Step
Alright, you’ve done the prep work. Your tools are ready. Now comes the fun part: seeing your new floor come to life! We’ll go slowly and carefully. Patience is your best friend here.
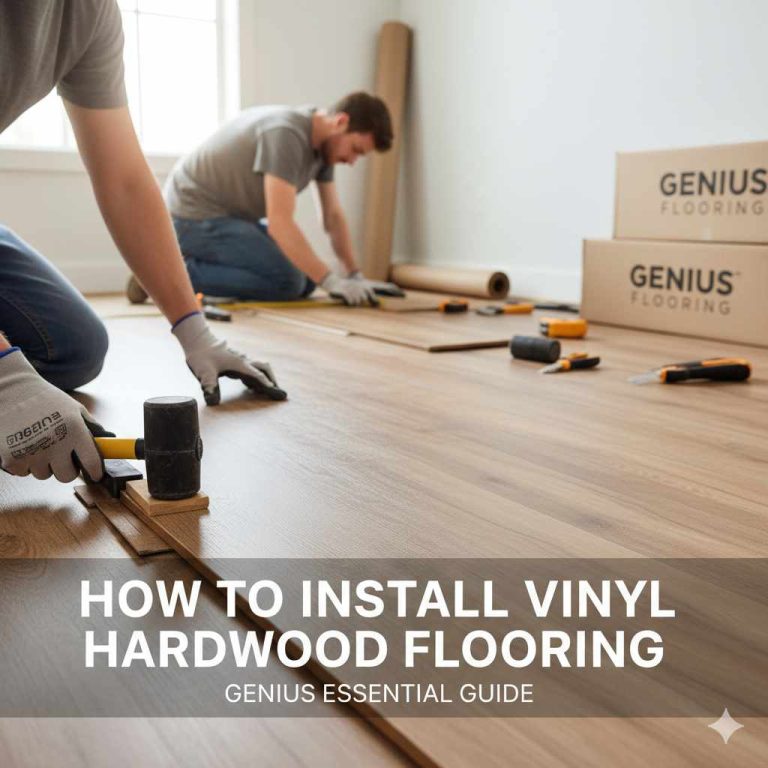
Step 1: Acclimation Is Not Optional
Wood is a natural material. It expands and contracts with changes in temperature and humidity. “Acclimation” means letting your wood get used to the environment inside your home before you install it. Skipping this step can cause your floor to buckle or develop gaps.
Bring the boxes of flooring into the room where they will be installed. Open the boxes to let air circulate. Let them sit for at least 72 hours, or for however long the manufacturer recommends. This simple waiting period can save you from major problems down the road.
Step 2: Laying the Underlayment
Underlayment is a thin barrier that goes between your subfloor and your new hardwood. It can help block moisture and deaden sound. A simple asphalt-saturated felt paper (often called tar paper) is a common choice for solid hardwood over a wood subfloor. Roll it out, overlapping the seams by a few inches, and staple it down so it lies flat.
Step 3: Planning Your Layout
Don’t just start nailing boards against a wall! A little planning makes a huge difference.
- Decide on Direction: Hardwood floors usually look best when they run parallel to the longest wall in the room. This can make the room feel larger.
- Find Your Starting Line: Walls are rarely perfectly straight. You need to create your own straight starting line. Measure out from your starting wall the width of one flooring board plus your expansion gap (usually 1/2 to 3/4 inch). Snap a chalk line between these points. This is the line your first row will follow.
- The Expansion Gap: Remember how wood moves? You need to leave a small gap around the entire perimeter of the room (walls, cabinets, etc.) to give the wood space to expand. This gap will be covered by your baseboards later. Use spacers to maintain this gap as you work.
Step 4: Installing the First Row
The first row is the most important. If it’s straight, the rest of your floor will be too. Place your first board along your chalk line with the tongue side facing out into the room. Use your finish nailer to nail through the face of the board (top surface), about 1 inch from the wall side. Then, drive nails at an angle through the tongue. This is called “blind nailing” because the next board’s groove will hide the nail.
Step 5: Continuing Across the Room
Now you’re ready to use the flooring nailer. The groove of your second row will fit over the tongue of the first. Use a tapping block and a mallet to gently tap the board until it is snug. Never hit the wood directly with a hammer.
- Use the Flooring Nailer: Place the nailer’s foot firmly on the wood over the tongue and strike it with the mallet to drive a nail. You should place a nail every 8-10 inches along the board and within a few inches of each end.
- Stagger the Joints: You don’t want the seams at the end of the boards to line up. This looks bad and makes the floor weaker. Make sure the seams in any row are at least 6 inches away from the seams in the row next to it. Use the pieces you cut off from the end of one row to start the next row. This creates a natural, random pattern and reduces waste.
Step 6: The Final Row
The last row usually won’t be a perfect fit. Measure the remaining gap (remember to subtract your expansion gap space). Use a table saw to rip the last row of boards to the correct width. You’ll have to face-nail this last row since you won’t have room for the flooring nailer.
Step 7: Finishing Touches
You’re almost there! Remove all your spacers. Install your baseboards and any transition pieces (like at a doorway to another room). The baseboards will hide the expansion gap and the face nails from your first and last rows. Fill any visible nail holes with a matching wood filler. Your floor is now complete!
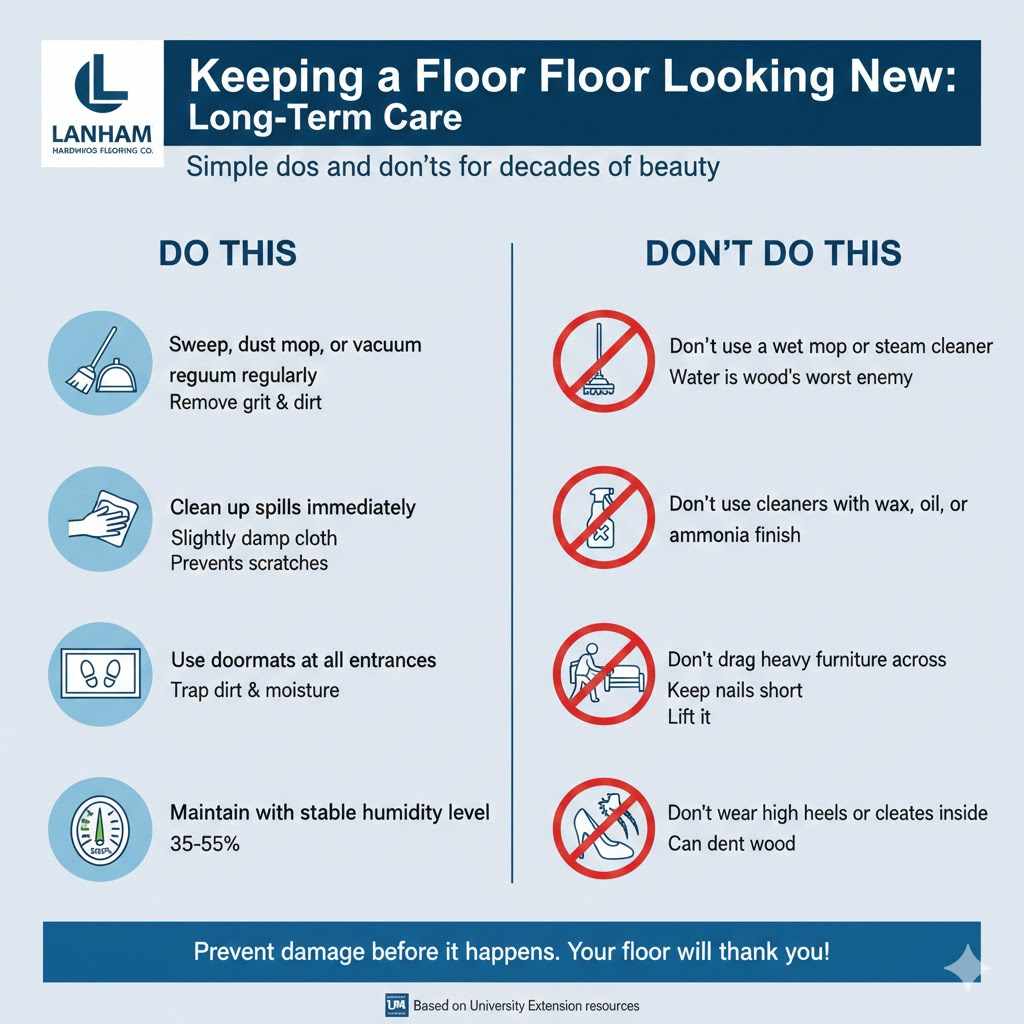
Keeping Your Floor Looking New: Long-Term Care
You’ve put in all this hard work, so let’s make sure your floor stays beautiful for decades. Good maintenance is simple. It’s mostly about preventing damage before it happens.
Here are some simple dos and don’ts to live by. For more detailed information, resources from university extensions, like this guide on caring for wood floors from the University of Minnesota, can be very helpful.
| DO THIS | DON’T DO THIS |
|---|---|
| Sweep, dust mop, or vacuum regularly to remove grit and dirt. | Don’t use a wet mop or steam cleaner. Water is wood’s worst enemy. |
| Clean up spills immediately with a slightly damp cloth. | Don’t use cleaners with wax, oil, or ammonia. They can damage the finish. |
| Place felt pads under all furniture legs. | Don’t drag heavy furniture across the floor. Lift it. |
| Use doormats at all entrances to trap dirt and moisture. | Don’t let pets with untrimmed claws run on the floor. Keep their nails short. |
| Maintain a stable humidity level in your home (usually 35-55%). | Don’t wear high heels or cleats inside, as they can dent the wood. |
Frequently Asked Questions (FAQ)
What is an expansion gap and why do I need one?
An expansion gap is a small space (usually 1/2 to 3/4 inch) left around the perimeter of the floor. Wood naturally expands and contracts with changes in temperature and humidity. This gap gives the wood room to move without buckling or warping. It’s hidden by baseboards, so you’ll never see it.
Can I install new hardwood over my old flooring?
It depends. Generally, it’s best to remove the old flooring to get to a stable subfloor. You can sometimes install new hardwood over very thin, flat flooring like sheet vinyl, but never over carpet. Installing over an existing floor can cause height issues at doorways and make your floor unstable.
Solid vs. Engineered Hardwood: Which one is better?
Neither is “better”—they are just different. Solid hardwood is a single piece of wood that can be refinished many times, making it last for generations. Engineered hardwood has a real wood top layer and a stable core, making it better for areas with moisture changes, like basements or concrete slabs.
How long does hardwood really need to acclimate?
A minimum of 72 hours (3 days) is a good rule of thumb. However, always check the manufacturer’s specific instructions. In very dry or humid climates, you might need to let it acclimate for a week or more. The goal is for the wood’s moisture content to match the environment in your home.
What is the best way to clean hardwood floors?
The best method is the simplest. Use a microfiber dust mop or a vacuum with a soft-bristle attachment to remove dust and dirt. For deeper cleaning, use a pH-neutral cleaner specifically designed for hardwood floors, sprayed lightly onto a microfiber mop—never directly onto the floor.
How do I stagger the floorboard joints correctly?
Staggering means making sure the short ends of the boards don’t line up row-to-row. A good rule is to keep at least 6 inches between the joints in adjacent rows. A simple way to do this is to use the leftover piece you cut from the end of one row to start the next row (as long as it’s not too short).
How do I fix a small scratch in my new floor?
For minor surface scratches, you can often fix them with a touch-up kit or a stain-filled marker made for wood floors that matches your color. For a slightly deeper scratch, a wax repair stick can work wonders. Deeper gouges might require replacing the board, which is why saving a few extra boards is a great idea.
You Can Do This!
And there you have it. You now have the knowledge that professional installers, like the ones at Lanham Hardwood Flooring Co, use every day. Installing a hardwood floor is a big project, but it is absolutely achievable. By focusing on solid preparation, being patient, and following these steps, you have everything you need to succeed.
Take pride in every board you lay. This isn’t just a home improvement project; you’re adding lasting value, warmth, and character to your home with your own two hands. Enjoy the process and, most of all, enjoy the beautiful, durable floor you built yourself. Welcome to the wonderful world of woodworking!