Left Tilt Table Saw: Why Blade Direction Matters for Bevels
A left-tilt table saw tilts the top of the blade to the left (away from the operator’s right hand) when you angle it for a bevel cut. The safety benefit isn’t about visibility in general — it’s specifically that on a standard US table saw, where the rip fence mounts to the right of the blade, a left-tilt blade leans away from that fence during a bevel rip, instead of leaning over it.
That one detail is why left-tilt saws get recommended for bevel work, and it’s also the detail most guides skip or get backwards. Below is the actual mechanism, which real saws use which tilt direction, and when the “safer” direction can flip depending on how you’ve set up your fence.
Why Blade-Tilt Direction Actually Matters
Bevel Calibration Pick
 |
POWERTEC 71828 Table Saw Digital Angle Gauge – $20.05 Confirming the actual bevel angle matters more than tilt direction for accuracy — this magnetic gauge reads the true blade angle directly off the blade body, catching drift a factory stop can miss.
|
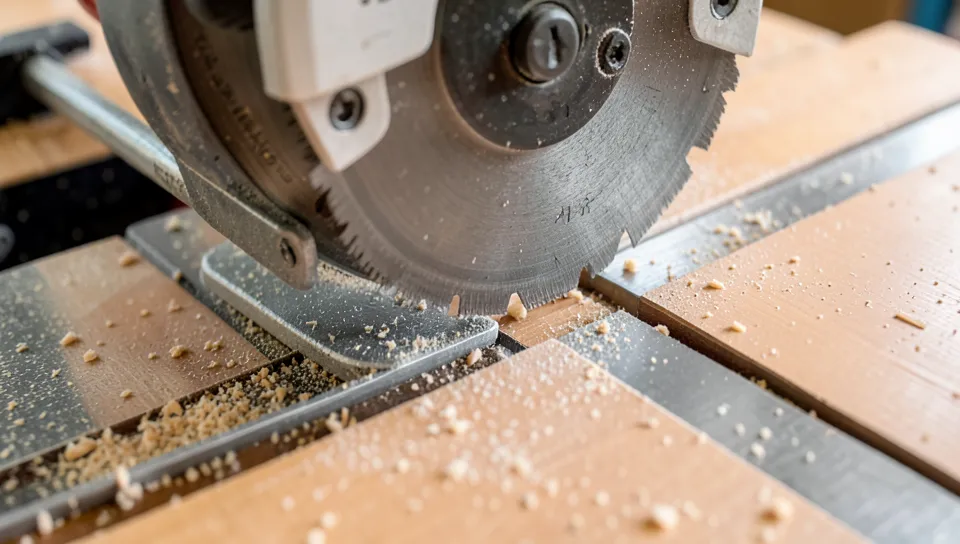
On a bevel rip cut, the workpiece runs between the blade and the fence. If the blade tilts toward the fence, the top of the blade leans over the workpiece and can pinch the cut-off piece between the blade and the fence as it comes through — a common cause of kickback on bevel rips. If the blade tilts away from the fence, that pinch point doesn’t happen; the offcut has room to fall clear instead of getting trapped.
Since the overwhelming majority of table saws (contractor, hybrid, and cabinet saws alike) are set up with the rip fence to the right of the blade, a left-tilt saw tilts away from that fence, and a right-tilt saw tilts toward it. That’s the entire reason left-tilt has a safety reputation for bevel work — not better visibility, not “easier alignment,” just geometry relative to where the fence normally sits.
The flip side: if you ever rip with the fence moved to the left of the blade (some outfeed or sheet-good setups do this), the safety direction reverses — a left-tilt saw would then be tilting toward that fence. The mechanism is about blade-to-fence relationship, not the tilt direction being universally safer.
Which Real Saws Use Which Tilt
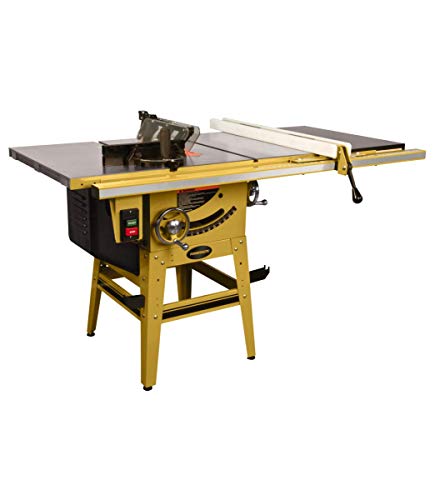
- Left-tilt: most higher-end cabinet saws default to left-tilt, including SawStop’s Professional and Industrial Cabinet Saw lines and most Powermatic cabinet saws. Manufacturers lean this way specifically because these saws are marketed on bevel-rip safety.
- Right-tilt: most benchtop and contractor-style saws — common Ryobi, Craftsman, and older Delta/Bosch contractor and jobsite models — are right-tilt, largely because it was the historical standard and is cheaper to manufacture with a simpler trunnion design.
- Some saw lines, including certain Bosch and Delta hybrid models, offer both tilt directions across different SKUs — always check the specific model, not just the brand.
If you already own a right-tilt saw, this isn’t a reason to replace it. It just means being more deliberate on bevel rips: keep hands and body out of the potential kickback line, use a splitter or riving knife every time, and consider ripping with the good face down so any tear-out from the pinch risk lands on the waste side.
Setting Up a Left-Tilt Saw for Accurate Cuts
Tilt direction doesn’t fix accuracy on its own — a left-tilt saw still needs the same calibration as any other:
- Square the blade to the table at 0° using a reliable square against the blade body (not a tooth, which can throw off the reading), and adjust the stop bolt if it’s off.
- Check the miter slot-to-blade alignment (some woodworkers call this “tuning the trunnion”) — a blade that’s not parallel to the miter slot causes binding and burn marks regardless of tilt direction.
- Verify the 45° bevel stop the same way you checked 0°, since the two stops are adjusted independently on most saws.
- Confirm the fence is parallel to the blade along its full length, not just at the front — a fence that toes in toward the blade at the back is a separate, very common cause of bevel-rip kickback that has nothing to do with tilt direction.
Bevel Cuts, Dados, and Rabbets
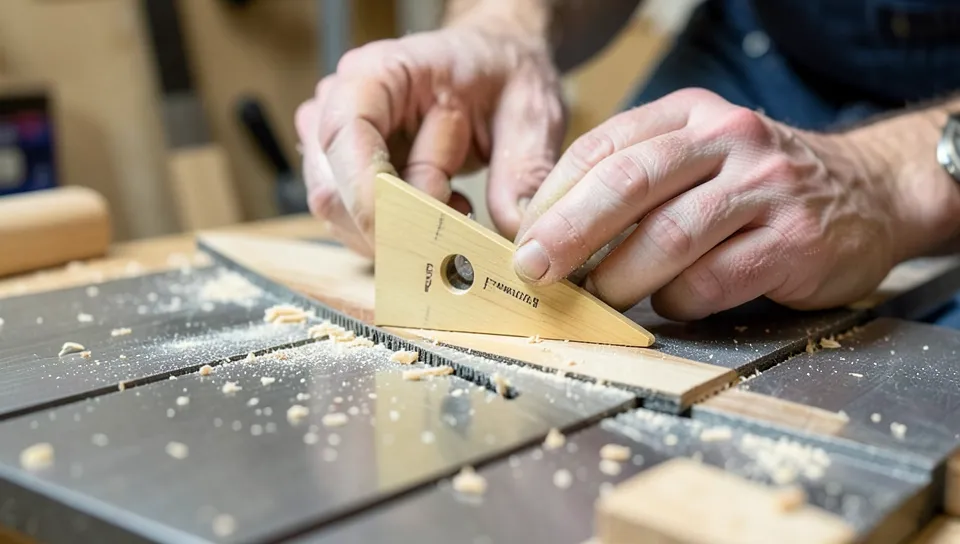
For a standard bevel rip, set the blade angle first, then re-confirm the fence-to-blade distance at both the front and back of the blade — tilting the blade changes the effective kerf position slightly, so a distance that was correct at 90° can be off by a small amount once the blade leans over. For dado cuts, tilt direction is irrelevant since the blade runs at 90°; what matters there is a proper dado stack and a zero-clearance insert sized to the stack width. Rabbets follow the same logic as dados — blade height and fence position matter far more than tilt direction for anything cut at 90°.
Maintenance Notes Specific to Tilt Mechanisms
The trunnion assembly that lets the blade tilt collects sawdust and resin over time, and on either tilt direction, a gritty trunnion is what actually causes the blade angle to drift between uses, not the tilt direction itself. Clean and lightly lubricate the trunnion’s sliding surfaces every few months of regular use (a dry PTFE-based lubricant, not oil, since oil attracts more sawdust). Re-check both the 0° and 45° stops after any trunnion cleaning, since the process can shift them slightly.
Left Tilt vs. Right Tilt — the Real Tradeoffs
| Factor | Left-Tilt | Right-Tilt |
|---|---|---|
| Bevel-rip safety (standard fence-right setup) | Blade tilts away from fence | Blade tilts toward fence |
| Typical saw class | Cabinet saws (SawStop, Powermatic) | Contractor/benchtop saws |
| Muscle memory if switching | Adjustment needed if used to right-tilt | More common, familiar to most users |
| Price point | Generally higher-end | Generally more affordable |
Frequently Asked Questions
What Is A Left Tilt Table Saw?
A table saw where the blade’s top tilts to the left when you angle it for a bevel cut. On the standard setup with the fence to the right of the blade, this means the blade tilts away from the fence during a bevel rip.
Why Choose A Left Tilt Over A Right Tilt Saw?
Mainly for bevel-rip safety: with the fence in its usual position to the right of the blade, a left-tilt blade leans away from the fence instead of over the workpiece, reducing the chance of the cut-off piece getting pinched between the blade and fence.
What Are The Benefits Of Using A Left Tilt Saw?
The main benefit is bevel-rip safety geometry, as explained above. Beyond that, left-tilt and right-tilt saws of similar build quality perform equivalently for crosscuts, dados, and 90° rips, where tilt direction doesn’t come into play.
Are Left Tilt Table Saws Suitable For Beginners?
Yes — there’s no added complexity for a beginner, and if you’re learning bevel rips for the first time, starting on a left-tilt saw with the fence in its standard position means you’re learning with the safer geometry built in from day one.
Conclusion
Left-tilt matters for one specific reason: with a standard right-side fence, the blade leans away from it during a bevel rip instead of over the workpiece. Everything else — accuracy, dust collection, crosscuts, dados — comes down to the saw’s build quality and your calibration, not which way the blade tilts.
Sponsored / affiliate links. As an Amazon Associate I earn from qualifying purchases. I may earn additional commission from eligible campaigns.