How to Use a Wood Burning Pen: Temperature, Tips, and Technique
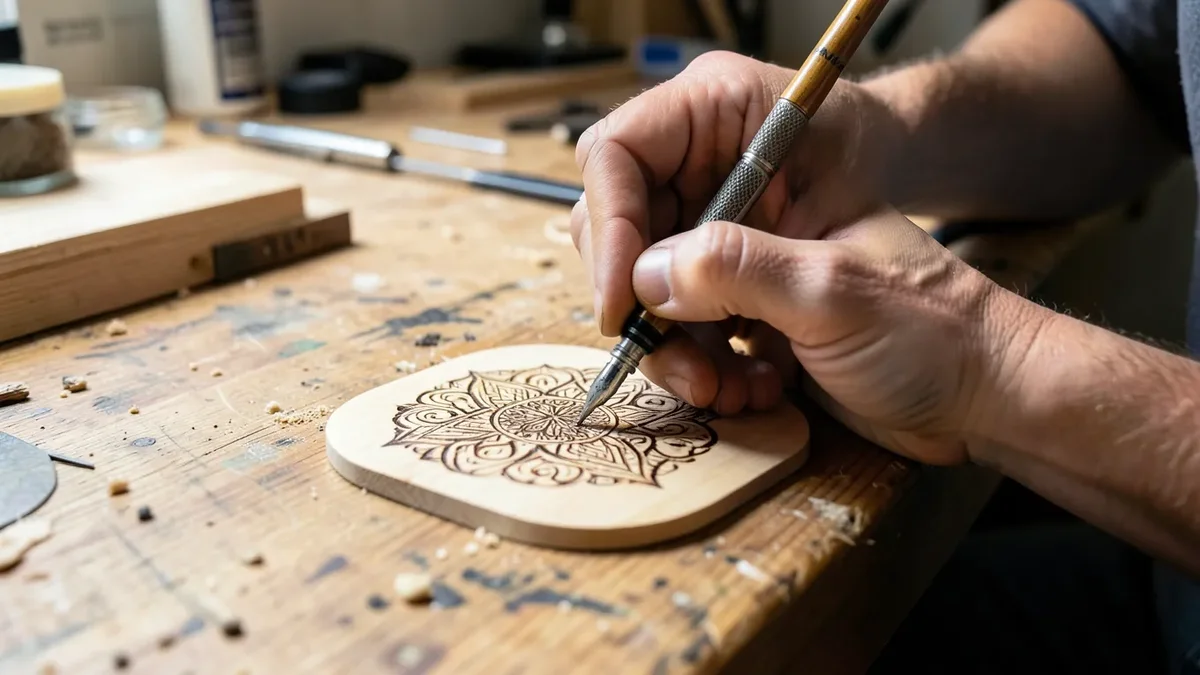
To use a wood burning pen, sand the wood smooth, transfer your design with a pencil or graphite paper, heat the pen to the right temperature for your wood, and practice on a scrap piece first. Slow, steady strokes burn darker lines; faster strokes stay lighter. Always work in a ventilated space and use only raw, untreated wood.
Pyrography looks intimidating from the outside — a hot metal tip and permanent burn marks don’t exactly scream “beginner-friendly.” In practice it behaves a lot like drawing with a very patient pencil: the tool does the same thing every time, and your control over speed and pressure is what turns a plain board into a finished piece. This guide walks through picking your first pen, matching temperature to the wood you’re actually using, and the technique details that separate a shaky first attempt from a clean one.
What Wood Burning (Pyrography) Actually Is
Best Beginner Wood Burning Kit
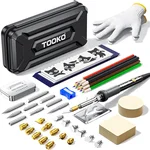 |
TOOKO 96-Piece Wood Burning Kit – Check Current Price A solid-point kit with adjustable temperature and a full set of interchangeable tips, the right starting setup for a beginner pyrography project.
|
Pyrography literally translates to “writing with fire” — you’re using a heated metal tip to scorch a controlled mark into the wood’s surface fibers rather than cutting or carving them away. The color you see comes from the wood’s own cellulose and lignin charring at the surface, which is why the same tip can produce anything from a faint tan line to a near-black mark depending on how long the heat sits in one spot.
You don’t need drawing talent to start. If you can trace an outline someone else already drew, you can produce a clean piece on your first attempt using graphite transfer paper. The skill that actually takes practice is consistency — keeping your speed and pressure even enough that a line doesn’t go from light to dark halfway through.
Choosing Your First Wood Burning Pen
Burners fall into two categories, and for a first pen the choice is straightforward. Solid-point burners look like a soldering iron with interchangeable brass tips that screw on; they’re what you’ll find in most beginner kits. Wire-nib burners use a thin wire tip that heats and cools in seconds rather than minutes, giving finer control, but they cost several times more and are built for people already past the basics.
Here’s how the two compare directly:
| Feature | Solid-Point Burner | Wire-Nib Burner |
|---|---|---|
| Best For | Beginners and general craft projects | Advanced detail and shading work |
| Typical Cost | $15-$40 | $100 and up |
| Heat Control | Fixed or simple dial setting | Precise, continuously variable |
| Heat-Up Time | About 5 minutes | A few seconds |
| Tip Style | Durable screw-in brass tips | Delicate interchangeable wire tips |
A solid-point kit is the right starting point for nearly everyone. It’s inexpensive enough that a mistake doesn’t sting, and the fixed or simple-dial heat setting removes one variable while you’re still learning to control speed and pressure. Wire-nib burners are worth the jump only once you’re doing detailed shading work that a slower-heating solid tip can’t keep up with.
Matching Pen Temperature to Wood Hardness
Most beginner guides say “start low and increase the heat if needed” without explaining why the right number changes depending on what you’re burning — and that gap is exactly where a lot of first attempts go wrong. Softwoods like basswood, pine, and poplar have low density and burn readily, so a lower setting (roughly 600-750°F / 315-400°C on a dial-equipped pen) already produces a clean line at a normal working speed. Push a soft wood any hotter than that and you’ll scorch a thick, blobby mark before you can react.
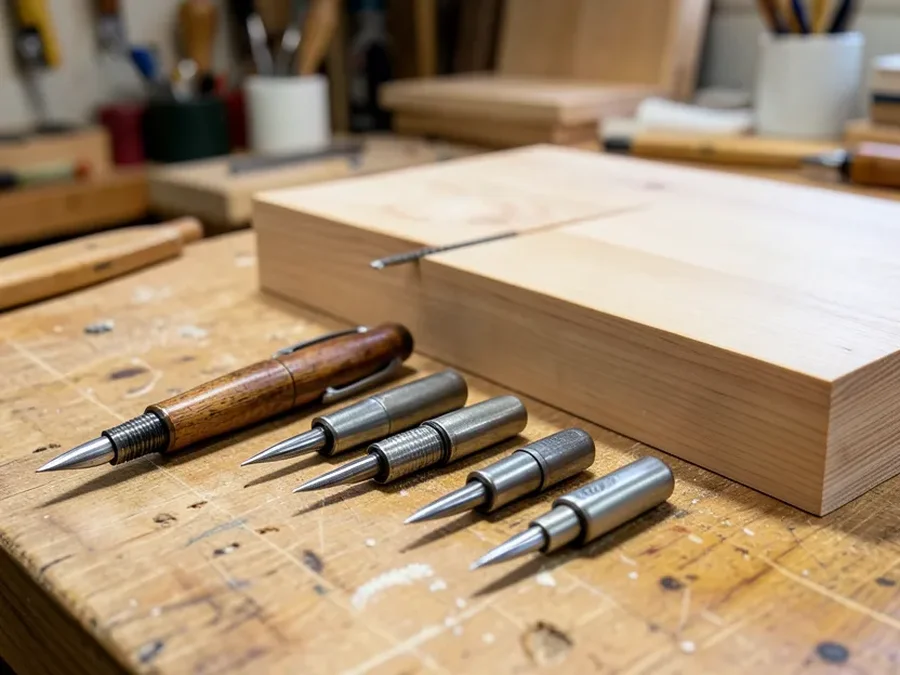
Denser hardwoods — oak, maple, walnut — resist burning at that same lower setting; you’ll find yourself pressing harder or moving slower just to get color, which is the exact habit that causes gouges and uneven lines. The better fix is to raise the temperature (into roughly the 750-850°F / 400-450°C range) rather than compensate with pressure, since a hotter tip moving at a normal, light pace burns a cleaner mark on dense grain than a cooler tip forced to linger. Always confirm on a scrap offcut of the exact same wood you’re about to use, since even within one species, tighter growth rings near the wood’s heartwood can burn noticeably slower than looser grain nearer the bark.
Gathering Your Essential Supplies
You don’t need a dedicated workshop — a clear, well-ventilated spot on any table works. Before your first session, gather:
- Wood burning pen: a solid-point kit with a handful of interchangeable tips.
- Practice and project wood: basswood, poplar, or pine for your first pieces — light color, minimal grain, and forgiving at lower temperatures.
- Fine-grit sandpaper: 220-grit or higher to prep the surface before burning.
- Pencil and graphite transfer paper: for sketching or transferring a printed design.
- Pliers: for swapping hot tips — never handle a tip with bare fingers.
- Metal safety stand: most kits include one; use it every time the pen isn’t in your hand.
- Safety glasses and ventilation: an open window or small fan pointed away from your face.
Safety Rules That Actually Matter
A tool that runs hot enough to char wood deserves a short, serious safety list rather than a long one you’ll skim past. The points that actually cause injuries or health problems if skipped:
- Ventilate the space. Burning wood produces smoke, and breathing it in steadily over a long session is the real long-term risk, not the occasional whiff. Work near an open window or with a small fan clearing the smoke away from your face.
- Treat every metal part as hot. The barrel stays hot well after you set the pen down, and often after it’s unplugged. Assume it’s hot until you’ve had time to think otherwise, not until you’ve tested it.
- Use the stand, every time. Setting a live pen directly on a table is how workbenches and craft mats get scorched, and how accidental contact burns happen.
- Only burn raw, untreated wood. Painted, stained, pressure-treated, or composite material like MDF and plywood can release genuinely toxic fumes when it chars, not just an irritating smell.
- Unplug it the moment you’re done. An unattended hot pen, even for a minute, is an unnecessary risk with zero upside.
Step-by-Step: Your First Wood Burning Project
Step 1: Prepare the Wood Surface
Sand with the grain using your fine-grit paper until the surface feels uniformly smooth — any rough patch will catch the hot tip and throw off your line. Wipe the dust off with a dry cloth afterward; leftover dust under the tip causes small, unpredictable flare-ups as it burns off.
Step 2: Transfer or Sketch Your Design
Graphite transfer paper is the more reliable option for a first project: tape your printed design over a sheet of graphite paper (dark side down) on the wood, trace the outline with a pencil, then lift both sheets to reveal a clean guide line. Freehand sketching works too if you’re confident, just keep your pencil pressure light since you’ll need to erase any stray lines later.
Step 3: Heat the Pen and Pick a Tip
Screw in your tip before plugging in the pen, not after — a cold tip threads on far more safely than a hot one. The universal or “writing” tip, a simple pointed nib, is the right default for outlines. Give the pen its full 5 minutes or so to reach a stable temperature; burning before it’s fully heated produces inconsistent, patchy lines as the temperature climbs mid-stroke.
Common tip shapes and what they’re for:
| Tip Name | Shape | Best Use |
|---|---|---|
| Universal/Writing | Pointed nib | Outlines, fine lines, lettering |
| Shading | Rounded or spoon-shaped | Soft shaded fills using the flat side |
| Calligraphy | Flat, angled edge | Broad ribbon-like strokes |
| Dot/Stippling | Small round point | Texture built from individual dots |
Step 4: Practice on Scrap Wood First
Use an offcut of the same wood species and thickness as your real project, not a random scrap — different woods and even different boards burn at different rates, so practicing on the wrong material teaches you the wrong feel. Draw straight lines, curves, and dots at different speeds until you can predict roughly how dark a given speed and pressure will come out on this specific piece of wood.
Step 5: Burn Your Design
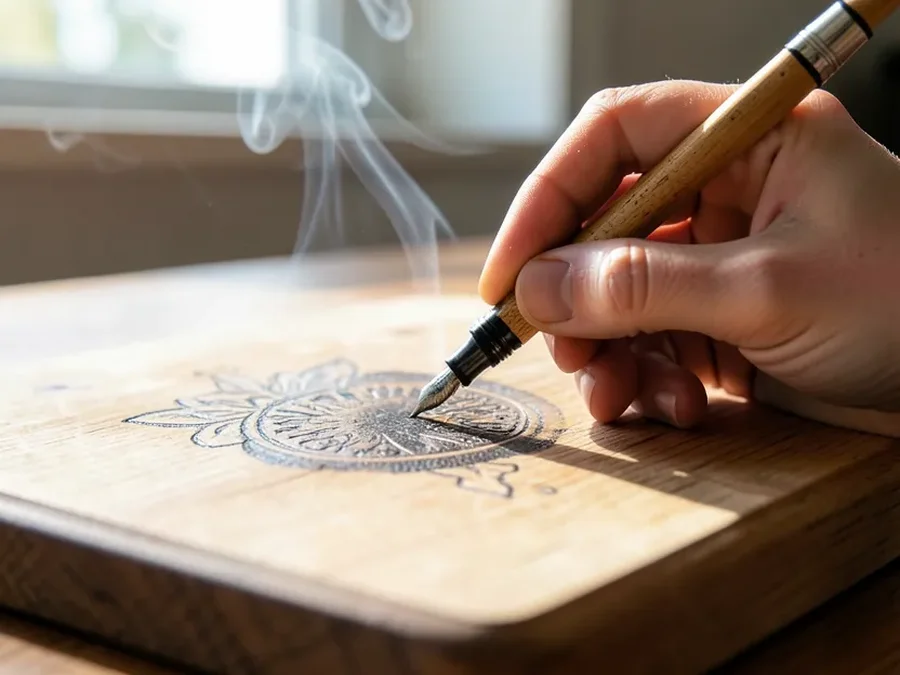
Hold the pen like a pencil, rest your hand on the wood for stability, and trace your transferred lines with light, even pressure. A few habits make the biggest difference in line quality:
- Let heat do the work, not pressure. Pushing harder doesn’t burn a cleaner line; it digs a groove.
- Pull the pen toward you rather than pushing it away for smoother, more controllable strokes.
- Speed controls darkness. Faster passes stay lighter; slowing down (or pausing) darkens the mark, sometimes past where you want it, so keep moving unless you specifically want a dark accent.
- Work in short sections and let the pen rest on its stand whenever you need to reposition your hand.
These fundamentals apply whatever the subject — see our guide to wood burning a cat design for a worked example that walks through outlining, fur-layering, and shading a realistic animal portrait step by step.
Step 6: Add Shading and Depth
Once your outline is finished, switch to a shading tip — letting the pen cool fully first, since swapping a hot tip is how fingers get burned and threads get stripped. Use the flat side in long, even strokes to fill areas, or build texture with stippling (dense dots) or cross-hatching (overlapping parallel lines) for a more textured, dimensional look.
Step 7: Finish and Seal the Piece
Let everything cool completely, erase any leftover pencil or graphite lines, then seal the piece. A water-based polyurethane is the easiest beginner-friendly choice since it dries clear and won’t yellow the way an oil-based finish can over time; a natural wax gives a more matte, traditional look but offers less protection against moisture and daily handling.
Common Mistakes That Ruin a First Project
- Pressing too hard. It doesn’t darken the line; it just gouges the wood. Let temperature and speed do that job instead.
- Burning the wrong wood. Skip painted, stained, treated, or composite material entirely — the fumes are the real hazard, not just the smell.
- Rushing the process. Shaky, uneven lines almost always trace back to moving too fast before you’ve built a feel for the pen.
- Letting carbon build up on the tip. A carbon-crusted tip burns unevenly; keep a scrap of sandpaper or a polishing stone on hand to clean a cooled tip between sessions.
- Skipping ventilation “just this once.” The health risk from wood smoke is cumulative exposure, not a single afternoon — but there’s no reason to build the habit of skipping it.
Project Ideas to Build Your Skills
Start small and flat before attempting anything with curves or multiple pieces:
- Wooden coasters: flat, small, and forgiving for practicing lines and simple shapes.
- Personalized spoons or cutting boards: use a food-safe finish if the piece will touch food.
- Keychains or tags: small canvases for monograms or simple symbols.
- Small signs: a short quote or welcome message on a plaque.
- Holiday ornaments: quick, personal, and good gift practice pieces.
For a longer, skill-sorted list, see our 12 wood burning project ideas for every skill level. If you’d rather trace a ready-made design than draw your own, our easy wood burning patterns for beginners guide has simple options you can copy directly.
Frequently Asked Questions
What is the best wood for wood burning for beginners?
Basswood is the top choice — soft, affordable, and minimal grain that burns smoothly at lower temperatures. Poplar, aspen, and birch plywood are solid alternatives with similar beginner-friendly characteristics.
How do I clean my wood burning pen tips?
Let the tip cool completely, then use fine-grit sandpaper, a brass brush, or a polishing compound to remove black carbon buildup. Cleaning tips regularly keeps heat distribution even and prevents patchy lines.
What temperature should I set my wood burning pen to?
For softwoods like pine or basswood, start around 600-750°F (315-400°C). Denser hardwoods like oak or maple typically need 750-850°F (400-450°C) to burn cleanly at a normal working speed. Always test on a scrap of the exact wood you’re using rather than relying on a fixed number alone.
Is wood burning smoke toxic?
Smoke from raw, untreated wood is an irritant rather than acutely toxic in small amounts, but good ventilation still matters since exposure adds up over repeated sessions. Smoke from treated, painted, stained, or composite wood like MDF can release genuinely harmful chemicals, which is why those materials should never be burned.
Do I need to seal my finished wood burning project?
Yes, in most cases. A sealant protects the piece from dirt, skin oils, moisture, and UV fading, and a water-based polyurethane is the easiest option for beginners since it dries clear without yellowing over time.
Your Next Piece Starts With the Next Scrap Board
Every detail in this guide comes down to two variables you’re always adjusting: temperature and speed. Get comfortable predicting how those two combine on the specific wood in front of you, and the rest of pyrography — shading, texture, more ambitious designs — follows naturally from that foundation.
Start with a basswood coaster, keep your first few pieces simple, and don’t treat a shaky line as a failure — it’s just data about how this particular piece of wood responds to your pen. Prioritize ventilation and the safety stand from your very first session, and the habits that keep you safe will already be automatic by the time you’re ready for more detailed work.
Sponsored / affiliate links. As an Amazon Associate I earn from qualifying purchases. I may earn additional commission from eligible campaigns.