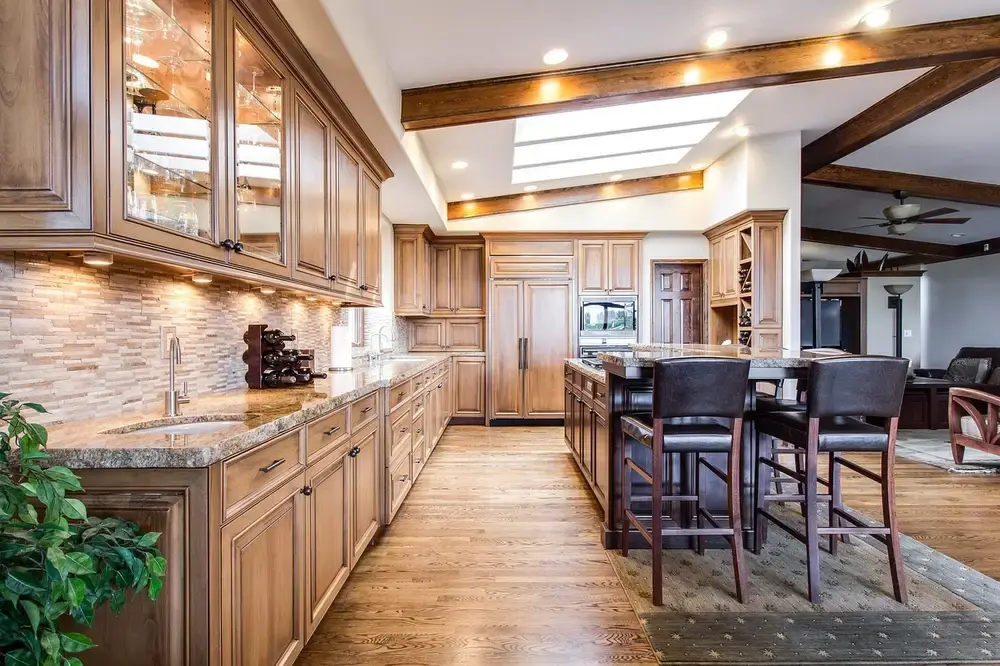
Minwax Polycrylic Satin vs Semi-Gloss: How to Pick the Right Sheen
If you’re standing in the finish aisle trying to decide between Minwax Polycrylic Satin and Semi-Gloss, the short version is this: satin gives you a soft, low-glare look that hides small application flaws, while semi-gloss reflects more light for a shinier, more “finished” appearance and holds up slightly better on surfaces that get touched constantly. Both are the same water-based acrylic formula underneath – the only real difference is the flatting agent that controls how much light bounces off the cured surface. Here’s how to pick the right one and apply it without streaks.
Minwax Polycrylic Satin vs Semi-Gloss: The Quick Answer
Choose satin for furniture, cabinets, and anything you want to look natural rather than “plasticky” – the lower sheen is also more forgiving of lap marks and brush strokes while you’re still learning to apply a topcoat. Choose semi-gloss for tabletops, high-traffic floors, and other high-touch surfaces where a harder-wearing-looking shine is worth the extra visibility of any surface imperfections. If you only buy one can, satin is the safer all-purpose pick for most furniture and cabinet projects, which is why it’s our starting recommendation below.
Best All-Purpose Sheen Pick
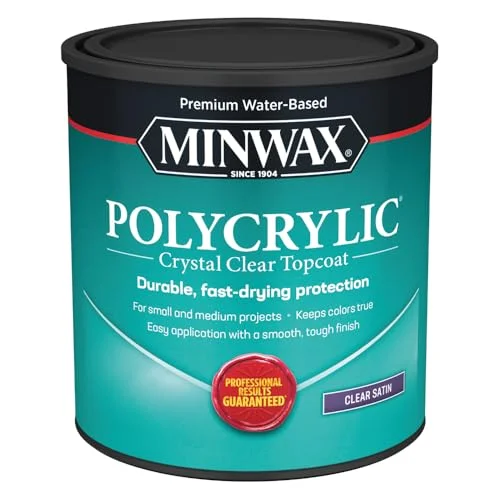 |
Minwax Polycrylic Protective Finish, Satin, Clear, 1 Quart – $22.79 The exact water-based topcoat discussed in this guide – low-glare satin that keeps furniture and cabinets looking natural.
|
What Polycrylic Actually Is (Sheen Isn’t Just Cosmetic)
Polycrylic is a water-based acrylic protective topcoat, not a stain – it goes on clear over bare wood or over an existing stain to seal and protect it. Compared to an oil-based poly, it dries fast (Minwax lists recoat times of around two hours), cleans up with soap and water, and won’t amber or yellow your wood over time the way an oil-based finish can on light species like maple, ash, or birch. Satin, semi-gloss, gloss, and the newer ultra-flat/matte options are all the exact same resin – the manufacturer just adds more or less flatting agent (a fine matting powder) to scatter light at the surface. More flatting agent means less light bounces straight back at your eye, which is why satin looks softer and semi-gloss looks shinier even though the underlying protection is nearly identical.
One update worth knowing about if you’ve used Polycrylic before: Minwax now also sells a Polycrylic Max line alongside the standard formula, marketed for faster drying and better coverage, and it’s available in the same satin and semi-gloss sheens. If your local store is out of the classic can, Max is a direct swap for this comparison – the sheen logic below applies the same way to either line.
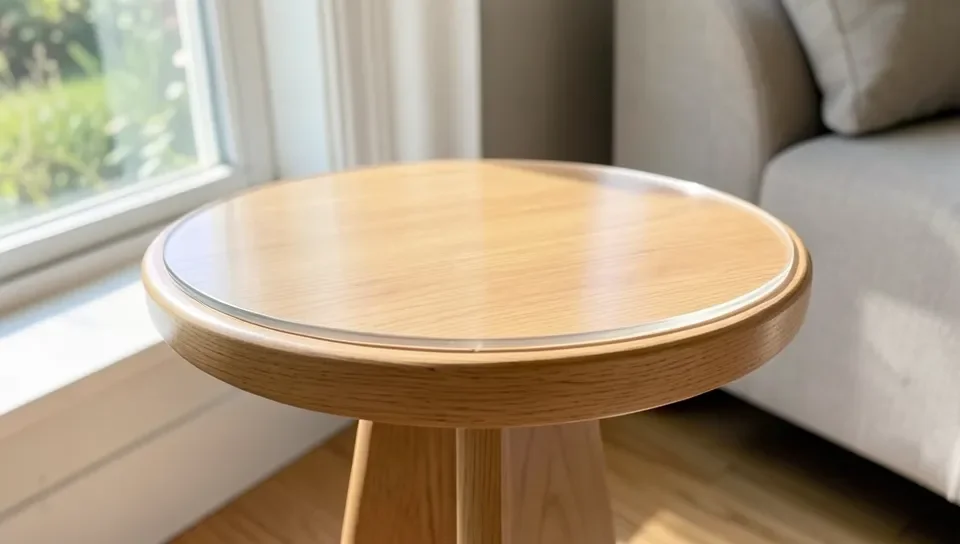
Satin vs Semi-Gloss: Side-by-Side
The table below breaks down the real differences you’ll notice once the finish has cured.
| Trait | Satin | Semi-Gloss |
|---|---|---|
| Sheen level | Low – sits in the lower third of the sheen range | Medium – sits in the middle of the sheen range |
| Look on the wood | Soft, matte, reads as “natural” | Smoother, more reflective, reads as “finished”/formal |
| Hides application flaws | More forgiving of brush marks and lap lines | Shows brush marks and dust nibs more readily |
| Perceived durability look | Good, but a slightly softer visual “wear” look | Reads as more durable/wipeable at a glance |
| Best surfaces | Furniture, cabinets, trim, decorative pieces | Tabletops, high-traffic floors, high-touch surfaces |
| Recoat time (per Minwax) | ~2 hours | ~2 hours |
The Application Difference Most Guides Skip
Here’s the part that actually changes how your project turns out, not just how it looks in the can: satin is genuinely more forgiving of lap marks and brush strokes during application than semi-gloss or gloss. Because satin scatters light instead of reflecting it in a sharp line, the faint ridge left where one brush pass overlaps the next is much harder to see once it’s dry. On semi-gloss, that same overlap line catches the light and can telegraph as a visible streak, especially on a large flat surface like a tabletop viewed under a ceiling light. If you’re newer to applying a topcoat, that alone is a good reason to practice on satin before moving up to semi-gloss or gloss on a showpiece project.
The flip side is the reason semi-gloss still earns its place: on a dining tabletop or a kitchen floor, a higher sheen reads as more durable and more “sealed” to the eye, and its smoother surface texture is genuinely a little easier to wipe clean of fingerprints and spills. On some darker or more figured woods, that extra sheen also makes the grain pattern pop more than a flatter satin coat would. The tradeoff is real in both directions – there isn’t a wrong answer, only a mismatch between sheen and surface.
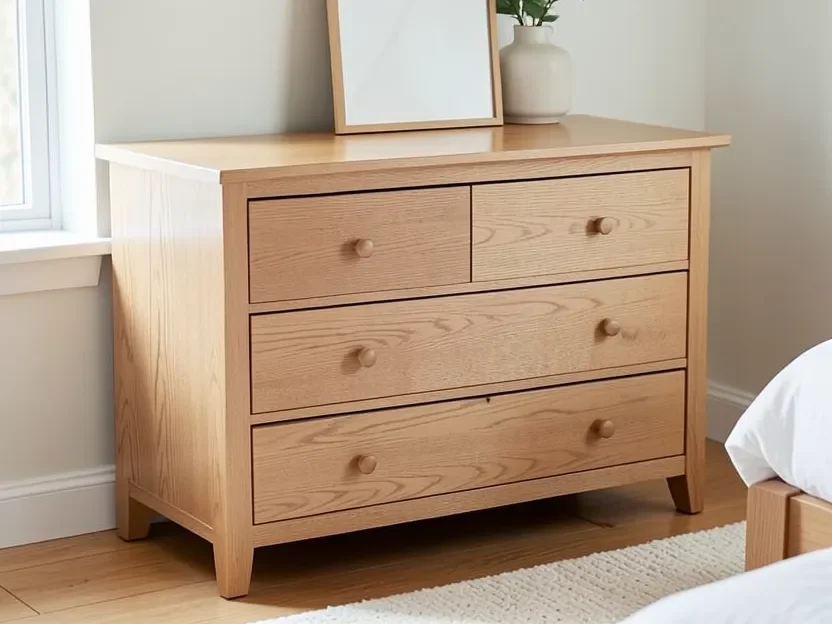
Which Sheen for Which Project
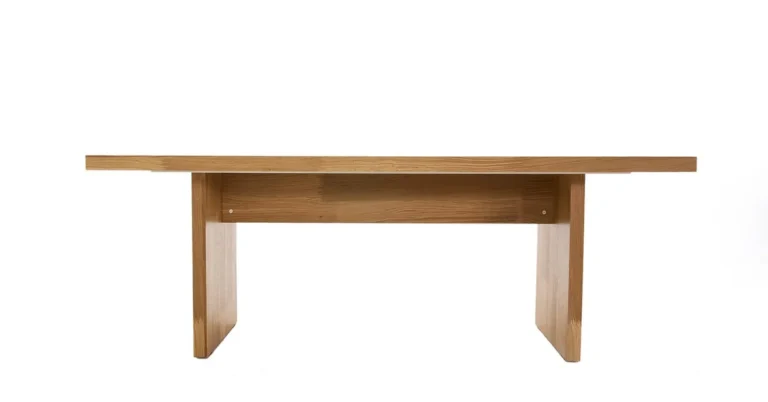
- Dining or coffee tables: Semi-gloss if the table sees daily spills and cleaning; satin if it’s more of a display piece.
- Bedroom furniture (dressers, nightstands): Satin – low-touch surfaces where a natural, non-reflective look is usually preferred.
- Kitchen cabinets: Semi-gloss for doors that get grabbed and wiped down constantly; satin is fine for interior shelving that doesn’t get touched.
- Trim and baseboards: Semi-gloss is the traditional choice because it shrugs off vacuum bumps and shoe scuffs better visually.
- Decorative items (frames, boxes, shelves): Satin, so the piece reads as wood furniture rather than a lacquered object.
If you’re finishing wood you’ve already colored with a sprayed or brushed stain, the sheen choice sits on top of that color decision and doesn’t change it – Polycrylic dries crystal clear either way, so the stain color you see wet is close to what you’ll see cured, just with slightly more or less shine depending on the sheen you picked.
How to Apply Either Sheen Without Streaks
The application process is identical for both sheens – only your tolerance for visible lap marks changes.
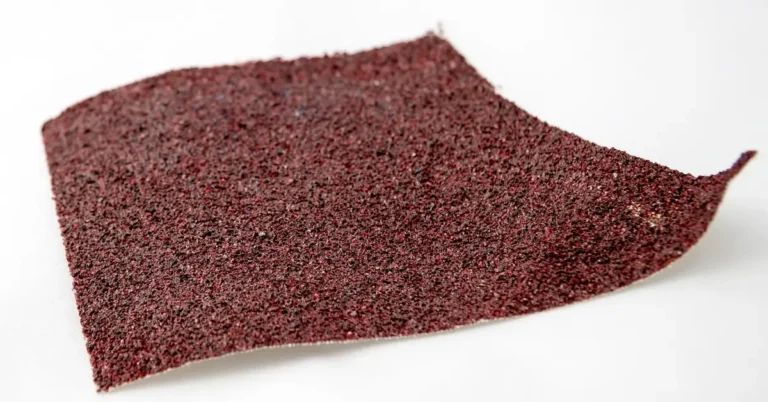
- Sand and clean first. Sand to at least 220 grit, then wipe away dust with a tack cloth or slightly damp cloth. Any dust left behind will show up as a bump under either sheen, but it’s more noticeable under semi-gloss.
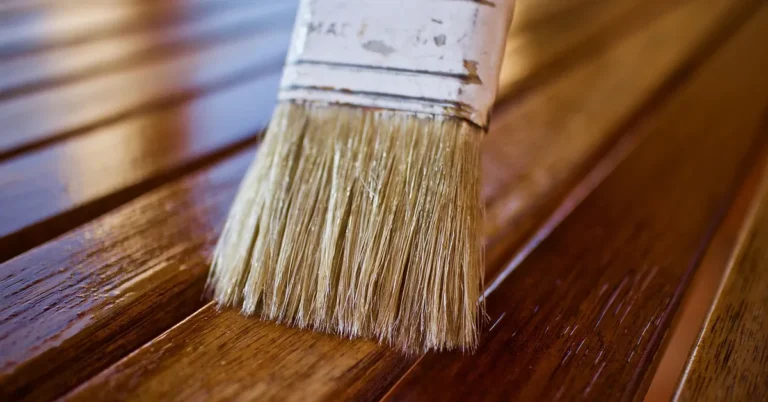
- Apply thin coats in the direction of the wood grain. Use a high-quality synthetic-bristle brush, foam brush, or sprayer, and follow the wood grain direction to minimize visible brush strokes.
- Keep a wet edge and don’t go back over tacky areas. This is where satin’s forgiveness matters most – re-brushing a partially dried section is what creates the lap marks that semi-gloss shows off.
- Let each coat dry fully, then lightly sand with 320-grit before the next coat. This “de-nibbing” step removes raised grain and dust nibs so each subsequent coat lays down smoother.
- Plan on two to three coats for normal use, more for tabletops or floors, and allow several days of full cure before setting heavy objects on the surface even after it feels dry to the touch.
Durability-wise, both sheens offer the same underlying protection against scratches and moisture since they’re the same resin – the sheen only changes how visible wear and application marks are, not how well the coating actually holds up structurally.
Frequently Asked Questions
Can I mix satin and semi-gloss Polycrylic on the same project?
You can use different sheens on different parts of the same piece (satin on the body, semi-gloss on a tabletop, for example), but don’t mix the two sheens together in one container or apply them inconsistently across the same surface – the sheen will look blotchy where the two overlap.
Does satin or semi-gloss show brush marks more?
Semi-gloss shows brush marks and lap lines more readily because its higher reflectivity catches the light at the ridge where two brush passes overlap. Satin’s flatting agent scatters that same light, which is why it’s the more forgiving choice for anyone still refining their brush technique.
How many coats of Polycrylic should I apply?
Two to three thin coats is standard for furniture and cabinets. High-wear surfaces like tabletops or floors can benefit from an extra coat. More thin coats build better protection than fewer thick ones, regardless of sheen.
Can I put semi-gloss over a satin coat, or the reverse?
Yes – since both are the same resin, you can switch sheens between coats. A common technique is building most of the coats in satin, then finishing with a single semi-gloss coat if you want a bit more shine without losing all of satin’s forgiving application.
Is Polycrylic satin or semi-gloss better for a kitchen table?
Semi-gloss is usually the better practical choice for a kitchen table because it’s a high-touch, frequently wiped surface where the smoother, shinier finish is easier to clean. If the table sees light use or you prefer a more understated look, satin still holds up fine – it’s a style tradeoff more than a durability one.
Final Thoughts
Satin and semi-gloss Minwax Polycrylic protect wood identically – the decision really comes down to how much shine you want and how forgiving you need the application to be. Satin is the safer default for furniture, cabinets, and anyone still building confidence with a brush, since it hides lap marks and keeps the wood looking natural rather than plastic-like. Semi-gloss earns its place on tabletops and other high-touch surfaces where a smoother, easier-to-clean sheen is worth trading a bit of that forgiveness. Polycrylic is only one of several satin-capable finishes, though – see how it stacks up on cost and dry time against water-based poly, oil-based poly, and lacquer in our satin clear coat comparison.
Sponsored / affiliate links. As an Amazon Associate I earn from qualifying purchases. I may earn additional commission from eligible campaigns.