Unfinished Oak Hardwood Flooring: Red Oak vs. White Oak Guide
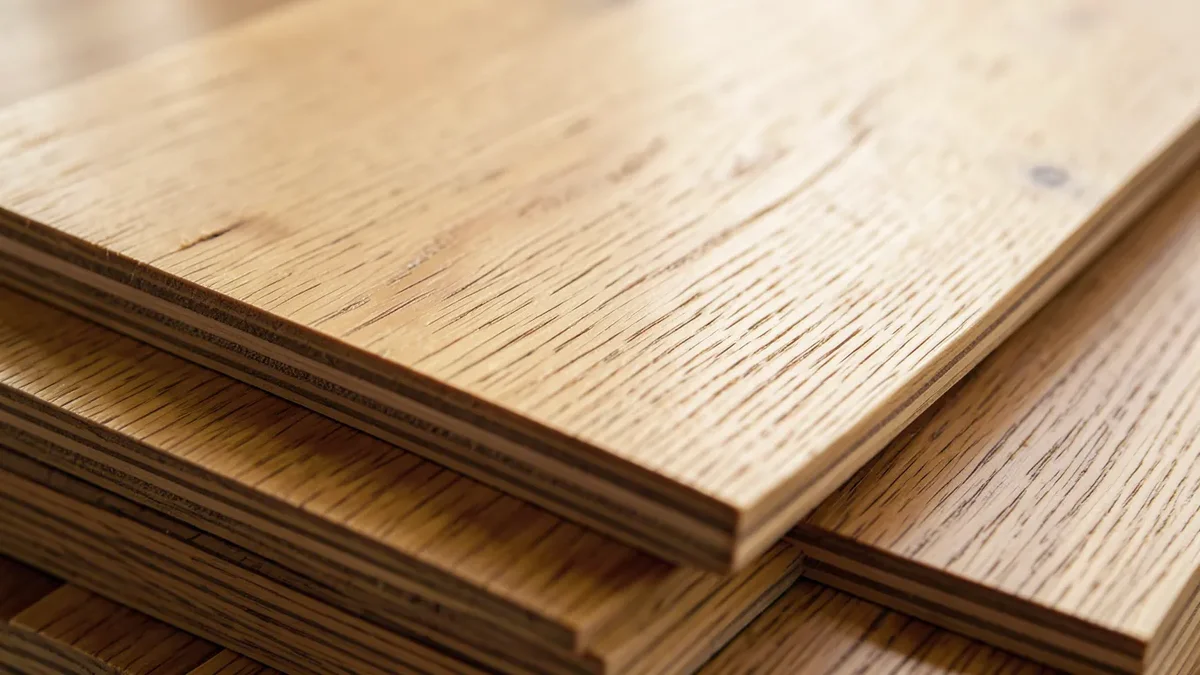
Unfinished oak hardwood flooring is raw oak planks – sanded smooth at the mill but with no stain or sealant applied – so you choose the color and sheen yourself instead of accepting whatever a factory picked. It costs less upfront than prefinished oak, blends seamlessly with existing older oak floors, and is easier to spot-repair later, at the cost of several extra days of on-site sanding and finishing work before you can walk on it.
The choice mostly comes down to red oak vs. white oak, which finish to use, and whether you’re prepared to handle the on-site finishing step (or hire it out). Here’s what actually differs between the two wood types, and the real install and finishing process.
Red Oak vs. White Oak
Best Site-Finish Topcoat for Unfinished Oak
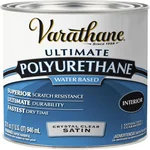 |
Varathane Ultimate Polyurethane, Satin, Quart – $19 A water-based topcoat that dries fast, won’t amber a lighter stain color over time, and cleans up with soap and water.
|
Red oak has a warmer, slightly pinkish-red tone and a bold, open grain pattern that reads as traditional and classic once finished. It’s marginally softer, at 1,290 on the Janka hardness scale.
White oak leans cooler – beige to light gray undertones – with a more subtle, tighter grain, which is part of why it’s become the default choice for modern and minimalist interiors over the last decade. It’s slightly harder at 1,360 Janka, and its tighter grain (closed rather than open pores) also makes it more water- and rot-resistant, which is why white oak is the traditional choice for exterior boat building and wine barrels and red oak isn’t.
| Feature | Red Oak | White Oak |
|---|---|---|
| Color | Warm, reddish hues | Cooler, beige to gray tones |
| Grain | Bold, open pores | Subtle, tight/closed pores |
| Janka hardness | 1,290 | 1,360 |
| Moisture resistance | Lower (open grain) | Higher (closed grain) |
| Typical cost | Slightly less | Slightly more |
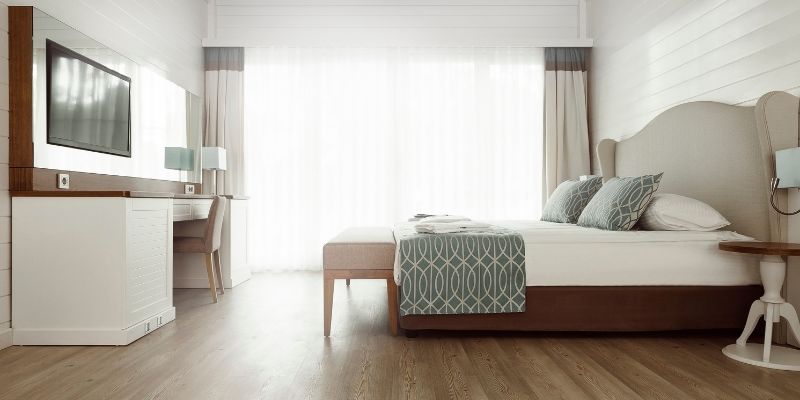
Why Choose Unfinished Over Prefinished
Unfinished oak wins on four specific points: full control over stain color and sheen rather than a fixed factory option; a lower material cost upfront (though you have to budget separately for sanding, staining, and sealing); the ability to sand and finish new and existing oak together for a seamless match in an addition or renovation; and easier spot repairs later, since sanding down a scratch and reapplying a site-mixed stain is more forgiving than matching an exact factory finish. The tradeoff is time and skill – sanding and finishing on-site adds several days to the project and rewards a steady hand, or the cost of hiring a flooring contractor to do that part.
What to Watch Out For Before You Buy
Unfinished planks are raw wood, which means they’re more vulnerable to moisture than a factory-sealed board – store them indoors in a climate-controlled space, never a damp garage or basement, since raw oak absorbs humidity and can cup or warp before it’s ever installed. Grade matters more than most buyers expect: “Select” grade gives the cleanest, most uniform boards with minimal knots, while #1 Common and #2 Common cost less and show more character (knots, mineral streaks, color variation) – neither is wrong, it’s a style choice, but mixing grades within one room without planning for it looks accidental rather than intentional. Budget realistically for the finishing step itself: sanding, staining, and sealing a typical room runs 3-5 days including dry time between coats, and rushing it is the most common cause of a blotchy or uneven-sheen finish.
Installation, Step by Step
1. Prepare the Subfloor
The subfloor needs to be clean, level, dry, and free of squeaks before a single plank goes down. Fill low spots, sand down high spots, and check moisture content with a meter if you have any doubt – installing over a subfloor that’s out of level telegraphs through as squeaks and uneven wear later.
2. Acclimate the Wood
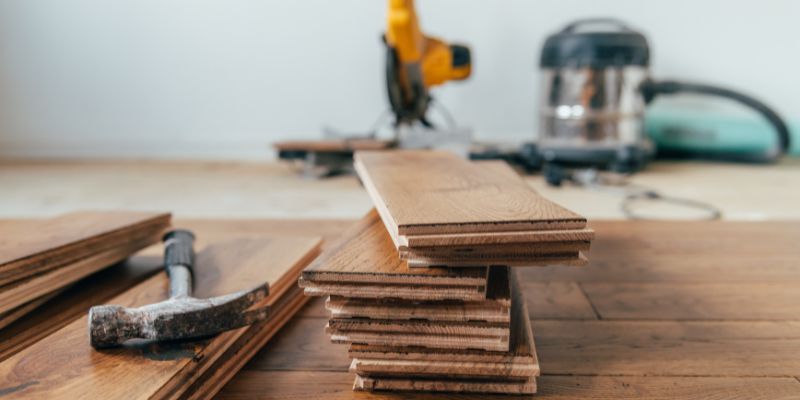
Stack the planks in the actual room where they’ll be installed for at least 48-72 hours before starting, so the wood equalizes to the room’s humidity and temperature. Skipping this step is a common cause of gaps opening up between boards a few months after installation, once the wood finishes adjusting on its own schedule instead of before you nailed it down.
3. Lay the Planks
Start along the longest straight wall using a chalk line for reference. Nail-down or staple-down works over a wood subfloor; glue-down is the standard method over concrete. Stagger the end joints between rows for strength and a more natural look, and leave a small expansion gap (typically 3/4 inch) around the room’s perimeter, covered later by baseboard or shoe molding.
4. Sand the Surface
Once installed, sand the whole floor with a drum or orbital sander, working through progressively finer grits – typically starting around 36-40 grit to level the boards and remove mill marks, then moving up to 60, 80, and finishing around 100-120 grit. Wear a respirator mask and seal off the work area from the rest of the house; oak sanding dust is genuinely pervasive.
5. Stain and Finish
Apply stain evenly with a brush, rag, or applicator pad, wiping off excess before it dries tacky to avoid blotching (see our stain coverage guide for how much you’ll need per square foot). Once the stain has fully dried, apply a clear topcoat – two to three thin coats of polyurethane is standard, with a light scuff-sand between coats for adhesion.
6. Final Touches
Let the final coat cure fully (check the can, but plan on several days minimum before moving furniture back in) before installing baseboards and cleaning with a wood-safe cleaner, not an all-purpose spray.
Choosing a Finish
| Finish Type | Pros | Cons |
|---|---|---|
| Water-based polyurethane | Fast-drying, low odor, won’t amber the color | Slightly cooler, less “warm” look than oil-based |
| Oil-based polyurethane | Rich, warm color; very durable | Longer drying time, stronger odor |
| Penetrating (hardwax) oil | Natural look, easy spot repair | Needs more frequent reapplication |
| Wax | Soft, classic low sheen | Least durable, high-maintenance |
Water-based polyurethane is the practical default for most homes – it’s durable, low-odor, and won’t yellow a lighter stain color over time the way oil-based poly does. Choose oil-based if you specifically want that warmer, amber-toned look that deepens over the years, which some people genuinely prefer on darker stains.
Maintaining Finished Oak Floors
Clean with a damp (not wet) mop and a pH-neutral wood floor cleaner – standing water and steam mops are two of the fastest ways to damage a hardwood finish. Use rugs or mats at entryways to catch grit before it scratches the finish, since dirt tracked in on shoes acts like sandpaper under foot traffic. Keep indoor humidity relatively stable (a humidifier in dry winter months, a dehumidifier in humid summer conditions) since oak expands and contracts with moisture swings, and large swings are what cause visible gapping or cupping over time. A well-maintained oak floor can typically be sanded and refinished multiple times over its life – usually once every 7-10 years depending on traffic – before the wood layer gets too thin to sand again.
Where to Buy It
Local lumberyards and flooring specialty stores let you see and feel actual boards before buying, which matters more for grade and color variation than photos can convey online. Big-box home improvement stores carry unfinished oak too and are convenient if you need it on a tight timeline. Wherever you buy, ask to see a sample of the specific grade you’re ordering, not just a marketing photo, since “Select” from one supplier and another can vary in how strictly it’s graded.
Frequently Asked Questions
What’s the difference between unfinished and prefinished oak flooring?
Unfinished oak arrives raw, with no stain or sealant, so you (or your installer) sand, stain, and seal it on-site after installation. Prefinished oak already has its stain and topcoat applied at the factory and is ready to walk on right after installation. Unfinished gives you full control over the final color and sheen; prefinished trades that control for speed and a harder factory-cured finish.
Can I install unfinished oak flooring myself?
Yes, if you have the tools and are comfortable with a drum or orbital sander, since an uneven sanding job is the most common way a DIY oak floor goes wrong. Subfloor prep, acclimation, and careful staining matter as much as the actual installation. If you’re not confident sanding a large floor evenly, hiring a professional just for the finishing step (after you install the raw planks yourself) is a reasonable middle ground.
How long does it take to finish unfinished oak floors?
Sanding, staining, and sealing a typical room takes 3 to 5 days, including drying time between coats. Larger rooms or darker stains needing extra coats can take longer. Rushing the dry time between coats is the most common cause of a cloudy or uneven-sheen final finish.
Is unfinished oak flooring cheaper than prefinished?
Usually, yes, on material cost alone, since unfinished planks skip the factory finishing process. Once you add in sanding, staining, and sealing supplies (or contractor labor for that step), the total cost gets closer to prefinished, but DIY finishing can still bring the overall project in cheaper.
Conclusion
Unfinished oak is worth the extra time when you want exact control over the color, need to match new flooring to existing older oak, or want a floor you can repair yourself later without chasing a discontinued factory finish. If you need something ready to walk on immediately with no extra work, prefinished is the more practical choice. Either way, the red oak vs. white oak decision and the finish you pick matter more to the final look than which brand of plank you buy.
Sponsored / affiliate links. As an Amazon Associate I earn from qualifying purchases. I may earn additional commission from eligible campaigns.