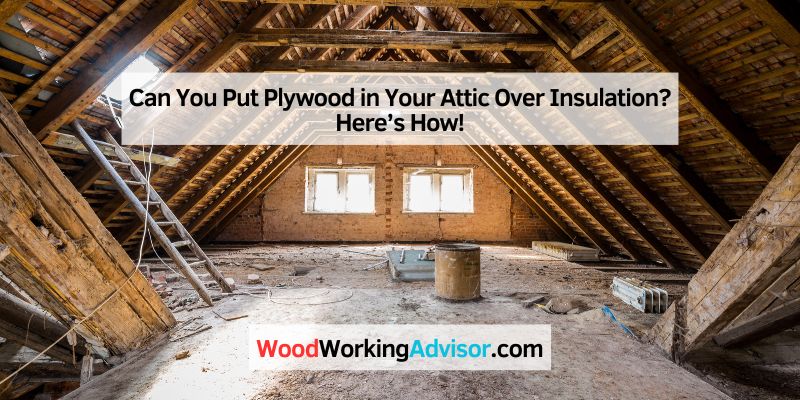
Can You Put Plywood in Your Attic Over Insulation? Here’s How!
I still remember my first attic project. I wanted extra storage for holiday decorations, but my attic was a mess of fluffy insulation and bare joists. I learned that laying plywood in attic over insulation could create a sturdy floor without ruining the insulation’s job. This article will guide you through why this works, how to do it, and tips to make it easy and safe. Whether you’re a beginner or a DIY pro, you’ll find simple steps and ideas to use your attic space wisely.
Why Use Plywood in Your Attic?
Attics are great for storage. But stepping on insulation can squash it and make it less effective. Plywood gives you a solid floor to walk or store items safely. It protects the insulation and keeps your home cozy. I once tripped in my attic and nearly fell through the ceiling! Plywood would’ve saved me from that scare.
What Is Plywood in Attic Over Insulation?
Laying plywood in attic over insulation means placing wood sheets over the attic’s joists to create a floor. The insulation stays below, keeping your home warm or cool. You don’t squash the insulation, which is key to saving energy. This setup is perfect for storing boxes or accessing attic equipment.
Why Does It Matter?
Insulation traps air to keep your house comfortable. If you step on it, the air pockets get crushed, and it doesn’t work as well. Plywood spreads your weight across joists, not the insulation. This saves energy and prevents damage to your ceiling below. It’s a win-win for storage and efficiency!
Benefits of Plywood Over Insulation
Adding plywood has many perks. It makes your attic usable and safe. Here are some benefits I’ve seen in my projects:
- More Storage: Store holiday decorations, clothes, or tools safely.
- Safer Access: Walk without falling through the ceiling.
- Protects Insulation: Keeps insulation fluffy and effective.
- Low Cost: Plywood is cheap compared to other flooring options.
But there are drawbacks too. Plywood can trap moisture if not done right. It also adds weight, so you must check if your joists can handle it. I’ll cover how to avoid these issues later.
Step-by-Step Guide to Laying Plywood
Ready to start? Here’s how I laid plywood in my attic. Follow these steps to keep it simple and safe.
Step 1: Check Your Attic
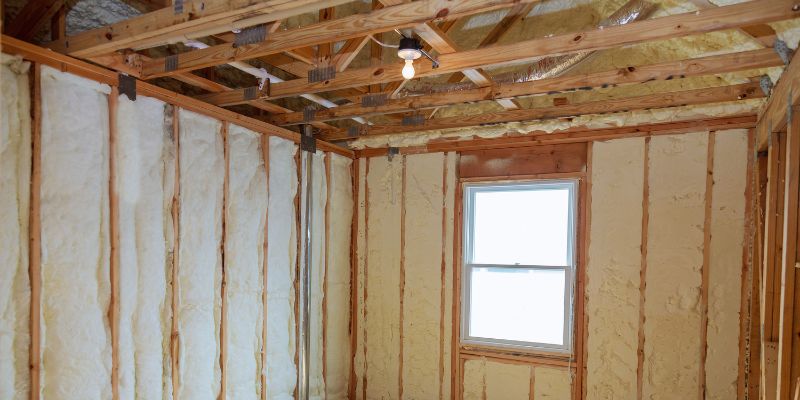
First, inspect your attic. Are the joists strong? Most homes have 2×4 or 2×6 joists spaced 16 or 24 inches apart. Make sure they’re not damaged. Look at your insulation too. Is it loose-fill (fluffy) or batts (rolled)? This affects how you place plywood. My attic had loose-fill insulation, so I had to be extra careful.
Step 2: Gather Tools and Materials
You don’t need fancy tools. Here’s what I used:
- Plywood Sheets: 1/2-inch or 3/4-inch CDX plywood works great.
- Screws or Nails: 2-inch screws are best for securing plywood.
- Tape Measure: To measure your attic space.
- Circular Saw: For cutting plywood to size.
- Safety Gear: Gloves, mask, and goggles to protect against dust.
I got my plywood at a local hardware store for about $30 per sheet. Shop around to save money!
Step 3: Measure and Cut Plywood
Measure the space where you want flooring. Cut plywood to fit between joists or cover large areas. I cut my sheets into 2×4-foot pieces to make them easier to carry up the attic ladder. Leave a 1/4-inch gap between sheets to let wood expand in heat.
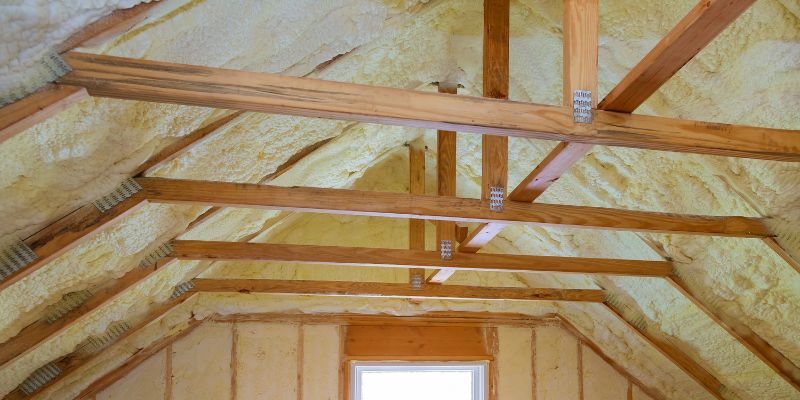
Step 4: Raise the Joists (If Needed)
If your insulation is higher than the joists, add 2x4s or 2x6s on top of the joists. This creates a raised platform so plywood doesn’t squash the insulation. I screwed 2x4s perpendicular to my joists to keep insulation fluffy. It took an extra hour but saved my insulation’s R-value.
Step 5: Lay and Secure Plywood
Place plywood over the joists or raised supports. Screw or nail it down every 6 inches along the joists. Make sure edges don’t hang off joists—they could tip and cause a fall. I marked my joists with chalk to know where to screw.
Step 6: Check Ventilation
Attics need airflow to prevent moisture. Ensure soffit vents or ridge vents aren’t blocked. I added vent baffles to keep air moving. This stops mold and keeps your insulation dry.
Visual Ideas
- Diagram 1: A simple sketch of joists with 2x4s added on top, showing plywood placement.
- Diagram 2: A cross-section of an attic with insulation, raised joists, and plywood.
- Photo Idea: A before-and-after shot of an attic with plywood flooring.
Tools and Materials Comparison
Here’s a table comparing plywood options for your attic:
| Material | Cost (per 4×8 sheet) | Pros | Cons |
|---|---|---|---|
| 1/2-inch CDX Plywood | $30 | Affordable, easy to cut | Less sturdy for heavy storage |
| 3/4-inch CDX Plywood | $45 | Stronger, supports more weight | Heavier, costs more |
| OSB | $25 | Cheapest option | Less durable, may warp |
Table 1: Comparing Plywood Options for Attic Flooring
I chose 3/4-inch plywood for my attic because I store heavy boxes. For light items, 1/2-inch works fine.
Cost-Saving Tips
Want to save money? Try these ideas from my experience:
- Shop Sales: Check hardware stores for plywood discounts.
- Reuse Scraps: Use leftover plywood from other projects.
- Borrow Tools: Ask a friend for a saw or drill to cut costs.
Common Mistakes to Avoid
I’ve made mistakes, so you don’t have to! Here are pitfalls to watch out for:
- Compressing Insulation: Squashing insulation lowers its R-value. Always raise joists if needed.
- Skipping Ventilation: Blocked vents cause mold. Check airflow before starting.
- Weak Joists: Overloading weak joists can crack your ceiling. Consult a pro if unsure.
Alternatives to Plywood
Plywood isn’t the only option. Here are other ideas I’ve tried or seen:
- Loft Boards: These are narrow, tongue-and-groove boards designed for attics. They’re easy to install but pricier.
- Attic Decking Kits: These raise the floor above insulation. They cost $200 for an 8×8 area but are super sturdy.
- No Flooring: For temporary access, lay loose plywood sheets you can move. I did this before committing to a full floor.
This table compares alternatives:
| Option | Cost | Ease of Install | Best For |
|---|---|---|---|
| Plywood | $30-$45/sheet | Moderate | Budget-friendly storage |
| Loft Boards | $50-$70/sheet | Easy | Quick installation |
| Attic Decking Kit | $200 (8×8 kit) | Moderate | Heavy storage, durability |
Table 2: Comparing Attic Flooring Options
Safety Tips for Your Attic Project
Safety is huge. I learned this the hard way when I slipped in my attic. Here’s how to stay safe:
- Wear a Mask: Insulation dust can irritate your lungs.
- Use a Headlamp: Attics are dark. A headlamp keeps your hands free.
- Check Joist Strength: Weak joists can collapse. Get a pro to inspect if you’re unsure.
For more safety tips, visit OSHA’s attic safety guide.
My Personal Insights
When I started my attic project, I didn’t know much. I squashed some insulation and had to redo it. Raising joists was a game-changer—it kept my insulation fluffy and my energy bills low. I also learned to leave gaps between plywood sheets. My attic gets hot, and those gaps prevent warping. Start small with a few sheets, and test your setup before storing heavy items.
Adding Insulation with Plywood
Want more insulation? You can add it over plywood. I laid R-30 batts over my plywood to boost insulation. Use unfaced batts to avoid trapping moisture. This table shows insulation options:
| Insulation Type | R-Value | Cost (per sq ft) | Best Use |
|---|---|---|---|
| Fiberglass Batts | R-30 | $1.00 | Easy to lay over plywood |
| Blown-In Cellulose | R-38 | $1.50 | Fills gaps, needs blowing |
| Rigid Foam Board | R-10 | $2.00 | Under plywood for support |
Table 3: Insulation Options for Attic Flooring
Check Energy Star’s insulation guide for R-value recommendations by region.
Conclusion
Laying plywood in attic over insulation is a simple way to add storage and keep your home efficient. By raising joists, securing plywood, and checking ventilation, you can create a safe, useful space. I love how my attic now holds all my holiday gear without harming the insulation. Try starting with a small section and see how it works! Share your attic projects in the comments or ask me for tips. Let’s make your attic awesome!
Frequently Asked Questions
Can I Lay Plywood Directly on Insulation?
No, don’t lay plywood directly on insulation. It squashes the insulation, reducing its ability to keep your home warm or cool. Instead, raise the joists with 2x4s or use an attic decking kit to keep insulation fluffy. I learned this after compressing my insulation and losing R-value.
How Much Plywood Do I Need?
Measure your attic’s floor area. A 10×10-foot space needs about three 4×8 plywood sheets. Add 10% extra for cuts or mistakes. I bought four sheets for my 12×12 attic and had some left over for scraps.
Will Plywood Cause Moisture Problems?
Plywood can trap moisture if ventilation is poor. Leave 1/4-inch gaps between sheets and ensure vents are clear. I added baffles to my attic to keep air flowing, which stopped mold issues. Check Green Building Advisor for ventilation tips.
Is Plywood Safe for Heavy Storage?
Plywood is safe if joists are strong. Use 3/4-inch plywood for heavy items (under 50 pounds per box). My joists were 2×6, so I stored boxes safely. If unsure, ask a structural engineer to check your joists.
Can I Add Insulation Over Plywood?
Yes, you can add unfaced batts or blown-in insulation over plywood. I added R-30 batts for extra warmth. Ensure good ventilation to avoid moisture. This boosts your attic’s R-value without squashing existing insulation.
What’s the Best Plywood Thickness?
Use 1/2-inch plywood for light storage or walkways. Choose 3/4-inch for heavier items. I used 3/4-inch because I store tools. Thicker plywood is stronger but heavier, so check your joists first.
How Do I Know If My Joists Are Strong Enough?
Joists (2×4 or larger, 16-24 inches apart) usually handle light storage. For heavy items, consult a pro. I had a contractor check my 2×6 joists before adding plywood. Visit Fine Homebuilding for joist strength tips.