How to Refinish a Wood Door (Interior vs. Exterior Steps)
A wood door with a failing finish almost never needs to be replaced. Take it off the hinges, strip or sand away the old coating, fill any dents, sand in stages, and finish it with a product rated for how the door actually gets used – and it will look new again for a fraction of replacement cost.
The step most refinishing guides get wrong is treating every wood door the same. An interior door and an exterior door get sanded and stained the same way, but they cannot use the same finish. Direct sunlight breaks down an interior-rated polyurethane through UV exposure within a year or two, causing it to yellow, crack, and let moisture in underneath. A finish built for exterior use – spar varnish or a marine-grade urethane – has UV blockers mixed into the formula specifically to slow that breakdown. Skipping that distinction is why so many “refinished” front doors look weathered again within a single summer.
What You’ll Need Before You Start
Gather everything before you take the door down – stopping mid-project to find a missing tool is how drips and uneven dry times happen. For a standard interior or exterior slab door, plan on:
- 80, 120, and 220-grit sandpaper (or the equivalent orbital sander discs)
- A chemical stripper if the old finish is thick, or an orbital sander if it’s thin
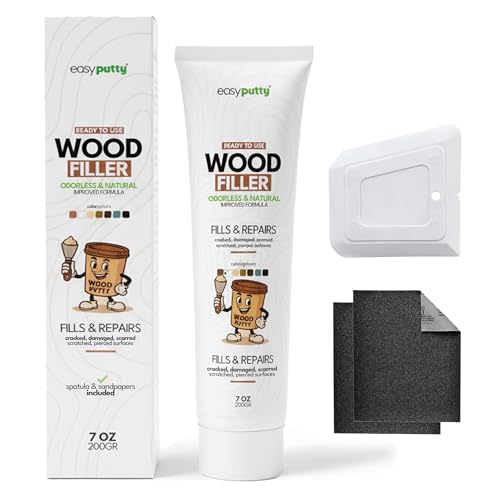
- Wood filler for any dents or gouges
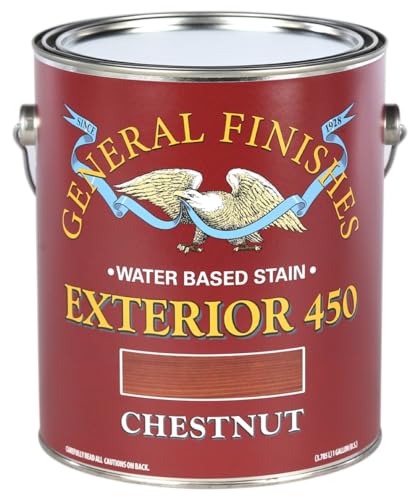
- Wood stain, if you want to change or refresh the color
- A finish matched to the door’s actual exposure (see below)
- A natural-bristle or foam brush, and clean rags
- Gloves, safety glasses, and a respirator rated for organic vapors if using a chemical stripper indoors
Best UV-Rated Pick for Exterior Doors
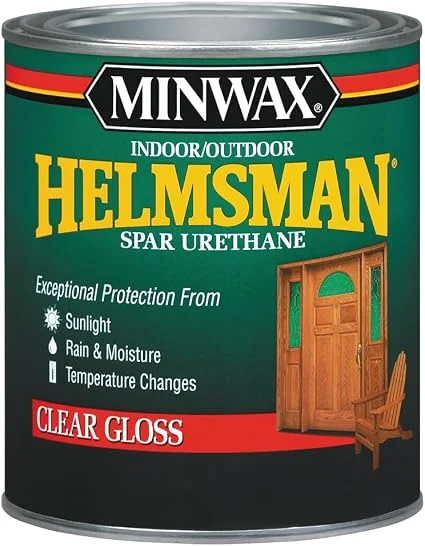 |
Minwax Helmsman Indoor/Outdoor Spar Urethane, Quart – $23.61 A topcoat built for the exposure an exterior door actually faces – it’s the same product class covered in the finish section below.
|
Take the Door Off Its Hinges First
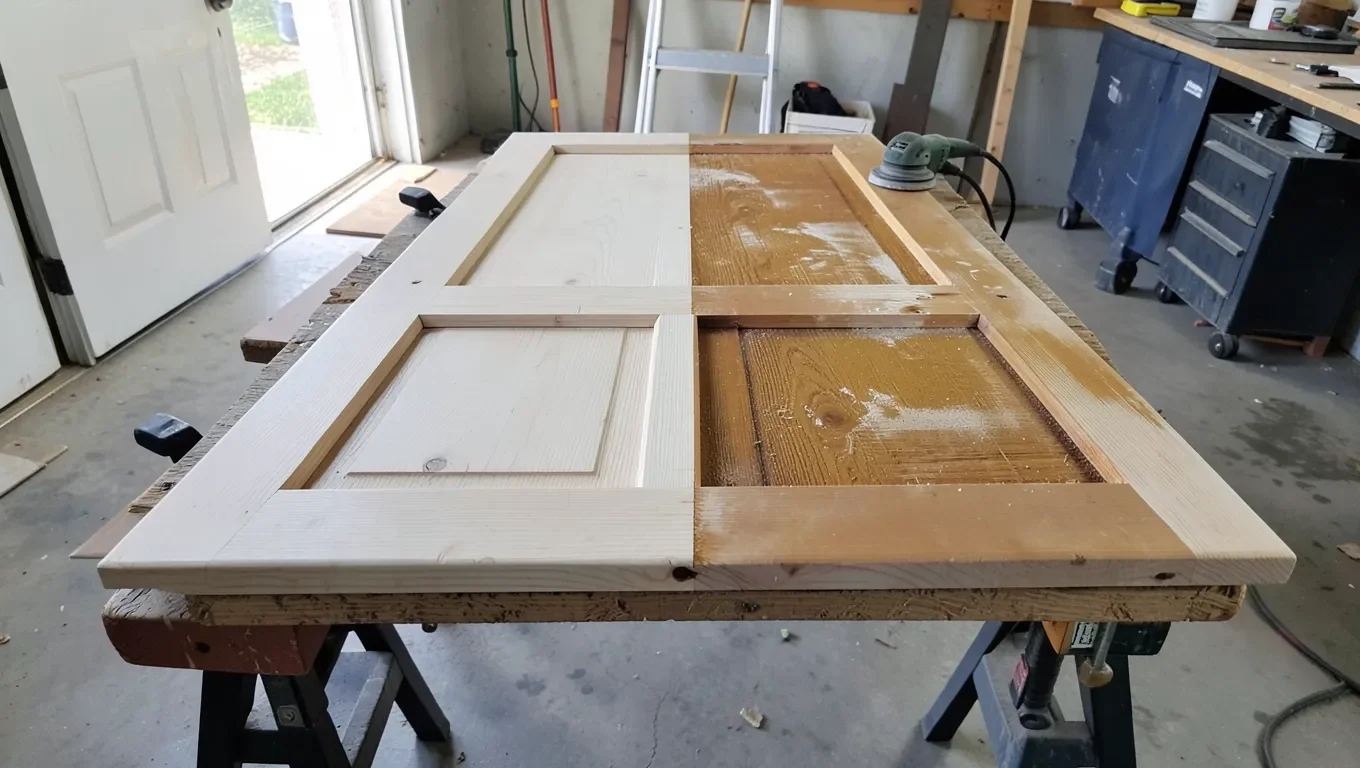
Working on the door flat, off the hinges, is worth the extra ten minutes. A vertical door invites drips and runs in both the stripper and the finish coat, and sanding a door standing up means fighting gravity and your own arm angle the whole time. Tap the hinge pins out from the bottom up with a hammer and a nail or pin punch, lift the door off, and set it across two padded sawhorses at a comfortable working height.
Before you start stripping or sanding, remove the hardware – knobs, deadbolt, hinges, kickplate, and any weatherstripping. Put screws and small parts in a labeled container; reassembly goes much faster when you’re not hunting for a specific screw later. If the door has glass panels, mask them off with painter’s tape so stripper or stain doesn’t etch or stain the glazing.
Strip the Old Finish: Chemical Stripper or Sanding
Which method to use comes down to how much finish is actually on the door. A chemical stripper is faster on a thick, old buildup of varnish or paint – it dissolves the coating down to bare wood in one or two applications instead of hours of sanding through multiple layers. The tradeoff is real: most strippers need ventilation, gloves, eye protection, and a respirator rated for organic vapors if you’re working indoors or in an attached garage. Apply a thick, even coat, let it dwell per the label instead of guessing by the clock, then scrape with the grain using a plastic or wide putty-knife scraper so you don’t gouge the softened wood.
If the existing finish is thin or only lightly worn, skip the stripper and go straight to sanding – it’s slower per square inch but avoids the fumes and cleanup entirely. A paint stripper wash is worth reading first either way, since neutralizing the stripper residue properly affects how well the new stain and finish bond afterward.
Sand in Stages: 80, 120, Then 220 Grit
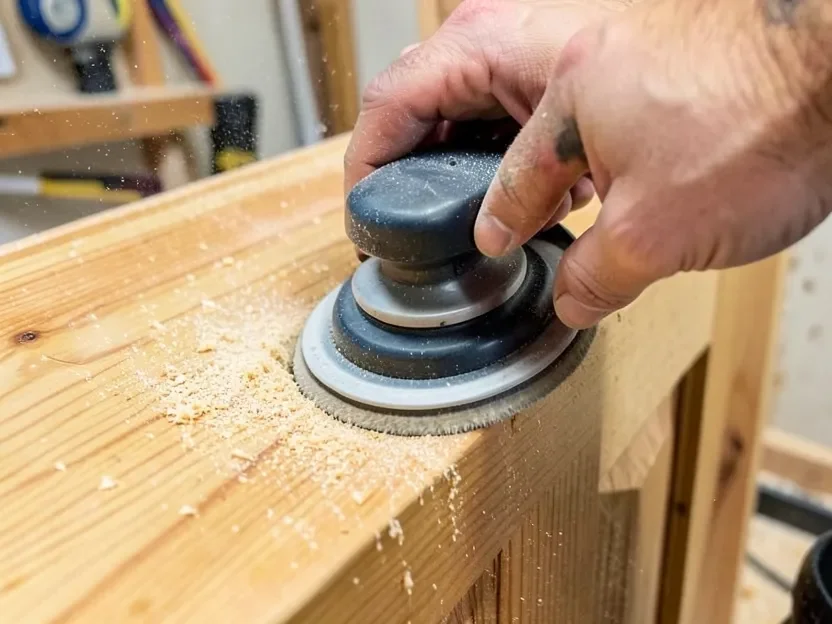
Whether or not you used a chemical stripper first, the door still needs a progressive sanding pass before stain or finish goes on. Start with 80-grit to knock down any stripper residue, raised grain, or remaining old finish and to level out the surface. Move to 120-grit to remove the scratch pattern the 80-grit left behind. Finish with 220-grit for a smooth surface that will take stain evenly – stopping at a coarser grit is one of the most common reasons a stain job comes out blotchy. Always sand with the grain, not across it; cross-grain scratches show up clearly once stain highlights them.
Vacuum or wipe the dust off between each grit change. Leftover dust from an 80-grit pass will clog 120-grit paper almost immediately and leave swirl marks instead of a clean scratch pattern.
Fill Dents and Gouges Before the Final Sand
Any dents, gouges, or old screw holes should get filled after the 80-grit pass and before the 220-grit final sanding – that way the filler gets leveled and smoothed along with the rest of the surface instead of sitting proud or sanding unevenly. Press the filler in slightly overfull, since most wood fillers shrink a little as they cure, then sand it flush once dry. If you plan to stain the door, test the filler on a scrap piece first – some fillers accept stain differently than the surrounding wood and can leave a visible patch.
Stain the Door (Optional)
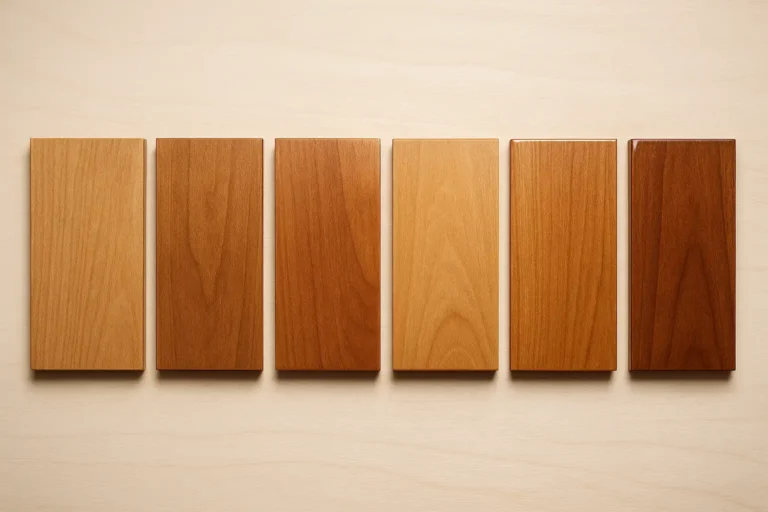
If you’re keeping the door’s current color, or going natural with a clear finish, you can skip staining entirely. To change the color, apply stain with a brush or rag, working in the direction of the grain, then wipe off the excess after a few minutes’ dwell time rather than letting it sit and dry on the surface. Test the stain on the door’s edge or an offcut first – the same stain reads differently on old growth-ring patterns than it does on a fresh sample board.
Choose the Right Finish: Interior Doors vs. Exterior Doors
This is the step that determines how long the refinish actually lasts, and it’s where interior and exterior doors genuinely diverge. An interior door only has to deal with handling, humidity swings, and indoor light – a standard oil-based or water-based polyurethane holds up fine for years with no special UV additives needed.
An exterior door is a different problem. Direct sun breaks down the resin in a standard polyurethane through UV exposure, which shows up first as a dull, cloudy haze and then as cracking that lets moisture reach the bare wood underneath – often within a single year on a west- or south-facing entry. Spar varnish and marine-grade urethane finishes are formulated specifically for that exposure: they include UV blockers to slow the sun damage, and they stay more flexible than a standard poly so they can expand and contract with the wood through seasonal temperature swings without cracking. That flexibility is also why these finishes are traditionally used on boats, which face the same sun-and-moisture combination a front door does.
Practically, that means: interior doors can use whatever polyurethane or varnish you already have on hand. Exterior doors need a product labeled for exterior or marine use, and even then, an entry door in full sun benefits from a fresh maintenance coat every one to two years rather than waiting for it to visibly fail.
Reassemble and Keep the Finish Looking Good
Let the final coat cure fully before rehanging – most finishes are dry to the touch well before they’re actually cured hard enough for hardware and daily use, so check the product label’s cure time rather than the shorter dry time. Reattach hinges, knobs, and the deadbolt with the original screws, and remount weatherstripping around the edges to keep out drafts and moisture.
From there, maintenance is what actually protects the work you just did. Wipe the door down periodically to remove grit before it scratches the finish, and watch an exterior door for the first signs of dulling or hairline cracking in the topcoat – catching it early means a light scuff-sand and a single maintenance coat instead of stripping the whole door again.
Frequently Asked Questions
Do I need to remove a door from its hinges to refinish it?
It’s not strictly required, but working on a flat, horizontal door is easier and produces better results. Removing the door prevents drips and runs from stripper or finish sagging down a vertical surface, and it lets you sand and coat every panel at a comfortable angle instead of reaching up or bending down.
Should I use a chemical stripper or just sand the old finish off?
Use a chemical stripper if the door has a thick, old buildup of varnish or paint – it removes it much faster than sanding through multiple coats. Plan for ventilation and PPE (gloves, eye protection, and a respirator for indoor use). If the finish is thin or only lightly worn, sanding alone is slower but skips the fumes and stripper cleanup.
What’s the actual difference between an interior and exterior door finish?
An exterior finish – spar varnish or a marine-grade urethane – contains UV blockers that slow the sun damage a standard interior polyurethane can’t resist, and it stays more flexible to handle outdoor temperature swings without cracking. A standard interior polyurethane works fine indoors but will yellow, haze, and crack within a year or two if used on a door that gets direct sun.
When should I fill dents and gouges during the refinishing process?
Fill them after the initial 80-grit sanding pass and before the final 220-grit sand, so the filler gets leveled and smoothed along with the rest of the door instead of sitting proud of the surrounding wood or sanding at a different rate.
How often does an exterior door need a new finish coat?
A full strip-and-refinish typically isn’t needed more than once every several years, but a door in direct sun benefits from a light scuff-sand and a fresh maintenance coat of UV-rated finish every one to two years – catching the first dulling or hairline cracking early avoids stripping the whole door again later.
Sponsored / affiliate links. As an Amazon Associate I earn from qualifying purchases. I may earn additional commission from eligible campaigns.