Professional Wood Finishing Techniques: How Shops Get a Flawless Finish
A professional wood finish looks different mainly because of how it’s applied, not because a shop has access to some secret product you can’t buy. Finishing shops spray in thin, controlled coats with HVLP equipment inside a filtered, climate-controlled space, and they lean on catalyzed finishes and hand techniques like French polishing that most home setups skip. This guide walks through what a shop actually does differently, which of it is realistic to bring into a home shop, what a professional finisher costs versus doing it yourself, and when hiring one is worth it. (If you’re trying to pick which type of finish, stain, or sealer to use on a specific project rather than deciding whether to hire someone, our full wood finishing guide covers every finish type and the step-by-step application process.)
The Equipment Behind a Shop-Quality Finish
Best HVLP Sprayer for a Pro-Level Finish
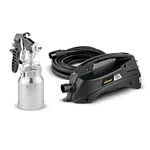 |
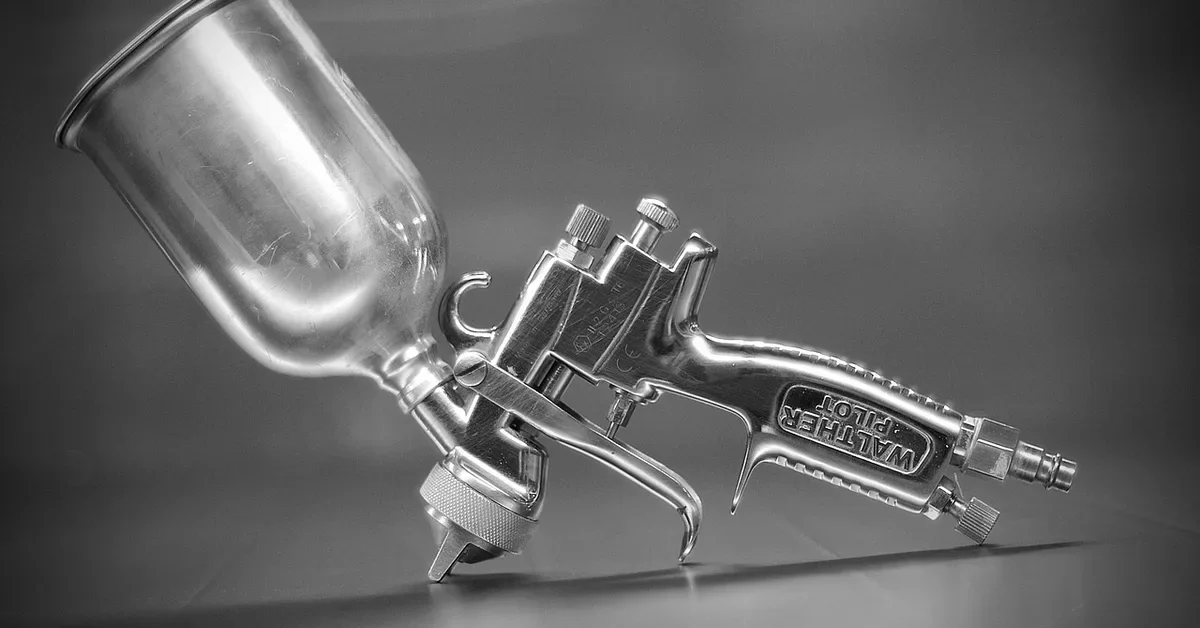
Earlex 5700 Stationary HVLP Finishing Sprayer – $349 A stationary turbine HVLP system, the same category of tool shops use to lay down varnish, lacquer, and stain without brush marks — a realistic upgrade for a serious home shop.
|
An HVLP (High Volume, Low Pressure) gun is the single biggest reason a sprayed finish looks better than a brushed one. It atomizes finish into a fine mist at low pressure, so less material bounces back off the surface (called overspray) than with a traditional compressor-fed gun, and the fan pattern can be adjusted for a wide panel or a narrow rail. Shops typically run 1.3–1.8mm tips depending on the finish’s thickness — a thinner stain sprays through a smaller tip than a full-bodied varnish.
Beyond the gun, a real finishing shop adds a filtered spray booth (cross-draft or down-draft) to pull dust and overspray away from the wet surface, and keeps the room around 65–75°F with 40–55% relative humidity so the finish dries at a predictable rate. None of that is realistic to fully replicate in a garage, but a turbine HVLP system, a portable spray shelter, and picking a low-dust, moderate-humidity day close a lot of that gap.
What Actually Separates a Professional Finish From a DIY One
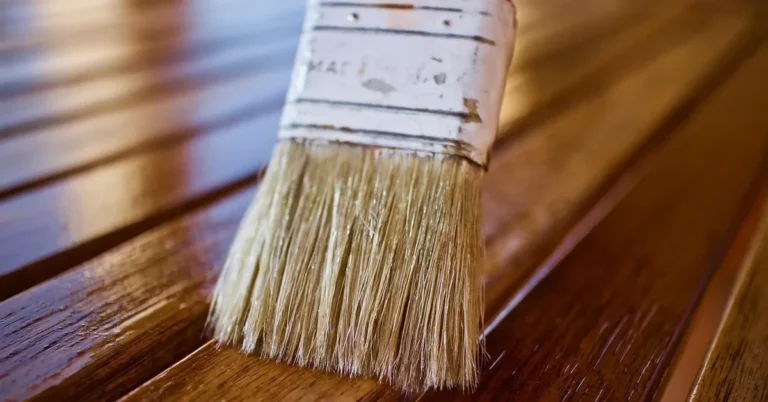
Walk into most finishing shops and the polyurethane, lacquer, or varnish on the shelf isn’t fundamentally different from what’s sold at a home center. What’s different is the application: a sprayed finish goes on as a fine, even mist instead of a brushed film, so there are no brush marks, no lap lines where wet finish overlaps dried finish, and far less material sitting in any one spot to sag or run. Add a dust-controlled room and a set drying schedule, and you get a level, clear film that a brush struggles to match no matter how careful the person holding it is.
The other piece is repetition. A shop finisher sprays the same species and the same finish dozens of times a month, so they’ve already made (and fixed) the common mistakes — overloading a coat, spraying too close, ignoring recoat windows — that a first-time DIYer is still working through on their one project.
Surface Prep the Professional Way
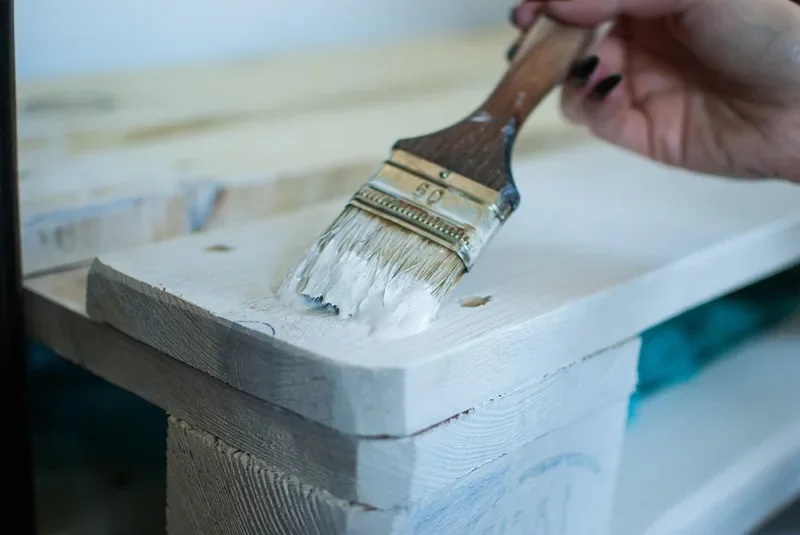
Prep is where most of a shop’s time actually goes, not spraying. A typical sequence is sanding through progressively finer grits (100 to 180 to 220) with the grain, vacuuming and tacking off dust between every grit change, then raising the grain with a damp cloth on open-pored woods like oak or ash and knocking down the fuzz with a final light sanding before any finish goes on. Skipping the grain-raising step is a common reason a water-based finish feels rough after the first coat — it isn’t a bad product, it’s wood fibers that swelled and never got cut back.
Between coats, shops scuff-sand with 320-grit or a fine synthetic pad to knock down dust nibs and give the next coat something to mechanically bite into, then tack off again before spraying. Rushing or skipping this step is why a finish that looked fine wet can show cloudy dust specks once it’s fully cured.
Catalyzed and Conversion Finishes: Why Shops Skip Off-the-Shelf Polyurethane
Cabinet and furniture shops frequently spray catalyzed (also called conversion) varnish or lacquer instead of the polyurethane sold at a home center. These are two-part finishes: a base product mixed with an acid or isocyanate catalyst shortly before spraying, which cross-links the finish into a much harder, more chemical- and heat-resistant film than a single-component polyurethane cures into on its own. That’s why kitchen cabinets from a shop can shrug off hot pans and cleaning chemicals that would dull a standard wipe-on poly over time.
The tradeoff is why these aren’t a typical DIY choice: once catalyzed, the finish has a limited pot life (often just a few hours) before it starts to gel in the container, it usually needs a real spray booth and a respirator rated for the specific catalyst, and it’s typically sold through professional finishing suppliers rather than a regular hardware store. For a one-off home project, a good water-based or oil-based polyurethane applied carefully is a far more practical choice.
French Polishing: The Hand-Rubbed Shellac Method Pros Still Use
Not every professional technique involves a spray gun. French polishing builds up a shellac finish by hand, using a cloth-wrapped pad (called a fad or rubber) charged with shellac dissolved in denatured alcohol and a few drops of oil as a lubricant. The pad is worked over the wood in overlapping figure-eight and circular passes, applying dozens of extremely thin coats over several sessions rather than two or three thick ones.
It’s slow, and the resulting finish is softer and less water- and heat-resistant than a sprayed lacquer or varnish. But it’s still the standard technique for restoring antiques and finishing fine string instruments, because the buildup of thin shellac layers creates an optical depth and clarity — sometimes described as chatoyance — that a sprayed film doesn’t reproduce.
Fixing Finish Defects Before They Leave the Shop
Part of what a professional catches that a first-timer often misses is a defect while it’s still wet enough to fix. A few of the most common:
- Fisheye — small craters where the finish won’t lay flat, almost always caused by silicone contamination from furniture polish or wax on the wood. Shops wipe the surface with a wax-and-grease remover first and add a fisheye eliminator additive if the problem persists.
- Orange peel — a bumpy, orange-peel-like texture from finish that’s too thick, sprayed too far from the surface, or applied with too little air pressure to fully atomize. Thinning the finish slightly or closing the gun distance usually resolves it.
- Blushing — a cloudy, milky haze in lacquer, caused by moisture getting trapped in the film as it flashes off in humid conditions. A retarder additive slows the dry time enough for moisture to escape instead of getting sealed in.
Catching these while the coat is still workable, rather than after it’s fully cured, is the difference between a five-minute fix and stripping the piece back to bare wood.
DIY vs. Hiring a Professional Finisher: What It Actually Costs
Materials for a DIY finish on a single piece of furniture are cheap: a quart of polyurethane or a can of wipe-on oil, sandpaper, and a couple of brushes typically runs $30–60. Hiring a professional to refinish a dresser, table, or similar piece — including stripping the old finish, sanding, and spraying a new one — commonly runs somewhere in the $200–600 range depending on size and condition, since most of that cost is labor and stripping time, not materials.
Kitchen cabinets scale up fast: professional cabinet refinishing (keeping the boxes and doors, stripping and respraying rather than replacing them) is typically priced somewhere between $1,500 and $6,000 for an average kitchen, or often quoted per door/drawer front for a shop that pulls them off-site to spray in a controlled booth. That’s still well below the cost of full cabinet replacement, which is the usual reason homeowners choose refinishing over a new kitchen.
When It’s Worth Hiring a Pro
Hiring out makes the most sense when the piece has real value you can’t easily replace — an antique, an heirloom, a musical instrument — where a failed DIY attempt could mean expensive restoration work afterward. It’s also worth it for large, awkward jobs like kitchen cabinets, where spraying in place without a booth risks overspray on the rest of the kitchen, and a shop’s ability to pull doors and spray them flat produces a noticeably more even result.
For shop projects, furniture you built yourself, or anything where a slightly less-than-flawless finish is genuinely fine, a careful DIY approach with good prep and a wipe-on or brush-applied finish (or an HVLP sprayer, if you’re ready for the upgrade) gets you most of the way to a professional look for a fraction of the cost.
Frequently Asked Questions
What makes a professional wood finish look different from a DIY one?
Mostly the application method, not the can. Pros lay finish down with an HVLP spray gun in thin, even coats, which eliminates brush marks and lap lines, and they work in a controlled-temperature, filtered space so dust nibs and moisture don’t get trapped in the film. The same polyurethane sprayed instead of brushed already looks noticeably more level.
Can I get a professional-looking finish without a spray booth?
Yes, to a point. A portable spray shelter, good cross-ventilation, and spraying on a low-dust day get you most of the way there with a system like an HVLP turbine sprayer. What you can’t fully replicate at home is a shop’s climate control, which is why humidity-sensitive finishes like lacquer are harder to spray well on a humid afternoon in a garage.
Is it worth hiring a professional finisher instead of doing it myself?
For a piece with real value — an antique, a family heirloom, or a full set of kitchen cabinets — usually yes, because a failed finish on the surface can mean stripping and starting over. For a shop project, workbench, or lower-value furniture, a careful DIY finish with the right prep is usually good enough and costs a fraction as much.
What is French polishing and is it still used today?
French polishing is a hand-applied shellac technique where a pad charged with shellac and a lubricant is worked over the wood in overlapping circular passes, building up dozens of very thin coats. It’s slower than spraying and less durable against heat and water, but restorers and instrument makers still use it because it produces a depth and clarity that a sprayed finish doesn’t match.
Sponsored / affiliate links. As an Amazon Associate I earn from qualifying purchases. I may earn additional commission from eligible campaigns.