How to Repair a Chip in Hardwood Floor (Filler vs Plank Replacement)
Most chips in a hardwood floor are a 15-minute fix with wood filler, sandpaper, and a matching stain, not a job that needs a professional. The one thing that actually determines success is matching the repair to the right kind of damage: a shallow chip in the finish only needs filler and a touch-up, while a chip that exposes bare wood down to the subfloor or spans multiple boards is a sign you need a plank replacement, not more filler. Here’s how to tell the difference and fix it right the first time.
Identify the Chip Type Before You Start
Best Color-Matching Repair Kit
 |
Pergo Floor Restore Repair Kit – $20 Mix-your-own color tints let you match almost any wood tone exactly, rather than hoping a pre-tinted stick happens to match your floor.
|
Not every chip needs the same fix, and using the wrong one wastes time or makes the repair obvious. A surface scratch only cuts into the finish layer (polyurethane, wax, or oil) without reaching bare wood; you’ll see a thin, shiny-edged line but no discoloration or roughness underneath. A true chip goes past the finish and into the wood itself, leaving a small missing chunk, rough edges, or exposed lighter-colored wood grain. Run a fingernail across it: if it catches on bare wood rather than sliding over a smooth finish line, you’re dealing with an actual chip, not a scratch.
Size and depth decide the method. A chip smaller than a fingernail and less than an eighth of an inch deep is a filler job. Anything larger, anything with cracking or splintering radiating outward, or any chip that goes all the way through the wear layer of an engineered floor down to the plywood core, is a sign the board itself may need replacing rather than patching.
Gather the Right Tools and Filler
You need less than you’d think: a color-matched wood filler or putty, a plastic putty knife, fine sandpaper (120 and 220 grit), a lint-free cloth, and a stain pen or small brush if your filler isn’t pre-tinted. The one choice that actually matters is water-based versus solvent-based filler. Water-based fillers clean up with soap and water and dry fast, which is fine for a small, shallow chip, but they shrink slightly as they cure and can need a second thin coat. Solvent-based (or two-part epoxy) wood fillers cure harder, don’t shrink as much, and hold up better on a chip in a high-traffic spot, but they need mineral spirits for cleanup and a bit more working-time awareness before they set.

Prepare the Damaged Area
Wipe the chip clean with a barely damp cloth and mild cleaner, then let it dry fully; filler won’t bond to a damp or dusty surface. Lightly sand the edges of the chip with fine sandpaper in small circles to remove any splintered or loose fibers, being careful not to widen the damage. Check the cavity for loose wood chips or debris and clear them out with a small brush or a shot of compressed air. Skipping this step is the most common reason a filler repair pops back out within a few months.
Apply the Wood Filler
Press the filler into the chip with a plastic putty knife, working it into every edge and corner to eliminate air pockets, then slightly overfill the cavity since most fillers shrink a little as they cure. Scrape the excess flush with the surrounding floor while it’s still workable rather than trying to sand a large excess down later. Let it cure for the full time on the product label, not just until it feels dry to the touch; a filler that’s dry on the surface but still soft underneath will sand unevenly and can crack later.
Sand and Smooth the Repair
Once the filler is fully cured, sand it flush using 120-grit sandpaper with light pressure, checking often so you don’t sand into the surrounding finish. Switch to 220-grit to smooth the surface and remove any scratches the coarser paper left behind. Extend the sanding a couple of inches past the repair itself and always sand with the grain, not across it, or the transition between old and new will be visible as a faint halo even after staining.
Match and Apply Stain
Test your stain choice on a hidden spot first, like inside a closet or under an appliance, since wood filler almost always absorbs stain differently than the surrounding solid wood and can end up darker or duller than expected. Apply the stain with a small brush or a folded cloth, dab rather than wipe across the repair, and build color in thin layers instead of one heavy coat. Let each layer dry before judging the match in natural daylight, not under a warm indoor bulb that shifts how the color reads.
Seal and Protect the Repair
Match the topcoat to what’s already on your floor. Most modern floors use a water-based or oil-based polyurethane; mixing an oil-based topcoat over a water-based factory finish (or the reverse) can cause adhesion problems, so check the original finish type if you’re unsure, or use a universal-compatible finish made for touch-ups. Apply in thin, even coats with a foam brush, let each coat cure fully, and keep foot traffic off the spot until the final coat has cured according to the label, typically 24 to 72 hours depending on the product.
Preventing the Next Chip
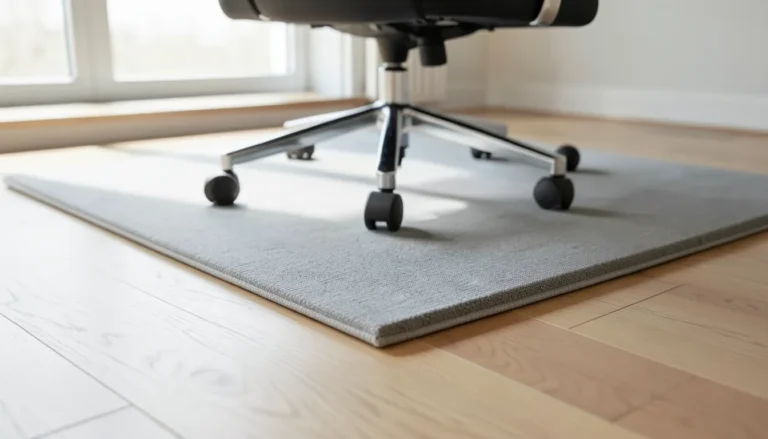
Felt or rubber floor protectors under every piece of furniture stop the single most common cause of chips: a chair or table leg dragged or dropped across the floor. Trim pets’ nails regularly, since claws are a frequent source of small chip damage near doorways and high-traffic paths. Use an area rug in the highest-traffic zones, and always lift furniture instead of dragging it, even for a “quick” move across the room. None of these take more than a few minutes, and together they prevent most of the chips this guide is written to fix.

Frequently Asked Questions
How do I fix a small chip in hardwood flooring?
Clean the area, apply a color-matched wood filler with a putty knife, let it cure fully, then sand it flush and blend with a matching stain and topcoat. Most small chips take under an hour of active work, spread across the drying times.
What tools are needed to repair hardwood floor chips?
A color-matched wood filler or repair kit, a plastic putty knife, 120 and 220-grit sandpaper, a lint-free cloth, and a stain pen or small brush for touch-up color. A wood repair marker kit can substitute for filler and stain on very shallow damage.
Can I repair hardwood floor chips myself?
Yes, small to medium chips are a straightforward DIY repair with the right filler and some patience on color matching. A chip that exposes the subfloor, spans multiple boards, or comes with cracking or splintering is a sign to consider a plank replacement instead, which is a bigger job worth getting a professional opinion on.
How long does hardwood floor chip repair take?
The hands-on work is usually 30 minutes to an hour. Total project time is longer because of drying and curing: filler curing time, stain drying between coats, and topcoat cure time before you can walk on it again, which together can stretch the full repair over a day or two.
Conclusion
A chip in hardwood flooring is one of the more forgiving repairs in home maintenance as long as you match the method to the damage: filler and stain for a shallow chip, a plank swap for anything deeper or wider. Take the extra few minutes on surface prep and color testing, since those two steps determine whether the repair disappears into the floor or stands out as an obvious patch.
Sponsored / affiliate links. As an Amazon Associate I earn from qualifying purchases. I may earn additional commission from eligible campaigns.