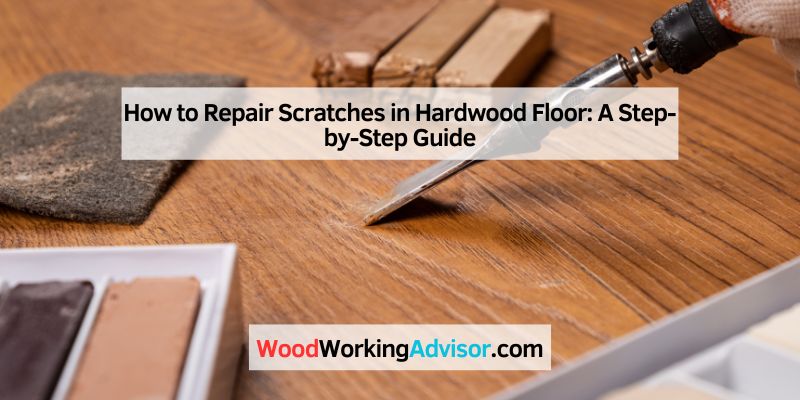
How to Repair Scratches in Hardwood Floor: A Step-by-Step Guide
Hey there! If you’re reading this, chances are you’ve noticed some scratches on your beautiful hardwood floor and you’re wondering how to bring back its charm. I get it—those little marks can feel like a punch to the gut, especially when you’ve invested so much in your home’s flooring. I’ve been there, staring at a scratch from a dragged chair or a pet’s enthusiastic dash, and I’ve learned a thing or two about fixing them. In this guide, I’m going to walk you through everything I’ve discovered about repairing scratches in hardwood floors. Whether it’s a tiny surface scratch or a deeper gouge, I’ve got you covered with practical, tried-and-true methods. Let’s dive in and make your floors look as good as new!
Understanding Hardwood Floor Scratches
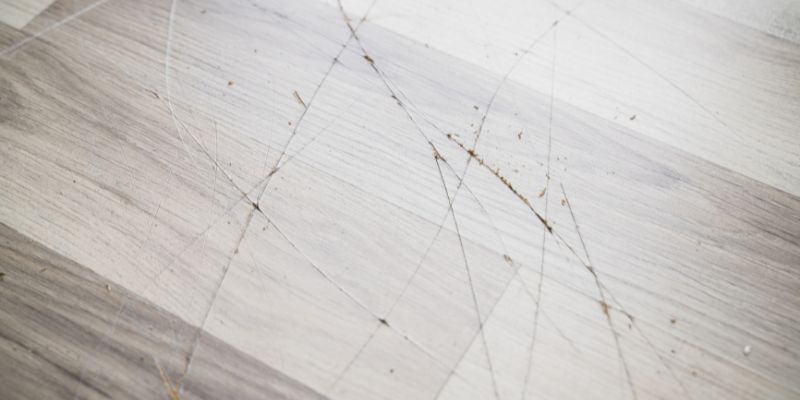
When I first noticed scratches on my hardwood floor, I panicked a bit. I didn’t know if they were surface-level or something worse. Hardwood floor scratches come in different forms, and understanding them is the first step to fixing them. Surface scratches are shallow, affecting only the finish or top layer. These are the easiest to repair. Deeper scratches, though, can cut into the wood itself, which takes a bit more effort. Gouges are the worst—they’re deep and wide, often caused by heavy furniture or dropped objects.
I’ve learned that the type of finish on your floor matters too. Polyurethane finishes, which are common, are tougher to repair because they’re so durable. Wax or oil-based finishes, on the other hand, can sometimes be easier to blend. Knowing your floor’s finish helps you pick the right repair method. If you’re not sure, try rubbing a small, hidden spot with a cloth. If it feels slick and shiny, it’s likely polyurethane. If it’s softer or has a warm glow, it might be wax or oil.
Tools and Materials You’ll Need
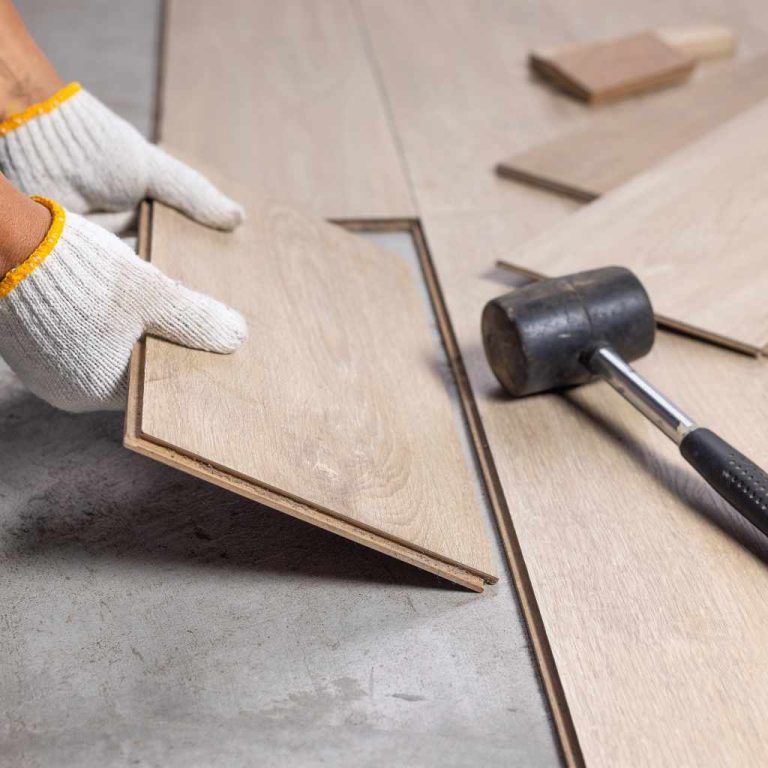
Before I start any repair, I gather my tools. It’s like preparing for a small woodworking project, and having everything ready makes the process smoother. Here’s what I typically use for scratch repairs:
| Tool/Material | Purpose |
|---|---|
| Soft cloths | Cleaning and applying products |
| Mineral spirits | Removing dirt and wax buildup |
| Fine sandpaper (220-grit) | Smoothing deeper scratches |
| Wood filler | Filling deep scratches or gouges |
| Putty knife | Applying wood filler |
| Touch-up marker or stain pen | Coloring scratches to match the floor |
| Polyurethane or wax finish | Sealing and protecting repairs |
| Steel wool (0000 grade) | Buffing wax or blending finishes |
| Floor polish or cleaner | Final cleaning and shining |
| Paintbrush (small) | Applying finish or stain |
I keep these in a small toolbox for quick access. You don’t need everything for every repair, but having them on hand saves time. Most of these items are affordable and available at hardware stores or online.
Assessing the Scratch
Every time I find a scratch, I take a moment to assess it. I run my finger over it to feel its depth. Surface scratches barely catch your nail—they’re just in the finish. Deeper ones feel rougher and might show lighter wood underneath. I also check the floor’s color and grain. My oak floors, for example, have a distinct grain that I need to match when repairing.
I always clean the area first. A damp cloth with a bit of mild dish soap works wonders to remove dust or grime. Then I dry it thoroughly. If the scratch is near a wall or furniture, I move things out of the way to get a clear workspace. This step helps me see the scratch clearly and decide what method to use.
Repairing Surface Scratches
Surface scratches are my favorite to fix because they’re so manageable. I’ve had great success with a few simple tricks. One of my go-to methods is using a walnut. Yes, a walnut! I crack open a raw walnut and rub the meaty part over the scratch. The natural oils in the nut blend into the wood, darkening the scratch to match the floor. It’s like magic, and it works best on lighter scratches in medium-toned wood.
If the walnut trick doesn’t do it, I grab a touch-up marker. These are like felt-tip pens made for wood, and they come in shades to match your floor. I gently color over the scratch, following the grain, and wipe away excess with a soft cloth. It’s quick and blends well with polyurethane finishes.
For slightly deeper surface scratches, I’ve used a wax stick. These are like crayons for wood. I rub the stick over the scratch, press it in with my finger, and buff it with a cloth. The wax fills the scratch and blends with the floor’s sheen. I’ve found that heating the wax slightly with a hairdryer makes it easier to apply.
Fixing Deeper Scratches
Deeper scratches are trickier, but I’ve tackled plenty. These scratches cut into the wood, so they need more than a quick cover-up. I start by cleaning the area with mineral spirits to remove any wax or polish. Then, I lightly sand the scratch with 220-grit sandpaper. I sand along the grain to avoid making things worse. The goal is to smooth the rough edges, not to remove the finish around it.
Next, I apply wood filler with a putty knife. I choose a filler that matches my floor’s color as closely as possible. I press it into the scratch, smooth it out, and let it dry for a few hours. Once it’s dry, I sand again lightly to make it flush with the floor. Then, I use a touch-up marker or stain to blend the filler with the surrounding wood. Finally, I seal it with a thin layer of polyurethane using a small paintbrush. I let it dry for 24 hours before walking on it.
One time, I had a deep scratch from moving a fridge. The wood filler method worked, but I had to apply two thin layers of polyurethane to get the sheen right. Patience is key here—rushing can leave the repair noticeable.
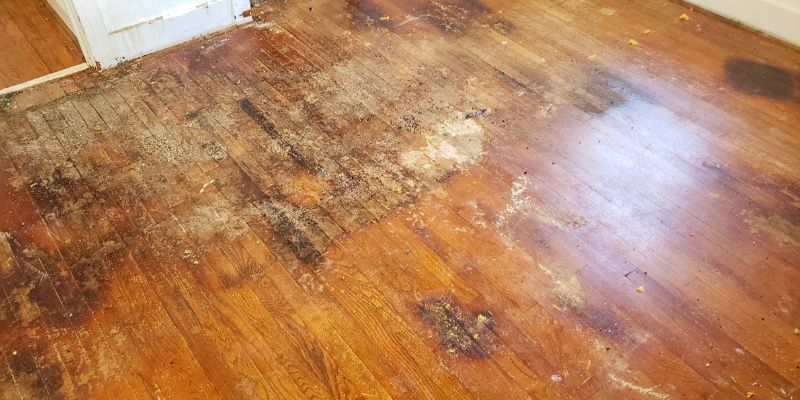
Dealing with Gouges
Gouges are the toughest. I had one from dropping a heavy tool, and it felt like a disaster. But I fixed it, and you can too. Start by cleaning the gouge thoroughly. I use a vacuum to suck out any debris, then wipe it with mineral spirits. If the gouge is really deep, I sometimes use a small chisel to clean up jagged edges.
Wood filler is your best friend here. I apply it in thin layers, letting each layer dry before adding more. This prevents cracking. Once the gouge is filled and level, I sand it smooth with fine sandpaper. Matching the color is tricky, so I mix touch-up stains to get close to my floor’s shade. I apply the stain with a small brush, blending it into the surrounding area. Then, I seal it with polyurethane, just like with deeper scratches.
For one particularly bad gouge, I used a wood repair epoxy instead of filler. It’s stronger and works well for larger areas. The process is similar, but the epoxy takes longer to set. I was amazed at how seamless the repair looked after a final coat of finish.
Matching Your Floor’s Finish
Getting the finish right is where I’ve made mistakes before. If your floor has a glossy polyurethane finish, a matte repair will stick out. I always test my finish on a hidden spot, like under furniture, to make sure it matches. For polyurethane floors, I use a clear, water-based polyurethane. It’s easy to apply and dries fast. For wax-finished floors, I rub in a thin layer of paste wax with steel wool, then buff it to a soft shine.
If you’re unsure about your floor’s finish, check with the manufacturer or a flooring pro. I once used the wrong finish and had to redo the repair, which was a hassle. Taking the time to match the finish makes all the difference.
Preventing Future Scratches
Once I’ve fixed a scratch, I’m determined to keep my floors looking great. I’ve learned some tricks to prevent future damage. Felt pads on furniture legs are a game-changer. I stick them on chairs, tables, and anything that moves. Area rugs in high-traffic spots, like hallways, also help. I keep my dog’s nails trimmed, and I ask guests to remove shoes with hard soles.
Regular cleaning is huge. I sweep or vacuum weekly to remove grit that can scratch the floor. I also use a hardwood floor cleaner every month to keep the finish strong. Avoiding harsh chemicals is key—they can weaken the finish and make scratches more likely.
When to Call a Professional
Sometimes, I know a scratch is beyond my skills. If the damage covers a large area or the floor has an unusual finish, I call a pro. Refinishing an entire room, for example, is a big job that needs specialized equipment. I’ve found that pros can also match exotic wood species or custom stains better than I can. If you’re in doubt, get a quote—it’s often worth it for peace of mind.
Maintaining Your Hardwood Floors
After repairing scratches, I’ve learned that maintenance is everything. I polish my floors every few months with a hardwood floor polish to keep them shiny and protected. I also check for new scratches regularly so I can catch them early. A little effort goes a long way in keeping your floors stunning.
Conclusion
Repairing scratches in your hardwood floor doesn’t have to be daunting. I’ve gone from panicking over every mark to confidently fixing them with a few tools and some know-how. Whether it’s a light surface scratch, a deeper cut, or a stubborn gouge, you can restore your floor’s beauty with patience and the right approach. I love the feeling of running my hand over a repaired spot and seeing it blend seamlessly with the rest of the floor. You’ll get there too! Keep your tools handy, take your time, and don’t be afraid to experiment with small repairs first. Your hardwood floors are worth the effort, and with these tips, they’ll stay gorgeous for years to come.
FAQs
Can I repair scratches on my hardwood floor without sanding?
Yes, you can! For light surface scratches, I’ve had great results using a walnut or a touch-up marker. These methods don’t require sanding and are quick. Just clean the area first and apply the product carefully to blend it in.
How do I know if my floor has a polyurethane or wax finish?
I check by rubbing a hidden spot with a cloth. If it’s slick and shiny, it’s likely polyurethane. If it’s softer with a warm glow, it’s probably wax or oil. You can also ask your floor’s manufacturer for details.
What’s the best way to prevent scratches on hardwood floors?
I swear by felt pads on furniture legs and area rugs in busy areas. Keeping pet nails trimmed and sweeping regularly to remove grit also helps a ton. It’s all about being proactive!
Can I use regular paint to fix a scratch?
I wouldn’t recommend it. Regular paint won’t match the wood’s grain or finish and can look patchy. Touch-up markers or stains made for wood are much better for blending repairs.
How long does it take to repair a deep scratch?
It depends, but I usually spend a few hours on a deep scratch. Cleaning, sanding, filling, and staining take time, and you need to let the filler and finish dry—often 24 hours total. Patience is worth it for a great result.