How to Remove Paint From Hardwood Floors Without Ruining the Finish
Paint drips and spills on hardwood floors happen to almost anyone who paints trim, walls, or furniture nearby, and reaching straight for a metal putty knife or a full paint stripper is usually what turns a small spot into a bigger repair. The safer approach works from gentle to aggressive: start with tools and solvents that can’t gouge the wood or strip the finish, and only move up to chemical strippers or sanding if the paint genuinely won’t let go. Here’s that order, plus two checks worth doing first if the paint or the house is older.
Start With the Gentlest Method First
Best Non-Scratch Scraper Pick
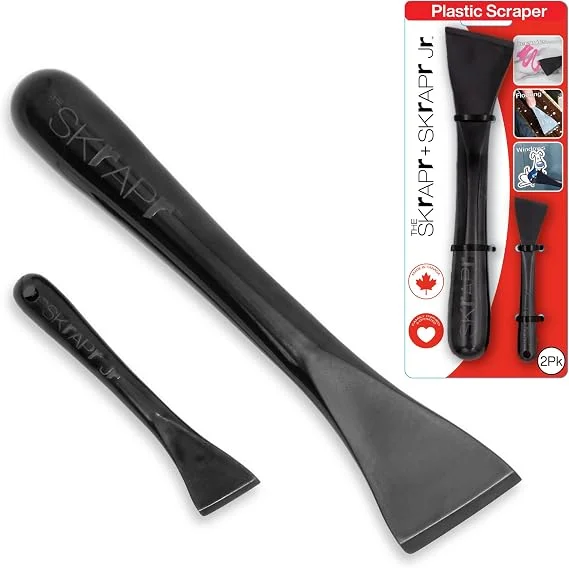 |
THE SKrAPr Plastic Scraper Tool, 2-Pack – $12.99 The safest first move on a paint spill: a non-scratch blade that lifts dried paint without gouging your floor’s finish.
|
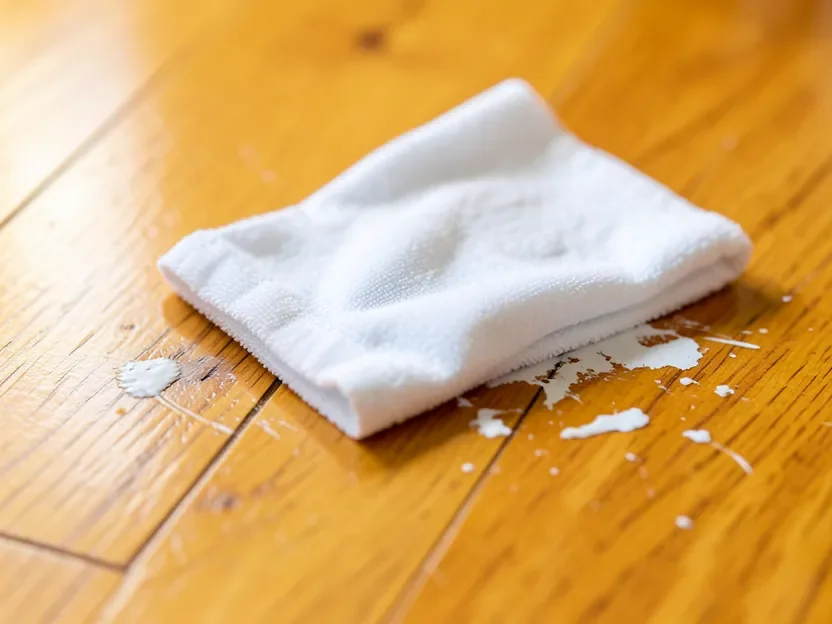
For fresh, still-soft paint, blot rather than rub. A damp microfiber cloth lifts wet latex paint without spreading it into the wood grain, which is the mistake that turns a dime-sized drip into a smeared patch. Rubbing works the pigment into the finish’s pores; blotting picks it up and lifts it away.
For paint that’s already dried, skip metal tools entirely. A putty knife or standard paint scraper is hard enough to bite into a polyurethane finish and leave a visible scratch in the wood, even held at a shallow angle. A plastic scraper with a non-scratch blade flexes just enough to ride over the finish while still chipping dried paint loose. Hold it nearly flat against the floor and work in short, low-angle strokes with the wood grain, not across it.
If dried paint still clings after scraping, dampen a cloth with rubbing alcohol or mineral spirits and hold it against the spot for a minute or two before scraping again. Both solvents soften the paint’s bond to the finish without attacking most polyurethane or wax topcoats the way a full paint stripper can. Always test in a hidden corner first, since some older or oil-based finishes react differently to solvents.
Check the Paint Type and the Age of Your Home Before You Escalate
Before reaching for anything stronger, it helps to know what you’re dealing with. Dab a cotton ball with rubbing alcohol and press it on an inconspicuous edge of the paint: if color transfers onto the cotton, it’s water-based (latex) paint, which the methods above usually handle on their own. If nothing transfers, it’s more likely oil-based or an older alkyd paint, which needs mineral spirits or a stripper to break down.
There’s one safety check worth taking seriously if the house, or at least the flooring and trim, could predate 1978: paint made before that year could contain lead. This isn’t a reason to panic over every paint drip — most spills from a recent repaint on a newer floor have nothing to do with it — but it’s a well-documented EPA and CDC concern specifically because sanding or heat-gun removal of lead paint creates fine lead dust that’s hazardous to breathe or track through the house. If there’s any real chance the paint is original to a pre-1978 floor, a lead test swab from a hardware store (around $10 to $15) before you sand or apply heat is worth the five minutes it takes.
Chemical Strippers: For Paint the Gentle Methods Won’t Touch
If scraping and solvents don’t fully clear a stubborn spot, especially dried oil-based paint or several old layers, a dedicated paint-and-varnish stripper is the next step, but it’s worth choosing carefully. Traditional strippers built around methylene chloride work fast but are aggressive enough to soften the floor’s own finish, not just the paint sitting on top of it, which often means the treated spot needs to be recoated or the whole floor refinished to look uniform again. A citrus-based, low-odor stripping gel is the gentler option: it still breaks down multiple layers of dried latex, oil paint, or varnish, but without the strong fumes or the methylene chloride that make heavy ventilation and skin protection so critical with older-style strippers.
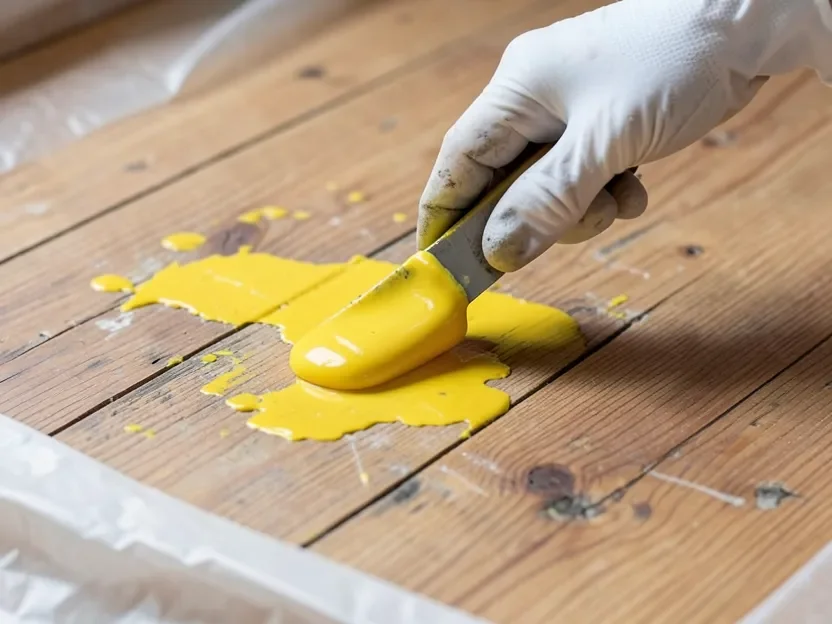
Apply the gel with a small putty knife or brush, following the label’s dwell time (citrus-based gels commonly need 20 to 30 minutes, sometimes longer for thick or multiple layers), then scrape the softened paint away with the same plastic scraper used earlier. Work in a ventilated room, wear gloves, and always spot-test first — even a gentler stripper can dull or cloud a finish if it’s left on too long.
Sanding and Heat Guns: Last Resort, Real Risks
Sanding removes paint by removing the finish, and a thin layer of wood, along with it, so it’s a last resort rather than a shortcut, and it always means refinishing the sanded area afterward to match the rest of the floor. If it comes to that, hand-sand with fine-grit paper (220-grit or finer) and go with the grain; a random-orbital or belt sander is overkill for a spot repair and easy to gouge a divot with. For a closer look at getting dried paint up without picking up a sander at all, see our guide to removing dried paint without sanding.
Heat guns get mentioned online as a fast way to soften paint for scraping, but they carry a real risk that’s easy to underestimate: wood can scorch, smoke, or even ignite if a heat gun sits in one spot too long, and hardwood floors are exactly the kind of finished, often older material where that happens fast. If you use one at all, keep it moving constantly, hold it several inches off the surface, work in a ventilated space, and never use it on flooring you suspect might have lead paint — heating lead paint releases the same hazardous dust that sanding does, just faster.
Restoring the Finish After Paint Removal
Once the paint is gone, clean the spot with a wood floor cleaner to remove any solvent residue, then let it dry fully. If scraping or a mild solvent was all it took, the existing finish is usually still intact and no further work is needed. If you stripped, sanded, or notice the spot looks duller or rougher than the surrounding floor, feather in a matching topcoat (polyurethane, wax, or oil, depending on what’s already on the floor) so the repair blends in rather than standing out as a lighter or shinier patch.
Preventing the Next Spill
A little prep during the next paint job saves the whole process above. Lay drop cloths across the floor before you start, and tape down the edges so they don’t slide. Choose your tools carefully, too — brushes and rollers loaded with too much paint are a common source of drips.
| Material | Purpose |
|---|---|
| Drop Cloths | Catch spills and drips before they reach the floor |
| Painter’s Tape | Protect baseboards, door frames, and edges |
| Plastic Sheeting | Cover large areas during bigger jobs |
| Paint Tray | Hold excess paint and reduce brush or roller drips |
Clean up any spill quickly, while it’s still wet. That single habit prevents nearly every stain this guide is written to fix.
Frequently Asked Questions
How Do You Remove Dried Paint From a Hardwood Floor Without Scratching It?
Use a plastic scraper, not metal. A 1.7-inch non-scratch blade rides over the finish instead of biting into it. Hold it nearly flat and work with the wood grain in short strokes. For paint that resists scraping, soften it first with a cloth dampened in rubbing alcohol or mineral spirits held on the spot for a minute or two, then scrape again.
Is It Safe to Use Vinegar to Remove Paint From Hardwood Floors?
Vinegar can help loosen water-based (latex) paint. Mix equal parts vinegar and water, apply it to the spot, let it sit for a few minutes, then wipe or gently scrape. It is not strong enough for dried oil-based paint or multiple layers, and it will not outperform rubbing alcohol or mineral spirits, but it is a reasonable low-risk first try for fresh latex spots.
Do I Need to Worry About Lead Paint on an Older Hardwood Floor?
Only if the paint or the home could predate 1978, when lead-based paint was still legal. It is a genuine EPA and CDC safety concern because sanding or heat-gun removal creates hazardous lead dust, not because every paint drip is dangerous. A hardware-store lead test swab before sanding or using heat on a pre-1978 floor is a cheap way to rule it out.
Can a Heat Gun Damage a Hardwood Floor?
Yes, it is a real fire and scorch risk that is easy to underestimate. Hardwood finishes can scorch, smoke, or even ignite if a heat gun sits in one spot too long. If you use one, keep it moving constantly, hold it several inches from the surface, work in a ventilated room, and skip it entirely if the paint might be lead-based.
Conclusion
Most paint spills come off a hardwood floor with nothing more than a damp cloth and a plastic scraper. Save chemical strippers and sanding for paint that genuinely won’t budge, check the paint type and your home’s age before you escalate, and treat heat guns with real caution. Handled in that order, the floor’s finish, not just the paint, stays intact.
Sponsored / affiliate links. As an Amazon Associate I earn from qualifying purchases. I may earn additional commission from eligible campaigns.