Sliding dovetail calculator: setup formulas for fit
Set the sliding dovetail socket opening a few thousandths wider than the tail at its narrowest point, then fine-tune on scrap in small steps until it slides with firm hand pressure and no rattle. Miss that window and the joint binds, splits during assembly, or ends up loose enough to creep under load. This guide gives the calculator formulas, router-table setup math, test-cut checks, and adjustment rules for drawers, casework, and partitions.
How is this calculated?
Press Calculate to see the math with your numbers.
What you’ll need


- Dovetail router bit and a V-bit for setup
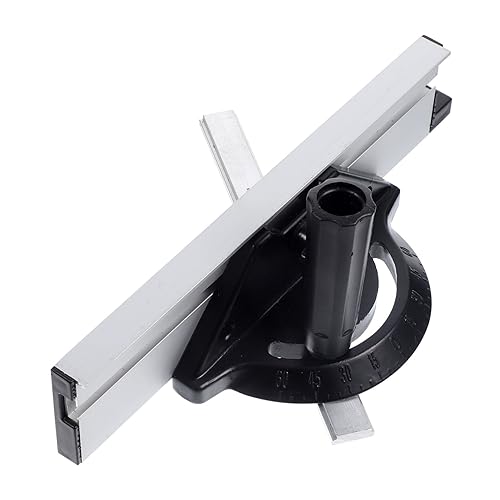
- Router table, fence, and a way to measure bit projection
- Same-thickness test pieces cut from the same stock as the project parts
- Backer stock or a zero-clearance fence for the entry and exit cuts
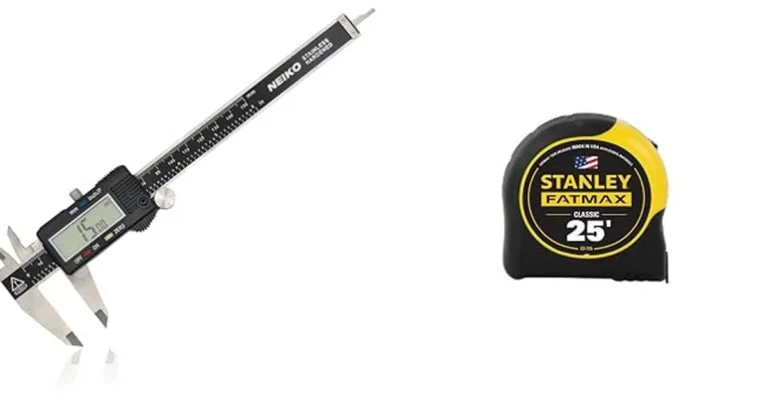
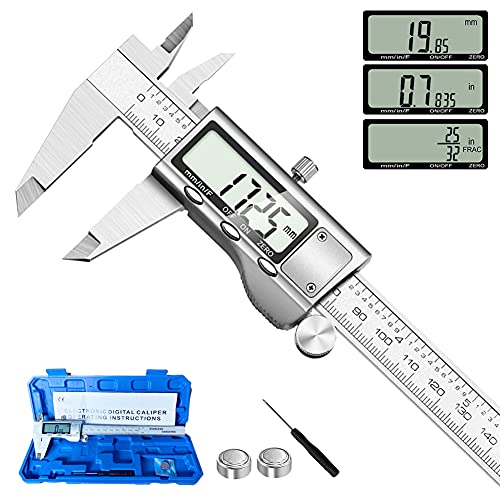
- Ruler, calipers, pencil, square, and a worksheet for the setup numbers
- Project stock for the drawer front, drawer side, or case parts
How to use this sliding dovetail calculator
Use the worksheet to turn stock thickness, overlay, and bit geometry into three numbers: where the slot starts, how far the fence sits from the cutter reference, and how deep the socket must go. The goal is repeatable setup, not guesswork. A sliding dovetail joint depends on matching the socket and tail geometry closely enough to lock under load while still sliding by hand.
What the calculator will solve
It solves the relationship between the visible face, the slot centerline, and the final cutter position. A router-table setup uses the center of the slot as the reference, not the dovetail cutter profile itself. That matters because the final bit shape cuts the walls, while the reference line sets location.
Which measurements you need before you start
Measure stock thickness, the drawer front overlay amount if the front overhangs the case, bit diameter, bit angle, and the target socket depth. The dovetail router bit diameter must be smaller than the drawer side thickness. A common choice is a 1/2 inch, 14-degree cutter.
How the worksheet fits into router-table setup
The worksheet keeps the setup ordered: reference line first, fence position second, depth last. That sequence avoids chasing the cut with fence changes. For drawers, the numbers usually come from the drawer front thickness and the side thickness. For case partitions and wider panels, stock thickness and engagement length matter more than overlay.

How do you calculate a sliding dovetail setup?
Record the stock thickness, add any drawer front overlay to the outside reference, then set the slot location from the centerline and calculate the fence offset from the bit geometry. Bit height for the socket is set to one-third the drawer front thickness. From there, set socket depth so the tail has enough engagement without weakening the wall.
Step 1: record stock thickness and overlay
Write down the actual thickness of the drawer front, drawer side, or case part. Use measured stock, not nominal size. If the drawer front overlays the case, add that overlay to the reference dimension so the socket lands where the tail can enter cleanly.
Step 2: set the reference line with a V-bit
Use a V-bit to locate the center of the slot on the router table. Set the fence so the V-bit marks the centerline on a scrap piece, then use that line as the reference for the dovetail bit. This is a locating step, not the final cut.
Step 3: calculate fence offset from bit geometry
Fence setup uses the center of the slot, not the cutter shape directly. Start from the centerline mark, then move the fence by the half-width needed for the socket wall to land on the layout line. Because small changes move the fit a lot, adjust in very small steps after the first test cut.
Step 4: set socket depth from engagement and wall thickness
Set depth so the tail engages far enough to resist pullout, but not so deep that the wall gets thin. For drawer work, the socket depth begins with the one-third front-thickness rule, then gets checked against the side thickness and the bit diameter. If the bit is too large for the side, change the bit before cutting.
| Project part | Stock thickness | Bit angle | Starting socket depth | Fit target |
|---|---|---|---|---|
| Drawer front | 3/4 in. | 14° | 1/4 in. | 0.002–0.004 in. opening over tail |
| Drawer side | 1/2 in. | 14° | 1/4 in. to 5/16 in. | Firm hand-pressure slide |
| Case partition | 3/4 in. | 14° | 1/4 in. to 3/8 in. | No side play |
| Wide panel | 7/8 in. or thicker | 14° | Adjusted to wall thickness | Slides without rattle |
How do you measure a sliding dovetail slot on a router table?
Measure from the reference edge to the slot centerline, then confirm the bit projection before making the first cut. The fence setting is tied to the slot center, so a measurement taken from the cutter edge will be wrong. A test piece should match the project thickness closely, or the result can mislead the setup.
Locate the slot centerline from the reference edge
Mark the centerline on the workpiece, then bring the V-bit to that line and set the fence. The V-bit leaves a visible reference that the dovetail cutter can follow. This is the cleanest way to translate layout to machine position.
Set the fence with the test piece instead of the finished part
Use a same-thickness test piece first. That piece should match the drawer side or case part thickness, because bit projection and wall clearance change with thickness. If the test piece fits, the real part should be close enough to fine-tune without risk.
Confirm bit projection before the first cut
Check how far the dovetail bit projects above the table. Projection changes socket depth and the taper of the tail. If the projection is off, reset it before touching the fence. Chasing depth with the fence usually creates a bad fit faster than it fixes one.
How deep should a sliding dovetail be cut?
Cut the socket deep enough to give the tail solid engagement, but stop before the wall becomes weak or the blind end breaks through. Drawer fronts usually use the one-third thickness rule as a starting point. Case partitions and wide panels often need more depth, but only if the sidewall still has enough meat.
Socket depth for drawer fronts and sides
For drawers, the socket depth begins at one-third of the drawer front thickness, then gets checked against the drawer side thickness. The dovetail bit diameter must still be smaller than the drawer side thickness. If that condition is not met, the bit is too large for the joint.
Socket depth for case partitions and wider panels
For casework, depth depends on how much surface area the joint needs to resist racking. Wider panels can take more engagement, but the socket still has to leave enough wall around the tail. Use the same-thickness test piece to confirm the depth before cutting the actual partition.
When a stopped socket needs extra length for entry and cleanup
A stopped socket usually needs a little extra length at the entry and stop lines so the tail can start and the cutter can clear the end cleanly. The visible entrance is later hidden by the side walls. Mark the start and stop lines before routing, then test the fit with a short sample tail.
Make the first test cuts and read the fit
Cut test pieces before the real parts. A test piece should match the thickness of the project stock, because the same geometry can fit differently in thinner or thicker material. Slide the tail by hand pressure only; do not force it. If it fails, correct fence position or depth before recutting the actual work.
- Cut a test socket from the same thickness as the project part and use the result to verify the fence setting.
- Cut a matching tail on the paired test piece and check for hand pressure fit, because the real parts should copy the same geometry.
- Adjust the fence in very small steps if the tail binds or rattles, since sliding dovetails react strongly to tiny changes.
- Repeat until the fit slides with firm hand pressure and no side play, then move to the real stock.
What causes a sliding dovetail to be too tight or too loose?
A tight joint usually means the fence is too close, the bit height is too high, or the socket was cut too shallow. A loose joint usually points to the fence being too far from the centerline, an overcut tail, or test pieces that do not match the real stock. Read the symptom before changing anything.
Tight fit, burn marks, and short sockets
Burn marks often appear when the cut is rubbing instead of slicing, which can happen with too little feed or a fence set too close. If the joint stops short, the socket may be shallow or the tail taper may be too steep. First fix the fence setting, then the depth.
Loose tail, chatter, and undercut walls
If the tail rattles, the socket opening is too wide or the cutter has undercut the walls. Chatter usually shows up when the stock is unsupported or the feed rate is uneven. Recut a test piece with the fence moved in small increments before touching the real parts.
Chipout at entry or exit
Chipout at the entry or exit usually comes from unsupported fibers. A zero-clearance fence reduces that by bringing the fence into the cutter opening before the cut. Backer stock helps too, especially on the exit side of a stopped socket or on brittle species.
Which adjustment to make first
Change the fence before changing the bit. Fence setting has the strongest effect on fit, and small changes matter. If the fit is still wrong after fence correction, check bit projection, then retest on the same-thickness piece. If that did not work, recut a new test piece instead of thinning the real one.
Printable worksheet and pass/fail checklist
Use one page for the setup numbers and the first-fit decision. This keeps drawer, casework, and partition jobs from drifting between settings. Fill the blanks before cutting and keep the test piece beside the worksheet until the fit is approved.
| Worksheet item | Fill in | Notes |
|---|---|---|
| Project part | Drawer front / drawer side / partition | Match test piece thickness to this part |
| Stock thickness | _____ in. | Use measured thickness |
| Overlay amount | _____ in. | Record only if the front overlays the case |
| Bit diameter | _____ in. | Must be smaller than drawer side thickness |
| Bit angle | _____° | Common setup uses 14° |
| Fence offset | _____ in. | Measured from the slot center reference |
| Socket depth | _____ in. | Start at one-third drawer front thickness for drawer work |
| First test fit | Pass / Fail | Should slide with firm hand pressure. |
Pass/fail checklist for the first test cut
- Tail starts by hand pressure, not hammer force
- No visible side play when the joint is seated
- Socket walls are clean with no burned glaze
- Entry and exit edges are intact
- Test piece matches the project part thickness
Quick notes for different applications
Drawers want predictable sliding fit and modest depth. Case partitions can take more engagement because they carry racking loads. Wide panels need the most caution, because the bit angle changes the taper and can make the socket too deep or too shallow if the stock is not checked first.
How do you set up a sliding dovetail without a dovetail jig?
Use a router table, a dovetail bit, and a V-bit instead of a jig. That setup works because the fence and bit height define the joint geometry directly. Start with a marked centerline, set the fence from the center reference, then cut a test piece before the real parts.
Setup sequence
- Mark the slot centerline on the workpiece.
- Use the V-bit to locate that center on the router table.
- Swap to the dovetail bit and confirm projection.
- Cut the test socket.
- Cut the matching test tail and check the fit.
Frequently asked questions
What size dovetail bit should I use for a sliding dovetail?
A 1/2 inch, 14-degree cutter is a common starting point. The bit diameter must be smaller than the drawer side thickness, or the joint will lose wall strength. For thicker case parts, a larger or different-angle cutter may work, but the test piece must prove it first.
How much should I offset the fence for sliding dovetail tails?
Set the fence from the slot center reference, then nudge it only after a test cut. A useful working target is 0.002–0.004 in. wider than the tail at its narrowest point. If the fit is wrong, move in 0.001-in. steps and retest on scrap.
How do you make test cuts for a sliding dovetail?
Cut a socket in scrap that matches the project thickness, then cut a matching tail on the paired test piece. Check for firm hand pressure and no rattle. If the tail binds, open the fence slightly; if it rattles, close it slightly and cut a fresh test piece.
Sponsored / affiliate links. As an Amazon Associate I earn from qualifying purchases. I may earn additional commission from eligible campaigns.