Lacquer Thinner Ratio Calculator: Parts by Volume
Use a lacquer thinner ratio calculator to set lacquer at about 1:1 for most spray work, and about 1:1.5 to 2:1 thinner for finer atomization, reducing only if the product label allows it. Wrong ratios can cause orange peel, dry spray, runs, or weak film build. This guide gives parts-by-volume settings for lacquer, thinner, and optional hardener by coating type and spray method.
How is this calculated?
Press Calculate to see the math with your numbers.
What this calculator gives you


This page turns a ratio into a mix you can measure. It separates lacquer type, spray method, reduction range, and optional hardener so you can build a batch that fits the job instead of guessing from one blanket ratio.
Lacquer thinner lowers viscosity, helps lacquer spray more evenly, and is also used to clean brushes and tools. The same solvent can have a strong odor and flash off fast, so ventilation matters. Some products also list compatibility with nitrocellulose lacquer and epoxy.
Where the 12-scenario matrix fits
The matrix below is the main tool. It gives clear lacquer, pigmented lacquer, and specialty basecoat starting points across brush, HVLP, and conventional spray use. It also shows when hardener belongs in the mix and when it should stay out.
When to follow the coating label first
Start with the coating manufacturer’s directions. Some lacquer systems, including nitrocellulose lacquer, allow different reduction windows than others, and some basecoats call for a special thinner. A ratio that works on one product can fail on another.
Lacquer ratio matrix
This matrix uses parts by volume. The ratios are starting points, not universal rules. “Parts” means any equal measuring unit: ounces, milliliters, or cups, as long as you keep the same unit for every part in the mix.
| Scenario | Coating type | Method | Mix by parts | Hardener | Use case |
|---|---|---|---|---|---|
| 1 | Clear lacquer | Brush | 4 lacquer : 1 thinner | No | Brush flow and leveling |
| 2 | Clear lacquer | HVLP | 1 lacquer : 1 thinner | Optional if label allows | Balanced sprayability |
| 3 | Clear lacquer | Conventional spray | 1 lacquer : 1.5 thinner | Optional if label allows | Finer atomization |
| 4 | Clear lacquer | Touch-up | 1 lacquer : 2 thinner | No | Small repairs and light mist coats |
| 5 | Pigmented lacquer | Brush | 3 lacquer : 1 thinner | No | Better flow without washing out color |
| 6 | Pigmented lacquer | HVLP | 2 lacquer : 1 thinner | Optional if label allows | Sprayable color with coverage |
| 7 | Pigmented lacquer | Conventional spray | 1 lacquer : 1 thinner | Optional if label allows | More open spray pattern |
| 8 | Pigmented lacquer | Touch-up | 1 lacquer : 1.5 thinner | No | Small areas and edge blending |
| 9 | Specialty basecoat | Brush | Not preferred; follow label | No unless specified | Usually spray-only material |
| 10 | Specialty basecoat | HVLP | 1 lacquer : 1 thinner | Use special thinner if required | Controlled color pass |
| 11 | Specialty basecoat | Conventional spray | 1 lacquer : 1.5 thinner | Use special thinner if required | Fine atomization and leveling |
| 12 | Specialty basecoat | Touch-up | 1 lacquer : 2 thinner | No unless label allows | Very light repair passes |
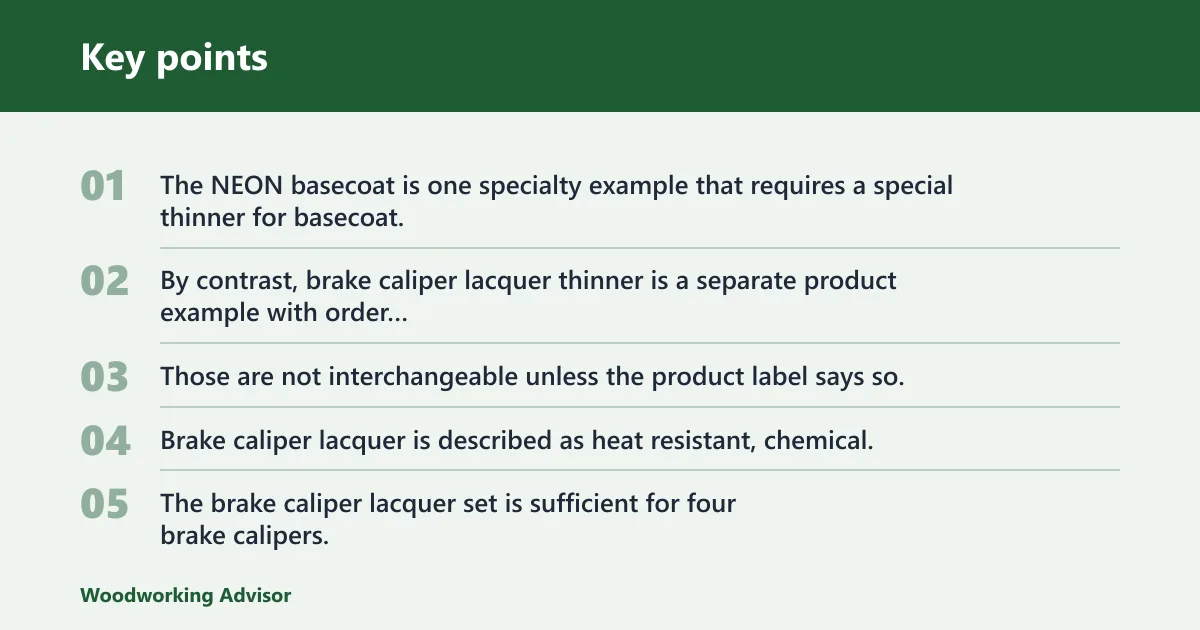
The NEON basecoat is one specialty example that requires a special thinner for basecoat, and the set information lists order number 2210. By contrast, brake caliper lacquer thinner is a separate product example with order number 2198. Those are not interchangeable unless the product label says so.
Brake caliper lacquer is described as heat resistant, chemical, corrosion and oil resistant, intended for application without removing car parts, and applicable with a paint spray gun. The brake caliper lacquer set is sufficient for four brake calipers, and the set includes 400 ml brake cleaner, 125 ml paint, and 50 ml hardener. The listed content amount is 0.175 Milliliter, and the price shown for the set is €34.95.
How do you calculate the right ratio?
Start with the coating type, then match the spray method, then add thinner by parts. If the label allows hardener, add it last and keep its share separate from the thinner share. That keeps the calculator tied to the product instead of forcing one ratio across all lacquer systems.
Pick the coating type
Clear lacquer usually tolerates a wider working range than pigmented lacquer. Pigmented mixes often need enough body to hold color and coverage. Specialty basecoats may require a dedicated thinner, especially when the system is designed for neon or effect colors.
Pick the spray method
HVLP usually needs a cleaner, medium reduction. Conventional spray often tolerates a thinner mix because the gun needs more breakup at the nozzle. Touch-up work usually calls for extra reduction to keep the repair small and easy to blend.
Add thinner by parts
Use the parts-by-volume setting from the matrix. For example, 1 lacquer : 1 thinner means equal parts of each. If the label calls for a reduction range, stay inside that range rather than pushing thinner farther for convenience.
Add hardener only when allowed
Some lacquer systems accept hardener, but some do not. If the label allows it, measure hardener as its own part and do not count it as thinner. That matters because hardener changes film behavior differently from solvent reduction.
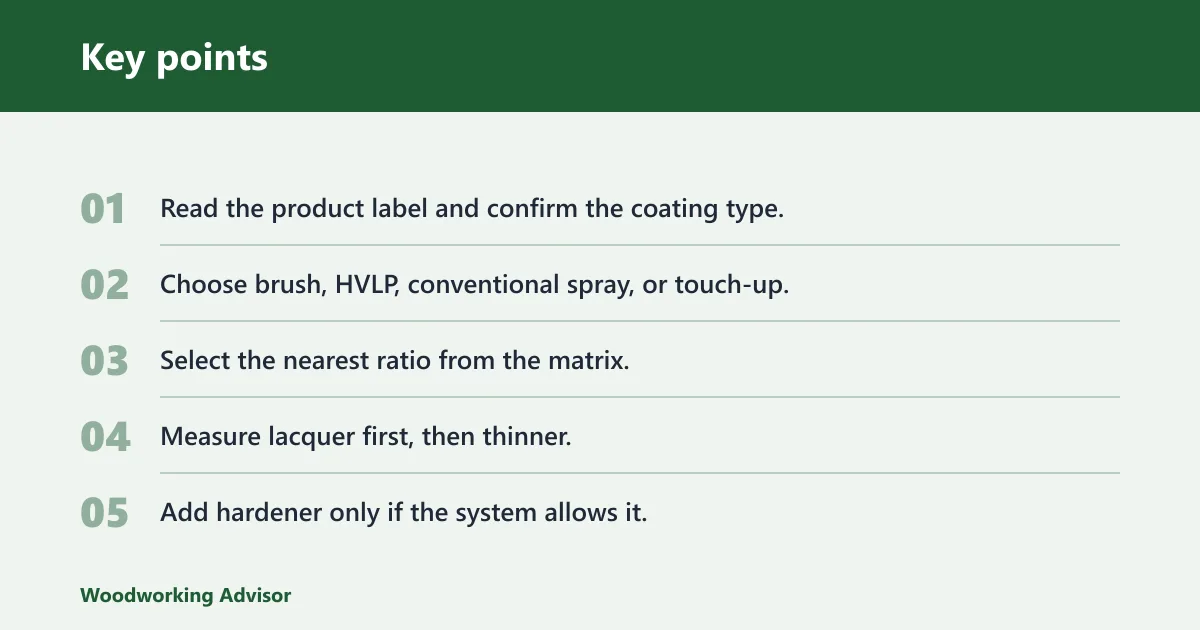
- Read the product label and confirm the coating type.
- Choose brush, HVLP, conventional spray, or touch-up.
- Select the nearest ratio from the matrix.
- Measure lacquer first, then thinner.
- Add hardener only if the system allows it.
- Strain the mix if the label requires it.
Say your clear lacquer is set up for HVLP and the label allows reduction. A 1:1 mix gives you an easy starting point. If the fan starts to dry before it levels, the mix may be too fast or too thin for the gun setting, so the next adjustment should be smaller and more deliberate.
What changes between spray methods?
Brush, HVLP, conventional spray, and touch-up do not want the same mix. Brush work needs enough body to hold the film. Spray work needs enough reduction to atomize cleanly. The same lacquer can behave well in one method and poorly in another.
Brush application
Brushing usually uses less thinner than spraying because you want control and film build, not maximum atomization. Too much reduction can leave the coat weak and slow to build enough thickness. For clear lacquer, a thicker mix often levels better on a brush surface.
HVLP spray
HVLP usually performs best with a medium reduction. The goal is smooth flow through the gun with enough body left for leveling. If the mix is too thick, atomization suffers. If it is too thin, the finish can dry too fast and lose build.
Conventional spray
Conventional spray often handles a thinner mix because the gun setup depends more on breakup at the nozzle. That can help with atomization, but it also raises the risk of dry spray if the reduction is pushed too far or the solvent flashes too quickly.
Touch-up work
Touch-up mixes usually need more thinner so the repair melts into the edge without heavy buildup. Keep the area small. A touch-up batch that is too thick tends to leave ridges, while one that is too thin can run into surrounding finish.
Picture a small cabinet edge where a clear lacquer patch needs to disappear into the old finish. A 1:1.5 mix for a light spray pass may lay down smoothly, but the same mix on a vertical panel could run if the gun is held too close.
How much thinner should you add?
Use the smallest reduction that gives smooth flow, even atomization, and acceptable leveling. Start inside the label’s range. If the lacquer is too thick, spray pattern quality drops. If it is too thin, the finish can lose body, sag, or dry before it levels.
Starting reduction range
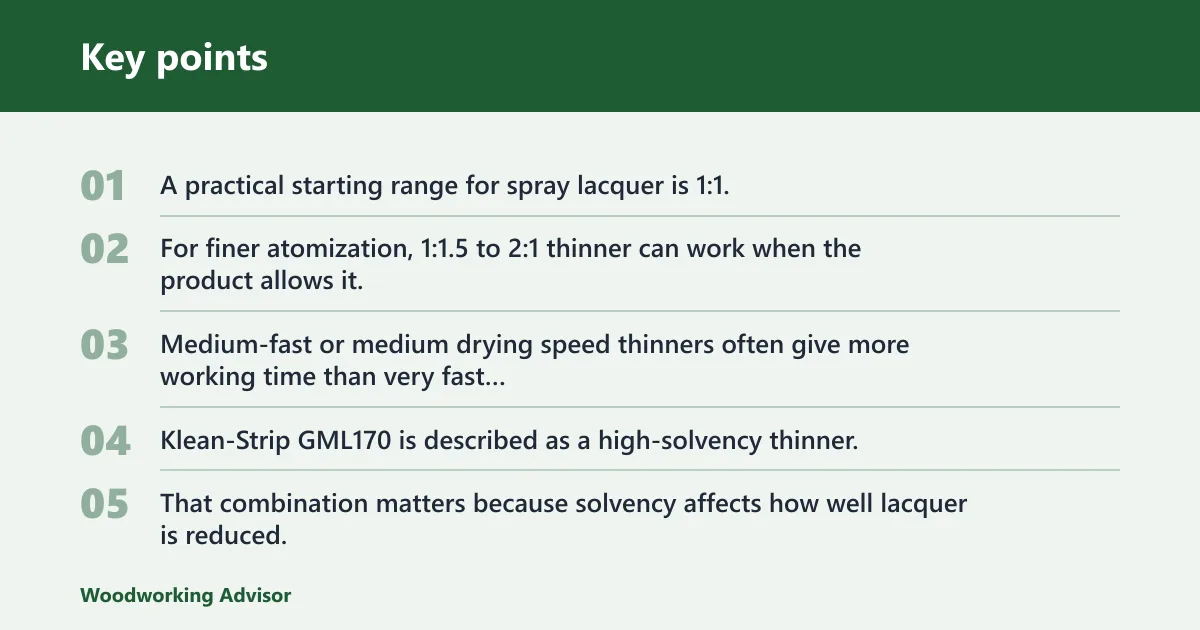
A practical starting range for spray lacquer is 1:1. For finer atomization, 1:1.5 to 2:1 thinner can work when the product allows it. Medium-fast or medium drying speed thinners often give more working time than very fast solvent blends, which can help leveling.
Klean-Strip GML170 is described as a high-solvency thinner, and the reviewer description lists medium drying speed. That combination matters because solvency affects how well lacquer is reduced, while drying speed affects how much time the film has to flow out.
Signs the mix is too thick
Too much body can show up as poor atomization, a rough spray pattern, and a pebbled surface. You may also see extra gun effort and uneven leveling. If the product is meant for spray use and still feels heavy, the ratio is probably too conservative.
Signs the mix is too thin
Over-thinning can cause runs, weak film build, poor coverage, and dry spray. It can also make the finish more vulnerable to blushing if solvent flashes too quickly in humid conditions. Fisheyes can appear when contamination or surface tension issues meet a mix that is already too lean.
Why drying speed matters
Drying speed changes working time and leveling. Faster thinner can help a quick pass flash off, but it can also shorten open time and leave texture. Slower behavior can help the coat level, but it may delay handling and increase sag risk on vertical surfaces.
A common first-timer mistake is to keep adding thinner because the gun feels easier, then wonder why a vertical panel sags. The mix may have crossed from sprayable into too lean, so the film cannot hold itself long enough to set.
Ounces and milliliters conversion
Parts by volume are easy to convert once you choose a batch size. Keep the unit consistent. If one part equals 4 ounces, then every other part in the batch also equals 4 ounces. The same logic works with milliliters.
| Parts | Ounces per part | Milliliters per part | Example total at 1:1 |
|---|---|---|---|
| 1 part | 4 oz | 120 ml | 4 oz lacquer + 4 oz thinner |
| 1.5 parts | 6 oz | 180 ml | 4 oz lacquer + 6 oz thinner |
| 2 parts | 8 oz | 240 ml | 4 oz lacquer + 8 oz thinner |
Use the same method for a smaller batch. If you want a 1:1.5 mix and choose 8 ounces of lacquer, the thinner amount is 12 ounces. In milliliters, 120 ml of lacquer would pair with 180 ml of thinner.
Quick mix examples
If you need 12 ounces total at 1:1, split it into 6 ounces lacquer and 6 ounces thinner. If you need 20 ounces total at 1:1.5, divide the total into 8 ounces lacquer and 12 ounces thinner. The same math works for any unit.
Frequently asked questions
How do I calculate the right lacquer thinner ratio?
Pick the coating type, choose the spray method, then apply the nearest parts-by-volume setting from the matrix. Start at the coating label’s allowed range first. If hardener is allowed, add it as a separate part. That keeps the mix tied to the product, not a generic rule.
What lacquer thinner ratio should I use for spraying?
For most spray work, 1:1 is a sound starting point. If you need finer atomization and the label allows it, 1:1.5 to 2:1 thinner can work. HVLP often likes the middle of that range, while conventional spray may accept a leaner mix.
Which is thinner, 0.5 or 0.7?
In viscosity terms, 0.5 is thinner than 0.7 because the smaller number indicates lower thickness or less resistance to flow. If those numbers come from a product label or reduction chart, confirm what unit they describe before you compare them. Labels do not always use the same scale.
Can I use paint thinner instead of lacquer thinner?
Usually no, unless the coating maker specifically allows it. Lacquer thinner is formulated to dissolve lacquer and reduce viscosity for spray use, while paint thinner can behave differently and may not support the same flow or film behavior. Check the label before substituting.
How much thinner do I add to lacquer for a spray gun?
Start at 1:1 for general spray work. Move toward 1:1.5 or 2:1 thinner only when the product label allows it and the gun setup needs finer atomization. If the mix starts to run, dry spray, or lose build, the ratio is too far in one direction.
What happens if I add too much lacquer thinner?
Too much thinner can weaken film build, create runs, and leave the coat dry before it levels. It can also make the finish more prone to poor coverage, blushing, or fisheyes if surface conditions are already difficult. Back the ratio toward more lacquer and less solvent.
How do I thin lacquer for brushing versus spraying?
Brushing usually needs less thinner than spraying because you want body and control. Spraying needs more reduction for atomization and even flow through the gun. Clear lacquer can tolerate a wider range than pigmented lacquer, but the label still comes first.
What is the difference between lacquer thinner and lacquer and epoxy thinner?
Lacquer thinner is aimed at reducing lacquer and cleaning lacquer tools. Lacquer and epoxy thinner is listed as a combined thinner for those coating systems, so it is a different product category. Sunnyside 457G1 is described as a lacquer and epoxy thinner, which shows why you should match the thinner to the coating system.
Which is thinner.5 or.7?
.5 is thinner than .7. Lower numbers mean less viscosity and easier flow. If those numbers refer to a spray or material grade, confirm the scale on the label before you use them as a mix guide. The wrong interpretation can change the coating behavior fast.
Sponsored / affiliate links. As an Amazon Associate I earn from qualifying purchases. I may earn additional commission from eligible campaigns.