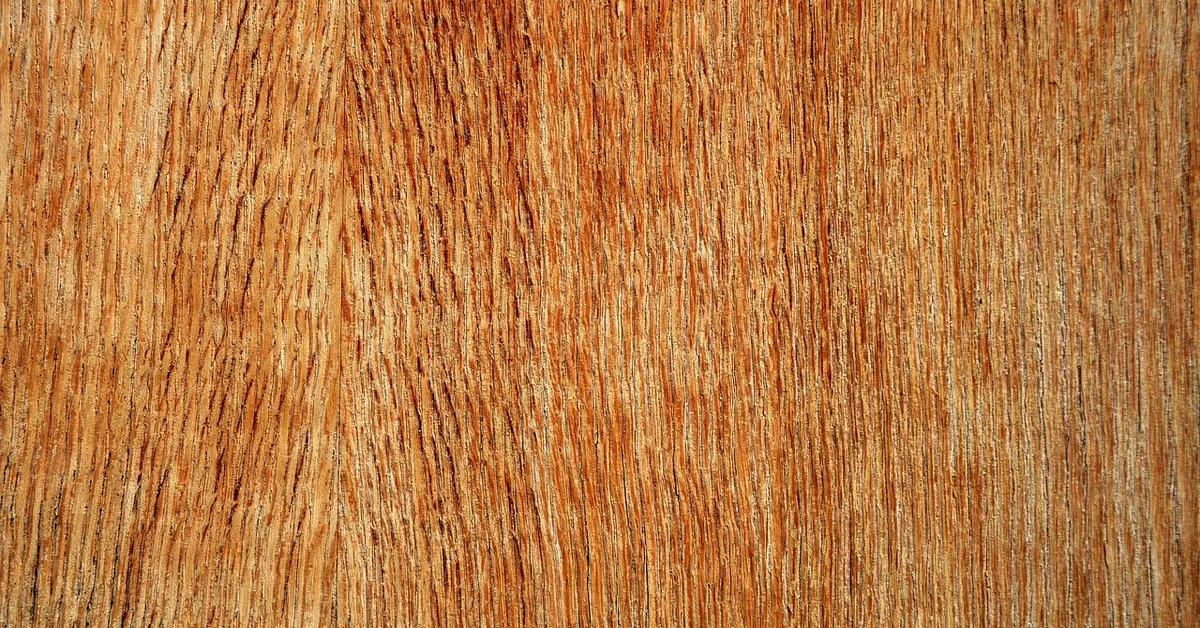
Revamp your Birch Plywood with Perfect Stain Choice
Birch plywood is notoriously prone to blotchy staining because its tight, closed grain absorbs liquid stain unevenly. The two real fixes are a pre-stain wood conditioner (which pre-fills the pores so absorption evens out) and a gel stain (which sits on the surface rather than soaking in, sidestepping the absorption problem entirely) – use one or both together for the most reliable result.
For the full breakdown of why this happens – including how birch plywood compares to ring-porous woods like oak, and how far you can safely sand the thin face veneer – see our complete guide to staining birch plywood without blotching.
Why Birch Plywood Blotches
Best Gel Stain For Birch Plywood
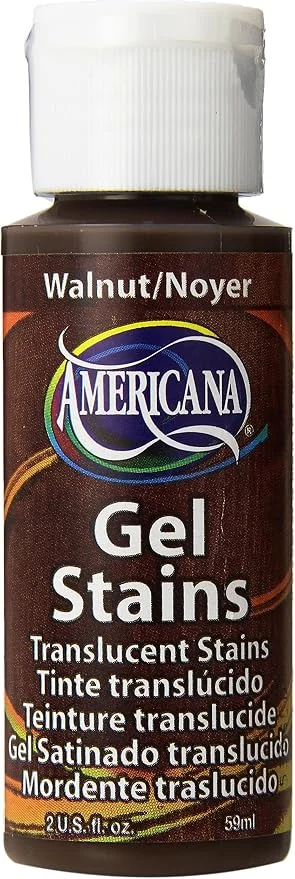 |
DecoArt Americana Gel Stain, Walnut – $5.89 Sits on the surface instead of soaking in unevenly – the real fix for birch plywood’s blotching problem.
|
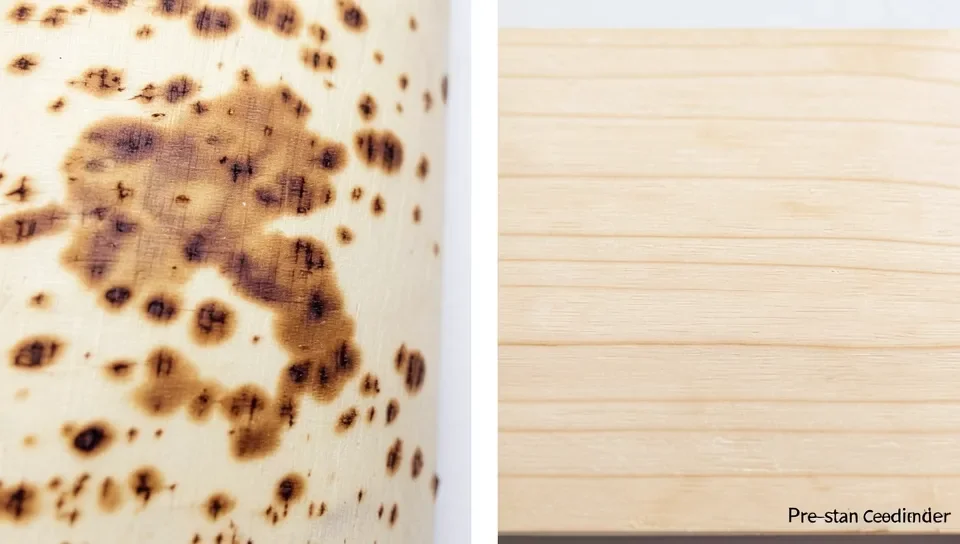
Birch has a fine, tight grain with relatively little natural variation in density across the surface – which sounds like it should stain evenly, but the opposite is true. Liquid stain gets absorbed unpredictably into the wood’s pores at different rates in different spots, especially around the veneer face of plywood, producing the blotchy, patchy look birch is known for. This is a real, well-documented issue, not something you can sand your way around without also changing your staining approach.
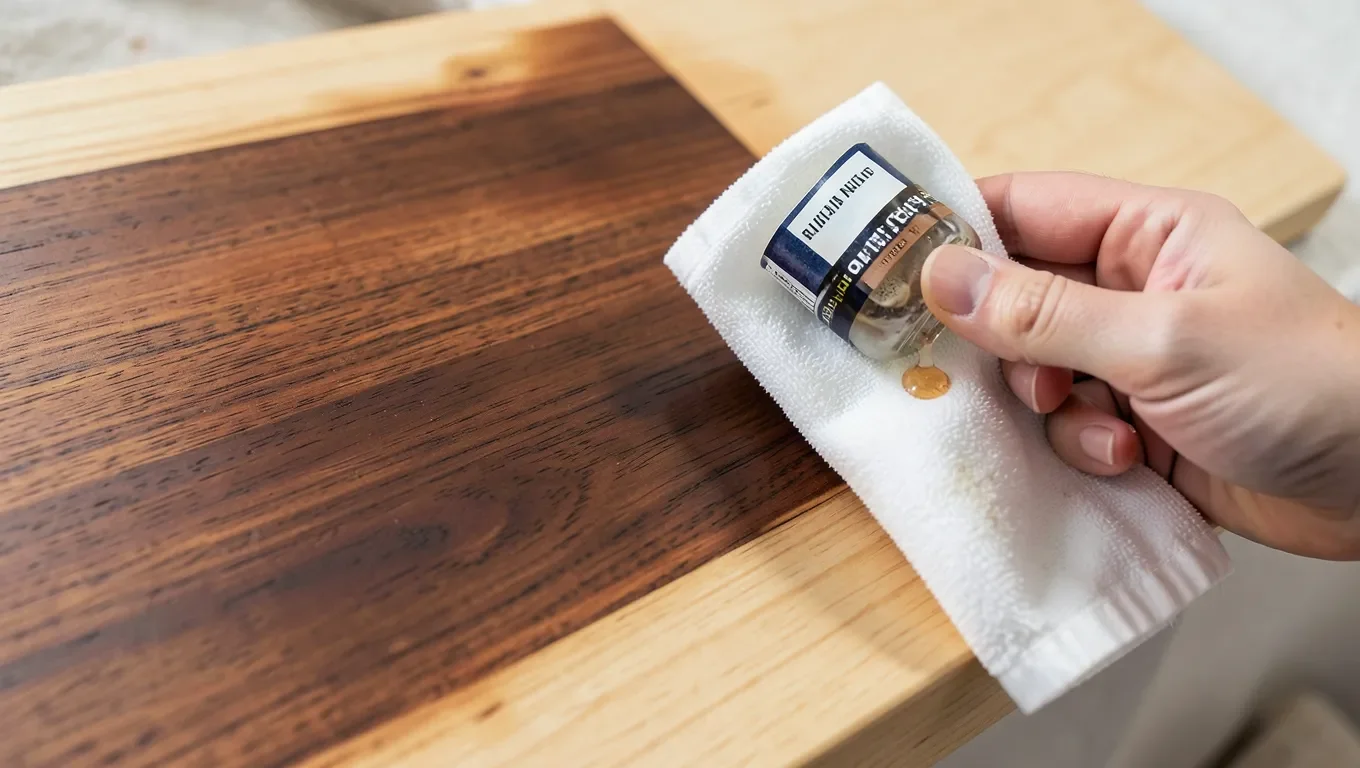
Step 1: Sand Properly
- Sand with 120-grit, then finish with 220-grit for a smooth, even surface.
- Sand with the grain, not against it, to avoid scratches that will show through the stain.
- Wipe away all dust with a tack cloth before moving to the next step.
Step 2: Apply A Pre-Stain Wood Conditioner
This is the single most effective step for preventing blotching on birch. A pre-stain conditioner partially seals the wood’s pores so the stain that follows absorbs more evenly. Apply with a clean cloth or foam brush, let it soak in for the time stated on the can (typically 5-15 minutes), then wipe off any excess before it dries. Don’t skip this step even if you’re using gel stain – conditioning still helps, though gel stain is more forgiving on its own.
Step 3: Choose Gel Stain Over Liquid Stain
- Gel stain has a thick, pudding-like consistency that sits on the wood surface instead of soaking in unevenly – this is the real reason it produces more consistent results on birch than a thin liquid stain.
- Liquid (penetrating) stain can still work on birch, but only reliably with a good pre-stain conditioner and careful, even application – it’s more prone to blotching than gel stain even with prep.
- Popular color options include natural, golden oak, dark walnut, and dark mahogany, but the color choice doesn’t change the blotching risk – the product type (gel vs. liquid) does.
Step 4: Apply The Stain
- Work in small sections, applying with a brush, cloth, or foam applicator.
- Wipe off excess before it dries – the longer stain sits, the darker the final color, so control the timing to match your target shade.
- For gel stain specifically, use long, even strokes and wipe in the direction of the grain to avoid streaking.
Step 5: Seal With A Clear Finish
Once the stain has fully dried, protect it with a clear finish. Water-based polyurethane is the most practical choice for most birch plywood projects – durable, resistant to yellowing over time, and available in a range of sheens from matte to gloss. Apply with a brush, foam applicator, or spray depending on the project size, following the product’s recommended dry and recoat times.
If You Still Get Blotching
- Light blotching: Sand lightly, apply another coat of pre-stain conditioner, and re-stain.
- Uneven color: An additional light coat of stain over the affected area, wiped carefully, often evens out the tone.
- Severe blotching: Sand back to bare wood and start over with a fresh application of conditioner and gel stain rather than trying to layer fixes on top of a bad result.
Frequently Asked Questions
What Is The Best Finish For Birch Plywood?
A clear water-based polyurethane over a properly applied gel stain gives the most reliable, even result. If you want to skip stain color entirely, clear polyurethane alone still protects the wood and shows off birch’s natural light tone.
Is Birch Wood Hard To Stain?
Yes, more than most hardwoods – its tight grain absorbs liquid stain unevenly, causing blotching. A pre-stain conditioner and gel stain (instead of liquid stain) are the two real fixes, not just careful application.
What Is The Best Wood Stain For Plywood?
Gel stain generally gives the most consistent results on plywood, especially birch, since it sits on the surface rather than soaking in unevenly. Liquid stain works too, but needs a pre-stain conditioner to avoid blotching.
How Do I Stain Birch Plywood To Look Like Walnut Or Another Hardwood?
Sand the surface, apply a pre-stain conditioner, then apply a walnut-toned gel stain following the grain direction, wiping off excess as you go. Seal with a clear polyurethane once the stain is fully dry.
Conclusion
Birch plywood’s blotching problem comes down to its tight grain absorbing stain unevenly – proper sanding helps, but a pre-stain conditioner and gel stain are the two changes that actually fix the underlying cause rather than just hoping careful application will work around it. Seal with a clear polyurethane once you’re happy with the color, and you’ll get a consistent, professional-looking finish.
Sponsored / affiliate links. As an Amazon Associate I earn from qualifying purchases. I may earn additional commission from eligible campaigns.
 Baltic Birch Plywood Sheets Box of 45 - Laser Engraving Cutting, Scroll Saw Nature Veneer Color, Stronger Than Basswood, A/A Grade,12 x 12 x 1/8”, 3mm Thickness Perfect for Wood Burning
 DWIL Water Based Wood Stain - Multiple Finishes, Fast Drying, Indoor and Outdoor Furniture, Wood Paneling, Cabinets and More, Low Odor & Non-Toxic (8.5oz Teak)