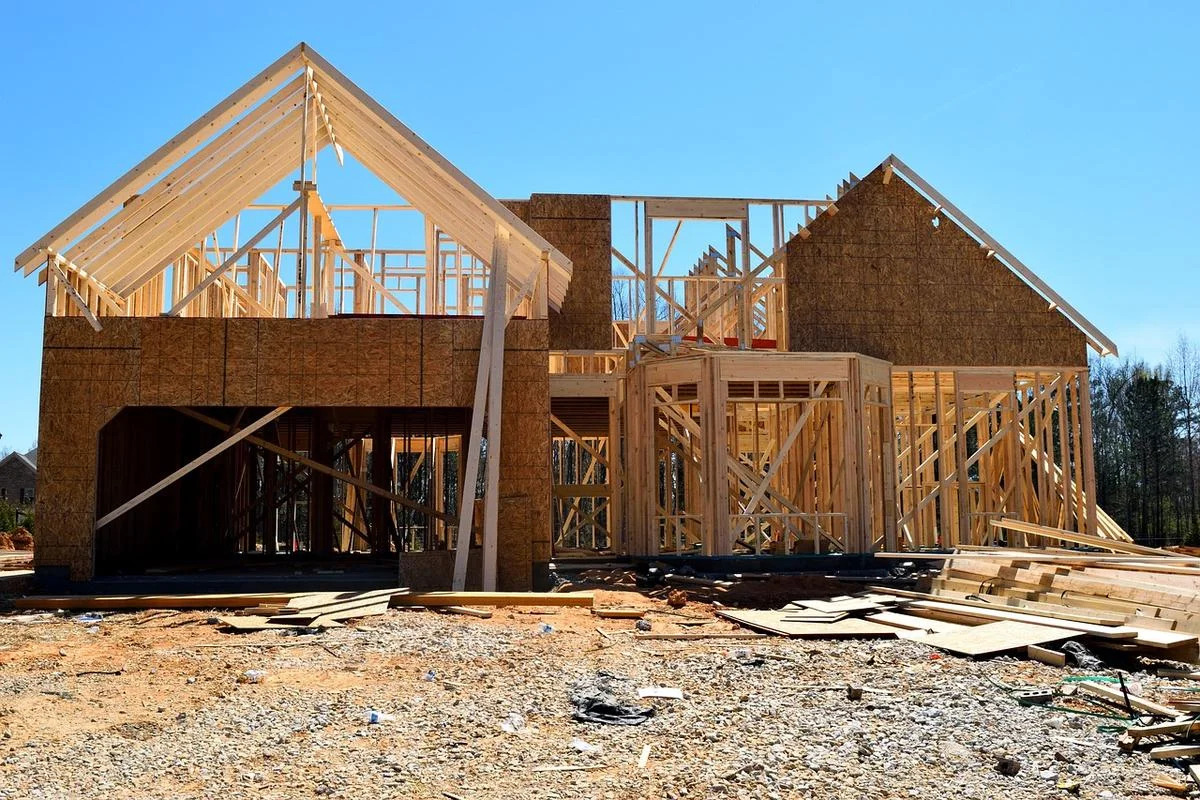
What Are Plywood Clips Used For? H-Clip Uses and Sizes
Plywood clips, also called H-clips or panel edge clips, are small metal clips that slide over the seam between two sheathing panels and support the edges where no framing sits underneath. On a roof, that unsupported edge falls midway between two rafters or trusses. The clip keeps the two panel edges level with each other, and many clips also hold the gap that lets the panels expand.
That is a narrower job than most guides suggest. Clips are not clamps, they are not woodworking joinery, and they do not replace nails. Below you will find where clips are actually specified, a quick table for deciding whether your panels need them, how to match clip size to panel thickness, and the mistakes that cause callbacks. If you only want a count, our guide to how many H-clips per sheet of plywood does the math for each rafter spacing.
What Are Plywood Clips Used For?
Best 1/2-Inch H-Clip Pick
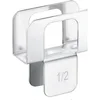 |
Hicarer 100-Pack 1/2-Inch Plywood H-Clips: $16.99 A box of hot-dip galvanized steel clips for 1/2-inch roof or wall sheathing, enough for a small roof plus spares.
|
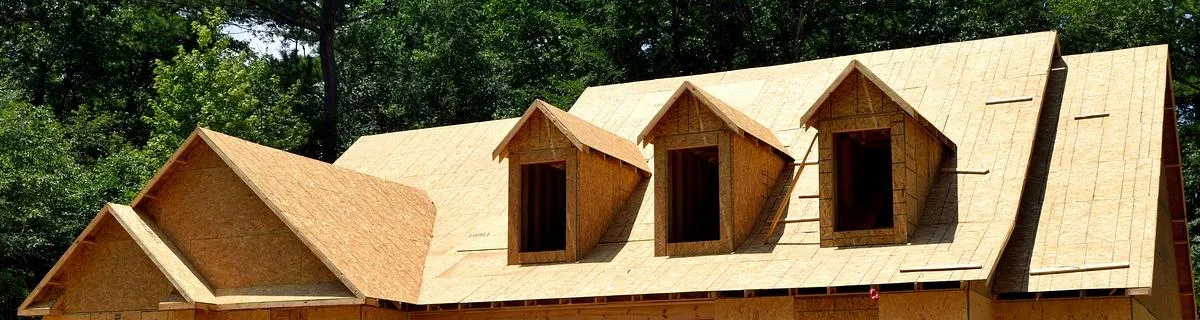
Plywood clips are used almost entirely on square-edge roof sheathing, and sometimes on wall and subfloor sheathing, to do two things. First, they support the panel edge between framing members so one panel cannot deflect below its neighbor when someone walks on it or when shingles are nailed down. Second, they keep a consistent gap between panels so the wood has room to swell in humid weather.
APA, the engineered wood association, treats edge support as a requirement for roof sheathing that is not backed by framing at every edge. You can provide it with tongue-and-groove panels, with lumber blocking, or with panel edge clips. Clips are the cheapest and fastest of the three, which is why roofers reach for them on square-edge sheets.
One myth is worth clearing up. A number of pages describe plywood clips as reusable clamps that hold sheets together for furniture or cabinet assembly. The clips sold under this name are not made for that. They are galvanized steel edge clips that stay on the roof for the life of the roof, and they are not a substitute for a glue joint, a screw or a clamp in a shop project.
Where You Need Plywood Clips and Where You Can Skip Them
According to APA guidance, sheathing panels 24 inches wide or wider that span two or more supports should get one panel edge clip midway between each pair of supports. When the supports are 48 inches on center or farther apart, the guidance calls for two equally spaced clips between supports instead of one. Check the span rating stamped on your panels and confirm the requirement with your local code or an engineer before you decide to skip clips.
| Situation | Are clips needed? |
|---|---|
| Square-edge roof sheathing, 24 in. rafters | Yes, one clip midway between rafters on unsupported edges |
| Square-edge roof sheathing, supports 48 in. or more apart | Yes, two equally spaced clips per span, and confirm with your local code |
| Tongue-and-groove roof decking | Usually no, the edges already interlock |
| Panel edges landing on a rafter or stud | No clip needed, the framing supports the edge |
| Edges supported by lumber blocking | No clip needed, the blocking is the edge support |
| Furniture, cabinets, shop projects | Not applicable, use glue, screws or clamps |
Wall sheathing and subfloors follow the same logic where the panels are square-edge and unsupported between framing, but requirements vary by panel type and by jurisdiction. Some codes ask for blocking instead. Treat this article as background, then confirm the rule for your build in the panel manufacturer’s instructions and with your local building department.
Matching Clip Size to Panel Thickness
Clips are sold by panel thickness, and the size is usually stamped on the clip itself. The 1/2-inch clip in the box above shows a 1/2 marking on its tab. A clip that is too small will not slide onto the edge, and one that is too large leaves the panel edge loose, which defeats the point.
| Nominal panel thickness on the stamp | Clip size to buy |
|---|---|
| 7/16 in. | 7/16-inch clip |
| 1/2 in. | 1/2-inch clip |
| 5/8 in. | 5/8-inch clip |
| 3/4 in. | 3/4-inch clip |
Read the thickness from the grade stamp on the panel, not from what the lumberyard called it. Many sheets sold as 1/2 inch measure slightly under that, and the clip is sized to the nominal rating, so go by the stamp and by the size listed on the clip package.
Cost is small. A 100-pack at $16.99 works out to roughly $0.17 per clip, so even a roof that needs a few hundred clips is a modest line item compared with the sheathing itself.
The 1/8-Inch Gap: Why It Matters
APA recommends about 1/8 inch of spacing at all panel edges and end joints unless the panel manufacturer says otherwise. Wood panels take on moisture and swell, and without a gap they can push against each other and buckle. Some clips have a tab in the middle that sets this gap automatically. If yours does not, APA notes that a 10d box nail, which is 0.128 inch by 3 inches, can serve as a spacer gauge between panels.
Do not close the gap with a hammer to make the roof look tighter. A snug joint looks neat on installation day, but it leaves nowhere for the panels to grow.
How to Install Plywood Clips
- Lay the first sheet of the row with its long edge across the rafters and nail it to the framing following the panel maker’s nailing schedule.
- Slide a clip onto the free edge of that sheet, centered midway between two rafters.
- Push the next sheet into the open side of the clip so the clip straddles both edges and the gap is set.
- Nail the second sheet to the framing, then repeat down the row, staggering end joints from one row to the next.
- Add a second clip per span where the supports are 48 inches on center or farther apart, if your local code requires it.
Clips only work on the long edges that run between framing members. The short ends normally land on a rafter and do not need one. Never rely on a clip to hold a panel in place, because the nails carry the load.
Common Mistakes With Plywood Clips
- Wrong size: using a 7/16-inch clip on 1/2-inch panels forces the edge or leaves it loose. Match the clip to the stamped thickness.
- Skipping the gap: panels butted tight can buckle after a wet season.
- Using clips as fasteners: a clip does not connect the panel to the roof frame, only nails or screws do.
- Clipping tongue-and-groove panels: the edges already lock, so the clip adds cost without adding much.
- Ignoring local code: some jurisdictions specify blocking or particular panel types, so check first.
- Cheap uncoated clips: plain steel can rust in a damp attic, so look for galvanized clips.
Related Roof Sheathing Guides
If you are planning the roof deck itself, these guides cover the rest of the decision: 5/8 plywood for a roof, the best plywood for roofing, what sheathing plywood is used for, and how much plywood expands.
Frequently Asked Questions
Are plywood clips the same as H-clips?
Yes. Plywood clips, H-clips, panel edge clips and sheathing clips are all names for the same small metal clip that slides over the joint between two panel edges. They are sold by panel thickness, and one clip goes on the unsupported edge between two rafters, trusses or joists.
Do plywood clips replace nails?
No. Clips only support and align the panel edges between framing members. The panels still have to be nailed to the framing following the panel manufacturer’s nailing schedule and your local building code.
Do you need plywood clips on tongue-and-groove panels?
Usually not. Tongue-and-groove edges already provide edge support, so clips are for square-edge panels. Lumber blocking under the edge is the other common alternative. Check your local code or ask an engineer if the roof is unusual.
What gap should you leave between plywood panels when using clips?
A 1/8-inch gap at panel edges and end joints is the commonly recommended spacing unless the panel maker says otherwise. Many clips have a built-in spacer tab, or you can use a 10d box nail as a gauge.
Conclusion
Plywood clips are a small, cheap part that supports the unsupported edges of square-edge sheathing and keeps the expansion gap consistent. Buy them by panel thickness, place one midway between supports, leave the 1/8-inch gap, and keep nailing the panels to the framing as the manufacturer specifies. Where the roof is unusual or your local code is stricter, check with your building department or an engineer.
Sponsored / affiliate links. As an Amazon Associate I earn from qualifying purchases. I may earn additional commission from eligible campaigns.