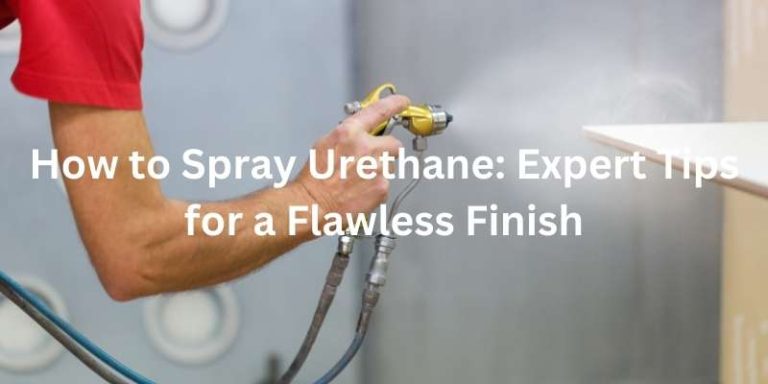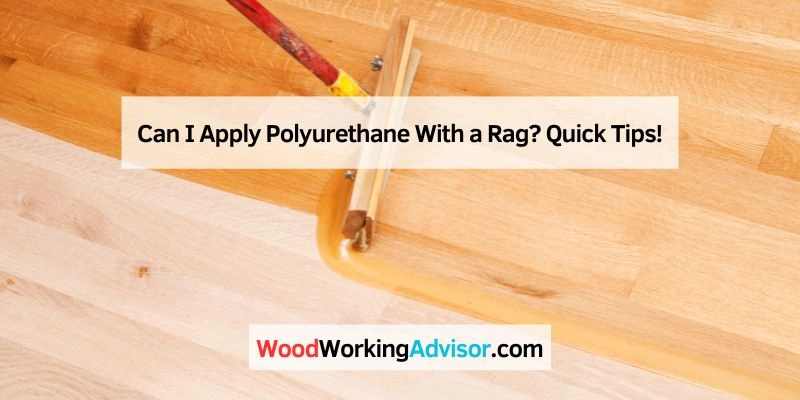
Can I Apply Polyurethane With a Rag? Quick Tips!
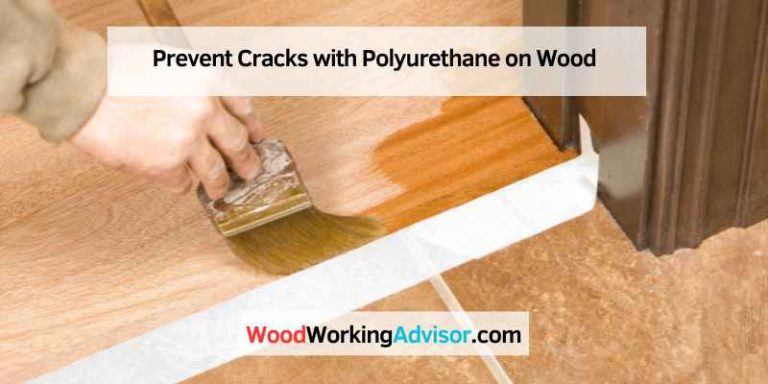
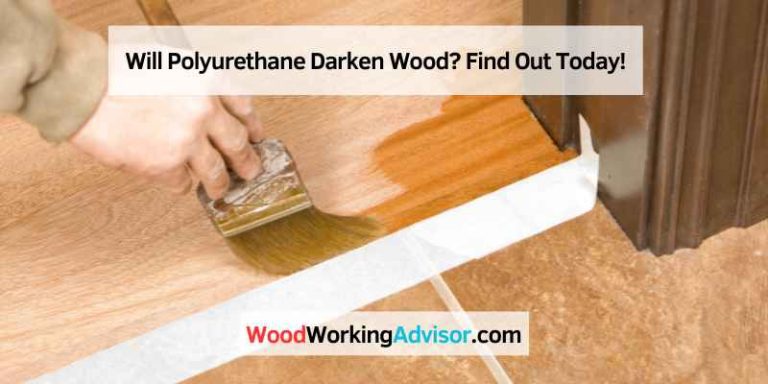
Yes, you can apply polyurethane with a rag. This method allows for an even application and can minimize brush strokes.
Polyurethane finishes offer protection and enhance the beauty of wood surfaces. Applying them with a rag is a popular technique among DIY enthusiasts. This method provides excellent control, making it easier to reach tight corners and intricate designs. Using a rag also allows for a thinner coat, which can reduce drying time and prevent drips.
It’s essential to use a clean, lint-free rag to avoid leaving fibers behind. Choosing the right type of polyurethane, whether oil-based or water-based, can affect your project’s outcome. Understanding these factors will help you achieve a smooth and durable finish on your woodwork.
Introduction To Polyurethane Finishes
Polyurethane finishes are popular for their durability and beauty. These finishes protect wood surfaces while enhancing their natural look. Many people wonder about different application methods. Using a rag for application is one such method worth exploring.
The Basics Of Polyurethane
Polyurethane is a synthetic resin. It comes in liquid form and dries hard. This finish is available in two main types:
- Oil-based polyurethane: Takes longer to dry. It offers a warm tone.
- Water-based polyurethane: Dries quickly. It has less odor and a clear finish.
Both types provide excellent protection against scratches and moisture. They are suitable for furniture, floors, and cabinetry.
Benefits Of Using Polyurethane
Using polyurethane offers several key advantages:
- Durability: Resists wear and tear effectively.
- Versatility: Suitable for various surfaces and projects.
- Easy Maintenance: Simple to clean and maintain.
- Attractive Finish: Enhances the wood’s natural grain.
- Moisture Resistance: Protects against water damage.
These benefits make polyurethane a top choice for many DIY enthusiasts. It offers both beauty and longevity.
Polyurethane Application Tools
Choosing the right tools for applying polyurethane is crucial. The right tools ensure a smooth finish and reduce application issues. Two popular options are traditional brushes and rags. Each has its benefits. Understanding these tools helps achieve the best results.
Traditional Brushes Vs. Rags
Both traditional brushes and rags serve unique purposes. Here’s a quick comparison:
| Tool | Advantages | Disadvantages |
|---|---|---|
| Traditional Brushes |
|
|
| Rags |
|
|
Choosing The Right Rag
Not all rags are suitable for polyurethane application. Here are some tips:
- Material: Use cotton or microfiber rags.
- Lint-Free: Ensure the rag doesn’t leave fibers behind.
- Size: Choose a size that fits your hand comfortably.
- Thickness: Thicker rags hold more product.
Testing different rags can help find the best one. An appropriate rag enhances the final finish.
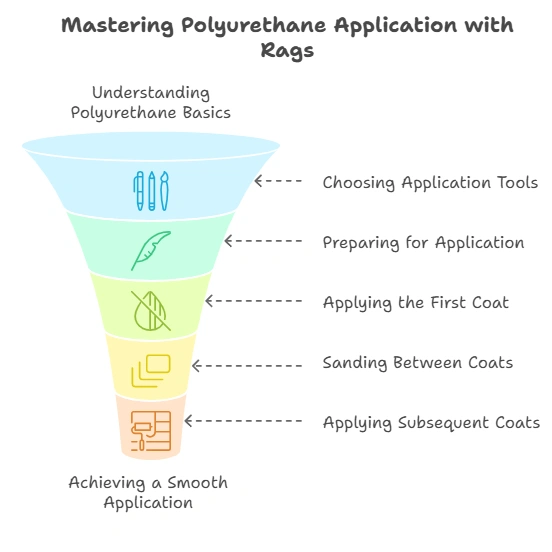
Preparing To Apply Polyurethane With A Rag
Applying polyurethane with a rag can be simple and effective. Proper preparation is key for a smooth finish. Follow these steps for the best results.
Surface Preparation
Preparing the surface is crucial for a good finish. Follow these steps:
- Clean the Surface: Remove dust, dirt, and grease.
- Sanding: Sand the surface lightly with fine-grit sandpaper.
- Remove Dust: Use a tack cloth to wipe away dust.
- Check for Imperfections: Fill in any holes or cracks.
Always work in a well-ventilated area. Ensure the surface is dry before applying polyurethane.
Selecting Your Polyurethane Type
Choose the right polyurethane for your project. Options include:
| Type | Features | Best For |
|---|---|---|
| Oil-Based | Durable, yellow over time | Floors and furniture |
| Water-Based | Fast-drying, less odor | Indoor projects and quick jobs |
| Gel Polyurethane | Thick consistency, easy to control | Vertical surfaces and intricate details |
Choose based on your needs and project type. Each type has unique benefits.
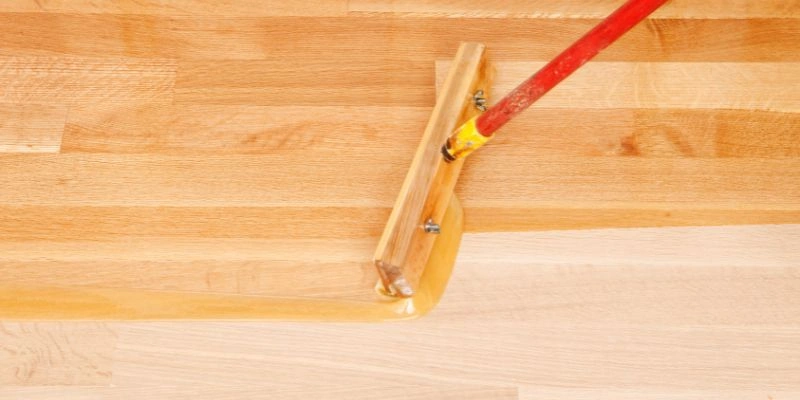
Step-by-step Guide To Applying Polyurethane
Applying polyurethane can enhance the beauty of wood. This guide covers the steps for a smooth finish. Follow these instructions carefully for the best results.
Applying The First Coat
Start with clean and dry wood. Gather the following materials:
- Polyurethane finish
- Lint-free rags
- Paint stir stick
- Disposable gloves
Follow these steps:
- Stir the polyurethane gently.
- Dip the rag into the finish.
- Wipe the rag on the wood.
- Use even strokes. Work with the wood grain.
- Let it dry as per the instructions.
Sanding Between Coats
Sanding is essential for a smooth finish. After the first coat dries, follow these steps:
- Use fine-grit sandpaper (220 grit).
- Lightly sand the surface.
- Remove dust with a clean, dry rag.
Repeat this step between each coat.
Applying Subsequent Coats
After sanding, apply the next coat. Here’s how:
- Stir the polyurethane again.
- Use a fresh rag for application.
- Apply the finish with smooth, even strokes.
- Allow each coat to dry completely.
- Sand between each coat.
Apply at least three coats for durability.
Tips For A Smooth Application
Applying polyurethane with a rag can be easy. Follow these tips for a smooth application. Focus on avoiding bubbles and streaks. Control your application environment for the best results.
Avoiding Bubbles And Streaks
Bubbles and streaks ruin the finish. Here are some tips to avoid them:
- Use a clean, lint-free rag.
- Apply polyurethane in thin layers.
- Work quickly to prevent drying.
- Wipe off excess product immediately.
Controlling The Application Environment
The right environment helps your project. Keep these points in mind:
| Factor | Ideal Condition |
|---|---|
| Temperature | 70-75°F (21-24°C) |
| Humidity | 40-60% |
| Airflow | Good, but not too windy |
Choose a well-ventilated area. Avoid direct sunlight. This helps prevent uneven drying.
Common Mistakes And How To Avoid Them
Applying polyurethane with a rag can be simple. Many make mistakes that lead to poor results. Here are common mistakes and how to avoid them.
Using The Wrong Rag Material
Choosing the right rag is crucial. Some materials leave lint. Lint can ruin a smooth finish.
- Use lint-free rags. Microfiber is a great choice.
- Avoid cotton rags. They may shed fibers.
- Don’t use old or dirty rags. They can introduce debris.
Using the wrong material can lead to uneven surfaces. Always test a small area first. This helps ensure the rag works well.
Applying Too Much Pressure
Applying too much pressure can cause issues. It can lead to streaks and uneven coats.
- Use light, even strokes.
- Let the rag do the work. Don’t force it.
- Practice on scrap wood before starting.
Light pressure allows for a smooth application. This technique helps avoid bubbles and pooling. Focus on a consistent motion.
| Common Mistake | Solution |
|---|---|
| Wrong rag material | Use lint-free microfiber rags |
| Too much pressure | Apply with light, even strokes |
By avoiding these mistakes, you can achieve a better finish. Enjoy your project with great results!
Caring For Your Polyurethane Finish
A well-applied polyurethane finish enhances the beauty of wood. Proper care ensures its durability and shine. Follow these tips to maintain your finish effectively.
Maintenance Tips
Keeping your polyurethane finish in top shape is easy. Use these simple steps:
- Clean Regularly: Dust surfaces weekly with a soft cloth.
- Avoid Harsh Chemicals: Use mild soap and water for cleaning.
- Use Coasters: Protect surfaces from water rings and heat.
- Keep it Dry: Wipe spills immediately to prevent damage.
These small actions prevent wear and tear, keeping your finish looking fresh.
Repairing Scratches And Wear
Scratches can happen over time. Fortunately, repairing them is straightforward:
- Identify the Scratch: Look closely to see its depth.
- Sand Lightly: Use fine-grit sandpaper for minor scratches.
- Clean the Area: Remove dust with a damp cloth.
- Apply Polyurethane: Use a rag to apply a thin coat.
- Let it Dry: Follow the manufacturer’s drying time.
For deeper scratches, consider using a wood filler before applying polyurethane.
Faqs: Polyurethane Application With A Rag
Understanding how to apply polyurethane using a rag can be confusing. Here are some frequently asked questions to help you.
Can I Use Any Type Of Rag?
Not all rags are suitable for applying polyurethane. Here are the best options:
- Lint-free cloths work best. They prevent streaks.
- Cotton rags are also good. They absorb well.
- Avoid paper towels. They can leave fibers.
Always ensure the rag is clean. Dirt can ruin your finish.
How Many Coats Should I Apply?
The number of coats depends on the desired finish:
| Finish Type | Recommended Coats |
|---|---|
| Matte | 2-3 coats |
| Satin | 3-4 coats |
| Glossy | 4-5 coats |
Always allow each coat to dry completely. This ensures a strong finish.
Frequently Asked Questions
Can I Use A Rag To Apply Polyurethane?
Yes, you can use a rag to apply polyurethane. This method allows for a smooth, even finish. However, ensure the rag is lint-free to avoid imperfections. Apply thin coats and use long strokes for best results. Always follow the manufacturer’s instructions for optimal application.
What Type Of Rag Is Best For Polyurethane?
A lint-free cotton rag is best for applying polyurethane. It prevents fibers from getting into the finish. Microfiber cloths can also work well. Avoid using towels that shed lint. This ensures a clean, smooth application without any debris.
How Do I Prevent Streaks When Applying Polyurethane?
To prevent streaks, apply thin coats of polyurethane with a rag. Work in long, even strokes and avoid overworking the finish. Allow each coat to dry completely before applying the next. Sand lightly between coats for an ultra-smooth surface.
How Long Does Polyurethane Take To Dry?
Polyurethane typically takes about 24 hours to dry. However, drying time can vary based on humidity and temperature. Always check the product label for specific drying times. Avoid heavy use or water exposure until fully cured, which can take several days.
Conclusion
Applying polyurethane with a rag can be effective for achieving a smooth finish. This method allows for better control and less waste. Always ensure proper ventilation and follow safety precautions. With practice, you can master this technique, enhancing the beauty of your wood surfaces while ensuring durability.
Happy finishing!