What Does It Mean to Countersink a Screw? (Angle and Depth Chart)
To countersink a screw means to cut a cone-shaped recess in the surface so a flat-head screw can sit flush with the wood, or just below it, instead of standing proud. The recess has to match the angle under the screw head (82° for most US wood screws, 90° for metric) and be deep enough to swallow the head but no deeper. This guide shows how a countersink differs from a counterbore and a pilot hole, then gives a computed depth table so you can set your bit instead of guessing.
What Countersinking Means in Woodworking
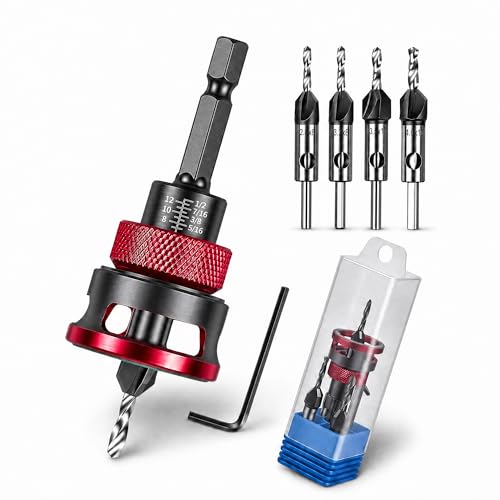
Best 3-in-1 Countersink Set
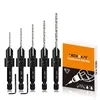 |
5-Piece 3-in-1 Countersink Counterbore Drill Bit Set (#6, 8, 10, 12, 16) Each bit cuts the pilot hole and an 82-degree countersink in one pass, with a stop collar to lock the depth.
|
As an Amazon Associate we earn from qualifying purchases.
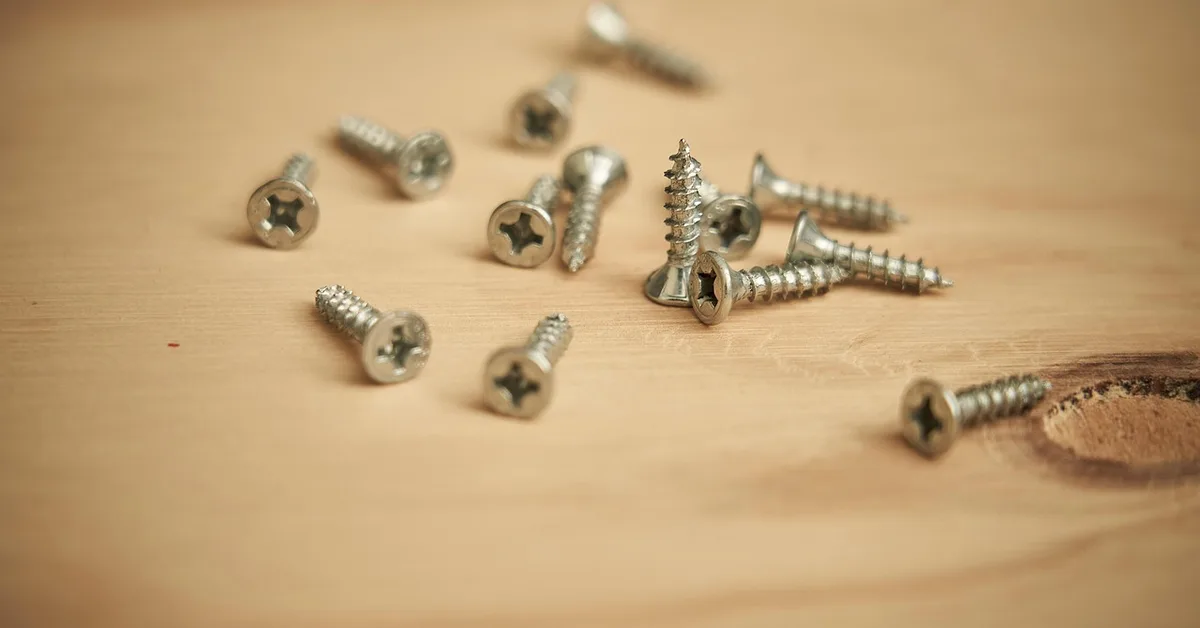
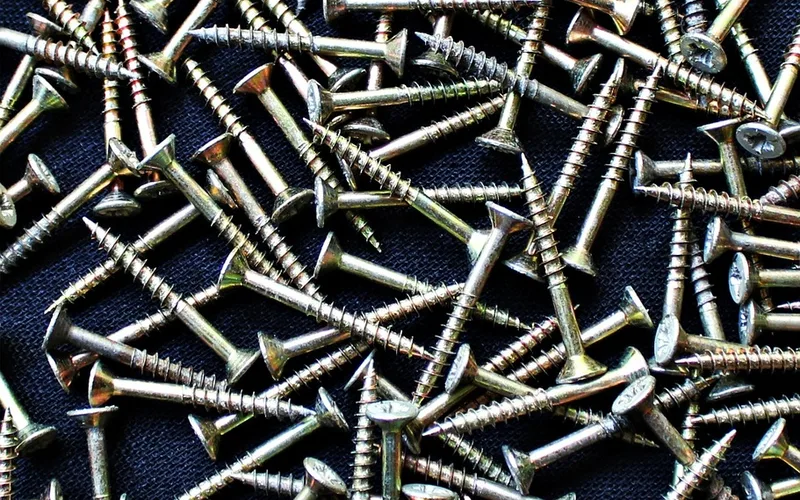
A countersink is both the tool (a cone-shaped cutter) and the hole it leaves behind. A countersunk screw is a flat-head screw designed to sit in that cone: its head is flat on top and tapers like a funnel underneath. When you see “countersunk” on a screw box, it describes the head shape, not a hole that is already done.
The reason to bother is practical. A flush head will not snag a sleeve or a sanding block, it lets a finish or filler cover the fastener, and it spreads the clamping load across the whole cone instead of a thin rim. The cone also pushes sideways on the wood fibers as the screw seats, which is why a countersink cut too close to an edge, or cut with no pilot hole, can split a board.
Countersink vs Counterbore vs Pilot Hole
Three different holes get mixed up constantly, and a single screw joint often uses more than one. They are not interchangeable.
| Hole type | Shape | Its job | Typical bit |
|---|---|---|---|
| Pilot hole | Narrow straight hole, sized to the screw core | Guides the threads and stops the wood splitting | Twist bit or tapered pilot bit |
| Clearance hole | Straight hole, sized to the screw shank | Lets the top board slide down so the screw pulls the joint tight | Twist bit |
| Countersink | Cone, matched to the head angle | Seats a flat or oval head flush | Countersink bit (82 or 90 degree) |
| Counterbore | Flat-bottomed cylinder | Sinks a bolt or pan head, or leaves room for a wood plug | Counterbore bit or plug-cutter set |
A combination bit cuts the pilot and the countersink together, which is the fastest way to get them concentric. For the exact pilot and clearance sizes by gauge, use the wood screw sizes chart instead of repeating them here. If your fastener is a bolt, or a screw hidden under a plug, you want a counterbore, not a countersink.
82° vs 90°: Which Countersink Angle Do You Need?
The angle is the full included angle of the cone. Inch-series flat-head screws are made to 82 degrees, while metric flat-head screws use 90 degrees. Pick the bit by the screw, not by the bit set you already own.
| Angle | Standard | Where you meet it |
|---|---|---|
| 82° | US / inch (ANSI) | Almost every wood screw sold in North America |
| 90° | Metric (ISO) | Imported furniture hardware and metric machine screws |
| 100° | Aircraft-style | Flush rivets and some sheet-metal fasteners |
A small mismatch will not ruin a job in softwood, but it changes where the head bears: a 90° bit under an 82° screw tends to leave the head touching only part of the cone, so it can sit slightly high or seat unevenly. If you are unsure, drop the screw in the test hole before driving it.
How Deep Should You Countersink? The Numbers
Most guides say “just deep enough,” which is no help when you are setting a stop collar. The recess only has to be as deep as the screw head is tall, and that follows from geometry: head height = (head diameter minus screw diameter) divided by (2 x tan 41°) for an 82° head. The head diameters below are the standard maximum flat-head wood screw sizes, and the depths are computed from them.
| Screw gauge | Screw diameter | Head diameter | Recess depth (computed) | Nearest fraction |
|---|---|---|---|---|
| #6 | 0.138 in | 0.279 in | 0.081 in | 5/64 in |
| #8 | 0.164 in | 0.332 in | 0.097 in | 3/32 in |
| #10 | 0.190 in | 0.385 in | 0.112 in | 7/64 in |
| #12 | 0.216 in | 0.438 in | 0.128 in | 1/8 in |
Use these as a starting setting, then adjust on a scrap of the same wood. Three rules follow from the table:
- Stop at flush, not “a little extra.” Sinking a head 1/16 in below the surface of 3/4 in stock removes wood the screw is gripping and leaves a divot to fill.
- Soft wood compresses. In pine a head will pull itself slightly below a perfectly flush recess. In oak or maple it will not, so cut hardwood recesses to the exact figure.
- Keep the pilot deeper than the screw tip. Cut the recess to the table depth, but let the pilot run past the tip so the threads never bottom out in the hole.
Types of Countersink Bits
Not every countersink bit leaves the same finish, and the cheapest option is rarely the best for wood.
- Combination pilot and countersink bits are tapered bits that cut both holes at once. Many have an adjustable stop collar, which makes them the easiest choice for repeated screw sizes.
- Single-flute and multi-flute countersinks mount in a drill chuck behind a separate pilot bit. Fewer flutes cut faster but can chatter, while more flutes leave a smoother cone, which matters on visible hardwood.
- Cross-hole (zero-flute) countersinks have an angled hole in the cone that clears chips. They are common in metalwork and leave a clean finish with little chatter.
- Counterbore and plug-cutter sets do a different job: they make a flat step so you can hide the screw under a plug.
How to Countersink a Screw Step by Step
- Clamp the work. A board that spins or slides while you drill is the most common way to get hurt. Clamp it and wear safety glasses.
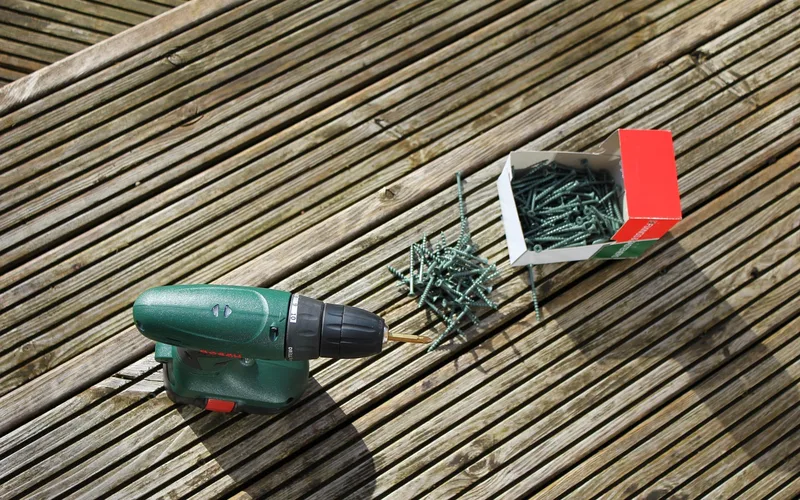
- Mark the center and drill the pilot hole to the depth of the screw, sized for the wood (smaller for hardwood, larger for softwood).
- Cut the countersink with a bit that matches the screw head angle, stopping at the depth in the table above.
- Test-fit the screw without driving it. The head should be level with the surface.
- Drive the screw at low clutch torque so the head seats instead of bottoming out and stripping.
Common Mistakes and How to Fix Them
Splitting near an edge or end grain
Wood fibers wedge apart when the cone pushes sideways. Keep screws a few screw diameters away from the edge, always drill the pilot first, and slow the drill for the final cut. Painter’s tape over the spot helps stop surface tear-out.
Chatter marks or a ragged recess
That is usually a fast drill or a dull multi-flute bit. Slow down, press lightly, and let the cone cut rather than rub.
Head sinks too deep
Fill the recess with wood filler or glue in a plug. If the joint has lost holding power, move the screw to a fresh spot. For the next hole, set the collar from the depth table and test on scrap.
Head stays proud
Either the recess is too shallow, the angle is wrong, or the pilot is too tight so the screw bottoms out. Back the screw out, deepen the recess a hair, and recheck.
When You Should Not Countersink
A countersink is the wrong tool in a few cases. Pocket-hole screws have a flat washer head and sit in a stepped pocket, so they do not need one. Thin stock gives the cone too little wood to bear on. And when you are bolting something, use a counterbore. For cabinet work, see what screws to use for cabinets, and for fastening metal brackets, how to attach metal to wood covers which fasteners suit a countersunk hole. Our guide to using wood screws covers driving technique, and the best woodworking screws roundup lists screws shaped for countersinking.
Frequently Asked Questions
What does it mean to countersink a screw?
To countersink a screw means to cut a cone-shaped recess so a flat-head screw sits flush with, or slightly below, the surface of the wood instead of standing proud.
What is the difference between a countersink, a counterbore and a pilot hole?
A pilot hole is a narrow guide hole for the screw threads. A countersink is a cone that seats a flat head flush. A counterbore is a flat-bottomed cylinder that sinks a bolt or pan head or leaves room for a wood plug.
What angle countersink bit do I need for wood screws?
Use an 82 degree countersink for most wood screws sold in North America. Metric flat-head screws use 90 degrees, so check the screw before choosing a bit.
How deep should you countersink a screw?
Only as deep as the screw head is tall. For an 82 degree head that is about 5/64 in for a number 6 screw, 3/32 in for a number 8, 7/64 in for a number 10 and 1/8 in for a number 12.
Can you countersink without a countersink bit?
A larger twist bit makes a flat-bottomed step, not a cone, so a flat head will not seat as well. Some screws have ribs under the head that help them cut their own recess in softwood, but a proper bit gives a cleaner result and splits less wood.
Conclusion
Countersinking is cutting a cone that matches the screw head so the fastener sits flush. Match the angle (82° for US wood screws, 90° for metric), set the depth from the table rather than by eye, and drill the pilot first. Get those three things right and the screw heads will disappear into the surface.
Sponsored / affiliate links. As an Amazon Associate I earn from qualifying purchases. I may earn additional commission from eligible campaigns.