What Is a Bevel Cut? Bevel vs Miter Explained
A bevel cut angles the blade through the material’s thickness, so the cut face slopes instead of standing square to the surface. That’s the key difference from a miter cut, which keeps the blade vertical and instead angles the cut across the material’s width. Confusing the two is the single most common mix-up in this topic.
On a table saw, a bevel is the blade-tilt adjustment; on a miter saw, it’s the second angle you can dial in beyond the miter (rotation) angle — which is exactly why “compound miter” saws exist: they combine both a rotated miter angle and a tilted bevel angle in one cut.
Bevel vs. Miter: The Distinction That Actually Matters
Angle Transfer Pick
 |
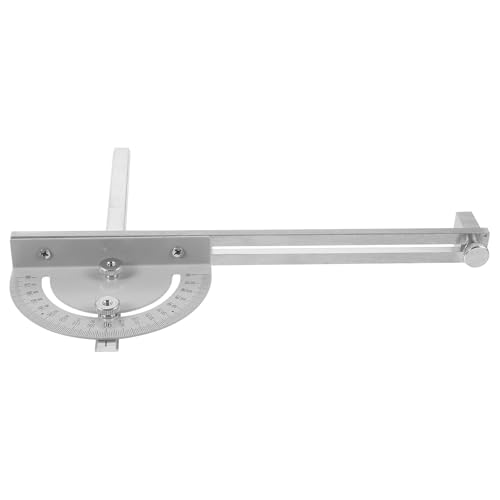
Swanson Sliding T-Bevel Angle Finder – $17.99 Lets you copy an existing angle straight off a workpiece or plan and transfer it to your saw’s bevel setting — more reliable than eyeballing a protractor reading for an odd, non-standard angle.
|
| Cut Type | What Tilts/Rotates | Result |
|---|---|---|
| Bevel | Blade tilts relative to the table (through material thickness) | Angled edge on the face of the cut |
| Miter | Blade or workpiece rotates across the material’s width | Angled corner, blade stays vertical |
| Compound miter | Both — blade tilted AND rotated | Angled corner with a sloped face, needed for crown molding |

Common Bevel Angles and Where They Come From
45° is the most common bevel angle in woodworking — it’s what makes two boards meet at a clean 90° corner (picture frames, box joints, mitered trim). A compound bevel for crown molding typically combines a bevel somewhere in the 33.85°-45° range with a separate miter angle, depending on the molding’s spring angle and your saw’s setup charts. In metal fabrication, bevel angles in the 22.5°-45° range are standard for weld-prep edges, since that range gives the weld enough of a V-groove to fuse fully through the metal’s thickness without wasting filler material on an unnecessarily wide bevel.
Tools for Bevel Cuts in Woodworking
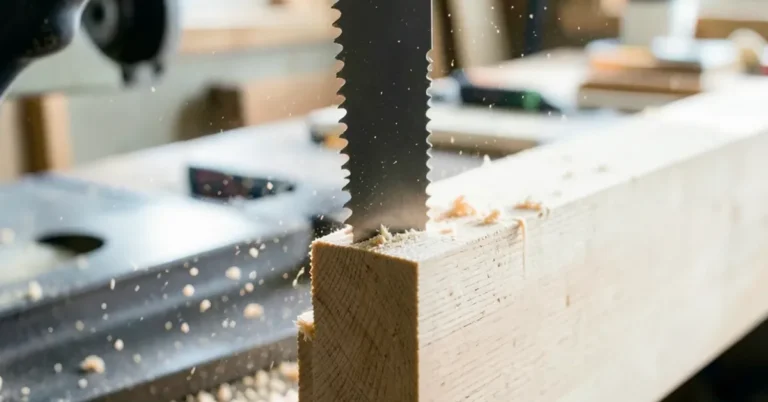
- Table saw: tilt the arbor (see our left-tilt vs. right-tilt guide for how tilt direction affects bevel-rip safety) and rip or crosscut as usual — the fence and miter gauge work the same way, just against an angled blade.
- Miter saw: most compound miter saws bevel from 0° to 45° (some dual-bevel models tilt both directions without flipping the workpiece), independent of the miter/rotation angle.
- Circular saw: the baseplate tilts for a bevel — useful for on-site trim and sheet goods where a stationary saw isn’t practical.
- Hand tools: a block plane or a bevel-edge chisel can hand-cut a small bevel on an edge, common for chamfering a tabletop or shelf edge without power tools.
Getting an Accurate Bevel
- Verify the saw’s bevel scale against a digital angle gauge before cutting — factory bevel stops drift over time and a scale reading “45” isn’t always exactly 45.
- Cut a test piece on scrap first and check the angle with a protractor or the same digital gauge, especially for a compound cut where two small errors compound into a visibly bad joint.
- Support the workpiece fully — a bevel cut changes the blade’s contact geometry with the material, and an unsupported overhang is more likely to chip out on a beveled edge than a square one.
- Cut slightly proud of your line on the first pass if precision really matters, then sneak up on the final angle with a shallow finishing pass.
Common Woodworking Applications
- Picture frames and mitered trim: a 45° bevel (technically the miter angle here, but often loosely called “beveling” the corner) lets two pieces meet cleanly at a 90° corner.
- Crown molding: compound cuts combining bevel and miter angles are what let flat molding stock sit at the correct spring angle where wall meets ceiling.
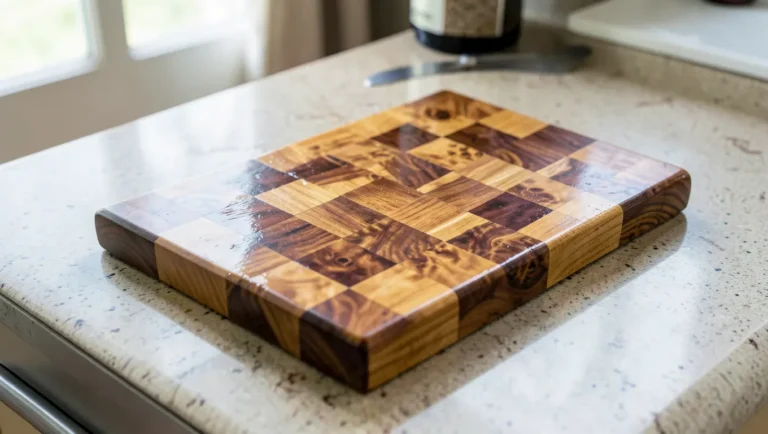
- Tabletop and panel edges: a shallow bevel (sometimes called a chamfer at very small angles) softens a sharp 90° edge for both looks and safety.
- Box and drawer joinery: beveled edges on box sides let four panels meet at clean mitered corners without exposed end grain.

Safety Notes Specific to Bevel Cuts
A tilted blade changes the geometry of a table saw’s riving knife/splitter relative to the cut — check your saw’s manual for whether the riving knife still provides full protection at your chosen bevel angle, since some settings reduce its effectiveness. Always use a push stick on a bevel rip; the tilted blade puts your hand closer to the blade’s path than the same cut would on a square setting. Standard eye and hearing protection apply as with any power-tool cut.
Frequently Asked Questions
What Does Bevel Cut Mean?
A bevel cut angles the blade through the material’s thickness, producing a sloped face rather than a square edge. It’s distinct from a miter cut, which keeps the blade vertical and angles across the material’s width instead.
What Is The Purpose Of A Bevel?
Bevels let two pieces meet at a clean angled joint (as in picture frames and crown molding), soften a sharp edge for looks or safety, and in metal fabrication, prepare an edge to accept a full-penetration weld.
What Does Bevel Look Like?
A sloped, flat face along an edge, most commonly at 45° but ranging anywhere from a shallow decorative chamfer to a steep near-vertical angle depending on the project.
How Do You Make A Bevel Cut?
Tilt the saw’s blade (table saw arbor, miter saw bevel adjustment, or circular saw baseplate) to the target angle, verify it against a digital angle gauge, test on scrap, then cut with full support under the workpiece and a push stick for any rip cut.
Conclusion
The one thing worth remembering: bevel tilts the blade through the material’s thickness, miter rotates it across the width, and compound cuts use both together. Everything else — which tool, which angle, which application — follows from that distinction.
Sponsored / affiliate links. As an Amazon Associate I earn from qualifying purchases. I may earn additional commission from eligible campaigns.