What Tools Are Used for Etching Wood? 6 Real Methods Compared
Wood etching almost never means dipping a plate in acid. It usually means one of three tools: a pyrography pen, a laser engraver, or a rotary/hand-carving tool — each marks wood in a completely different way, at a completely different price.
If you search “etching tools” expecting a bottle of ferric chloride and a wax-coated copper plate, the classic printmaking setup, you’re in for a surprise: that approach barely works on wood. Below is what actually cuts, burns, or marks a design into wood, what each tool costs to get started with, and which one most beginners should buy first.
“Etching” Wood Usually Means One Of Three Different Tools
Traditional etching, the kind used on metal and glass, works because those materials have a uniform surface. A wax or resin ground protects most of the plate, a needle scratches a design through it, and acid bites a clean, even line only where the metal is exposed. Wood doesn’t behave the same way. It’s a porous, fibrous material, so acid spreads unevenly along the grain instead of cutting a crisp line, and it also raises the grain and can discolor the surrounding wood. That’s why real acid etching almost never shows up in a woodworking context.
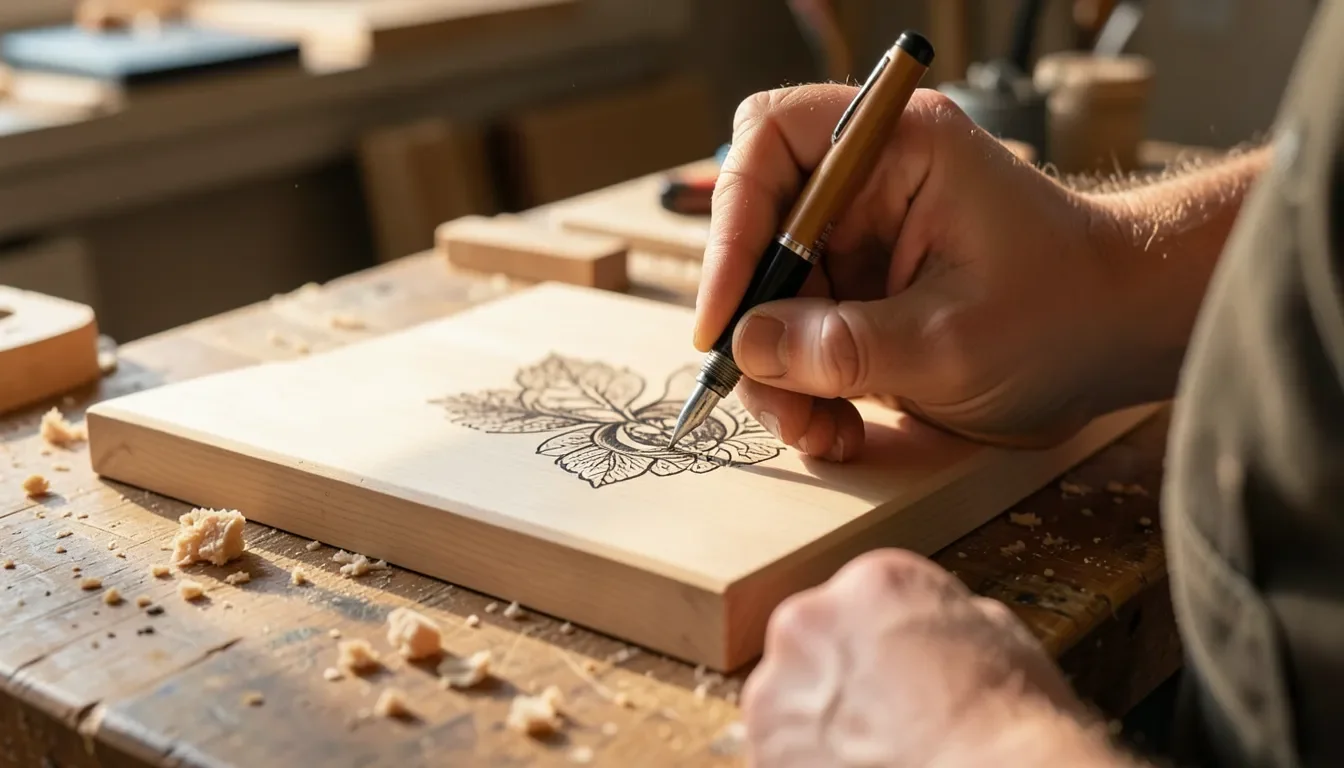
Instead, “etching wood” in practice means one of three things: heat (a pyrography pen darkens the wood fiber by burning it), light (a laser engraver vaporizes or chars a thin top layer), or a blade (a rotary tool or hand-carving knife physically removes material). Each produces a visibly different mark, and each has a very different learning curve and price tag, covered section by section below.
Best Starter Pick For Wood Etching
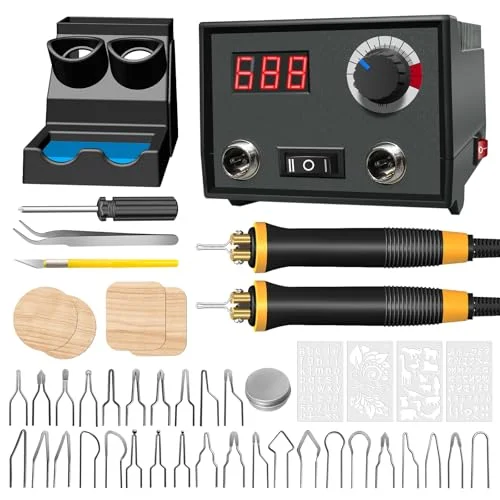 |
FIRElood Digital Wood Burning Kit – $39.99 The cheapest, lowest-risk way to actually try wood etching before spending hundreds on a laser or CNC setup.
|
Pyrography (Wood-Burning) Tools
Pyrography is the cheapest and most direct way to etch a design into wood: a heated metal tip is dragged across the surface, and the wood fiber scorches wherever the tip touches it. A basic kit includes a base unit with a temperature dial, one or two pens, and a set of interchangeable tips — writing tips for lettering, shading tips for filling in larger areas, and calligraphy or flow tips for varied line width. Most work happens somewhere between 200 and 900 degrees Fahrenheit: lower in that range gives a lighter, slower burn with more control, and higher darkens faster but makes fine detail harder to hold steady.
Two kit styles are worth knowing apart. A fixed-heat iron (the kind sold as a cheap “wood burning tool” in craft stores) only has one temperature, which makes shading nearly impossible. A digital, temperature-adjustable station, the kind covered above, lets you dial in a specific heat and hold it, which is the difference between a beginner burn and a controlled one. If you want to go deeper on tip choice and temperature charts, our temperature guide breaks down exactly which range to use for which effect, and our pen roundup compares specific models if you outgrow a starter kit.
Laser Engraving Tools For Wood
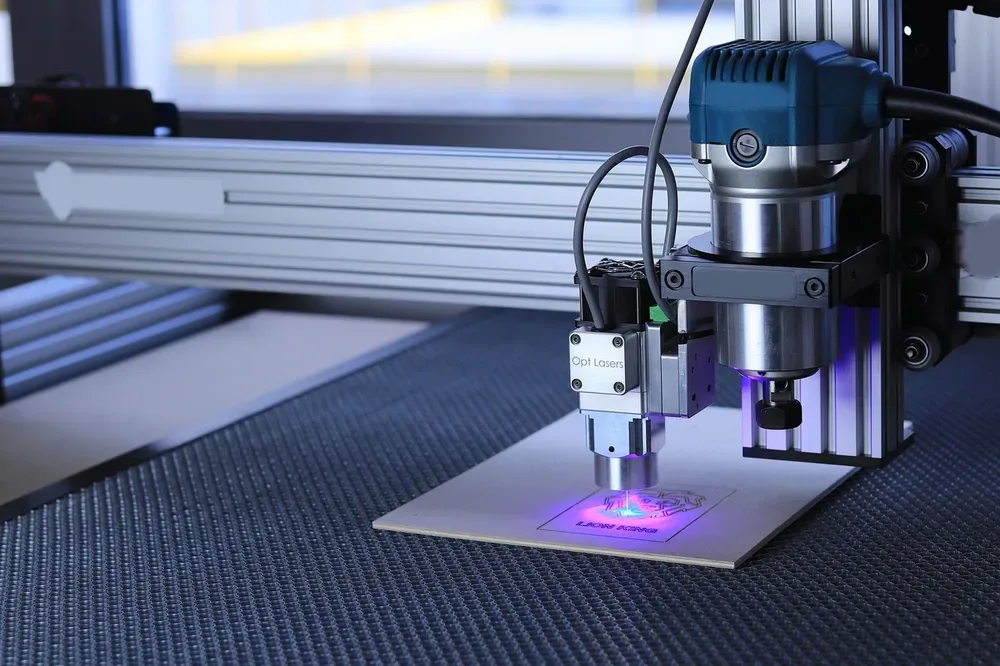
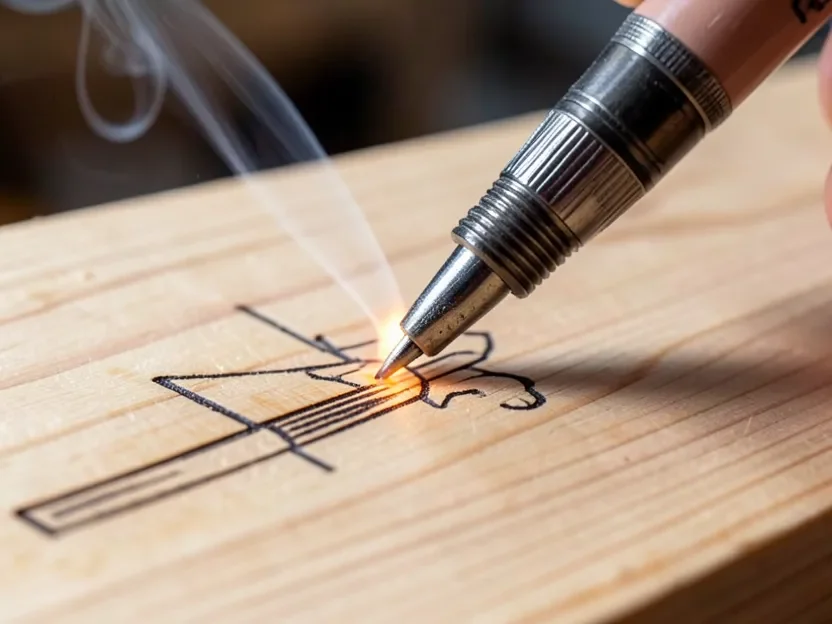
A laser engraver etches wood the same way a pyrography pen does, by burning the surface, but it uses a focused beam instead of a physical tip, controlled entirely by software. That means the design has to exist as a digital file first (a vector for clean lines, or a raster image for photo-style engraving), which is the main tradeoff against pyrography: you trade freehand spontaneity for repeatability and precision.
Hobbyist machines are almost always diode lasers, typically in the 5 to 10-watt range, and can engrave softwoods reasonably fast but struggle to cut all the way through anything thicker than a few millimeters. Higher-powered CO2 lasers can both engrave and cut cleanly through thicker stock, but they cost significantly more and need more ventilation. Whichever type you use, plan for a fume extractor or open-window airflow; burning wood with a laser produces a lot more smoke and a stronger smell than most people expect, and resin buildup on the lens from softwood sap will blur your engraving if you don’t clean it. For a closer look at cutting versus engraving power, see our laser wood cutter guide.
Hand And Rotary Carving Tools
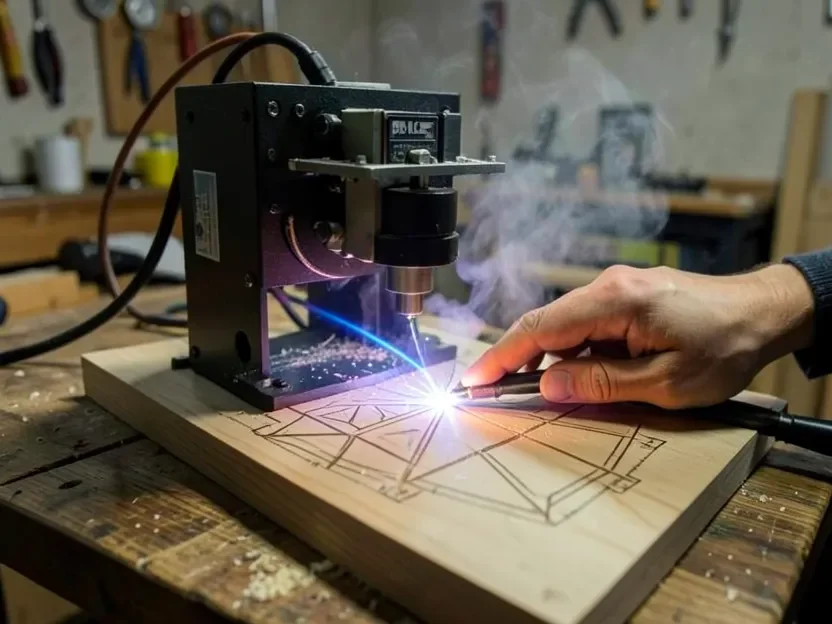
Unlike pyrography or a laser, a rotary tool (Dremel-style) or a hand-carving knife doesn’t discolor the wood at all — it physically cuts a groove, so the mark reads as a real change in the wood’s surface, not just a burn. Rotary engraving bits (small carbide or diamond-tipped burrs) work well for lettering and monograms and can follow a stencil closely. Hand tools, chip-carving knives, V-tools, and gouges, give the most control for freehand relief work but take the longest to learn and are the slowest of the four methods here for covering a large area.
CNC Engraving Machines
A CNC router is the production-scale answer to the same question a rotary tool answers by hand: it carves a physical groove, but it’s guided by a computer-controlled spindle instead of your hand, so it can repeat an identical design hundreds of times with zero fatigue. That makes it the right choice if you’re etching the same design onto a batch of items (cutting boards, signs, coasters) rather than one-off pieces. The tradeoff is upfront cost and a real learning curve on CAD/CAM design software; a usable desktop CNC setup starts well above what a pyrography kit or diode laser costs, which is why it’s usually a second or third tool rather than a first purchase.
The Vinegar-And-Steel-Wool Trick Isn’t Etching, It’s Staining
One more method shows up constantly in wood etching searches, and it’s worth clearing up because it gets mislabeled often: dissolving steel wool in white vinegar for a few days, then wiping it onto wood, especially wood high in tannins like oak or walnut. The iron acetate solution reacts with the wood’s natural tannins to form iron tannate, which turns the surface black or gray, essentially the same chemistry behind traditional ebonizing. It’s a real and useful technique, but it’s a color change, not an etch: no material is removed and no groove is cut, so it won’t create a raised or engraved texture the way a laser, pyrography pen, or carving tool will. It’s worth knowing as a finishing technique, just not as a substitute for any of the tools above.
Safety Gear For Every Method
Every one of these tools produces either smoke, fumes, or flying debris, so the safety gear differs by method but none of them are skippable. Pyrography and laser engraving both release wood smoke that shouldn’t be breathed in for long sessions; a basic respirator or a fan pulling air away from your face is enough for occasional pyrography work, but a laser needs proper ventilation or a dedicated fume extractor since it’s burning continuously and often faster than a pen would. Laser work also needs laser safety glasses rated for your machine’s specific wavelength, not generic safety glasses, since the beam itself (not just the smoke) can damage eyes. Rotary and hand-carving tools call for eye protection against flying chips and a cut-resistant glove on your non-dominant hand. And for any tool that gets hot, keep a heat-safe surface underneath your workpiece and never leave a plugged-in pen or laser unattended.
Which Tool Should You Actually Buy First?
If you’ve never etched wood before, start with a pyrography kit. It’s the cheapest entry point, there’s no software to learn, and mistakes cost you a piece of scrap wood instead of a clogged laser lens. Once you know you’ll keep doing this regularly, a diode laser is the natural upgrade for repeatable or detailed work. The table below breaks down the real tradeoffs.
| Method | Starting Cost | Learning Curve | Best For |
|---|---|---|---|
| Pyrography pen kit | $30–$60 | Easy | Freehand art, lettering, one-off gifts |
| Diode laser engraver | $200–$600 | Moderate (needs design software) | Repeatable or detailed designs, batch work |
| Rotary tool / hand carving | $30–$100 | Moderate to steep | Deep carving, 3D relief, no discoloration |
| CNC router | $1,500+ | Steep (CAD/CAM required) | Production runs of an identical design |
Frequently Asked Questions
What tools are used for etching wood?
Wood etching almost always means one of three tools: a pyrography (wood-burning) pen that uses heat to darken the surface, a laser engraver that uses a focused beam to burn or vaporize the top layer, or a rotary tool or hand-carving knife that physically removes material. True acid etching, the method used on metal and glass, is rarely used on wood because the grain absorbs acid unevenly.
Can you etch wood with acid the way you etch metal?
Not effectively. Metal has a uniform crystalline surface, so acid bites a clean, even line. Wood is a porous, fibrous material, so acid spreads unevenly along the grain instead of cutting a crisp mark, which is why pyrography and laser engraving replaced acid etching for wood.
What temperature should a wood-burning pen be set to?
Most pyrography work is done between roughly 200 and 900 degrees Fahrenheit. Lower temperatures in that range give lighter, slower burns with more control; higher temperatures darken faster but make fine detail harder to control, so most kits include an adjustable-temperature dial rather than a fixed-heat tip.
Is a laser engraver better than a wood-burning pen?
It depends on the project. A laser engraver is faster and more precise for repeatable or complex designs and doesn’t require a steady hand, but it costs more upfront, needs design software, and requires ventilation. A wood-burning pen is cheaper, fully manual, and better suited to one-off freehand art or lettering.
Conclusion
Wood etching isn’t one tool, it’s a category: heat, light, or a blade, each producing a different kind of mark at a different cost. For most people getting started, a temperature-adjustable pyrography kit is the lowest-risk way to learn what you actually like before spending hundreds on a laser or a CNC setup.
Sponsored / affiliate links. As an Amazon Associate I earn from qualifying purchases. I may earn additional commission from eligible campaigns.