Wood Filler vs. Glue and Sawdust: Which One Actually Holds Up?
Short answer: reach for a commercial wood filler like FamoWood or Minwax when the repair needs to look consistent and hold up long-term, and mix your own glue-and-sawdust paste when you want a near-invisible color match on a small hole in a piece you can control from start to finish. Neither one is a universal winner — they solve different problems, and picking the wrong one is why so many DIY patches end up as a visible blotch instead of a repair.
Quick Answer: Which Should You Use?
Best Commercial Alternative
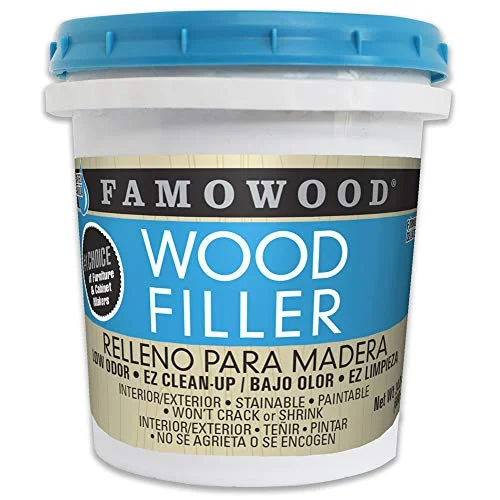 |
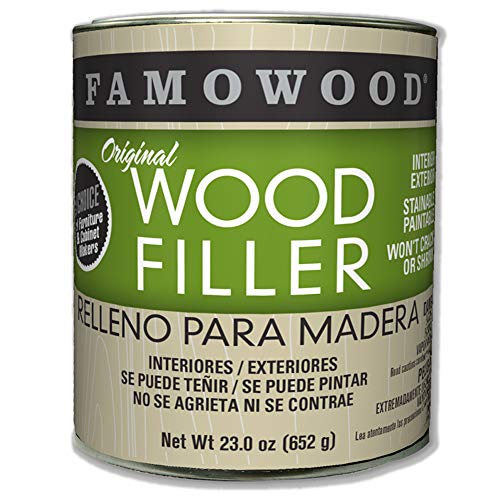
FamoWood Latex Wood Filler, Natural – $12.41 If you want a filler that dries fast and sands consistently instead of gambling on a homemade batch, this is the pick.
|
Both repairs work. The real difference is control: a commercial filler like the one above is formulated for predictable shrinkage and working time, while a glue-and-sawdust paste depends entirely on the wood, the glue, and how fine your sawdust is — which is exactly why it can go either way.
How to Make a Glue-and-Sawdust Filler (Step by Step)
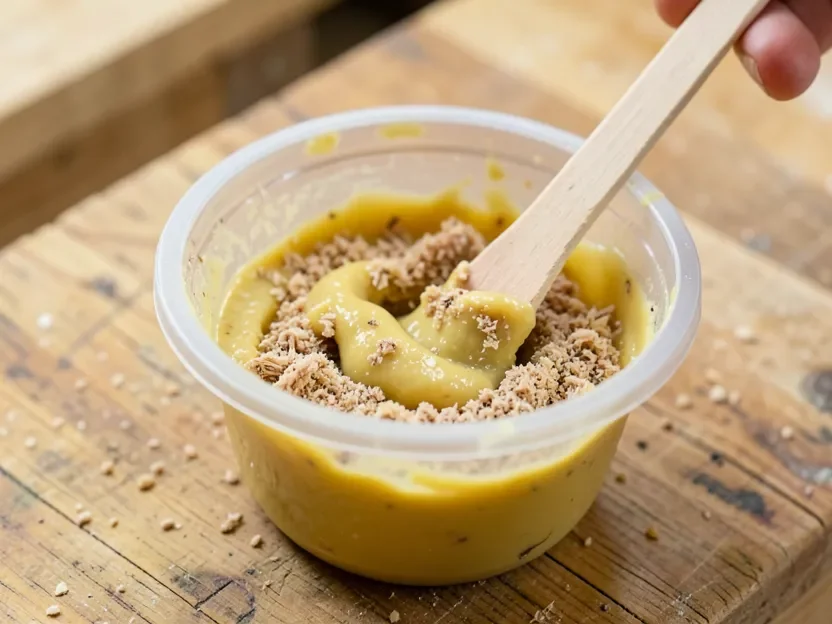
Save the sawdust from sanding or cutting the same board you’re repairing — that’s the only way the color has a real chance of matching. Sawmill scraps or shop-vac dust from a different project won’t match, no matter how careful the mix is.
- Collect fine sawdust. Sanding dust (120–220 grit) works better than coarse dust from a saw blade — the finer particles pack tighter and sand smoother once dry.
- Add glue gradually. Use a standard yellow PVA wood glue (Titebond II or similar) and stir it into the sawdust a little at a time until it forms a thick, putty-like paste — not runny, not crumbly.
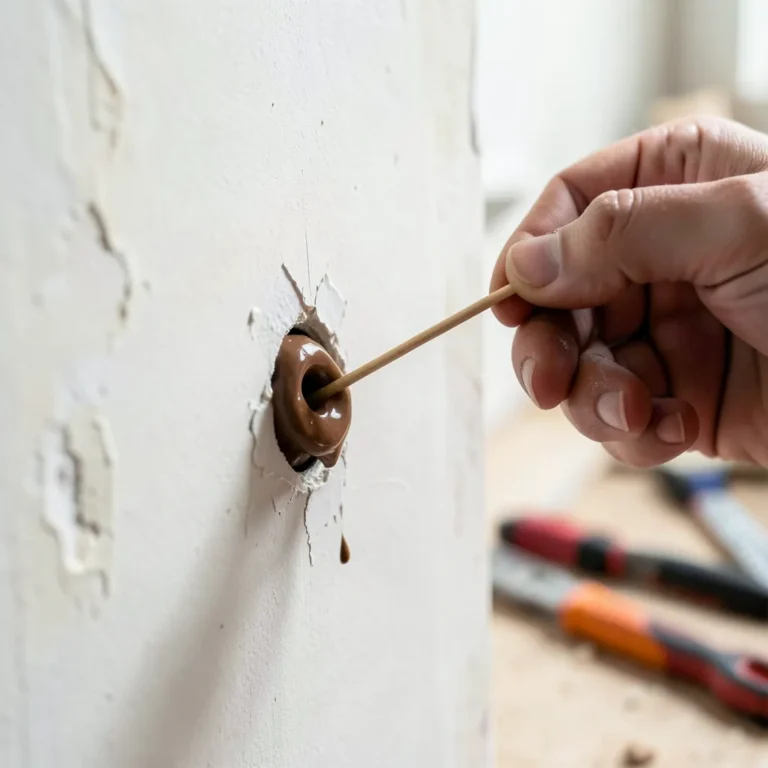
- Pack it into the gap with a putty knife or your finger, slightly overfilled since it shrinks a little as it cures.
- Let it cure fully — 24 hours minimum for anything deeper than a pinhole, since PVA glue cures from the outside in and a rushed sand job will tear out a soft center.
- Sand flush once it’s hard, starting around 150 grit and finishing with 220.
This is the same basic method covered in more depth in our full DIY wood filler recipe guide if you want ratios and troubleshooting for larger batches.
The Color-Match Myth: Why Your Patch Might Look Darker
The most common claim about glue-and-sawdust filler is that it matches the wood “perfectly” because it’s made from the wood itself. In practice, that’s oversold. Wood glue is translucent but not colorless, and once it soaks into sawdust and cures, the patch almost always reads slightly darker or more amber than the surrounding board — especially once you add a stain, since the compacted glue-sawdust mix absorbs stain differently than solid wood grain does. It’s a close match, not an invisible one.
You can narrow the gap by using the finest dust available, keeping the glue ratio as low as the mix will tolerate, and always testing on scrap from the same board before you commit to the actual repair. Whether that patch takes stain evenly at all is its own separate question worth checking first if the piece is getting stained rather than painted.
Durability, Shrinkage, and Working Time
A commercial filler like FamoWood is engineered for consistent shrinkage — the manufacturer has already worked out the binder ratio so it won’t sink or crack as it dries, and it’s ready to sand in about 15 minutes. A glue-and-sawdust mix has no such formula behind it. Too much glue and it stays rubbery and never fully hardens; too little and it crumbles when you sand it. Get the ratio right (roughly 1:1 by volume as a starting point, adjusted until it holds a peak like stiff dough) and it holds up fine for small, low-stress repairs, but it’s genuinely inconsistent batch-to-batch in a way a pre-formulated product isn’t.
Neither option is a structural repair. For a joint that needs real strength — not just a filled void — an epoxy wood filler or a proper wood patch is the better call than either of these.
One more real difference: working time. A tub of FamoWood-style filler stays workable in the container almost indefinitely (just keep the lid on), so you can mix a project’s worth of repairs and come back to it over several days. A glue-and-sawdust batch starts setting up in the mixing container within 15–20 minutes once exposed to air, so you generally need to mix small batches as you go rather than making one big batch for a whole room of trim.
Tools You’ll Need for Either Method
Both approaches use the same basic kit, which keeps the barrier to entry low either way: a flexible putty knife (a 1–1.5 inch blade is easiest to control on small repairs), 150 and 220 grit sandpaper or a sanding sponge, a rag for cleanup, and a small mixing container if you’re going the glue-and-sawdust route. For glue and sawdust specifically, a fine-mesh sieve or an old flour sifter is worth keeping on hand — sifting out the coarser splinters before mixing gives a noticeably smoother, easier-to-sand patch than using sawdust straight off the shop floor.
When Each One Actually Makes Sense
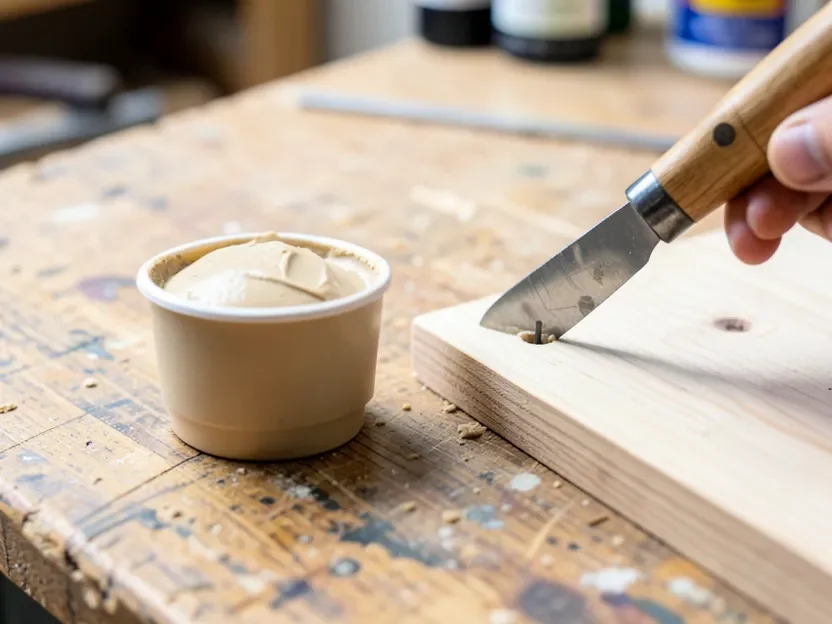
Reach for glue and sawdust when: the repair is small (nail holes, tiny gouges), you have leftover sawdust from the exact board you’re patching, the piece will only be clear-coated or lightly finished, and you’re not in a rush — you can afford the cure time and a test patch.
Reach for a commercial filler when: you’re filling nail holes in trim or baseboard across a whole room and need consistent results fast, the piece will be painted (color match matters less, consistency matters more), or you’re working with wood you don’t have matching sawdust from in the first place. If you only need a filler-strength patch and are wondering whether glue alone (no sawdust) gets you there, here’s where straight glue falls short.
Cost Comparison
A pint of commercial wood filler like FamoWood runs around $12–$15 and covers dozens of small repairs, so the per-repair cost is usually under a dollar. Glue-and-sawdust costs next to nothing if you already have wood glue on the shelf and sawdust from the project itself — but if you have to buy glue specifically for one repair, a bottle runs $5–$10, which erases most of the savings on a single small job. The real cost difference only shows up on volume: a contractor filling a hundred nail holes saves real money mixing their own, while a homeowner doing one repair is usually better off buying the small container.
There’s also a shelf-life factor worth budgeting for. An opened tub of commercial filler can dry out or skin over in the container after several months, especially if the lid doesn’t seal well, so buying a large tub for one small repair isn’t necessarily the bargain it looks like on a per-ounce basis. Wood glue, by contrast, keeps for a year or more unopened and mixes fresh each time, so there’s no wasted product sitting on a shelf.
Frequently Asked Questions
Is wood filler better than sawdust and glue?
Neither is universally better. Commercial wood filler is more consistent, dries faster, and is easier for beginners, which makes it the safer default for visible or high-volume repairs. Glue and sawdust can produce a closer color match on small repairs when made from the same board’s sawdust, but it’s less predictable and slower to cure.
When should you not use wood filler?
Skip commercial wood filler on joints or gaps that need real structural strength — it’s a cosmetic filler, not a bonding agent. It also doesn’t adhere well to damp or oily wood, and most formulas aren’t meant to flex, so avoid it on surfaces that expand and contract a lot, like exterior trim in a harsh climate, unless you’re using an exterior-rated product.
Can sawdust be used as a wood filler?
Yes — mixed with wood glue into a paste, sawdust makes an effective, low-cost filler for small gaps, nail holes, and cracks. Use sawdust from the same wood you’re repairing for the closest color match, and expect the cured patch to read slightly darker than the surrounding wood rather than an exact match. Wondering if wood glue works as a filler on its own, without the sawdust? Here’s exactly how far straight glue can go.
What is the ratio of wood glue to sawdust?
Start around 1:1 by volume and adjust from there — add more sawdust if the mix is too runny to hold its shape, or more glue if it’s crumbly and won’t bind. You’re aiming for a consistency close to stiff peanut butter or dough that holds a shape on the putty knife without sagging.
Sponsored / affiliate links. As an Amazon Associate I earn from qualifying purchases. I may earn additional commission from eligible campaigns.