10 Wood Burning Ideas: From Beginner to Advanced Pyrography
Wood burning (pyrography) turns a heated metal tip and a plain piece of wood into everything from a simple monogrammed coaster to a shaded, photo-realistic portrait. The 10 ideas below run from true beginner projects (something you can finish your first afternoon with the tool) up to techniques that take real practice – shading, texturing, and layered depth – so pick based on where your skills actually are right now, not where you want them to be.
Before You Start: Wood, Tools, and a Real Safety Note
Worth Upgrading To Once You’re Past The Basics
 |
TRUArt Stage 2 Pyrography Pen – $119.99 Digital temperature control instead of a fixed-heat burner – the single upgrade that makes consistent shading actually achievable.
|
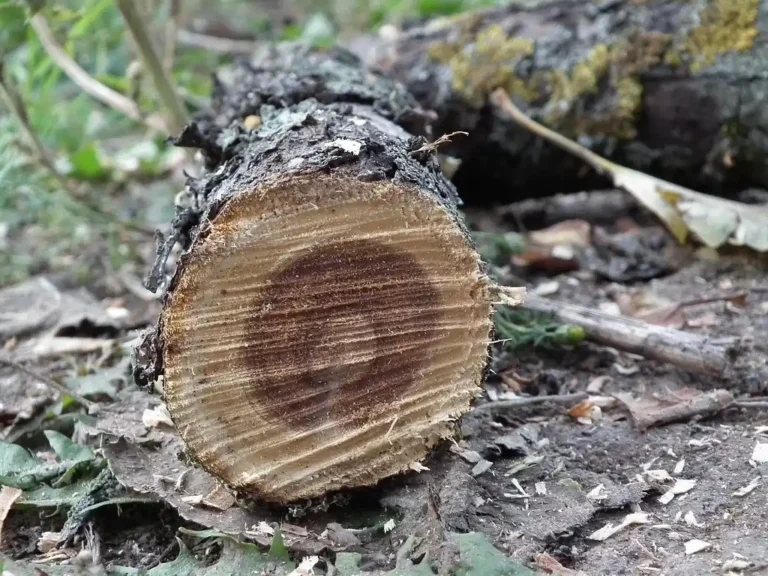
Soft, light-colored, closed-grain wood burns cleanest. Basswood is the standard choice – fine, even grain and almost no resin. Birch and poplar work well too. Pine is cheap and available but its resin pockets can flare or smoke unevenly, so expect some inconsistency if you use it.
One safety point that’s easy to skip: never burn plywood, MDF, or any manufactured board without checking what holds it together first. Many composite boards use formaldehyde-based adhesives, and burning through those glue lines releases considerably more irritating fumes than burning solid wood does. Stick to solid, untreated lumber, work in a ventilated room (an open window and a small fan pointed away from you is enough for most home setups), and never burn wood that’s been pressure-treated, painted, or chemically stained – the fumes from burning through a chemical finish are a real inhalation hazard, not just an unpleasant smell.
For the tool itself, a basic single-temperature burner will get you through simple line work, but a unit with adjustable digital temperature control makes shading and fine detail dramatically easier to control consistently – worth the extra cost once you’re past absolute beginner projects.
1. Simple Line-Art Florals
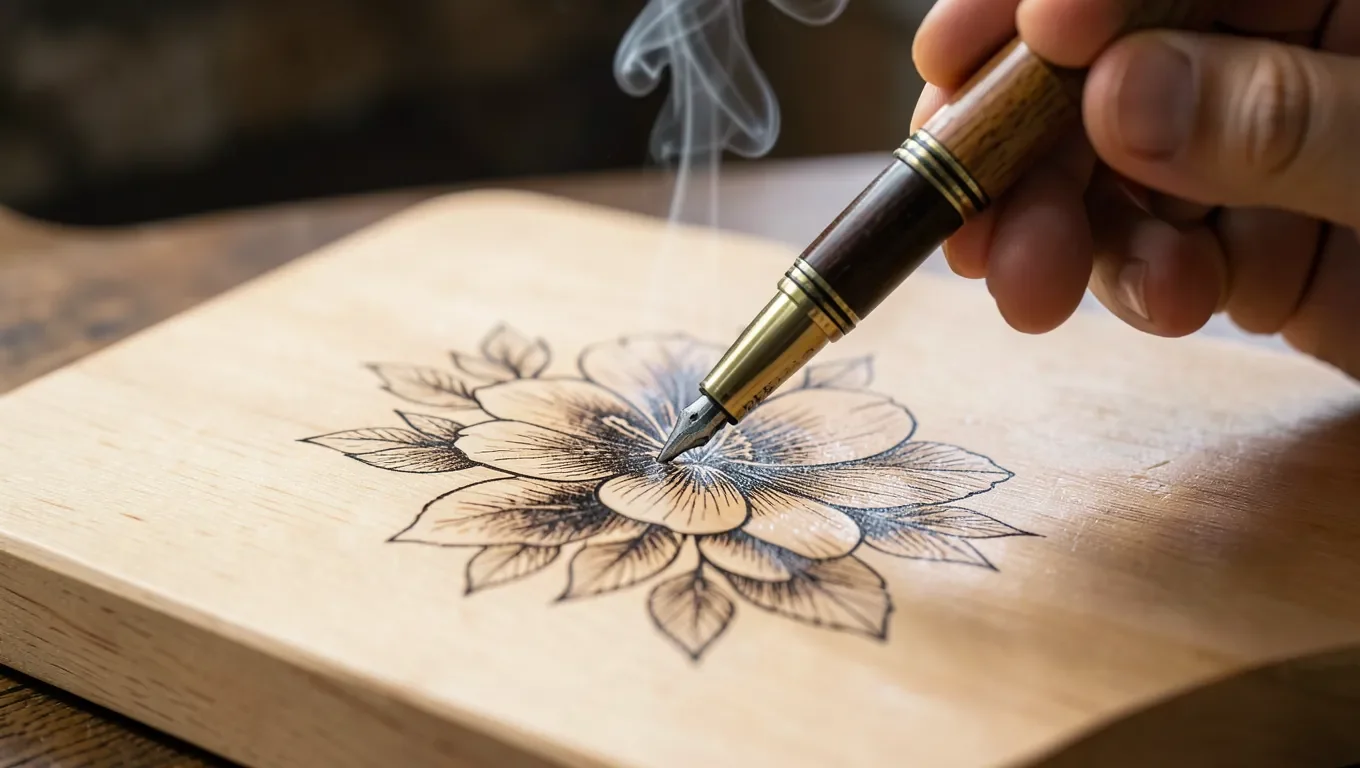
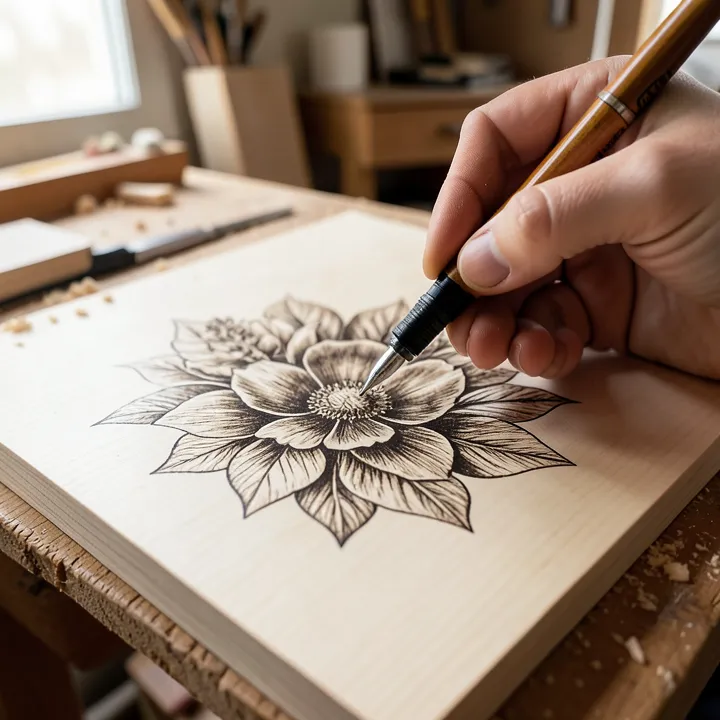
The best true first project: a single flower outline – a daisy, a simple rose spiral, a tulip – using only outline strokes, no shading. Sketch it lightly in pencil first, then trace the lines with the burner at a moderate, consistent temperature. This teaches steady hand control before you add the complexity of shading on top.
2. Animal Silhouettes
Trace an animal outline (a bird in flight, a standing deer, a fish) using a stencil, then fill the whole silhouette with a solid, even burn rather than just outlining it. This is a good second project because it teaches even, consistent pressure across a filled area – a different skill than line work.
3. Geometric Patterns
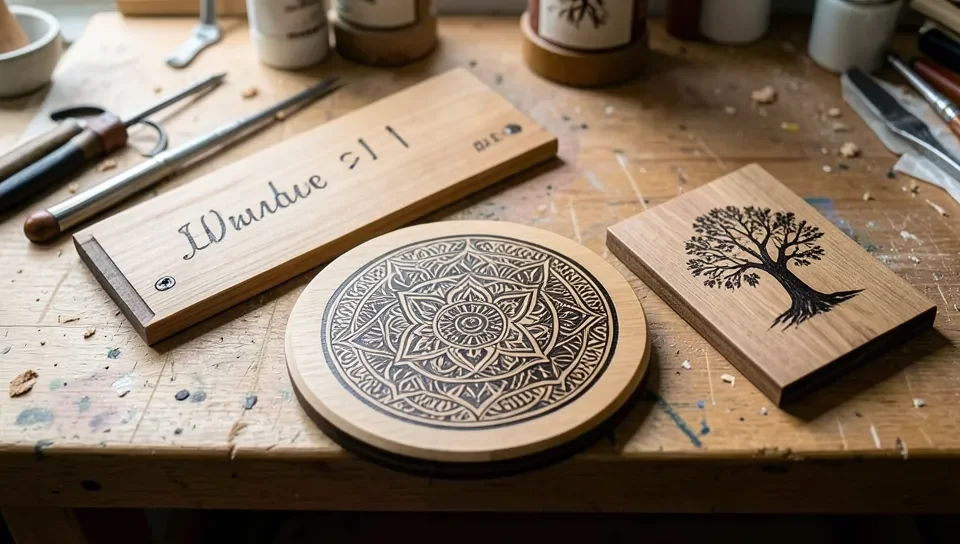
Start with a grid of squares or a ring of overlapping circles using a straightedge and a circle stencil for crisp, symmetrical lines. Once basic shapes feel natural, move up to a mandala or a honeycomb of hexagons – plan these on graph paper first so the spacing stays even before you commit to burning the actual piece.
4. A Custom Name Plate
A name, a room label, or a family surname on a plaque is one of the most-requested gift projects for a reason – it’s personal without requiring advanced technique. Practice your lettering on scrap wood first in the exact font style you plan to use; consistent letter spacing and stroke width matter more to how “finished” it looks than the design’s complexity.
5. Coasters and Keychains
Small, low-commitment surfaces are ideal for testing a new design before burning it onto something larger – initials, a date, or a small symbol. If the coasters will actually hold drinks, finish them with a food-safe sealant afterward so moisture doesn’t get into the burned grain over repeated use.
6. Tree and Leaf Silhouettes
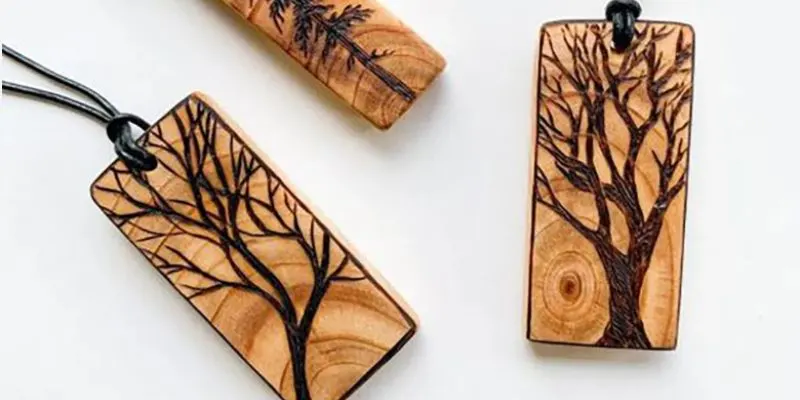
A bare winter tree silhouette is forgiving of imperfect branch symmetry – real trees aren’t symmetrical either – which makes it a good confidence-building project between geometric work and anything requiring shading.
7. Mountain or Landscape Scenes
Layered mountain ranges introduce basic depth: burn the furthest ridgeline lightest, and darken each layer as it comes toward the foreground. This is a natural stepping stone into full shading technique without needing fine-detail control yet.
8. Seasonal and Holiday Ornaments
Small wood slice ornaments – snowflakes, stars, pumpkins, leaves – are quick enough to make in batches, which makes them a practical way to practice the same design repeatedly and see your consistency improve piece to piece.
9. Shaded Botanical or Animal Portraits
This is where adjustable temperature control actually earns its cost. Work from a real reference photo, block in the basic shapes lightly first, then build shading in layers – light passes at lower heat for highlights, slower and hotter for the darkest shadow areas. Wire-loop and spoon-shaped tips (rather than a basic writing tip) make blending gradual transitions much easier than trying to shade with a single fine point.
10. Textured Fur, Feathers, and Wood-Grain Effects
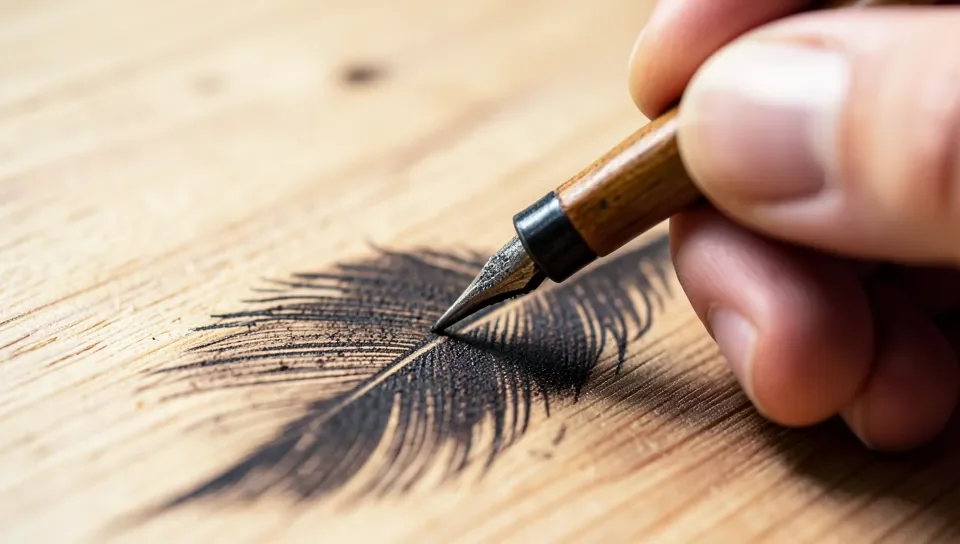
The most advanced idea on this list: using specialty tips (wire loops, skew points, shading spoons) to render realistic fur or feather texture stroke by stroke, rather than a flat filled or shaded area. This genuinely takes practice on scrap wood before attempting it on a finished piece – budget several failed attempts before your first one you’re happy with, which is normal, not a sign you’re doing it wrong.
Common Beginner Mistakes
- Skipping sanding. A rough surface makes lines skip and burn unevenly – always sand smooth first, and wipe away dust before you start.
- Working too fast. A rushed line burns inconsistently; slow, steady strokes at a consistent speed give far more even results than trying to move quickly.
- One temperature for everything. Fine detail work generally needs a lower, more controlled heat than bold outlines – if your tool has adjustable settings, actually use them.
- Ignoring ventilation. Wood burning does produce smoke and fumes even with solid, untreated lumber – work near an open window or with a small fan moving air away from your face.
Frequently Asked Questions
What are some beginner wood burning ideas?
Start with simple outlined shapes with no shading – a single flower, a geometric pattern, or a short name plate. These build steady hand control before you move into filled silhouettes or shaded portrait work.
How do you prepare wood for burning?
Sand it smooth with progressively finer grit, wipe away all dust with a damp cloth, and let it dry fully before you sketch or burn. Avoid any wood that’s painted, stained, or chemically treated – burning through a chemical finish releases fumes you don’t want to breathe.
What tools do you need for wood burning?
A wood burning pen (ideally with adjustable temperature once you’re past pure beginner projects), a few interchangeable tips, sandpaper, graphite transfer paper for tracing designs, and basic ventilation – an open window or a fan is usually enough for home use.
Can you burn designs on any type of wood?
No. Soft, light, closed-grain woods like basswood, birch, and poplar burn cleanest. Avoid plywood and MDF unless you’ve confirmed the adhesive isn’t formaldehyde-based, and never burn painted, stained, or pressure-treated wood – the fumes from a chemical finish are a real health concern, not just an odor issue.
Conclusion
Work through these roughly in order – line art, then filled silhouettes, then shading, then texture – and each one builds a skill the next one needs. The jump from “outline a flower” to “shade a realistic animal portrait” feels large, but it’s really just several smaller skills stacked on top of each other, each one worth practicing on scrap wood before you commit to a finished piece.
Sponsored / affiliate links. As an Amazon Associate I earn from qualifying purchases. I may earn additional commission from eligible campaigns.