How to Insulate Around a Wood Stove (NFPA 211 Clearances)
NFPA 211 requires 36 inches of clearance between a UL-listed wood stove and a combustible wall (48 inches if unlisted) — a proper heat shield can legally cut that to as little as 12 inches. Skipping the required 1-inch air gap behind the shield turns it into insulation instead of a shield, which can make the wall hotter. This guide covers real clearance numbers, which wood stove materials hold up to heat, and how to build a compliant shield.
Introduction To Wood Stove Insulation
Best Wood Stove Insulation Pick
 |
Ceramic Fiber Insulation Blanket, 1/4″ x 16″ x 48″ (2400°F) – $29.90 A 2400°F-rated ceramic fiber blanket — one of the noncombustible materials this guide covers for building a compliant heat shield behind a wood stove.
|
As an Amazon Associate we earn from qualifying purchases.
Proper insulation around a wood stove is very important. It helps prevent heat loss. Good insulation keeps your home warm and cozy. It also saves energy and lowers heating bills.
Safety is a major concern. Insulation prevents heat from reaching nearby materials. This reduces the risk of fire hazards. Make sure to use fire-resistant materials for insulation.
Regular checks of your insulation can ensure safety. Look for any damage or wear. Replace any worn-out materials immediately.
Consider using insulation blankets or boards. These can provide extra protection. Always follow manufacturer guidelines for installation.
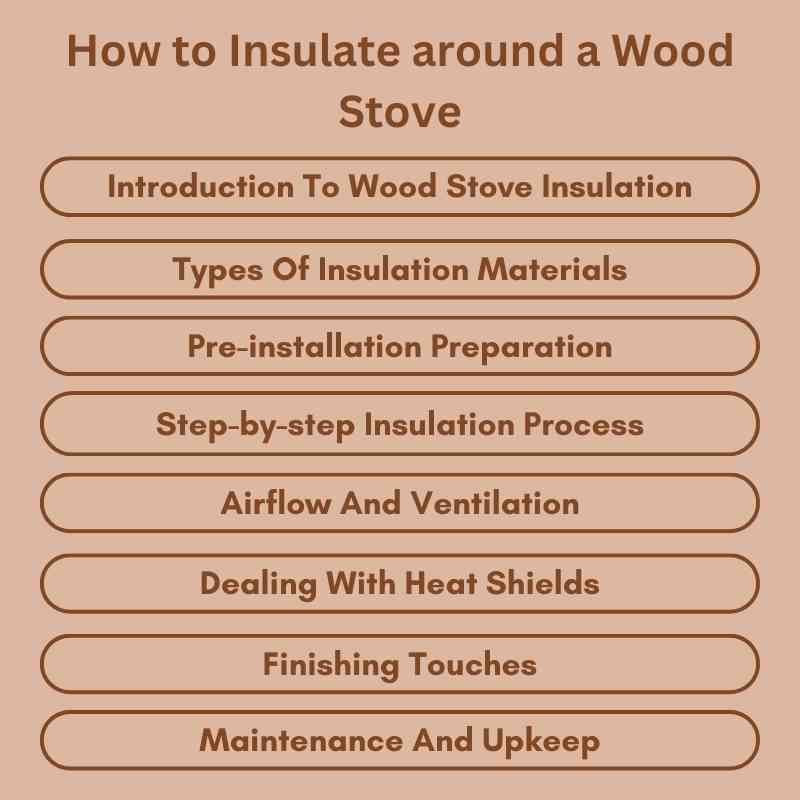
Types Of Insulation Materials
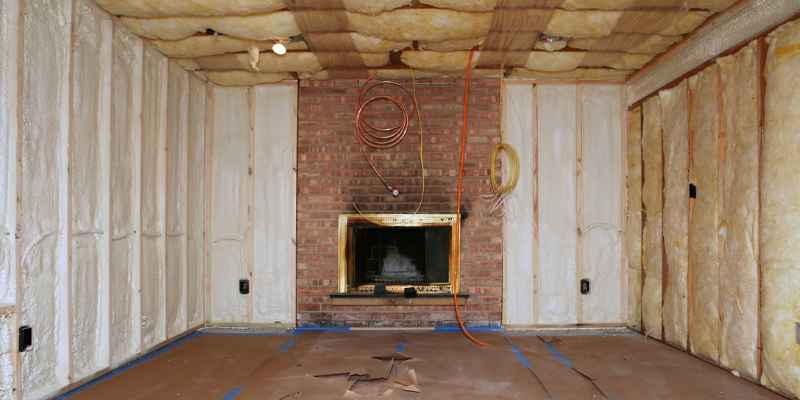
Ceramic insulation is excellent for high-temperature areas. It can withstand extreme heat without losing effectiveness. This type of insulation is durable and easy to install.
Fiberglass insulation is popular for its affordability and energy efficiency. It helps to reduce heat loss around the stove. This material is lightweight and available in various thicknesses.
Mineral wool insulation is fire-resistant and provides great thermal protection. It is also soundproof, making it a good choice for quiet spaces. This insulation is eco-friendly and made from natural materials.
Pre-installation Preparation
Assessing the area around a wood stove is very important. Check for combustible materials nearby. Measure the distance from the stove to walls and furniture. This ensures safety and efficiency.
Gather all necessary tools and equipment before starting. Here’s a simple list:
| Tool/Equipment | Purpose |
|---|---|
| Tape Measure | To measure distances |
| Level | To ensure the stove is straight |
| Screwdriver | For any assembly needs |
| Safety Gear | For personal protection |
Preparing the space helps in achieving better insulation. Take your time to do this correctly.
Step-by-step Insulation Process
Start by clearing the area around the wood stove. Remove any items that can catch fire. Make sure the space is safe and easy to work in.
Next, measure the area where insulation will go. Use a measuring tape for accuracy. Cut the insulation materials to fit the measured sizes. A sharp knife works best for cutting.
Finally, apply the insulation around the wood stove. Ensure it fits snugly to prevent heat loss. Secure the insulation with tape or other fasteners. This will help keep your space warm and safe.
Airflow And Ventilation
Proper airflow is crucial for a wood stove. It helps in efficient heating. Adequate ventilation ensures safe combustion. Stale air can lead to problems.
Maintain airflow by keeping vents clear. Regularly check for blockages. Ensure vents are properly sized. This helps the stove perform at its best.
Ventilation allows fresh air in. This air fuels the fire. Without it, smoke can fill your home. Always check the chimney for proper function.
| Tip | Description |
|---|---|
| Keep Vents Clear | Remove any obstructions regularly. |
| Check Chimney | Ensure it is clean and working well. |
| Size of Vents | Use the right size for your stove. |
Dealing With Heat Shields
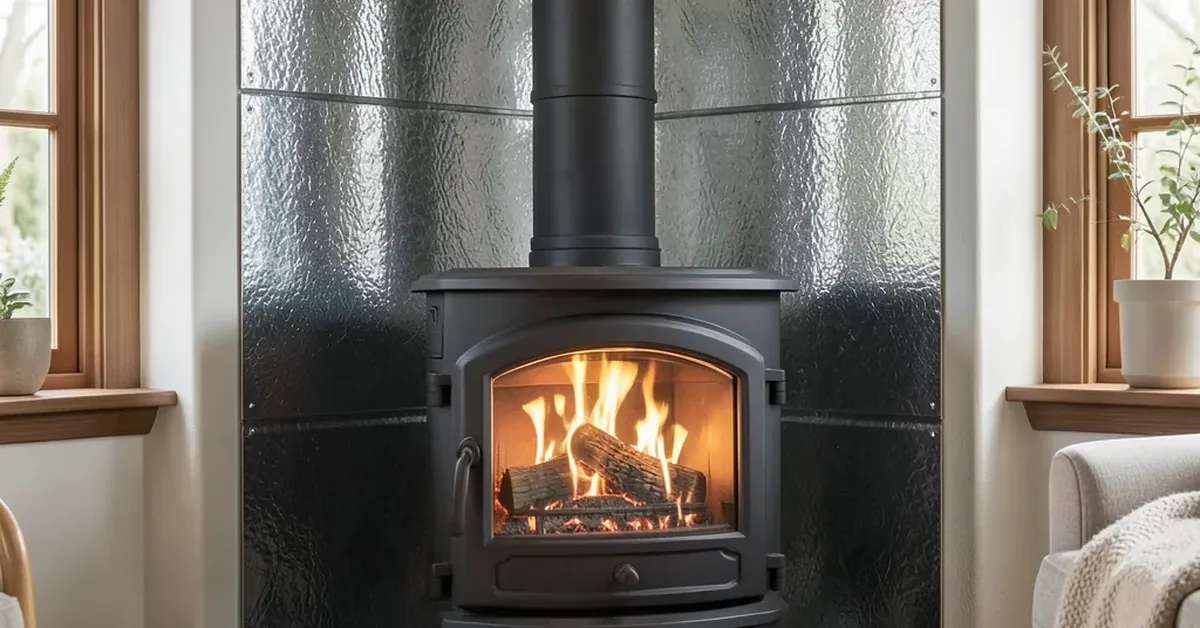
A code-compliant heat shield does the opposite of what it sounds like — it lets you install the stove closer to a wall, not farther away. Per NFPA 211, a ventilated metal shield with a 1-inch air gap and noncombustible standoffs can reduce the required 36-inch clearance down to as little as 12 inches. Skip the air gap and the shield traps heat against the wall instead of venting it, which defeats the point.
Installation starts with measuring the actual clearance from stove to wall, since the required air gap and standoff spacing scale with that distance. Common shield materials are 24-gauge sheet metal and ceramic tile over cement board; both need noncombustible standoff spacers, never direct contact with the wall, to maintain the ventilating air gap the reduced clearance depends on.
| Material | Benefits |
|---|---|
| Metal | Durable and easy to clean. |
| Ceramic | Great at blocking heat. |
Finishing Touches
Proper sealing and caulking around a wood stove is essential. Use a high-temperature silicone sealant for best results. Apply it where the stove meets the wall and floor. This prevents air leaks and improves safety.
Aesthetic choices matter too. Choose colors and materials that match your home’s style. Decorative trims can enhance the look of the stove area. Consider using heat-resistant paint for a polished finish. This ensures both beauty and functionality.
| Material | Purpose |
|---|---|
| Silicone Sealant | Seal gaps around the stove |
| Decorative Trim | Enhance aesthetic appeal |
| Heat-Resistant Paint | Finish the installation attractively |
Maintenance And Upkeep
Regular inspection of your wood stove is very important. Check for any signs of wear or damage. Look for cracks or gaps around the stove. These can let heat escape and reduce efficiency.
Cleaning the area around the stove helps maintain safety. Remove any dust, debris, or flammable materials. Use a damp cloth to wipe surfaces clean. Ensure that the air vents are clear.
Performing repairs on time is vital. Fix any damaged insulation or seals immediately. Keeping everything in good shape keeps your home safe and warm.
Common Mistakes To Avoid
Ignoring the manufacturer’s instructions can lead to serious problems. Always read the guidelines carefully. These instructions provide crucial details about safe insulation practices.
Neglecting clearances is another common mistake. Proper space around the wood stove is essential. Insufficient clearance can cause fire hazards and heat damage. Follow the recommended distances to ensure safety.
Using the wrong materials is risky. Choose insulation materials that can withstand high temperatures. Avoid flammable items near the stove.
Overlooking ventilation can also create issues. Proper airflow helps prevent overheating. Ensure vents are clear and functional.
Legal And Code Compliance
Understanding local regulations is essential for safe wood stove installation. Fire safety codes often vary by area. Consult local building codes to ensure compliance. This may include minimum distance from walls and ceilings.
📊 NFPA 211 sets the baseline clearance at 36 inches for a UL-listed stove and 48 inches for an unlisted one — a compliant heat shield can cut that to roughly 12 inches, up to a two-thirds reduction. — Source: NFPA 211 clearance reduction summary
Certification and inspection are crucial steps. Many areas require a professional inspection after installation. Certified professionals check for safety and compliance with regulations. This ensures the wood stove operates efficiently and safely.
Failing to follow regulations can lead to serious problems. Insurance claims may be denied if codes are not met. Always prioritize safety to avoid hazards and legal issues.
Frequently Asked Questions
How Can I Safely Insulate Around A Wood Stove?
To safely insulate around a wood stove, use non-combustible materials. Consider heat-resistant insulation such as mineral wool or fire-rated board. Ensure there’s adequate clearance between the stove and the surrounding materials. Follow local building codes for safety requirements. Proper installation helps prevent fire hazards effectively.
What Materials Are Best For Wood Stove Insulation?
The best materials for wood stove insulation include mineral wool, ceramic fiber, and fire-rated drywall. These materials resist high temperatures and provide excellent thermal performance. Always choose products specifically designed for high-heat applications. This ensures maximum safety and efficiency for your wood stove installation.
How Do I Maintain Insulation Around My Wood Stove?
To maintain insulation around your wood stove, regularly check for signs of wear or damage. Inspect insulation for any gaps, cracks, or signs of heat exposure. Clean the area to prevent dust buildup. If you notice any issues, replace or repair the insulation promptly to ensure safety.
Is Insulation Required For A Wood Stove?
Yes, insulation is often required for a wood stove. It helps prevent heat transfer to nearby combustible materials, reducing fire risk. Proper insulation also improves the stove’s efficiency by retaining heat. Always consult local building codes to ensure compliance with insulation requirements.
Conclusion
Proper insulation around your wood stove enhances safety and efficiency. It prevents heat loss and protects your home from fire hazards. By following the right techniques, you can ensure optimal performance. Invest time in insulation to enjoy a cozy and secure environment.
Your wood stove will thank you for it!
Sponsored / affiliate links. As an Amazon Associate I earn from qualifying purchases. I may earn additional commission from eligible campaigns.