Wood Stove Door Seal: How to Replace the Gasket
Replace a wood stove door gasket when the door fails the dollar-bill test, the cord is flattened or frayed, or the stove won’t hold a steady fire with the air control closed. A bad seal wastes heat, shortens burn time, and can let smoke leak into the room. This guide shows how to find the actual leak, measure the gasket channel correctly, and install the right cord size and profile.
How do you know the gasket is failing?
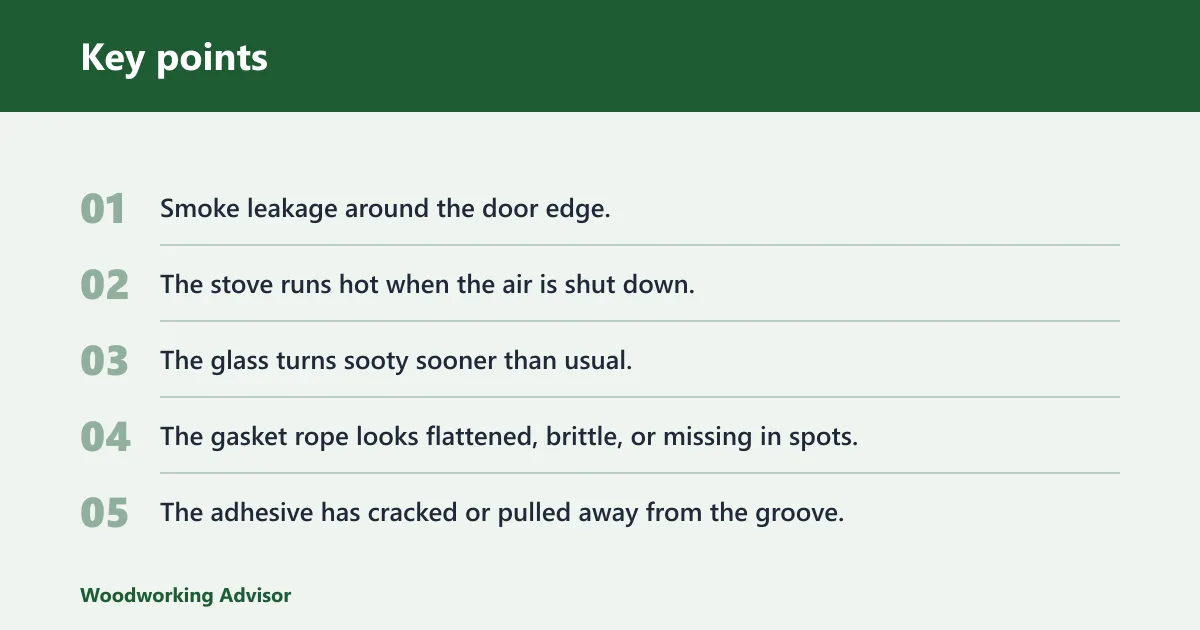


A failing door gasket usually shows up as a leak you can confirm at the door, not just a stove that feels “off.” If the burn runs hot with the air shut down, the glass goes sooty, or the door closes with little resistance, the seal needs a closer look before you buy parts.
Use the dollar-bill test at the top, both sides, and the latch side. A common rule of thumb is that the bill should drag consistently about every six inches around the door. A loose spot in one area points to a local leak, while a weak pull all the way around suggests worn rope or a poor fit.
Signs that point to the door seal
- Smoke leakage around the door edge.
- The stove runs hot when the air is shut down.
- The glass turns sooty sooner than usual.
- The gasket rope looks flattened, brittle, or missing in spots.
- The adhesive has cracked or pulled away from the groove.
Suppose the door passes on the hinge side but fails near the latch. That often means the gasket is uneven, the latch needs adjustment, or the door is not pulling in square. Do not assume the rope alone is the problem until you check the fit points first.
What you’ll need
- Rope gasket in the correct diameter for the channel
- High-temperature silicone adhesive or gasket cement
- Wire brush
- Scraper or putty knife
- Denatured alcohol or rubbing alcohol
- Clean rag
- Scissors or a sharp utility knife
- Gloves
The guide recommends high-temperature silicone included with most kits. Apply it as a thin bead, not a thick line that squeezes into the burn chamber or lifts the rope out of the groove. Some kits arrive with pre-coated rope; if the kit is pre-glued, follow the kit instructions instead of adding extra cement.
Gasket replacement decision table
| Symptom | Likely cause | Confirmation test | Likely rope size range | Next action |
|---|---|---|---|---|
| Door fails the dollar-bill test at multiple points | Worn rope or weak compression | Repeat the bill test every six inches around the door | Often 1/2 inch to 5/8 inch | Measure the channel and replace the rope |
| Bill test fails only near the latch side | Latch tension or door alignment | Close the door and watch for uneven pull | Often the same size as existing rope | Adjust the latch before buying a new gasket |
| Smoke leakage with a new gasket | Warped door or dirty channel | Check for gaps with the bill test and inspect the door edge | Depends on the stove channel, not the symptom | Inspect alignment and clean the groove again |
| Glass is sooty and the burn runs hot with air shut down | Gasket leak or glass gasket failure | Compare leakage around the door perimeter and the glass frame | Common door rope sizes include 5/8 inch; flat glass gasket size may be 3/4 inch | Confirm which seal is failing before ordering parts |
| Old rope is missing or flattened flat | Unknown or nonstandard prior repair | Measure the channel width and depth after cleaning | Usually 1/2 inch, 5/8 inch, or 7/8 inch depending on the groove | Match the rope to the channel, not the worn old cord |
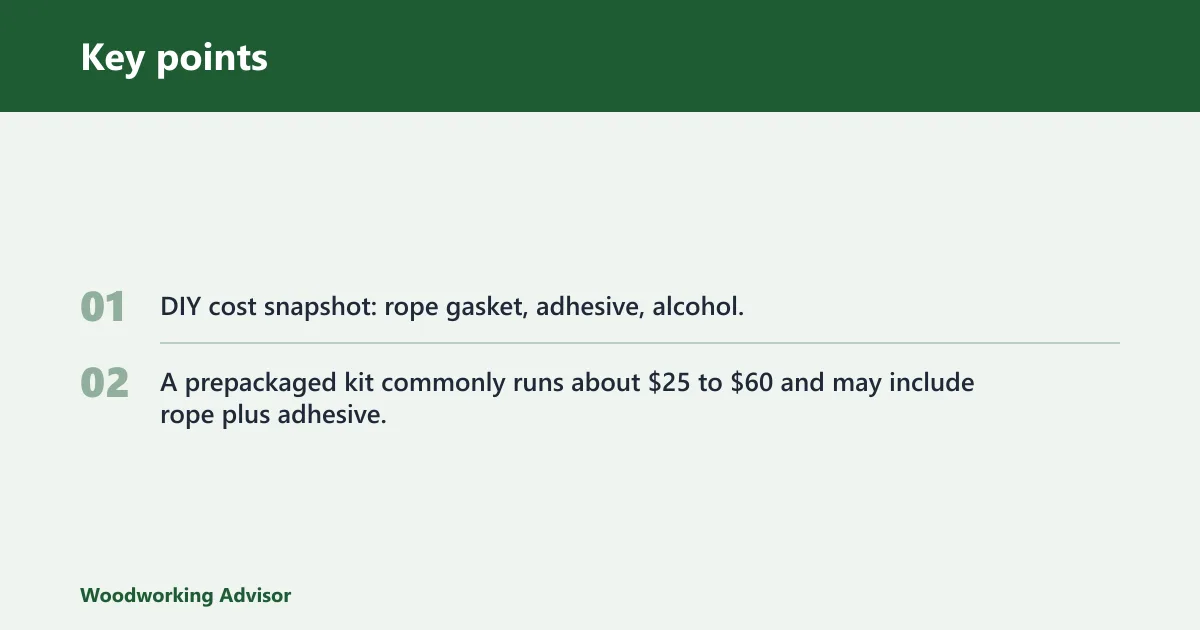
DIY cost snapshot: rope gasket, adhesive, alcohol, and small supplies often total about $20 to $45 if bought separately. A prepackaged kit commonly runs about $25 to $60 and may include rope plus adhesive, which can save time if the size matches your stove.
How do you replace the door gasket?
Replace the rope only after the stove is completely cold. Pull out the old gasket, clean the groove fully, and fit the new cord so it sits evenly without twists. Cure time matters here; a rushed restart can pull the rope loose before the adhesive sets.
- Open the door, then pull out the old rope gasket with pliers or your fingers.
- Scrape the channel clean with a wire brush and scraper until loose cement is gone.
- Wipe the groove with denatured alcohol or rubbing alcohol on a rag, then let it dry completely.
- Apply a thin bead of high-temperature silicone in the channel.
- Press the new rope into the groove, working a short section at a time so it stays even.
- Butt the rope ends together neatly and trim excess with a sharp knife.
- Close the door lightly and leave it shut during cure time.
A common first-timer mistake is packing the rope in too tightly at the ends. That creates a lump that can hold the door off the frame. Keep the joint square, and make sure the rope is not twisted as it goes into the channel.
Why is my wood stove burning too hot even with the air shut down?
A stove that still burns hot with the air shut down often has an air leak somewhere in the door system. A bad door gasket is one common cause, but a warped door, weak latch, or failed glass gasket can create the same symptom. Check the seal path before changing settings.
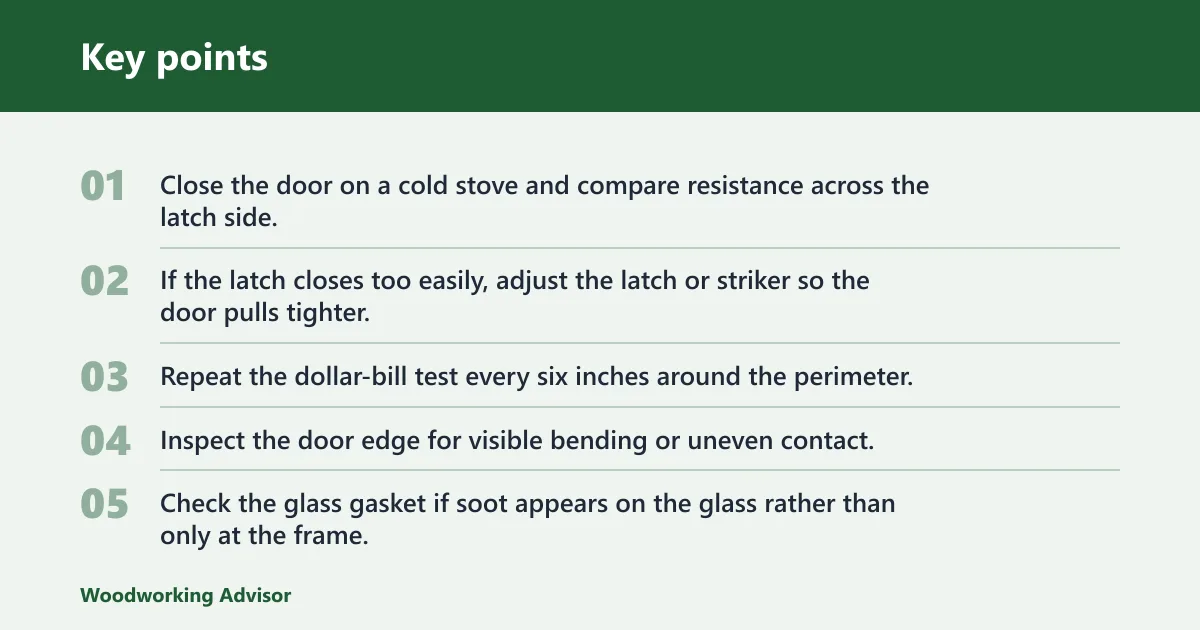
Check the latch and striker first
- Close the door on a cold stove and compare resistance across the latch side.
- If the latch closes too easily, adjust the latch or striker so the door pulls tighter.
- Repeat the dollar-bill test every six inches around the perimeter.
Picture a stove that passes on the hinge side but slips on the latch side after a new rope is installed. That points to compression, not rope diameter alone. A 1/2 inch cord in a wide groove can seal poorly if the latch is too loose to compress it.
Check for warp or a different leak
- Inspect the door edge for visible bending or uneven contact.
- Check the glass gasket if soot appears on the glass rather than only at the frame.
- If the door frame is uneven, stop and correct the fit problem before replacing more parts.
If that didn’t work, try this next: recheck the channel after cleaning. Leftover adhesive can keep a new gasket from seating fully, which leaves a leak even when the rope size is correct. A second cleaning pass often reveals residue hidden in the corners of the groove.
How long does the repair take?
The replacement job is described as a forty-five minute job, but that only covers the hands-on part for removal, cleaning, and installation. Cure time adds another step before normal firing resumes, so plan around the adhesive rather than just the wrench time.
Most of the time goes into prep. Removing old rope and old cement, cleaning the channel, and fitting the new gasket take longer than pressing the rope into place. A small stove door may go quickly; a door with stubborn residue or a deep groove takes longer.
Allow the adhesive to cure for 24 hours. Keep the door closed lightly during that period so the rope stays seated. After the initial cure, use a small fire before returning to a full load.
How do you test whether the new gasket is sealing properly?
Test the new seal after the stove has cooled from the first light fire. Use the dollar-bill test again at the top, sides, and latch side, repeating every six inches. A consistent drag means the door is compressing the rope evenly.
If smoke leakage still appears, check the joint, the latch tension, and the groove cleanup before blaming the new rope. A sealed-looking edge can still leak if the gasket sits proud in one spot or the door does not pull tight enough at the latch.
Retest in order
- Let the adhesive set for 24 hours.
- Run a small fire after the initial cure.
- Cool the stove and repeat the bill test around the door.
- If one spot still fails, adjust the latch or recheck the groove.
How do you know the gasket is the right size?
The right rope diameter must match the manufacturer channel width and compress properly. If the old gasket is flattened, missing, or nonstandard, measure the groove itself instead of copying the worn rope. Common rope sizes often include 1/2 inch, 5/8 inch, and 7/8 inch, and flat glass gasket size may be about 3/4 inch.
Use the cleaned channel as the reference. A rope that is too small will not fill the groove and may leak. A rope that is too large can keep the door from latching fully. The fit should feel snug without forcing the door shut.
Brand and model fit matters
Many stove families use similar rope sizes, but model-specific channel width still decides the final choice. If the stove manual lists a size, use that first. If the old rope is gone, measure the groove width after cleaning and compare it with the new cord’s stated diameter before buying.
Common mistakes
- Buying rope by eye: measure the channel after removing the old seal, especially if the old rope is flattened.
- Leaving old cement in place: residue prevents full contact and can make a new gasket leak.
- Using too much adhesive: a thick bead can keep the rope from seating evenly.
- Skipping the alcohol wipe: the groove should be cleaned with denatured alcohol or rubbing alcohol and dried fully.
- Running the stove too soon: cure time is part of the repair, not an optional wait.
Prevention is simple: clean the channel fully and keep a note of the rope size that fits. That makes the next replacement faster and reduces the chance of ordering the wrong diameter.
Frequently asked questions
How do I know if my wood stove door gasket needs replacing?
Replace it when the dollar-bill test fails, the rope is flattened or frayed, or the stove won’t hold a steady fire with the air control closed. Check several spots around the door, because one weak section can leak while the rest still feels tight.
What size gasket do I need for my wood stove door?
Use the size that matches the channel, not the worn rope alone. Common rope sizes include 1/2 inch, 5/8 inch, and 7/8 inch. If the old cord is missing or crushed, measure the cleaned groove and compare it with the manufacturer’s listed size.
Can I replace a wood stove door gasket myself?
Yes, if you can remove the old seal, clean the groove, and wait for cure time before firing the stove. The job is often described as a forty-five minute job for the hands-on part, but the stove still needs 24 hours before normal use.
What tools do I need to replace a wood stove door gasket?
Have a wire brush, scraper, rag, denatured alcohol or rubbing alcohol, scissors or a sharp utility knife, and the new rope gasket with high-temperature silicone. A clean work surface helps keep the rope free of dirt and makes the joint easier to fit.
How long does it take to replace a wood stove door gasket?
The installation itself is often a forty-five minute job, but cure time adds another day before hard firing. Plan on 24 hours of cure, then start with a small fire after the initial set. That keeps the rope seated and reduces early failure.
Do I need high-temperature silicone for a wood stove gasket?
Use high-temperature silicone if the kit does not include pre-glued rope. Apply it in a thin bead inside the cleaned groove. If the rope comes pre-coated, follow the kit directions and avoid adding extra cement unless the instructions call for it.
Sponsored / affiliate links. As an Amazon Associate I earn from qualifying purchases. I may earn additional commission from eligible campaigns.