10 DIY Wood Burning Christmas Ornament Ideas (Plus Jesse Tree Symbols)
The 10 easiest wood burning Christmas ornaments to make are: stars, personalized name tags, snowflakes, rustic trees, reindeer, a Jesse tree symbol set, hanging gift tags, geometric mandalas, initial monograms, and a simple wood-slice wreath — all achievable with just an outline tip on a temperature-adjustable burner.
Pyrography (wood burning) ornaments look intricate but the actual burning is the easy part — most failures come from the wrong wood, the wrong temperature, or rushing the line before the tip is fully heated. Below are 10 real projects, the temperature and wood pairing that works for each, and a specific pattern set most tutorials skip entirely: Jesse tree ornaments, the 24-symbol Advent set that’s one of the most-searched wood burning ornament projects this time of year.
Getting the Wood and Temperature Right First
Best Wood Burning Kit for Ornament Detail Work
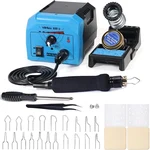 |
YIHUA 939-II Wood Burning Kit Station – $39.99 A digital temperature dial makes it far easier to match the settings below than a fixed-heat hobby pen.
|
Basswood is the standard choice for ornaments because it has almost no visible grain pattern to fight against — a design burns cleanly without the tool wandering into softer earlywood bands the way it will on pine or oak. Birch plywood rounds (pre-cut “birch discs”) are the second most common choice and hold fine detail nearly as well. Save pine for simple, bold outline shapes only; its alternating hard and soft grain rings make thin, precise lines difficult even for an experienced hand.
Temperature depends more on your tip and technique than the wood itself, but as a starting point on an adjustable unit: 550-650°F (the lower-middle of most dials) for fine outlines and lettering, 650-750°F for filling and shading, and slower pen movement rather than higher heat is what actually darkens a line — cranking the temperature up to compensate for a fast hand just produces scorched, blurry edges.
1-3. Stars, Name Tags, and Snowflakes (Beginner-Friendly)
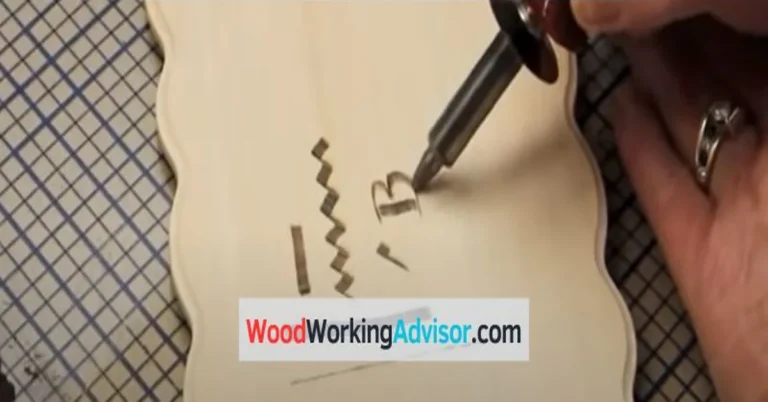
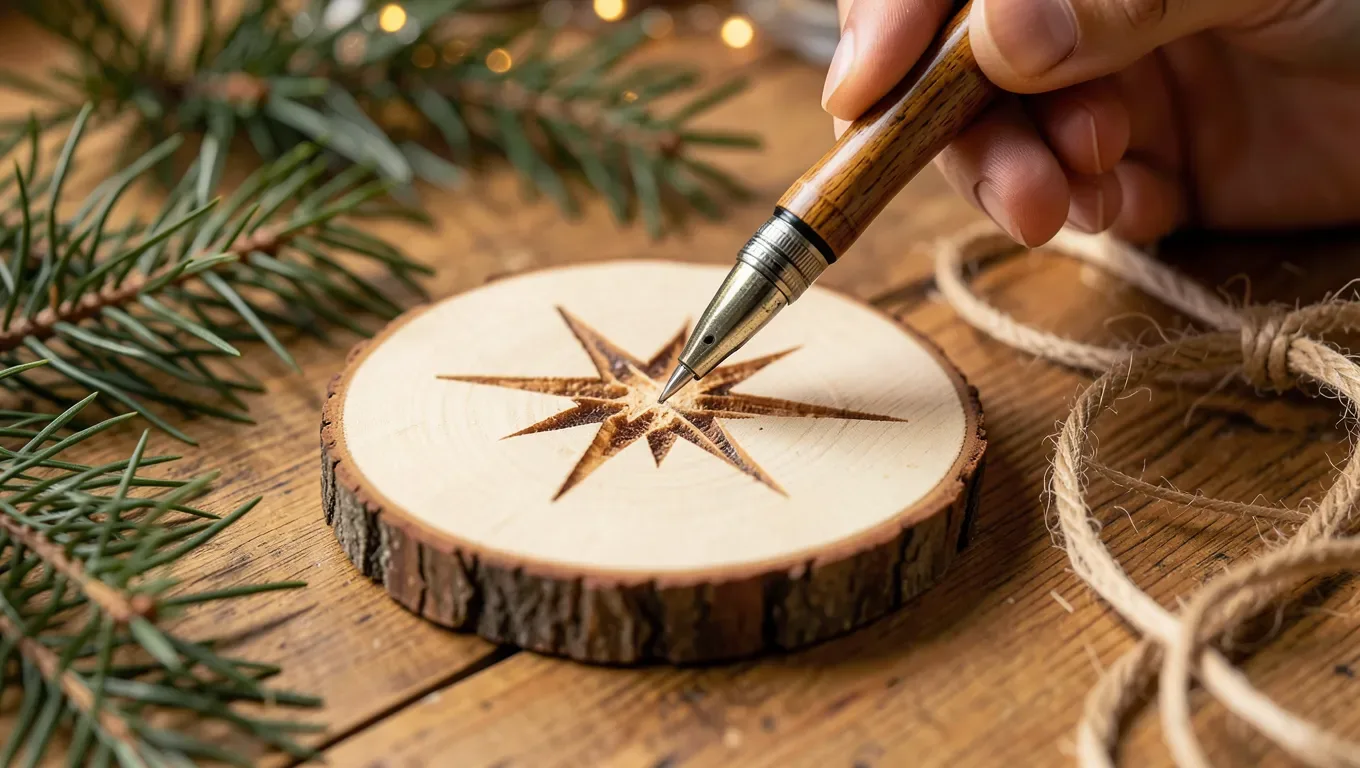
These three share the same technique: sketch lightly in pencil first, burn the outline at a slow, steady pace in one continuous pass rather than short choppy strokes (which is what causes uneven, spotty lines), then go back over the outline a second time for extra depth if needed. For name tags, a stencil keeps lettering even; free-handing works fine for anyone comfortable writing in cursive slowly. For snowflakes, work from the center outward in symmetrical sixths — sketch one arm fully, then trace it as a template for the rest so all six match.
4-5. Rustic Trees and Reindeer Silhouettes
Simple silhouette shapes (a triangular tree, a reindeer profile) work best burned as a solid filled shape rather than just an outline — outline the shape first at a lower temperature, then go over the interior with a wider or shading tip at a slightly higher setting, moving in one direction to keep the fill even. Leave the antlers or tree topper as thin unfilled lines for contrast against the dark fill.
6. Jesse Tree Ornament Symbols (the Search People Actually Miss)
A Jesse tree is an Advent tradition — 24 or 25 small symbolic ornaments (an apple for Eden, a rainbow for Noah, a ladder for Jacob, a crown for David, a star for the nativity, and so on) hung one per day leading up to Christmas, each tied to a Bible reading for that day. It’s one of the more specific wood burning projects people search for, and most general ornament tutorials never mention it. The symbols are simple enough for beginners — most are single-shape silhouettes (an apple, a star, a lamb, a manger) that burn in under 10 minutes each once you have a printed symbol list to work from. Cut 24-25 small basswood rounds or squares (2-3 inches is a workable size), burn one symbol per piece, and drill a small hole at the top for hanging cord before you burn — drilling after can crack thin edges.
7-8. Hanging Gift Tags and Geometric Mandalas
Gift tags double as ornaments: burn a name or short message on a small wood slice, drill a hole, and tie it to a present with twine — it becomes a keepsake ornament after the gift is opened. Geometric mandalas (concentric burned rings, radiating lines, repeated small dots) look complex but are really just careful, patient repetition — a compass or a simple paper template traced in pencil first keeps the geometry symmetrical before you burn anything.
9-10. Initial Monograms and a Wood-Slice Wreath
A single burned letter on a wood slice, sanded and finished, works as a simple, fast ornament that still looks intentional — good for a large family gift batch. For a wreath ornament, burn a simple circular ring of repeated leaf or berry shapes around the edge of a round slice, leaving the center open or filled with a name and year.
Adding Color and Sealing the Finished Piece
Colored pencils give the most control for small details and won’t bleed past a burned line the way paint sometimes does. Thin acrylic paint washes work well for larger filled areas but should be tested on scrap first since paint can slightly raise the wood grain. Once color is dry, seal with a spray or brush-on clear finish rated for wood crafts — this is what keeps both the burned lines and any added color from fading or smudging over years of storage in an ornament box.
Safety Basics Worth Repeating
A wood burning pen’s tip runs at several hundred degrees Fahrenheit and stays hot well after you set it down — always use the stand that comes with the kit, never rest it on the table. Work in a ventilated space; burning wood does produce smoke, and it’s worse with any wood that’s been treated, painted, or is an unknown reclaimed scrap (don’t burn those — stick to known, untreated craft wood). A basic dust/fume mask and cracked window are enough for occasional ornament-making; anyone doing extended sessions should look at a proper fume extractor.
Frequently Asked Questions
What temperature should I use for wood burning ornaments?
Start around 550-650°F for fine outlines and lettering, and 650-750°F for filling or shading larger areas. Moving the pen more slowly darkens a line more reliably than increasing the temperature, which tends to scorch and blur fine detail instead.
What are Jesse tree ornaments and how do you make them for wood burning?
A Jesse tree is an Advent tradition using 24-25 small symbolic ornaments (an apple, a star, a lamb, a crown, and similar simple images), each tied to a daily Bible reading leading up to Christmas. For wood burning, cut small basswood rounds, burn one simple symbol per piece from a printed Jesse tree symbol list, and drill the hanging hole before burning to avoid cracking thin edges.
What wood is best for wood burning ornaments?
Basswood is the standard choice because its grain is nearly invisible, so lines burn cleanly without the tool catching on harder grain bands. Birch plywood rounds are a close second. Softwoods like pine work for bold, simple outlines but make fine detail harder because of alternating hard and soft growth rings.
How do you keep wood burned lines from looking spotty or uneven?
Burn each line in one continuous, slow pass instead of short choppy strokes, which is the most common cause of uneven, spotty lines. Make sure the tip is fully heated before starting, and let it reheat fully between strokes rather than dragging it while the temperature is dropping.
Conclusion
Ten different ornaments, one core skill: a slow, steady, fully-heated pass on the right wood. Start with stars or name tags to get a feel for your tool’s heat settings, then move on to a Jesse tree set or a mandala once the line control feels natural. The projects scale in difficulty, but the burning technique underneath all of them stays the same.
Sponsored / affiliate links. As an Amazon Associate I earn from qualifying purchases. I may earn additional commission from eligible campaigns.