Easy Beginner Wood Burning Art: Step-by-Step First Projects
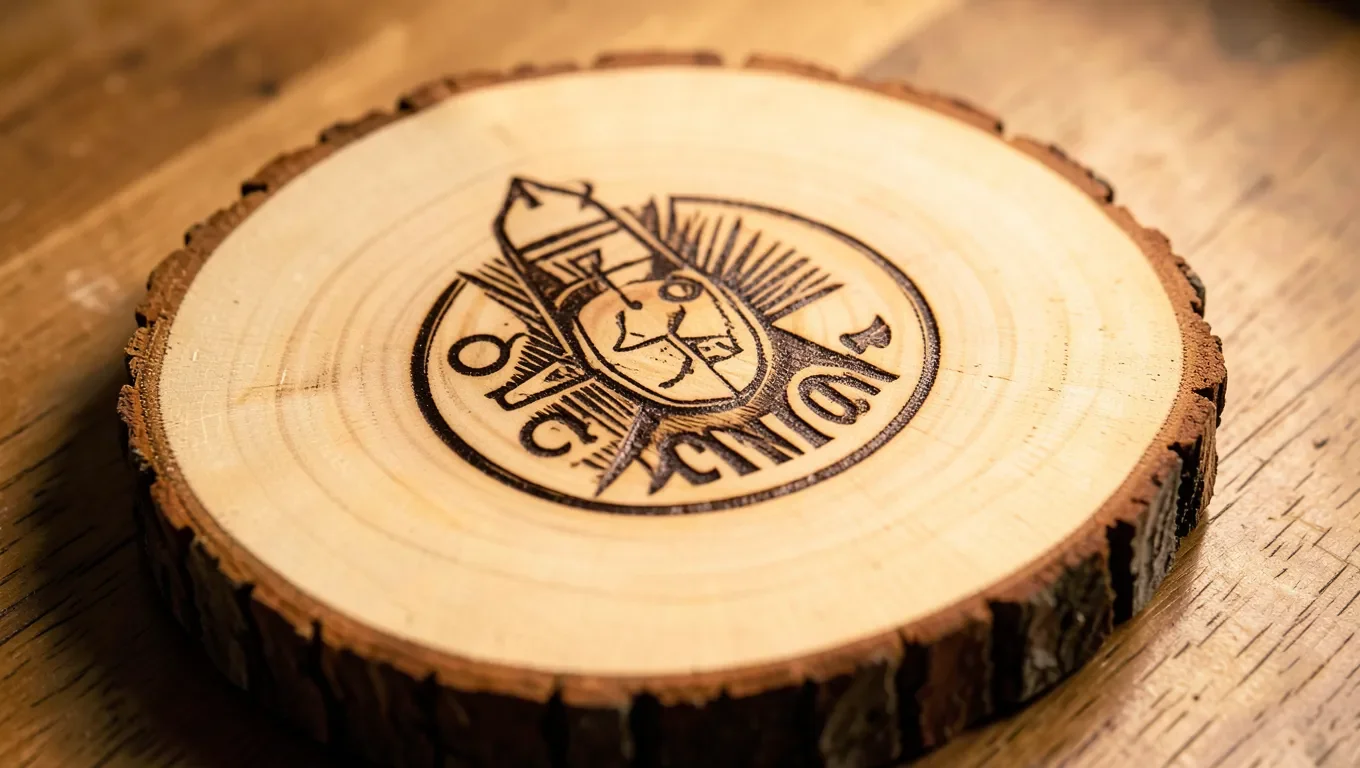
Wood burning art (pyrography) is one of the most beginner-friendly crafts you can start today — a burner pen, a piece of basswood, and about 20 minutes of practice is all it takes to make your first clean line.
Want the bigger picture first — history, showcasing finished pieces, and a safety distinction that trips up a lot of newcomers? See our wood burning arts guide, then come back here for this step-by-step.
Below is exactly what to buy, the three basic strokes to practice before touching a real project, and three easy first designs that don’t require any drawing skill.
This art form doesn’t require advanced skills, making it great for beginners. You’ll enjoy the process of turning plain wood into stunning art. Plus, it’s a relaxing and enjoyable activity. Whether you’re looking to create gifts or decorate your home, wood burning art offers endless possibilities. Dive into this creative hobby and discover the joy of making art with fire.
Introduction To Wood Burning
Best Beginner Kit Pick
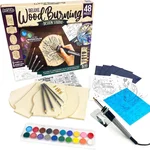 |
ArtSkills Wood Burning Kit for Beginners Comes with burner pen, interchangeable tips, and blank wood plaques so you can start your first project today.
|
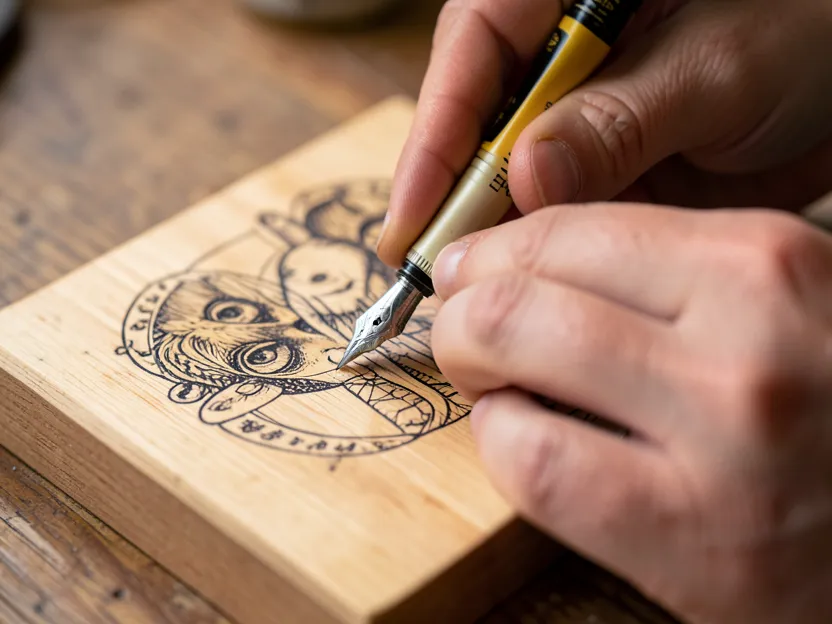
Pyrography, the formal name for wood burning, works by dragging a heated metal tip across wood so slowly and steadily that the wood chars along the path of contact instead of anywhere else — the control comes entirely from speed and pressure, not from the tool itself, which is why the same $20 burner can produce a shaky first attempt and, a few hours of practice later, a clean signature line.
Most people stick with it past the first session for reasons that have nothing to do with the finished piece: the tool only does one thing at a time, so there’s no multitasking your way through it, which is part of why it reads as meditative rather than tedious. It’s also one of the cheapest crafts to start — a basic kit, a few basswood blanks, and you’re set for several projects — and mistakes are rarely fatal to a piece, since you can often burn a slightly heavier line over a wobble or sand a light error away entirely.
Gathering Materials
The full beginner shopping list is shorter than it looks on Pinterest: a burner with at least two interchangeable tips, a stack of basswood or birch plywood blanks, 220-grit sandpaper, and a pencil for sketching. Skip anything marketed as “craft wood” without checking the label first — some pre-cut shapes are treated or coated, and burning a treated surface releases fumes you don’t want to breathe.
Essential Tools
A dial-adjustable wood burning kit costs a bit more than a fixed-temperature pen but is worth it almost immediately — shading needs a cooler tip than outlining, and a single-temperature burner forces you to either scorch your shading or leave your outlines too faint. Round out the kit with 220-grit sandpaper for pre-sanding your blank, a pencil for sketches, and a dust mask; wood dust and the fine smoke from burning are both worth keeping out of your lungs over a long session, not just a one-time concern.
Choosing The Right Wood
Basswood is the standard beginner wood for a reason: it has almost no visible grain pattern to fight against, burns evenly at a lower temperature than most other species, and takes fine detail well. Pine is a cheaper substitute but its grain is pronounced enough that the burner tends to catch and darken faster along the harder grain lines than the softer ones, giving beginners an uneven line before they’ve learned to compensate. Hardwoods like oak or maple need noticeably higher heat and more practiced pressure control, so they’re worth saving for after your first few basswood pieces. Whatever you pick, confirm it’s untreated — burning a sealed, painted, or pressure-treated surface can release fumes you don’t want in an enclosed room.
Safety Tips
The real hazards in pyrography are heat contact and smoke inhalation, not open flame — there’s no fire risk in the way there is with a torch, but a burner tip runs at 600-900°F and the smoke from burning wood is worth ventilating away rather than breathing for hours at a stretch.
Protective Gear
Safety glasses matter more than people expect, since a burner tip occasionally pops a small ember of char that can flick toward your face. A basic dust or particulate mask cuts down on the smoke you’d otherwise inhale over a multi-hour session — it’s a low-grade irritant rather than an acute danger in a ventilated space, but it adds up over repeated sessions. Heat-resistant gloves aren’t strictly necessary if you’re holding the tool by its insulated handle, but they’re cheap insurance the first few times you’re learning where the hot metal actually is relative to your fingers.
Safe Working Environment
An open window with a fan pulling air out (not just circulating it) clears smoke far more effectively than an open window alone. Keep the burner’s stand or a heatproof tile nearby so you have somewhere to set the hot tip down between strokes instead of resting it on your work surface, and clear loose paper, sawdust, and anything flammable well away from that resting spot — the tip stays hot enough to scorch for a minute or two after you set it down.
Preparing Your Workspace
Lay out your burner, tips, and blank before you plug anything in, and inspect the tip itself for a loose fit or visible corrosion — a wobbly tip transfers heat unevenly and makes clean lines much harder than they need to be. Good lighting matters more here than in most crafts, since you’re often working with thin pencil lines that get harder to see the moment they’re partially burned over; a desk lamp angled across the work rather than straight down helps the slight texture of the burn line catch shadow and stay visible.
Basic Techniques
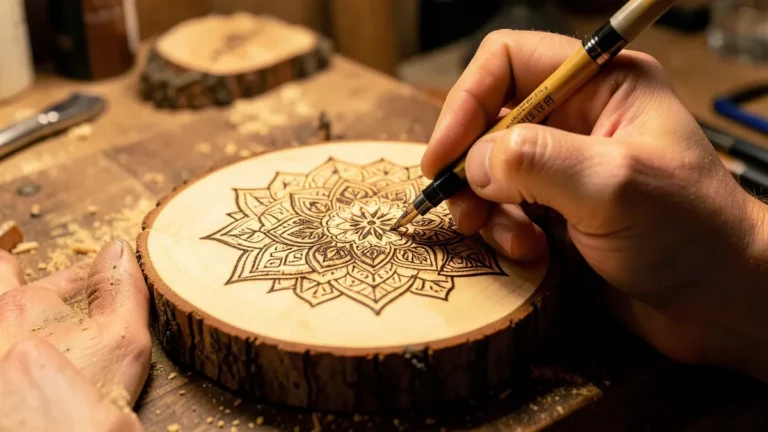
Grip the burner the way you’d hold a pen for writing, not a knife for carving — a light, relaxed grip gives you far more control than gripping tightly, which tends to make the line shake. Rest your forearm flat on the table rather than holding your whole arm up in the air; the steadiness comes from the table supporting your arm’s weight, not from muscle tension in your hand.
Practice three strokes before touching an actual design: a slow, even straight line at a constant speed (speed changes show up immediately as darker or lighter patches), a curved line using your whole arm to pivot rather than just your wrist, and a stippling technique of small dots held for a fraction of a second each, which is what most shading and texture work is built from. A grid of small boxes, each filled with a different one of these three techniques, teaches more in twenty minutes than jumping straight to a finished design.
Creating Your First Design
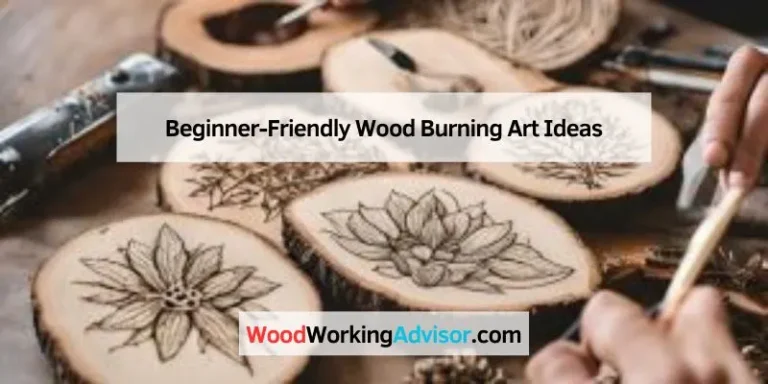
Once the three basic strokes feel natural, it’s time to put them into an actual design rather than more practice grids — a flower, a simple geometric pattern, or an initial and a date make good first projects because they combine straight lines, curves, and a bit of fill work without requiring any real drawing ability.
Selecting A Design
A five-petal flower, a star, or a simple geometric knot are the classic first designs because each one is built from repeated versions of the same curve or line — once you’ve burned one petal well, the rest are just repetition, not new skill. Look for or trace a design with clean, bold outlines rather than fine detail; thin, wispy lines in a reference image are much harder to follow with a burner tip than a design meant for something like a stencil or a coloring page.
Transferring The Design To Wood
Tape the printed design to the wood at two corners first so it can’t shift mid-trace, then slide a sheet of graphite or carbon paper (graphite side down) underneath it. Trace every line with a ballpoint pen using firm, even pressure — a pencil tends to skip and leave gaps in the transfer. Lift one corner to check the transfer came through clearly before removing the whole sheet; a faint or broken line is much easier to re-trace now than to guess at once you’re partway through burning it.
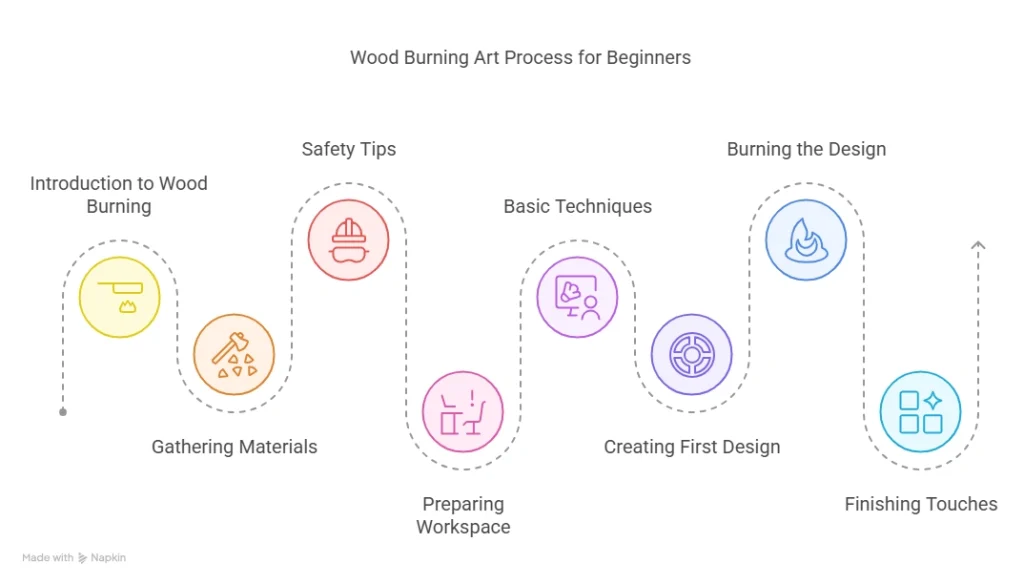
Burning The Design
Let the burner reach full temperature (usually 60-90 seconds after you plug it in) before touching wood — starting on a cool tip drags and skips instead of gliding, and it’s tempting to compensate with more pressure, which digs the line in deeper than intended. Trace over your transferred lines at a slow, consistent speed, letting the heat do the darkening rather than pushing down harder for a bolder line; speed controls line darkness far more than pressure does.
Switch to a fine tip for detail work and outlining, and a wider or shading tip for filling larger areas — going back and forth between the two as the design calls for it, rather than finishing all outlines before starting any shading, helps you catch and fix mismatched darkness levels while you can still blend them in. Take a short break every 15-20 minutes; hand fatigue is what causes most of the wobbly lines that show up in the second half of a longer piece.
Finishing Touches
Sanding helps to make the wood surface smooth. Use fine-grit sandpaper for best results. Sand gently in a circular motion. This removes any rough edges or splinters. Check your work often to make sure it’s smooth. Don’t rush this step. A smooth surface is key to a nice finish.
A finish protects your wood art. You can use clear varnish, oil, or wax. Apply the finish with a clean brush or cloth. Make sure to cover all areas evenly. Let it dry for the recommended time. Adding a second coat can enhance the look. Always work in a well-ventilated area. This keeps you safe from fumes.
Tips For Beginners
The most common beginner mistake isn’t a safety issue at all — it’s pressing down to darken a line instead of slowing the burner down, which usually gouges the wood rather than just darkening it. A close second is rushing a design before the basic strokes feel automatic; a wobbly line from moving too fast is far more common than one from a shaky hand.
Keep a piece of scrap basswood next to whatever project you’re working on and test any new tip, temperature setting, or technique on the scrap first — a shading technique that looks right in your head can burn very differently at a given temperature than you expect, and testing on the actual project piece is how designs get ruined. Ten minutes of warm-up strokes on scrap before starting a real piece consistently produces cleaner results than starting cold.
Showcasing Your Art
A simple frame or a small plate stand does more for how a finished piece reads than people expect — raw wood edges look unfinished sitting flat on a shelf, while the same piece framed or propped reads as a deliberate art object.
Photograph finished work near a window in indirect daylight rather than under indoor bulbs, which tend to cast a yellow tint that flattens the natural contrast between burned and unburned wood. Angling the piece slightly to the light source rather than straight-on lets the burn lines’ subtle texture catch a bit of shadow, which reads much better in a photo than a flat, evenly-lit shot.
Ready to try something new? Browse our 12 wood burning project ideas for every skill level for your next piece.
Frequently Asked Questions
What Is The Difference Between Pyrography And Wood Burning?
Pyrography and wood burning refer to the same art form. Both involve burning designs onto wood with heated tools.
How To Write On Wood By Burning For Beginners?
Start by selecting a piece of wood. Sketch your design lightly with a pencil. Use a wood-burning tool to trace over the design. Practice control to manage the burn depth. Always work in a well-ventilated area.
What Is The Best Wood For Beginner Wood Burning?
Basswood is the best wood for beginner wood burning. It is soft, easy to burn, and affordable.
What To Seal Wood Burning Art With?
Seal wood burning art with clear acrylic spray, polyurethane, or a wood sealer. These protect and enhance the artwork.
Conclusion
Creating beginner wood burning art can be a fun experience. It allows you to express creativity while learning a new skill. Always ensure safety by wearing protective gear and working in a well-ventilated area. Start with simple designs and gradually take on more complex projects.
Practice often to improve your technique. Enjoy the process and take pride in your creations. Happy wood burning!
Sponsored / affiliate links. As an Amazon Associate I earn from qualifying purchases. I may earn additional commission from eligible campaigns.