15 Free Wood Burning Patterns for DIY Projects (Print & Trace)
These 15 free wood burning patterns are printable line-art designs on three sheets: five beginner, five intermediate and five advanced, each sized to trace onto basswood. Use graphite transfer paper, not carbon paper, because the wax in carbon paper can melt into the grain and show through as muddy lines. Never burn MDF or treated, painted or stained wood. This guide covers the sheets, wood and safety, and what each pattern teaches.
Free Wood Burning Patterns: Print, Transfer, Burn
Best Pattern Transfer Paper Pick | |
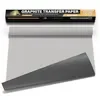 |
MyArtscape Graphite Transfer Paper Roll, 17 in x 30 ft (Wax Free), $18.97 A wax-free graphite roll for tracing the outlines from the three pattern sheets below onto sanded basswood, without the waxy residue that carbon paper can leave under the burn.
|
As an Amazon Associate we earn from qualifying purchases. | |
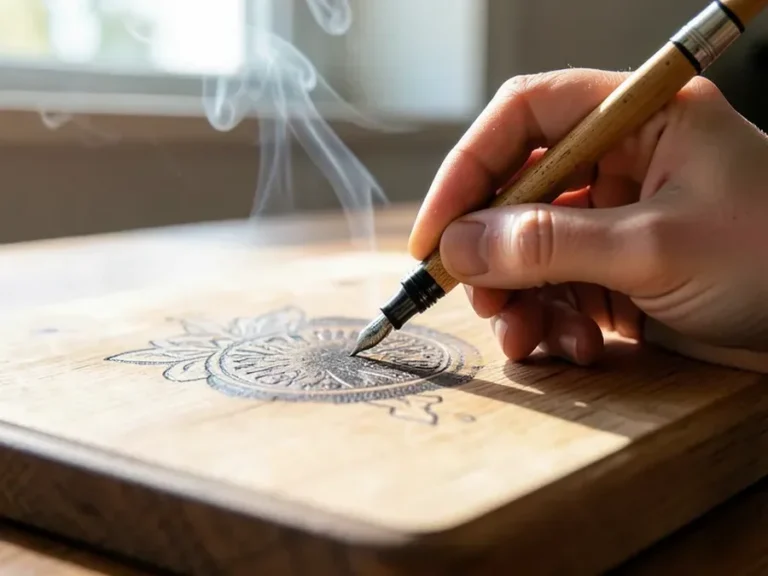
Wood burning, also called pyrography, scorches a design into wood with a heated pen tip rather than an open flame. The three sheets in this guide are plain outline art made for this page, so every line is a clean single stroke you can follow with a pen tip. Here is the workflow that goes with them.
- Print at 100%: each sheet has a 1-inch square in the corner. If it measures 1 inch (25.4 mm) on paper, your printer scale is right; if not, turn off fit-to-page.
- Sand first: work through the grits to a smooth surface and wipe off the dust, because ridges and dust make a pen tip skip and blob.
- Transfer with graphite paper: tape the printout over graphite paper (graphite side down) on the wood and trace each line with a pencil, pressing evenly.
- Check the lines: graphite lifts off with a kneaded eraser, so fix a wrong line before it is burned in.
- Burn slowly: pull the tip along the line at an even speed and let the heat do the work. Practice on scrap cut from the same board first.
Myth check: carbon paper and graphite paper are not the same thing. Carbon paper has a waxy binder, and according to Pyrography Made Easy that wax melts and spreads when you burn over it, leaving spots, and its lines do not erase with a pencil eraser. Graphite paper has no wax binder and erases cleanly, though darkness varies by brand, so test a scrap corner first. Check the label for “wax free” before you buy.
If you would rather start from ready-made shapes and stencils instead of printed sheets, see our guide to wood burning stencils for beginners.
Best Wood and Safety Rules for Wood Burning Patterns
Wood choice changes how crisp a pattern looks, and some materials should never go near a pen tip. The notes below come from the Wood Burning University pyrography guide.
| Wood | Verdict for patterns | Why |
|---|---|---|
| Basswood | Best starting point | Fine, even grain and pale color; soft enough for easy burning and detailed shading |
| Birch | Good | Slightly harder than basswood with a smooth surface; if you use birch plywood, avoid anything thinner than 6 mm so you do not burn into the glue layers |
| Poplar | Good for practice | Soft, fine grain and affordable; buy thicker panels to reduce warping while you burn |
| Maple | Experienced burners | Needs higher temperatures but gives crisp, clear lines and rich, dark tones |
| Pine | Not preferred | Heavy grain produces excess smoke and makes smooth, even lines difficult |
Never burn: MDF, pallet wood, cedar, moldy wood, wood of unknown type, or any wood that has been treated, stained, dyed or painted. The same guide lists MDF among the materials to skip, and other pyrography safety guides explain why: MDF contains formaldehyde, plywood adhesives can release toxic fumes, and wood once pressure-treated with arsenic-based preservatives (and painted or varnished wood) gives off hazardous fumes when burned (see the Gathered beginner’s guide to pyrography).
Ventilation, protection and fire safety
- Work with an open window or an exhaust fan so the smoke is carried away from your face.
- Wear a dust mask or respirator and safety glasses; burning produces fine smoke particles.
- Keep a fire extinguisher within reach and rest the hot pen in its stand, never on the bench.
- Clamp the board to a stable, non-flammable surface and unplug the pen when you leave it.
Pen heat settings differ from brand to brand, so test each pattern on scrap first. Our wood burning pen temperature chart explains how fixed-heat and adjustable pens differ, and our guide to using a wood burning pen covers tips and technique.
Beginner Wood Burning Patterns 1-5
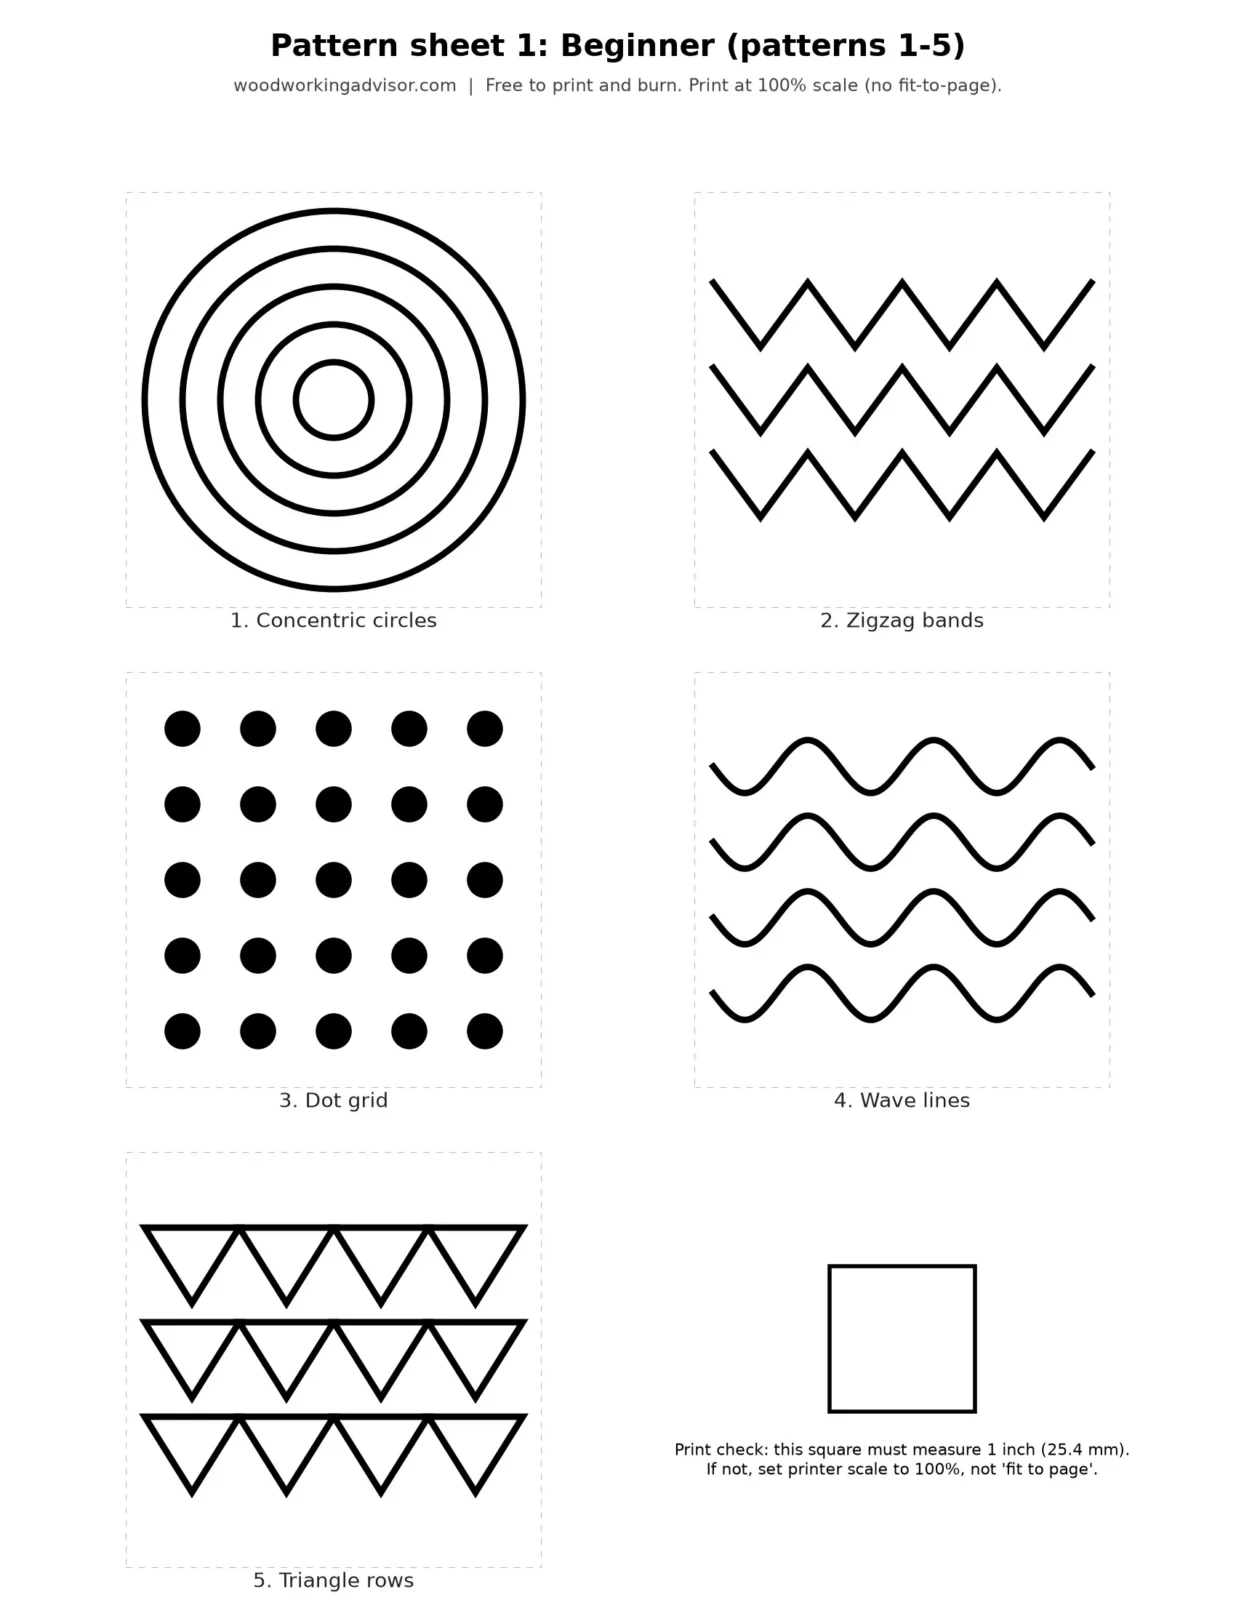
Patterns 1 to 5 use only circles, straight runs and repeated shapes, which teach hand speed and line control before anything organic. Print sheet 1 at 100% and trace the pattern you want.
| Pattern | What it trains | Technique note |
|---|---|---|
| 1. Concentric circles | Steady curves | Turn the board under the pen instead of swinging your wrist, and start with the smallest ring |
| 2. Zigzag bands | Sharp direction changes | Pull the pen toward you; lift at each point so corners stay crisp instead of rounding |
| 3. Dot grid | Even pressure and dwell time | Touch, count the same beat and lift on every dot so they match in size |
| 4. Wave lines | Smooth flowing strokes | Move the whole forearm, not just the fingers, and keep each wave in one continuous pass |
| 5. Triangle rows | Straight edges and shared lines | Neighboring triangles share edges, so burn each shared line once |
Intermediate Wood Burning Patterns 6-10
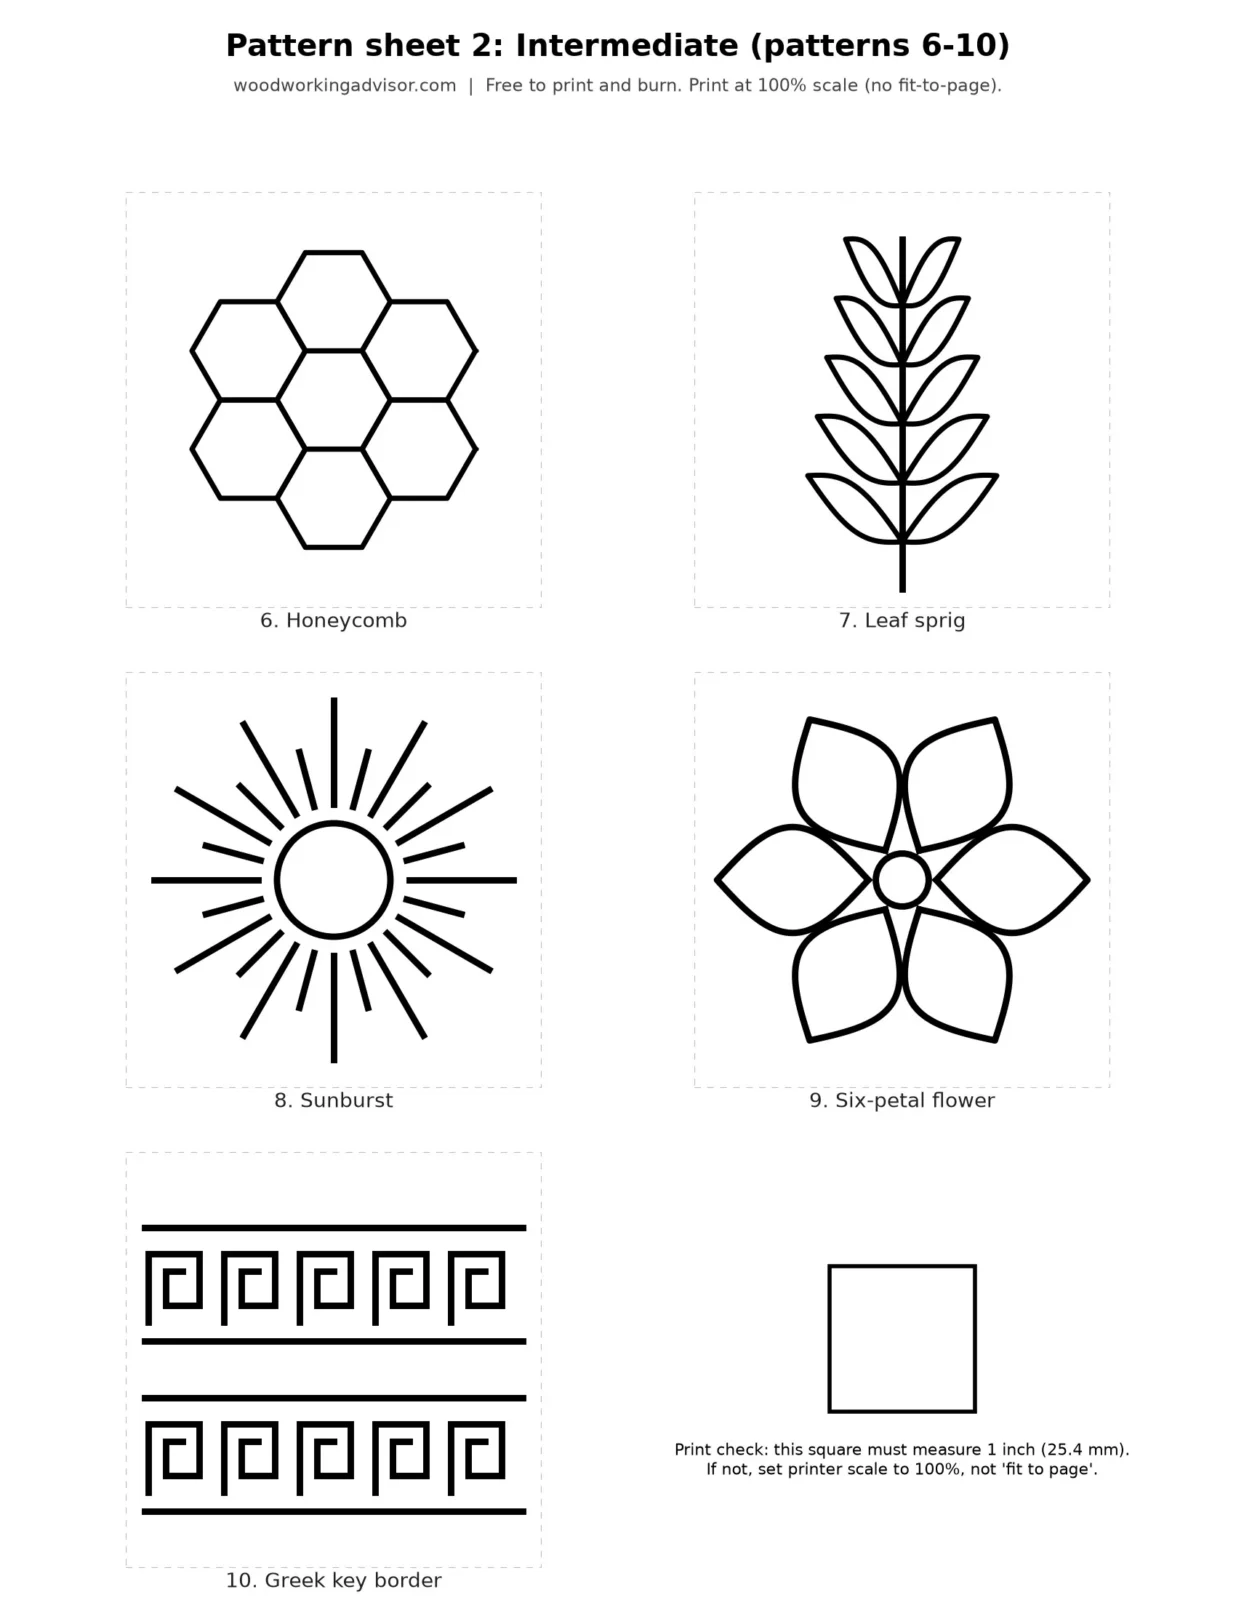
Patterns 6 to 10 add repeated geometry, mirrored shapes and fine radial lines. They reward a light grip and a sharp, clean tip.
| Pattern | What it trains | Technique note |
|---|---|---|
| 6. Honeycomb | Consistent angles | Every hexagon repeats the same angles, so burn the shared edges once and keep the pen speed constant |
| 7. Leaf sprig | Curved points and symmetry | Burn the stem first, then each leaf from the stem outward so the points taper |
| 8. Sunburst | Radial spacing | Burn the long rays first, then the short ones between them to keep the spacing even |
| 9. Six-petal flower | Overlapping curves | Stop each petal line where it meets the next petal instead of crossing it |
| 10. Greek key border | Right angles and repeats | Pencil guide lines along the top and bottom first; mistakes stack up over a long repeating border |
Advanced Wood Burning Patterns 11-15
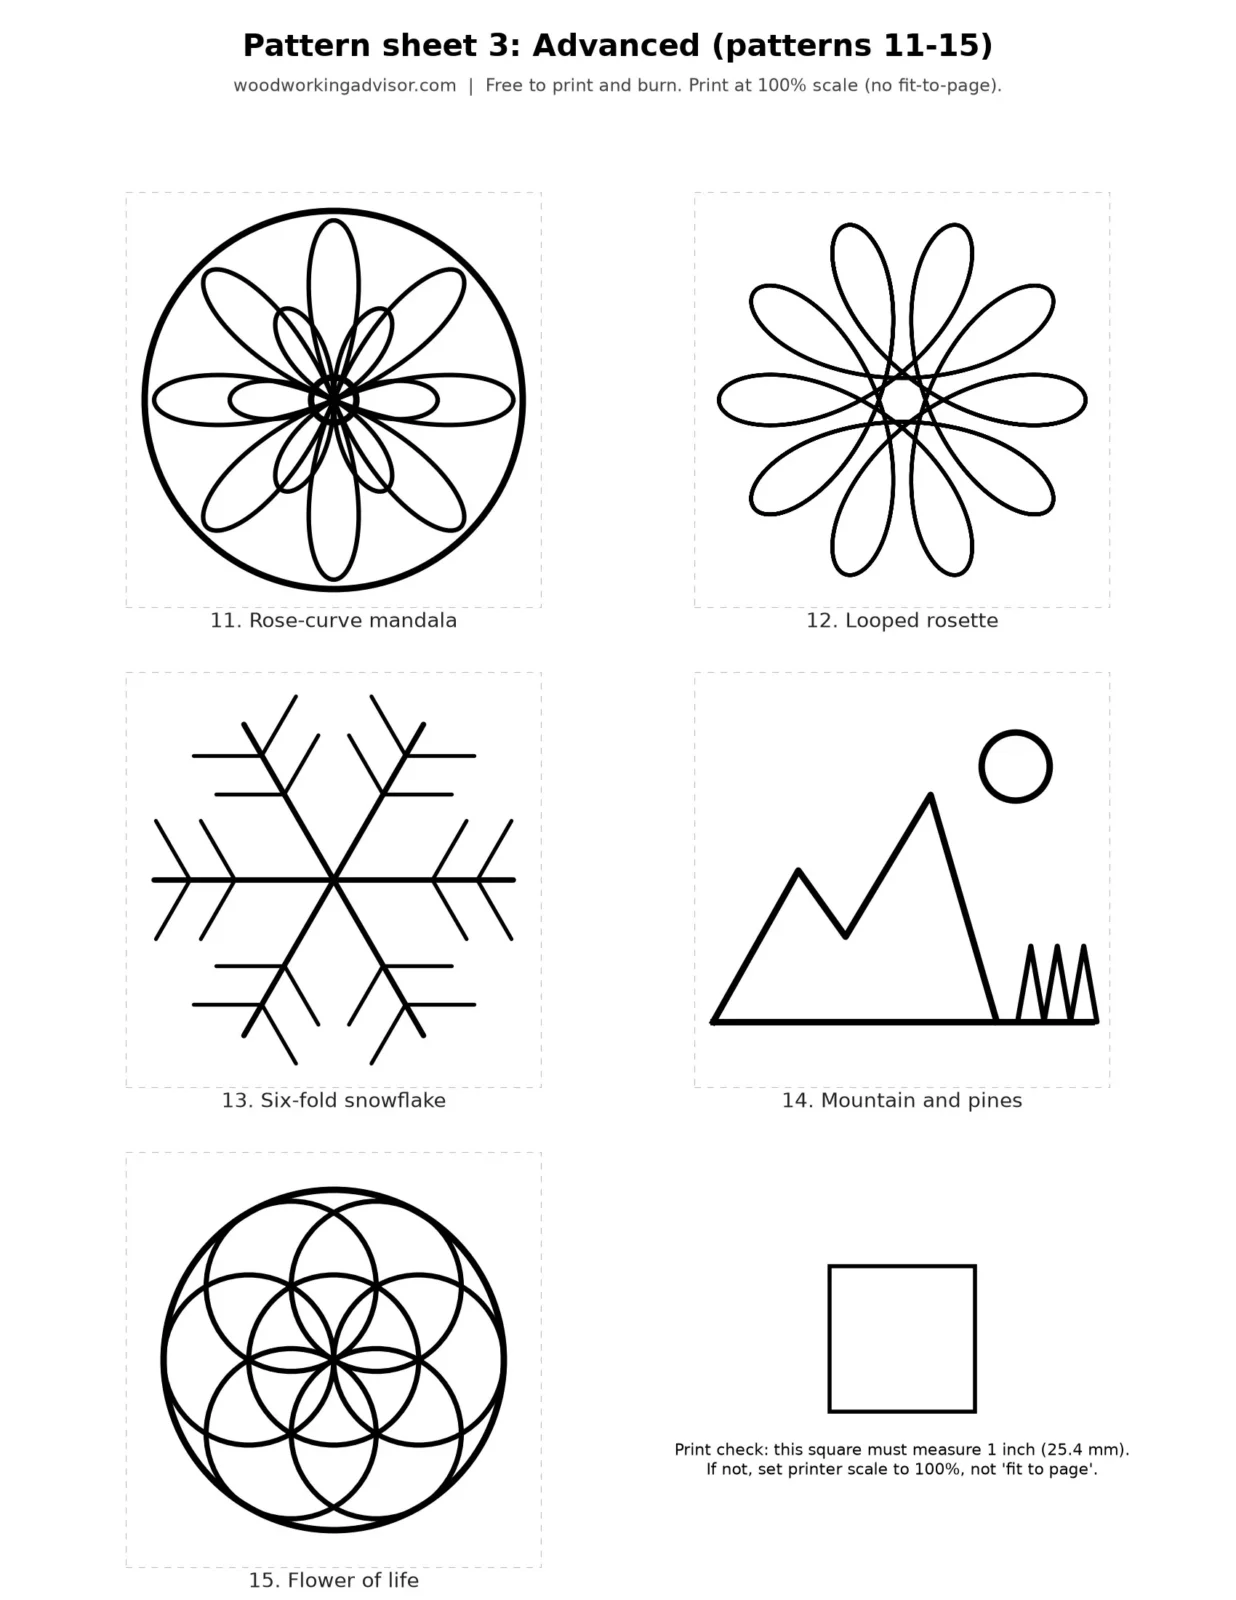
Patterns 11 to 15 have many crossing curves and thin lines, so board prep and a clean transfer matter more here. If a pattern looks crowded when traced, enlarge the printout before you transfer it, which keeps the lines apart.
| Pattern | What it trains | Technique note |
|---|---|---|
| 11. Rose-curve mandala | Crossing curves at the center | Burn the outer ring last so you can see where the petals meet it |
| 12. Looped rosette | Long continuous curves | Rotate the board rather than your wrist, and burn one loop at a time |
| 13. Six-fold snowflake | Repeating six-way symmetry | Mark the six main arms with a pencil first, then add the side branches in matching order |
| 14. Mountain and pines | Scene layout and shading | Leave the sun and peaks outlined, then add light shading on one side only for depth |
| 15. Flower of life | Overlapping circles | A compass keeps the seven circles equal; burn each circle in one pass |
Pattern 14 is the entry point for scenery; for a full step-by-step landscape project, see our mountain wood burning patterns guide.
Finishing and Using Your Burned Patterns
Once the burn is done, erase leftover graphite with a kneaded eraser and brush off the char dust. A clear sealer protects the surface, and if you want to add color with pencils or watercolor, do it after sealing so the color stays out of the burned lines. For more design ideas to pair with these patterns, see our wood burning projects by skill level.
To scale a pattern for a different board, copy the sheet at a larger or smaller percentage on a printer or copier and keep the proportions locked, and test a small version on scrap before committing to the final piece.
Frequently Asked Questions
What is the best wood for wood burning patterns?
Basswood is the best starting wood because it has a fine, even grain and pale color and burns easily. Birch and poplar also work well, maple gives crisp, dark lines at higher temperatures, and pine is not preferred because its heavy grain makes smooth lines hard. Always use untreated, unpainted solid wood.
Should I use carbon paper or graphite paper to transfer a pattern?
Use graphite transfer paper. Carbon paper contains wax that can melt into the grain when heat reaches the transfer lines and leave muddy, hard-to-remove marks. Graphite paper has no wax binder and its lines erase, so you can fix a mistake before burning. Look for the words wax free on the label.
Can you wood burn plywood or MDF?
Avoid MDF completely, because it contains formaldehyde. Plywood adhesives can also release toxic fumes, so many pyrography guides advise against it. If you do use birch plywood, choose a panel at least 6 mm thick so you do not burn through to the glue layers, and ventilate well.
Why is treated or painted wood unsafe to burn?
Pressure-treated, painted, stained and varnished wood contains chemicals that produce toxic fumes when heated. Older pressure-treated lumber contained a form of arsenic. Only burn natural, untreated wood of a known type, and never burn pallet wood, cedar or moldy wood.
How do I resize a wood burning pattern?
Copy or print the sheet at a larger or smaller percentage with the proportions locked, then check the 1-inch print-check square to confirm the scale. Enlarge crowded patterns, such as the mandala and the flower of life, before tracing so the lines stay apart. Test the final size on scrap wood first.
Sponsored / affiliate links. As an Amazon Associate I earn from qualifying purchases. I may earn additional commission from eligible campaigns.