Wood Stove Pipe Leaking Creosote: What to Do
Stop using the stove and treat leaking creosote as a fault in combustion, draft, installation, or chimney condition. If liquid tar is present, call for inspection before relighting. Ignoring it can lead to chimney fire, carbon monoxide exposure, and damaged finishes or masonry. This guide shows how to sort the cause from the symptom so you know what to check first and what not to clean yet.
What leaking creosote means
Creosote forms when wood smoke does not burn fully. In a wood stove system, it can collect in the stovepipe, flue, cap, and chimney walls, then appear as black streaks, sticky residue, or liquid tar when the buildup is severe. That is a warning sign, not a normal housekeeping task.
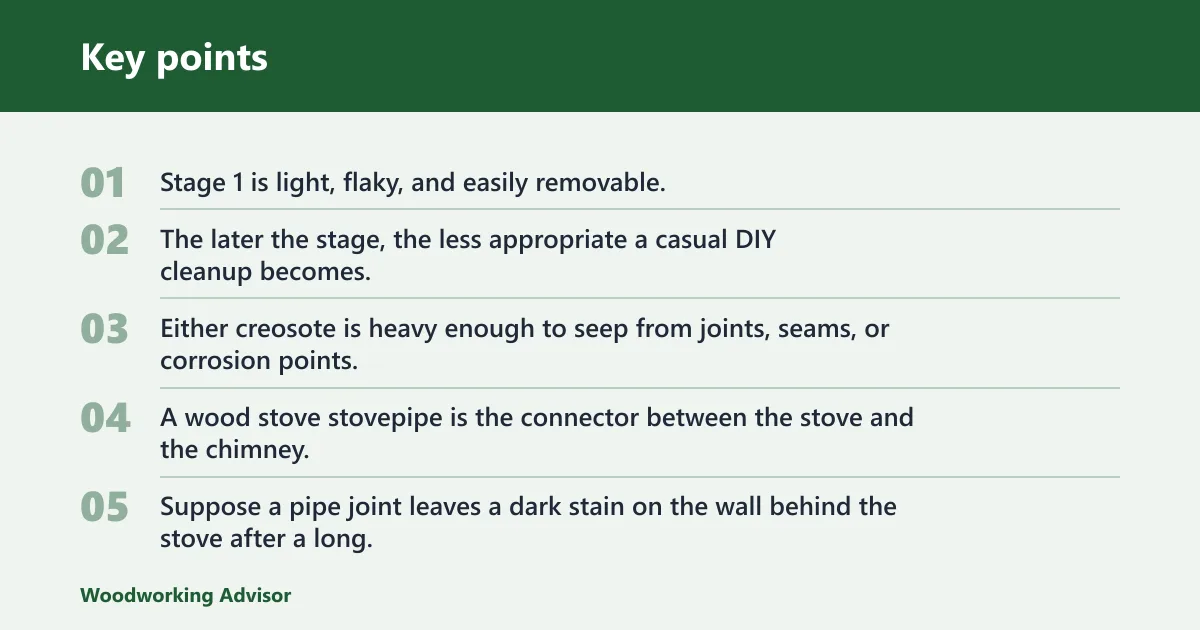
Creosote usually shows up in three stages. Stage 1 is light, flaky, and easily removable. Stage 2 is tar-like. Stage 3 is glazed and hardened. The later the stage, the less appropriate a casual DIY cleanup becomes.
A leak often means one of two things. Either creosote is heavy enough to seep from joints, seams, or corrosion points, or the system is cooling and condensing smoke where it should not. A wood stove stovepipe is the connector between the stove and the chimney, so it is a common place for failures to show up first.
Suppose a pipe joint leaves a dark stain on the wall behind the stove after a long, smoldering burn. That points to more than a dirty exterior. It can indicate poor draft, a loose connection, or a flue that is loading up faster than normal.
Creosote leak triage table
Use this table to separate urgent leak signs from routine maintenance. Do the safe step first, then decide whether the issue is cleaning, repair, or professional inspection.
| Symptom observed | Likely cause | Immediate safe action | When to call a chimney sweep |
|---|---|---|---|
| Dripping tar | Severe creosote buildup, active condensation, or a cold flue that is loading rapidly | Stop using the stove, let it cool, protect nearby flooring and walls, and do not relight | Call right away. Active liquid creosote calls for inspection before any cleaning attempt |
| Black streaking | Creosote seeping at a joint, seam, or corrosion spot | Stop the stove, photograph the stain if needed for later repair reference, and keep combustibles away from the area | Call if streaking returns after one cleaning, or if the joint looks damaged |
| Smoky odor indoors | Weak or reversed draft, leakage at joints, or smoke spilling from the appliance path | Open a window if needed for ventilation, shut the stove down, and confirm a carbon monoxide detector is installed near sleeping areas | Call if the odor persists, smoke enters the room, or draft stays poor |
| Weak draft | Cold chimney, exterior chimney exposure, cap restriction, or creosote narrowing the flue | Do not push the stove with a long smoldering fire; follow the stove manual and let the system cool before inspection | Call if draft is still weak after a basic visual check, or if smoke movement is reversed |
| Damaged pipe joints | Poor installation, corrosion, movement, or repeated overheating | Stop use, avoid touching loose parts that may fall, and keep the area clear | Call for repair assessment. Do not treat damaged joints as a cleaning-only problem |
Is the stove safe to use right now?
If liquid tar is dripping, the stove should not be relit until the system has been inspected. Any smoky odor indoors, visible leakage, damaged joints, or repeated smoke spillage is a stop-use sign. A carbon monoxide detector should already be installed near sleeping areas before any troubleshooting starts.
Stop-use signs that mean you should not relight the stove
Do not relight if tar is actively seeping, if smoke enters the room, if the pipe is visibly damaged, or if the chimney draft seems reversed. Those are fault signs, not cleanup cues. Cleaning after relight can spread residue, and firing a compromised system can worsen the problem fast.
Carbon monoxide detector check before any troubleshooting
Check that a carbon monoxide detector is installed near sleeping areas and powered as directed by the manufacturer. If the alarm sounds, leave the area and follow emergency guidance first. Draft, combustion, and leakage problems can all affect carbon monoxide levels, so this step comes before inspection work.
When to cool the stove and call a professional
Cool the stove if you see heavy staining, active leakage, glazed buildup, or any pipe damage you can spot from outside the hot zone. Call a chimney sweep if the leak is severe, if the access is uncertain, or if the chimney has not been inspected recently. That is the safer route for heavy deposits.
Why is my wood stove pipe leaking creosote?
Most leaks trace back to one or more of four conditions: wet fuel, weak draft, poor pipe fit, or heavy flue buildup. A leaking stovepipe is usually a symptom of the system, not a single dirty spot. The fix depends on which fault is driving the condensation and seepage.
Wet or green wood
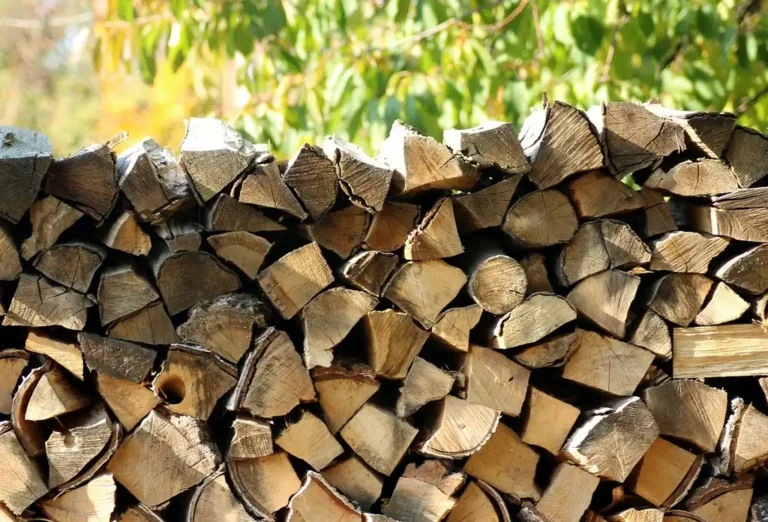
Unseasoned or green wood typically has higher moisture content, so it burns cooler and makes more smoke. That extra moisture condenses in the flue and speeds creosote formation. Seasoned firewood should be 20% moisture content or less. A pin-style meter is described as giving the most accurate readings.
Hardwoods like oak and maple typically require 12-24 months to dry properly. Softwoods like pine and fir may dry faster. Proper stacking and enough time matter because wet fuel can make even a clean chimney load up quickly.
Cold chimney or weak draft
Weak or reversed draft increases smoke spillage and buildup. A hot, steady draft keeps flue gases moving and limits condensation inside the system. A simple diagnostic check is to watch whether smoke moves smoothly up the flue path or lingers, spills, or curls back when the stove is operating. Do this only from a safe distance and without opening the appliance or exposing yourself to smoke.
A cold chimney is a common trigger for this problem, especially with exterior chimney runs or a long idle period. The colder the flue walls stay, the more smoke cools and sticks. That is how a light fuel issue can turn into black streaking or dripping tar.
Poor pipe fit, corrosion, or damaged joints
The stovepipe connects the stove to the chimney, so its joints, seams, and connection points see movement, heat, and soot. Poor installation can leave gaps. Corrosion can open pinholes or weak seams. Damaged connections can let creosote escape onto the pipe exterior or nearby surfaces.
Heavy buildup in the flue or cap
When buildup gets heavy, the pipe can leak, the draft can weaken, and the chimney can stop carrying heat and smoke efficiently. Annual inspections are commonly recommended by chimney safety organizations, and heavy use may call for more frequent checks. Clean when buildup is identified as needing service.
How to clean up creosote safely
Clean up depends on where the residue is. Exterior staining can be contained and wiped after the stove is cool. Internal flue deposits are a different job. Glazed or liquid creosote, damaged pipe, and difficult or uncertain access are generally best left to a chimney sweep.
Containment for floors, walls, and nearby combustibles
Before you touch the residue, keep the stove cold and clear nearby combustibles from the area. Cover floors with disposable material if needed, and avoid spreading sticky residue onto trim or masonry. If creosote has splashed, treat the area as contamination until the system is checked.
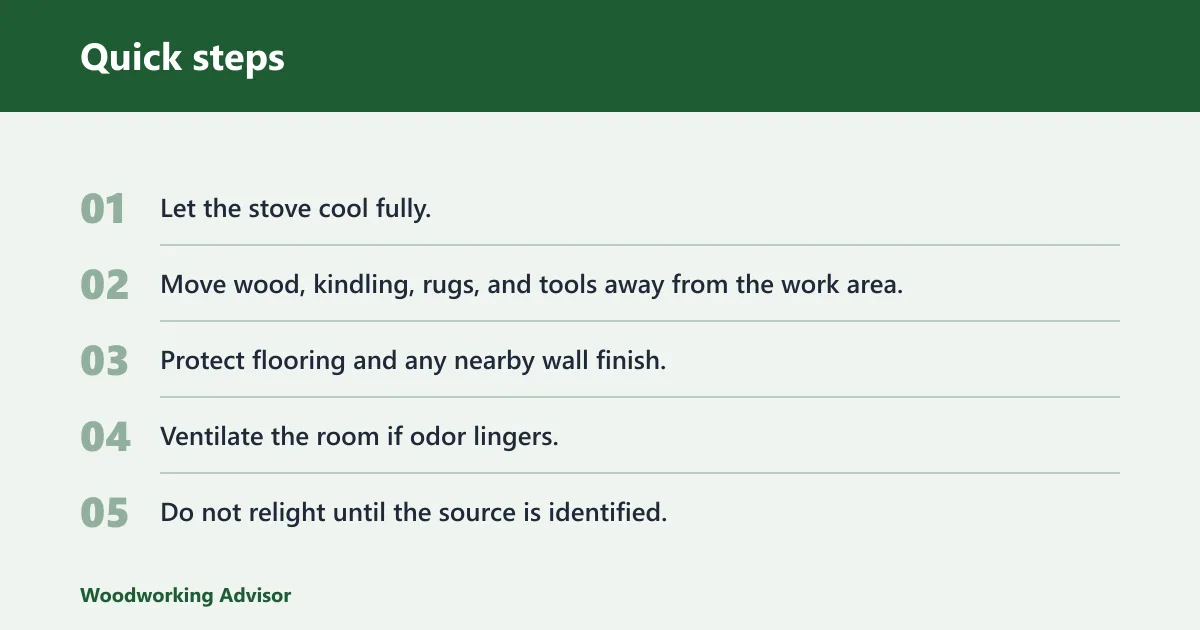
- Let the stove cool fully.
- Move wood, kindling, rugs, and tools away from the work area.
- Protect flooring and any nearby wall finish.
- Ventilate the room if odor lingers.
- Do not relight until the source is identified.
What you can clean on the outside surface
Light exterior smudges on the stovepipe or nearby finish can often be removed after the leak source is addressed. Use a dry or lightly damp cloth on cool surfaces only, and follow the stove manual for approved surface care. Do not use flammable solvents or generic household chemicals on stove pipe.
A common first-timer mistake is cleaning the stain first and skipping the pipe joint that caused it. That leaves the fault in place. If residue returns after wiping, the leak is still active and the system needs inspection, not just another pass with a rag.
What should wait for a chimney sweep?
Heavy deposits, glazed creosote, active liquid leakage, or pipe sections you cannot safely reach should wait for a chimney sweep. Stage 3 creosote is glazed and hardened, and DIY tools are not the right answer for every chimney. If the access path is uncertain, professional inspection is the safer choice.
Tools that may be used for routine cleaning only
For routine maintenance on an accessible system, a stiff wire brush, telescopic pole, chimney vacuum, and a creosote removal solution or other chimney-cleaning product labeled for routine maintenance may be used only where they match the model and deposit type. Check the manufacturer’s listing for your setup and follow the stove manual. Chemical treatments do not replace mechanical sweeping. If the buildup is heavy, stop and call a sweep.
Do not treat a creosote log as a cure for leaking deposits. If a product is marketed to loosen soot, it may be a maintenance aid at best, not a fix for active leakage, damaged joints, or glazed buildup. The system still needs inspection.
When to call a chimney sweep
Call a chimney sweep for heavy deposits, glazed buildup, repeated odor or smoke leakage, pipe damage, or any case where the access is uncertain. That recommendation is strongest when liquid creosote is active. Cleaning should not start until the cause and severity are clear.
If the chimney has not been inspected in a year, or if the stove is used heavily, schedule service sooner. Annual inspection is the minimum.
Creosote prevention checklist
Prevention works best when you control fuel moisture, draft, and inspection timing. Hot, steady burns reduce condensation, but you still need to follow the stove manual and avoid overfiring. Strong heat is not a reason to push the appliance past its rated operation.
- Use seasoned firewood at 20% moisture content or less.
- Stack wood so air can move through the pile, and allow enough drying time.
- Inspect at least once a year, and more often for heavy use.
- Clean when buildup is identified as needing service.
- Watch for weak draft, smoky odor, black streaking, or loose joints.
- Keep the chimney cap and exterior venting points clear.
- Maintain hot steady burns without overfiring, and follow the stove manual.
Picture a stove that starts leaving a dark streak below the stovepipe collar every few weeks. If the wood supply is still damp and the flue runs up an exterior wall, that combination can keep the system cool enough to condense smoke again and again. The fix starts with fuel and draft, not just wiping the stain.
Frequently asked questions
How to clean creosote buildup
Clean buildup by matching the method to the stage and the location. A stiff wire brush, telescopic pole, and chimney vacuum are common DIY tools for routine maintenance. If buildup is heavy, glazed, or linked to poor draft or leakage, stop and call a chimney sweep instead of forcing the issue.
How to burn a creosote log
A creosote log is not a replacement for inspection, brushing, or repair. It may be used as a maintenance aid on some systems, but it will not fix damaged joints, a cold chimney, or liquid tar leakage. Follow the product directions and the stove manual, and do not rely on it for severe buildup.
How to clean creosote from chimney
Clean chimney creosote only when the system is cool, accessible, and suitable for routine maintenance. Use the proper brush and vacuum for your model, then confirm the deposit is not glazed or beyond the safe brushing range defined by the manufacturer or a professional assessment. Heavy deposits should be handled by a sweep.
Why is my wood stove pipe leaking creosote: the most common reasons?
The most common reasons are wet fuel, weak draft, poor pipe fit, corrosion, or buildup that has become severe enough to seep. A leaking stovepipe is a system warning. If you see black streaking, dripping tar, smoky odor indoors, or damaged joints, stop use and arrange inspection before relighting.
Can I clean the creosote buildup in my wood stove pipe myself?
You can handle only routine, light buildup if the pipe is accessible, the stove is cool, and the manufacturer’s guidance allows it. Stage 1 creosote is light and flaky; Stage 2 and Stage 3 are not good DIY targets when leakage or damage is involved. Severe deposits call for a chimney sweep.
What can I do if I notice creosote buildup in my wood stove pipe?
Stop and judge the severity before you clean anything. Check for smoky odor, weak draft, black streaking, or liquid leakage, then confirm that a carbon monoxide detector is in place near sleeping areas. If buildup is heavy, glazed, or active, do not relight until a professional has inspected the system.
Sponsored / affiliate links. As an Amazon Associate I earn from qualifying purchases. I may earn additional commission from eligible campaigns.