Ash Wood Bowl: Essential & Stunning Designs
Ash wood bowls offer a beautiful, durable, and budget-friendly woodworking project. This guide covers essential designs and steps for beginners to craft a stunning ash wood bowl, emphasizing safety and achievable results.
Woodworking can seem a little daunting, especially when you’re just starting out. You see those gorgeous wooden bowls and wonder if you could ever make one. Well, I’m here to tell you that you absolutely can! Ash wood is a fantastic choice for beginners because it’s relatively easy to work with, it’s strong, and it often comes at a great price. Plus, its distinct grain patterns can create truly stunning pieces. We’ll walk through everything you need to know to create your very own ash wood bowl, from selecting the right wood to that final, satisfying polish. Get ready to build some confidence and a bowl you’ll be proud of!
Why Ash Wood is Perfect for Your First Bowl
When you’re new to woodworking, picking the right materials makes a huge difference. Ash wood is a winner for bowls, and here’s why:
Workability: Ash is a hardwood, but it’s not overly difficult to cut, shape, and sand. This means your tools will glide through it more easily, and you won’t fight the wood as much.
Durability: Bowls made from ash are tough! They can handle everyday use, whether it’s for fruit on the counter or decorative items on a shelf.
Aesthetics: Ash has a beautiful, distinct grain pattern, often with wavy or straight lines, and a light to medium brown color. It takes finishes really well, allowing you to enhance its natural beauty.
Affordability: Compared to some other hardwoods like walnut or cherry, ash is often more budget-friendly, which is a big plus when you’re investing in tools and materials.
Availability: You can usually find ash lumber at your local lumberyard or online woodworking suppliers.
Choosing ash means you’re setting yourself up for success. You’ll learn valuable skills without the frustration of wrestling with difficult wood. Let’s dive into what you’ll need!
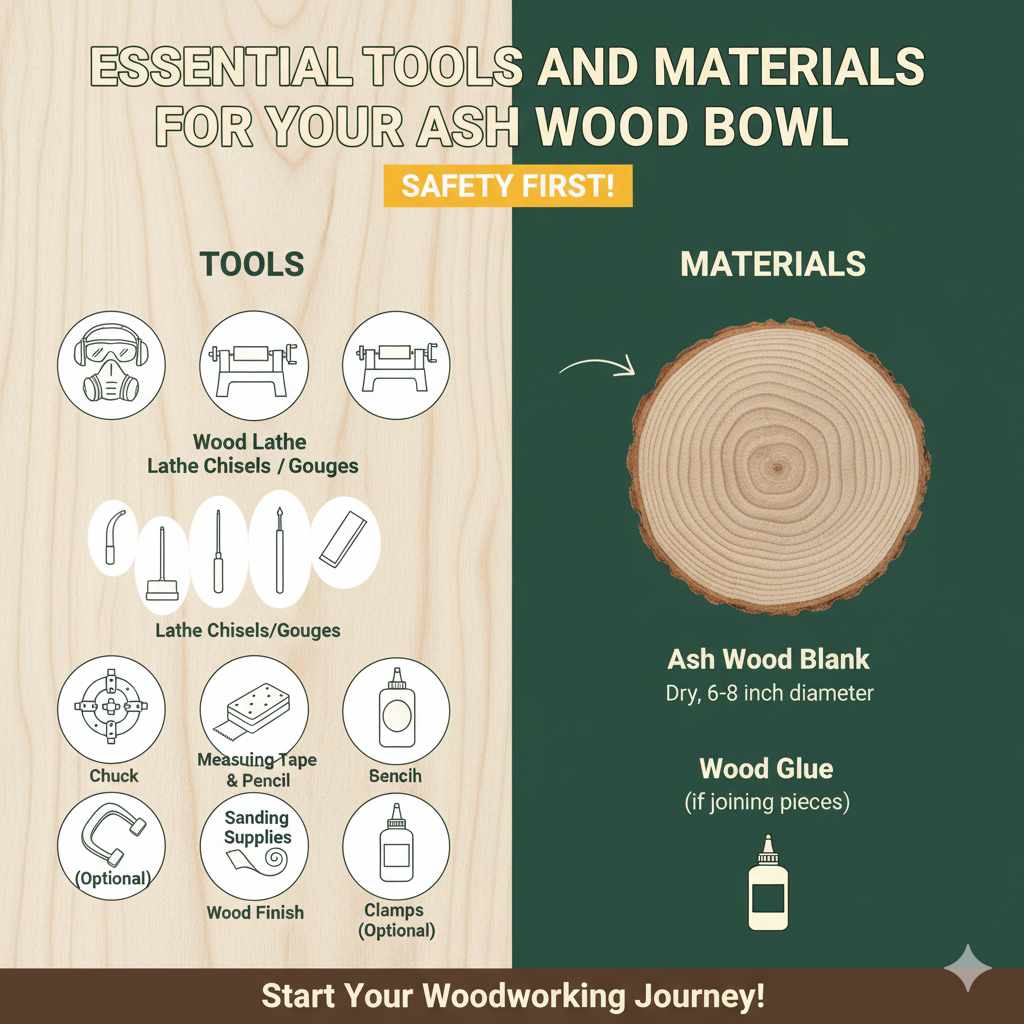
Essential Tools and Materials for Your Ash Wood Bowl
Don’t worry, you don’t need a professional workshop to make a great ash wood bowl! Here’s a list of the basics you’ll need. Safety first, always!
Tools:
- Safety Gear: This is non-negotiable! Safety glasses or a face shield, hearing protection, and a dust mask are essential.
- Wood Lathe: This machine spins the wood, allowing you to shape it using tools. For beginners, a smaller, benchtop lathe is often perfect.
- Lathe Chisels/Gouges: You’ll need a few key tools:
- Spindle Gouge: For general shaping and creating curves.
- Roughing Gouge: To quickly turn a square block into a rough cylinder.
- Parting Tool: To cut off the finished bowl from the lathe chuck.
- Scraper: For smoothing interior surfaces.
- Chuck: This attaches to your lathe and grips the wood securely. A four-jaw scroll chuck is versatile for bowl making.
- Measuring Tape and Pencil: For marking dimensions.
- Sanding Supplies: Various grits of sandpaper (from coarse 80 grit to fine 220 or 320 grit) and a sanding block or attachment.
- Wood Finish: Food-safe mineral oil is great for bowls that might hold food. For decorative bowls, polyurethane or shellac also work beautifully.
- Clamps (Optional but helpful): For holding the wood blank if you’re not using a chuck for the initial stages.
Materials:
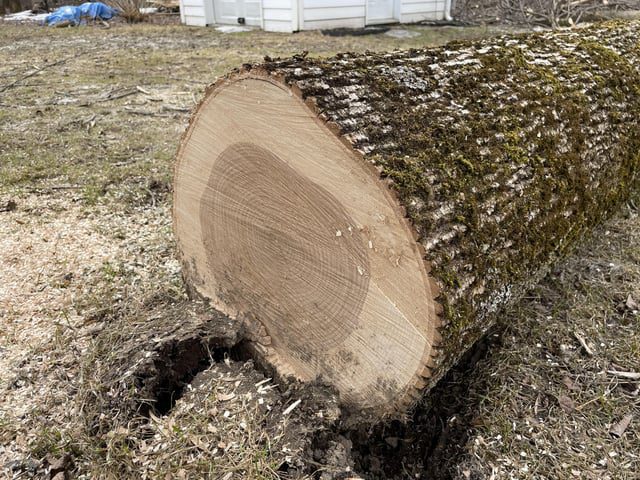
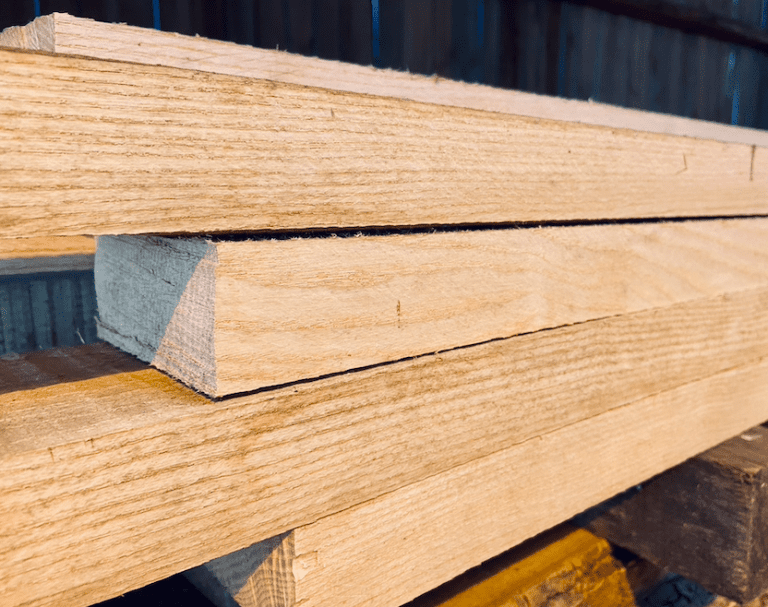
- Ash Wood Blank: This is your starting piece of wood. You can buy pre-turned blanks or cut your own from lumber. Make sure it’s dry (kiln-dried or air-dried) to prevent cracking. A good starting size might be 6-8 inches in diameter and 3-4 inches thick.
- Wood Glue (if joining pieces): If you’re making a larger bowl from multiple pieces.
I always recommend checking out tool reviews from reputable woodworking sites like Popular Woodworking to help you choose quality tools that fit your budget and needs.
Understanding Ash Wood Bowl Designs: From Simple to Stunning
The beauty of a wooden bowl often lies in its simplicity, letting the wood’s natural character shine. For beginners, starting with simpler shapes is a great way to build skills.
Essential & Simple Designs
These designs are perfect for learning the basics:
The Classic Curvaceous Bowl: This is your everyday, go-to bowl shape. It features a gentle, smooth curve from the rim down to the base. It’s versatile and looks good in any wood. For ash, this shape really highlights the grain.
The Straight-Sided Bowl: This design has vertical or near-vertical sides. It’s a bit more modern and can make a bold statement. It’s also a bit easier to get consistent wall thickness.
The Shallow Salad Bowl: A wider, shallower version of the classic bowl. Great for fruit or as a display piece. Its openness allows the texture and color of the ash to be very prominent.
When choosing a design, think about how you want to use the bowl. A deeper bowl is good for holding things, while a shallower one is better for display or serving. Ash’s natural properties make it suitable for all of these.
Stunning & Advanced Designs (for when you’re ready!)
Once you’ve mastered the basics, you can explore more intricate designs:
Segmented Bowls: These are made by gluing together many small pieces of wood (segments) to form rings, which are then stacked and glued to create the bowl. This allows for incredible patterns and contrasting wood colors. Ash can be used as a contrasting wood or for its own unique look within a segmented design.
Carved or Embellished Bowls: After turning, you can add decorative elements like carving, piercing, or even inlaying other materials.
Double-Walled Bowls: These have a hollow space between an inner and outer wall, creating a unique, often delicate look.
For your first few bowls, I strongly advise sticking to the simple, classic shapes. Get comfortable with the lathe and how the wood feels. You’ll find these simpler designs are incredibly satisfying to create and use.
Step-by-Step Guide: Turning Your Ash Wood Bowl
Let’s get turning! Remember to always have your safety gear on and know how to stop the lathe quickly.
Step 1: Prepare Your Wood Blank
If you’re starting with a rough plank of ash, you’ll need to turn it into a rough cylinder. You can do this on the lathe using a roughing gouge. Mark the center of the blank. Mount it securely between centers on your lathe (or mount one side in a chuck). Turn on the lathe at a slow speed and use the roughing gouge to remove the corners and create a cylindrical shape. Ensure it’s balanced as best as possible.
Step 2: Mount the Blank for Turning
For the outside of the bowl, you’ll typically mount your wood blank onto a chuck. A scroll chuck with jaws is ideal. Secure the blank in the chuck, ensuring it’s tight but not so tight that you crack the wood. Position the blank so the end you want to be the bottom of the bowl is facing out.
Step 3: Shape the Outside of the Bowl
Put on your safety glasses and facemask! Start the lathe at a medium speed (around 500-1000 RPM, depending on the size of your blank). Begin shaping the outside of the bowl with your spindle gouge. Start by flattening the end where the chuck is attached, then begin to gently curve the outside profile. Work from the rim down towards the base. Take light cuts; don’t try to remove too much wood at once. Gradually refine the shape, constantly checking the symmetry and your desired profile.
Step 4: Create a Tenon or Recess for the Second Side
Turn the lathe off. To flip the bowl and hollow out the inside, you need a way to remount it. The most common method is to create a “tenon” – a cylindrical protrusion on the bottom of the bowl that fits into the jaws of your scroll chuck. Alternatively, you can create a “recess” that the chuck jaws will grip from the inside. Shape this tenon or recess carefully, as it needs to be strong enough to hold the work securely. The Woodworking Network discusses various chucking methods that can be helpful.
Step 5: Remount and Hollow the Inside
Turn the lathe off. Carefully remove the bowl from the chuck. Mount the tenon (or recess) into your chuck jaws. Ensure it’s securely held. Put your safety gear back on. Start the lathe again at a medium speed. Use a bowl gouge or parting tool to start excavating the inside of the bowl. Work from the center outwards, creating a consistent depth. Leave a thick rim for now – you can refine the rim thickness later. Scrape to smooth the interior as you go.
Step 6: Refine the Rim and Wall Thickness
With the inside hollow and the outside shaped, it’s time for refinement. Turn the lathe off. You can use your bowl gouge or a scraper to smooth the rim and ensure it’s an even thickness. Check the wall thickness by gently tapping or using calipers. Aim for an even thickness throughout the bowl. You can also refine the outside shape further if needed.
Step 7: Sanding
This is where your bowl starts to truly shine. Turn the lathe off. Start with a coarser grit sandpaper (like 80 or 120 grit) to remove any tool marks. Gradually move to finer grits (180, 220, and even 320 or 400 grit). Sand both the inside and outside of the bowl. For best results, let the lathe spin at a slow speed while sanding. Don’t let the sandpaper get too hot, and ensure you remove all dust between grits. You can wash the bowl lightly with water after sanding to raise the grain, let it dry completely, and then do a final sanding with your finest grit.
Step 8: Finishing
Clean off all the dust. Apply your chosen finish according to the product’s instructions. For food-safe bowls, apply multiple coats of food-grade mineral oil and let it soak in. For decorative bowls, you can use a wipe-on polyurethane or a natural oil finish. Buff it to a nice sheen.
Step 9: Cut Off from the Lathe
Turn the lathe off. This is the final exciting step. If you created a tenon, you’ll use a parting tool to carefully cut it away, creating a flat bottom. You might need to sand this area by hand or re-mount the bowl on a jam chuck to sand it smooth. If you created a recess, you might already have a flat bottom or need to do minimal sanding.
Tips for a Flawless Finish and Durability
Getting a perfect finish on your ash wood bowl not only makes it look amazing but also protects it. Here are some tips to keep in mind:
Cleanliness is Key: Before applying any finish, ensure your bowl is absolutely free of dust. A tack cloth or a vacuum with a brush attachment works wonders.
Food Safety First: If the bowl is intended for food, always use a food-safe finish. Mineral oil is a popular choice. You can find it at most pharmacies or kitchen supply stores. Make sure it’s pure mineral oil with no additives. Applying mineral oil is simple: just wipe it on generously with a clean cloth, let it soak in for an hour or more (even overnight), and then wipe off any excess.
Layer Up: Most finishes benefit from multiple thin coats rather than one thick one. This allows for a smoother build-up and a more durable surface. Allow adequate drying time between coats as recommended by the manufacturer.
Sanding Between Coats: For finishes like polyurethane or lacquer, a light sanding with very fine grit sandpaper (around 400-600 grit) between coats can help to smooth out any imperfections and create a super-smooth final finish. Be sure to wipe away all dust after sanding.
Burnishing with Sanding Dust: A neat trick for a silky smooth finish is to use the finest grit sandpaper (say, 600 grit) and then, while the lathe is spinning slowly, use a piece of scrap wood to rub the ash dust into the surface. This acts as a natural filler and burnishes the wood, creating a unique sheen.
Don’t Forget the Bottom: The bottom of the bowl might not get as much attention, but it needs to be finished too. This prevents moisture absorption and wood movement.
Maintenance: Even well-finished bowls need care. For food-safe bowls, reapply oil periodically when they start to look dry. For decorative bowls, avoid harsh cleaners or excessive moisture.
A beautiful finish is the final touch that elevates a good bowl to a great one. Take your time with this step – it’s incredibly rewarding.
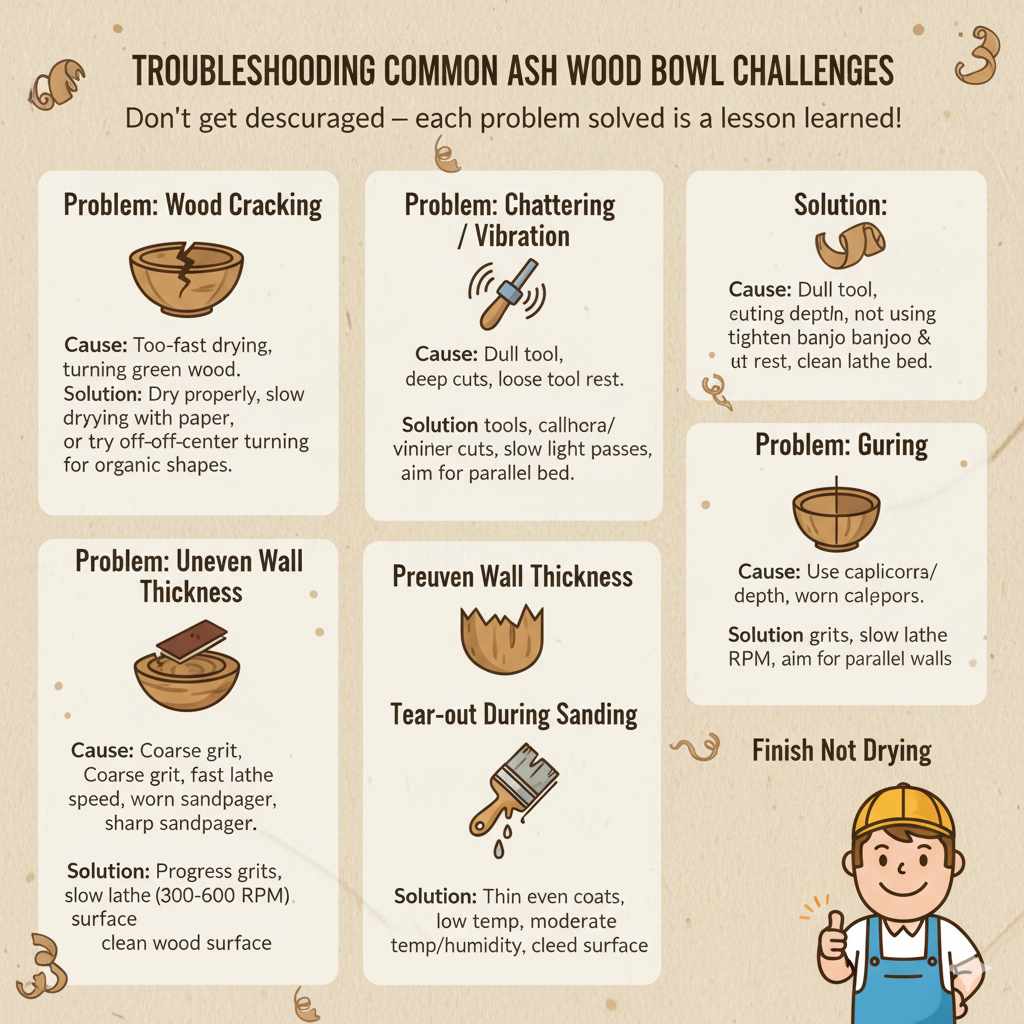
Troubleshooting Common Ash Wood Bowl Challenges
Even with the best intentions, you might run into a few hiccups. Here are common issues and how to tackle them:
Problem: Wood Cracking
Cause: Wood drying too quickly, especially after turning. Turning green wood can also cause significant movement and cracking later on.
Solution: Ensure your wood is properly dried before turning (at least 10-12% moisture content for air-dried, lower for kiln-dried). If you turn a green wood bowl, let it dry slowly and loosely covered with paper bags for a few weeks before final turning and finishing. Alternatively, consider chucking it up unevenly to allow for “off-center” turning that can result in cool, organic shapes as the wood dries and warps, though this is more advanced.
Problem: Chattering or Vibration During Turning
Cause: A dull tool, taking too deep of a cut, or a loose tool rest or lathe bed.
Solution: Ensure your chisels are sharp – this is paramount for smooth cuts. Take lighter cuts. Make sure your banjo (tool rest holder) and tool rest are securely tightened. Check that your lathe bed is clean and free of debris affecting stability.
Problem: Uneven Wall Thickness
Cause: Inconsistent cutting depth or not paying attention to the opposite wall while hollowing.
Solution: Use binocular vision to assess the wall thickness, or use calipers. Go slowly and take light passes. For beginners, focusing on making the inside wall parallel to the outside wall is a good starting point.
Problem: Tear-out During Sanding
Cause: Sanding with too coarse a grit for too long, sanding with the lathe spinning too fast, or sanding with worn-out sandpaper.
Solution: Progress through grits systematically. Slow down the lathe speed for sanding (around 300-600 RPM is often good). Use sharp sandpaper, and don’t let it get overloaded with dust.
Problem: Finisher Not Drying Properly
Cause: Applying finish too thickly, low ambient temperature, high humidity, or improper surface preparation.
Solution: Apply finishes in thin, even coats. Ensure the workshop is at a moderate temperature and humidity. If using oil-based finishes, ensure the wood surface is clean and free of oils or contaminants from previous steps.
Learning to troubleshoot is part of the woodworking journey. Don’t get discouraged – each problem solved is a lesson learned!
Frequently Asked Questions About Ash Wood Bowls
This section answers some common questions beginners have about creating ash wood bowls.
Q1: Is ash wood good for beginners to turn on a lathe?
A: Yes, absolutely! Ash is a great choice for beginners. It’s a moderately hard wood that’s not too oily or stringy, making it easy to cut and shape with lathe tools. Its predictable grain also aids in learning.
Q2: Will my ash wood bowl crack after I make it?
A: Wood can crack if it dries too quickly or unevenly. To minimize this risk, ensure your wood blank is properly dried before turning. If you’re turning green wood, allow it to dry slowly after the initial shaping before final turning and finishing. Properly finishing the bowl also helps stabilize it.
Q3: What’s the best finish for an ash wood bowl?
A: For bowls that will hold food, a food-safe finish like pure mineral oil is recommended. For decorative bowls, you can use options like wiping polyurethane, lacquer, or a natural oil finish to enhance the wood’s beauty.
Q4: How thick should the walls of an ash wood bowl be?
A: For a small to medium-sized bowl, a wall thickness of about 1/4 inch (around 6mm) to 1/2 inch (around 12mm) is common. The exact thickness depends on the bowl’s size, intended use, and aesthetic preference. It’s important to aim for consistent thickness throughout.