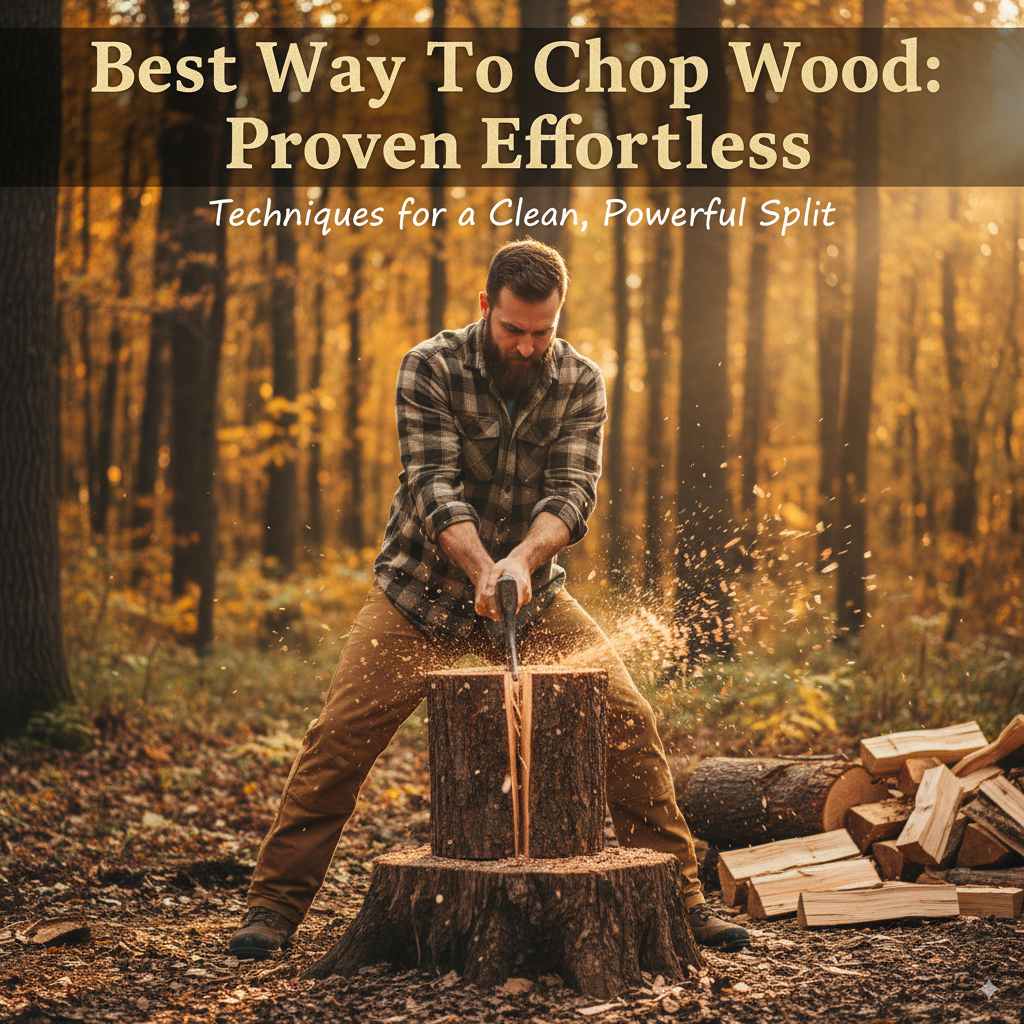
Best Way to Chop Wood: Proven Effortless
The best way to chop wood involves using sharp tools, proper technique, and prioritizing safety. This guide breaks down the effortless, proven methods for beginners to confidently and efficiently split logs, making firewood preparation achievable for everyone.
Chopping wood might seem like a daunting task, full of brute force and potential for splinters. Many beginners feel intimidated, wondering if they’ll ever get the hang of it. The good news is, with the right approach and tools, chopping wood can be far more efficient and less strenuous than you imagine. It’s not just about strength; it’s about smart technique and preparation. This guide will walk you through the proven methods that make wood chopping almost effortless. Get ready to transform your firewood preparation!
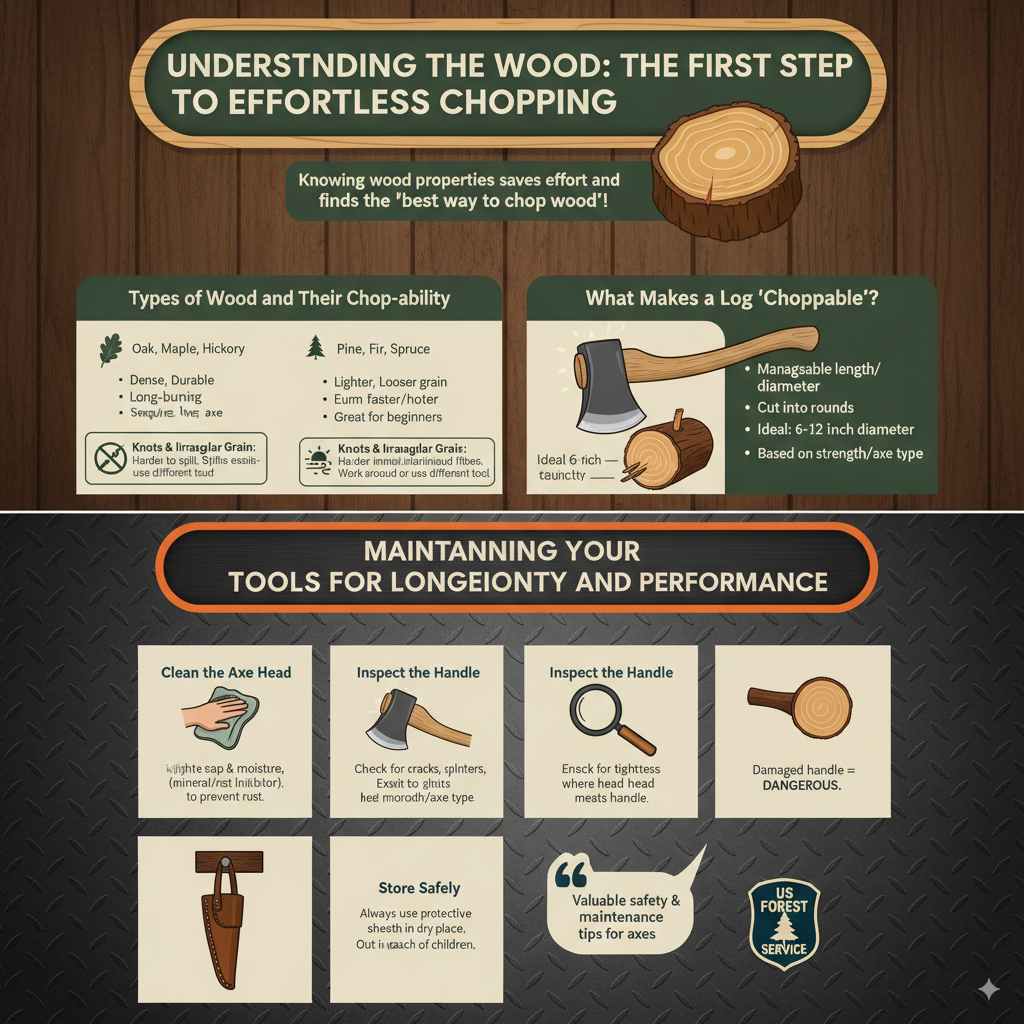
Understanding the Wood: The First Step to Effortless Chopping
Before you even pick up an axe, understanding the wood you’re working with is crucial. Not all logs are created equal, and knowing their properties can save you a lot of unnecessary effort. This knowledge is key to finding the “best way to chop wood” for your specific situation.
Types of Wood and Their Chop-ability
The type of wood significantly impacts how easily it splits. Generally, hardwoods are denser and tougher to split than softwoods. However, some hardwoods split more readily than others. Here’s a simple breakdown:
- Hardwoods (e.g., Oak, Maple, Hickory): These are dense and durable, providing excellent, long-burning firewood. They often require more force and a sharper axe due to their tight grain. Some oaks, especially with a straight grain, can split relatively easily once you learn the technique.
- Softwoods (e.g., Pine, Fir, Spruce): These woods are lighter and have a looser grain, making them easier to split. While they burn faster and hotter, they are a great starting point for beginners.
- Knots and Irregular Grain: Wood with knots, twists, or irregular grain will be significantly harder to split. The fibers are intertwined, creating pockets of resistance. Sometimes, it’s better to work around these areas or use a different tool if possible.
- Seasoning: Properly seasoned wood (dried for at least 6-12 months) splits much easier than green wood. Moisture makes the wood fibers swell and stickier, increasing resistance.
What Makes a Log “Choppable”?
A “choppable” log is one that’s been cut to a manageable length and diameter for splitting. Typically, logs are sectioned into rounds (short lengths of the main trunk) before splitting. The ideal diameter for splitting depends on your strength and the type of axe you’re using, but generally, rounds ranging from 6 to 12 inches in diameter are a good starting point.
Essential Tools for Effortless Wood Chopping
Having the right tools is paramount. Using dull or inappropriate equipment is not only inefficient but also dangerous. Investing in a few key items will make the entire process smoother and safer.
The Axe: Your Primary Partner
The felling axe is designed for felling trees, while a splitting axe or maul is specifically engineered for splitting logs. For beginners, a splitting maul is often recommended because its weight and wedge-shaped head make splitting easier.
- Splitting Axe: Lighter and more agile than a maul. It has a thinner, wedge-shaped head designed to drive through the wood. Easier to control for beginners.
- Splitting Maul: Heavier, with a wider, wedge-like head. The extra weight helps drive the axe through tough wood, and the broad head can help push apart the split pieces. Excellent for stubborn logs or larger diameters.
- Axe Handle Material: Fibreglass or composite handles are durable and shock-absorbent. Traditional hardwood handles (like hickory) offer good feel but can break more easily and are susceptible to weathering.
- Axe Head Weight: For beginners, a 4-6 pound splitting maul or a 3-4 pound splitting axe is usually manageable.
Sharpening Tools: The Secret to Efficiency
A dull axe is an ineffective and dangerous tool. It bounces off the wood, requiring more effort and increasing the risk of slipping. Keeping your axe sharp is non-negotiable for effortless chopping.
- Axe File: A coarse-cut metal file is essential for shaping the edge.
- Sharpening Stone/Whetstone: Used after filing to refine the edge to a razor-like sharpness.
- Stropping compound (optional): For a highly polished, professional edge.
A good rule of thumb is to sharpen your axe before each significant wood-chopping session. You can check the sharpness by seeing if it can easily shave thin, feathery curls off a piece of scrap wood.
Safety Gear: Non-Negotiable Protection
Safety is the absolute priority. Always wear appropriate personal protective equipment (PPE) to avoid injuries. Think of this as part of the “effortless” process because avoiding injury means less pain and downtime!
- Safety Glasses: Protect your eyes from flying woodchips and debris.
- Work Gloves: Improve grip and protect your hands from splinters and blisters.
- Steel-Toe Boots: Crucial protection for your feet in case you drop an axe or a heavy log.
- Long Pants: Sturdy denim or work pants offer protection for your legs.
- Consider a hard hat: If working near trees or in areas where falling branches are a risk.
A detailed guide on axe sharpening can be found on resources like Wood Magazine’s axe sharpening guide, which offers excellent visual instructions.
Other Useful Items
While not strictly essential, a few other items can make the job easier:
- Splitting Block: A stable, 18-24 inch diameter log placed on the ground. This provides a firm base, raises the log for easier swinging, and can help absorb some shock.
- Wheelbarrow or Cart: For moving split wood away from the chopping area.
- Axe Carrier/Sheath: For safe transport and storage of your axe.
The Proven Step-by-Step Method for Effortless Wood Chopping
Now that you have your tools and understand your wood, let’s dive into the technique. The “best way to chop wood” as a beginner is a combination of setting up correctly, using the right body mechanics, and mastering the swing. This is where the “effortless” part truly comes in – with good technique, the axe does most of the work.
Step 1: Setup Your Chopping Area
A safe and stable setup is the foundation of effortless chopping.
- Clear the Area: Ensure there are no people, pets, or obstacles within a 10-foot radius of your chopping spot. You need ample space to swing the axe freely.
- Choose a Stable Surface: Find a flat, level area. Avoid soft, uneven ground that can cause you to lose balance.
- Position Your Splitting Block: Place your splitting block firmly on the ground. Make sure it doesn’t wobble. If you don’t have a dedicated block, a large, flat, stable log end will suffice. This elevates the log you intend to split.
- Place the Log to be Split: Set the log round you want to split on top of the splitting block. Ensure it’s centered and stable. Choose rounds that are not excessively large for your current strength and comfort level.
Step 2: Stance and Grip
Your stance and grip are critical for balance, power, and safety.
- Stance: Stand with your feet shoulder-width apart, facing the log. Your dominant foot should be slightly ahead of the other. Lean slightly forward from the hips, keeping your back straight.
- Grip (Initial Hold): Place your dominant hand near the end of the axe handle for maximum leverage and power during the swing. Place your non-dominant hand higher up on the handle, close to the axe head. This grip is for the initial phase of the swing.
Step 3: The Swing – Generating Power and Precision
This is where technique shines. It’s not about muscling through; it’s about using gravity, momentum, and a controlled arc.
- The Backswing: Begin by lifting the axe head up and back in a smooth, controlled motion. As the axe rises, slide your non-dominant hand down the handle towards your dominant hand. Continue the swing upwards and slightly over your head. Maintain balance and keep your eyes focused on the target spot on the log.
- The Downswing: This is where the power is generated. As the axe swings forward, slide your non-dominant hand down the handle quickly towards your dominant hand, meeting it near the end of the handle just before impact. This sliding action increases the speed of the axe head significantly. Let gravity assist the downward motion.
- The Impact: Aim for the center of the log round, slightly towards the edge if there’s a visible crack or weakness. As the axe bites into the wood, allow your dominant hand to slide down and meet your non-dominant hand at the very end of the handle. This utilizes the full length of the handle for maximum leverage and power.
- Follow-Through: After impact, let the axe complete its swing naturally. Do not try to stop it abruptly. If the wood splits, the axe may continue into the splitting block – this is normal. If the axe doesn’t penetrate deeply or split the wood on the first swing, do NOT try to force it by wiggling the axe.
Step 4: Dealing with Stubborn Logs (and What to Do if it Doesn’t Split)
Sometimes, the wood just doesn’t give on the first try. This is where knowing the “best way to chop wood” becomes about perseverance and smart adaptation.
- Retrieve the Axe: If the axe is stuck, do not yank violently. Gently rock the axe side-to-side to dislodge it. You might need to take a step back and pull upwards with control.
- Re-aim: If the log didn’t split, examine where the axe hit. Often, a second strike at a slightly different angle, or closer to the edge, will do the trick. Look for the grain patterns to guide your next strike.
- Use a Splitting Maul (if applicable): If you’re using a splitting axe and the wood is particularly tough, switching to a heavier splitting maul can help. The increased weight and wedge shape are designed for these situations.
- The “Wedge” Technique: For extremely difficult logs, you can place a metal splitting wedge into the existing crack made by the axe and strike the wedge with a sledgehammer. This forces the wood apart. Important: ensure your axe is removed before using a wedge and sledgehammer.
- “Backsplit”: For very large or difficult rounds, you can sometimes split them in half first to create smaller, more manageable pieces, then split those further.
Step 5: Clearing and Stacking
Once the wood is split, the job isn’t quite done.
- Clear Debris: Remove any large, unshoppable chunks or very thin slivers that won’t burn well.
- Stacking: Stack the split wood neatly. Proper stacking allows airflow, which helps the wood season further and reduces the risk of mildew. Aim for open-air stacks, off the ground, and protected from direct rain if possible.
Tips for Achieving “Effortless” Results
The goal is to make wood chopping efficient and manageable. Here’s how to lean into that “effortless” feeling:
- Work with the Grain: Always aim for the weakest point of the wood, usually along the grain lines or existing cracks and splits.
- Let the Axe Do the Work: Focus on a smooth, controlled swing. The weight of the axe head and gravity will do most of the splitting. Don’t muscle it.
- Practice Makes Perfect: The more you chop, the better your muscle
memory and technique will become. Start with smaller, easier logs. - Take Breaks: Don’t overdo it, especially when you’re starting. Regular breaks prevent fatigue, which is when mistakes and injuries can happen.
- Listen to the Wood: Pay attention to how the axe interacts with the wood. This feedback will tell you if you’re hitting a strong grain or a weak spot.
- Stay Hydrated and Fueled: Chopping wood is physical work. Make sure you’re drinking enough water and have some energy-boosting snacks.
Comparing Tools: Splitting Axe vs. Splitting Maul
Choosing between a splitting axe and a splitting maul can make a big difference, especially for beginners. Here’s a simple comparison to help you decide:
| Feature | Splitting Axe | Splitting Maul |
|---|---|---|
| Weight | Lighter (3-4 lbs) | Heavier (4-6+ lbs) |
| Head Shape | Thinner, wedge-like profile | Wider, more pronounced wedge profile |
| Ease of Swing | Quicker, more agile swing; less user fatigue over long periods. | Slower swing, requires more strength to control. |
| Splitting Power | Good for most common logs; requires clean strikes. | Excellent for stubborn, knotty, or large logs; less precision needed due to weight. |
| Beginner Friendliness | Generally easier to learn proper swing and control. | Can be more forgiving on tough wood but demands careful handling due to weight. |
For most beginners looking for an “effortless” experience with manageable wood, a good quality splitting axe is often the preferred choice. If you anticipate dealing with very large or difficult logs regularly, or if you have a bit more upper body strength, a splitting maul can be a powerful ally. Many experienced woodcutters use both, switching depending on the log.
Maintaining Your Tools for Longevity and Performance
Your tools are an investment. Keeping them in top condition ensures they perform their best and last for years. Proper maintenance is a key part of the “best way to chop wood” because it ensures your tools are always ready.
Aside from sharpening:
- Clean the Axe Head: After use, wipe down the axe head to remove sap and moisture. A light coat of oil (like mineral oil or a rust inhibitor) can prevent rust.
- Inspect the Handle: Check the handle for any cracks, splinters, or looseness where it meets the head. A damaged handle is extremely dangerous.
- Store Safely: Always store your axe with a protective sheath or cover. Keep it in a dry place, out of reach of children.
The US Forest Service offers valuable safety and maintenance tips for axes, reinforcing the importance of good tool care.
Frequently Asked Questions (FAQs)
Q1: What is the most important safety rule when chopping wood?
The most important safety rule is to maintain a clear zone around you and the chopping area. Ensure no one else is within a 10-foot radius, and that you have stable footing and plenty of room for your swing.
Q2: How do I know if my axe is sharp enough?
A sharp axe will easily shave thin curls of wood from a scrap piece or a fingernail (use extreme caution when testing this way). It should feel like it bites into the wood smoothly, not glances off.
Q3: Can I use a regular axe to split wood?
While a sharp felling axe can split wood, a splitting axe or maul is designed for the task. Their wedge-shaped heads are much more effective at driving through logs, making the job easier and safer. Using a felling axe for splitting can be less efficient and potentially damage the tool.
Q4: How much wood can a beginner realistically chop in a day?
This varies greatly depending on the wood type, log size, the individual’s fitness level, and technique. As a beginner, focus on learning good technique and safety rather than quantity. You might start with a small pile and gradually increase as your skill and stamina grow.