How to Install Wood Fence Panels on Uneven Ground
Wood fence panels on uneven ground go in one of two ways: stepped, where each panel drops down a step and leaves a small gap underneath, or racked, where the rails tilt up to 20-30 degrees to follow the grade in one continuous line. Get the method wrong and rails pull loose from posts within a season. This guide covers choosing between them, setting posts 2-3 feet deep on a slope, and closing gaps with gravel boards.
Affiliate disclosure: Woodworking Advisor is reader-supported. When you buy through links on this page, we may earn an affiliate commission at no extra cost to you.
What You’ll Need
Best Fence Post Level Pick

Swanson Magnetic Post Plumbing Pipe Track Level
Clips onto the post with a magnetic strip and elastic strap so you can check plumb with both hands free — exactly what a sloped hole needs while you backfill.
- Best for: Hands-free plumb checks while setting posts on a slope
- Why we picked it: Magnetic mount matches the article’s core advice to check every post before the concrete sets
- Main drawback: Small vials can be hard to read in bright direct sun
Compare more post-setting tools
 Option 1 Clamshell Post Hole Digger, Stainless Handle
|
 Option 2 Instant Anchoring Cement, Quick Setting
|
 Option 3 Truper Pointed Digging Bar, Forged Steel
|
As an Amazon Associate we earn from qualifying purchases.
Beyond the fence panels and posts themselves, a handful of tools decide whether this job goes smoothly or turns into three trips to the hardware store:
- Magnetic post level (checks plumb hands-free while you backfill)
- Post hole digger or auger
- Fast-setting anchoring cement or standard concrete mix
- Pry bar for maneuvering panels on steep slopes
- String line and wooden stakes to mark the fence line
- Circular saw or handsaw for trimming stepped-panel frames
- Gravel boards, if you want to close the gap under a stepped fence
Stepping vs Racking: Choosing Your Installation Method
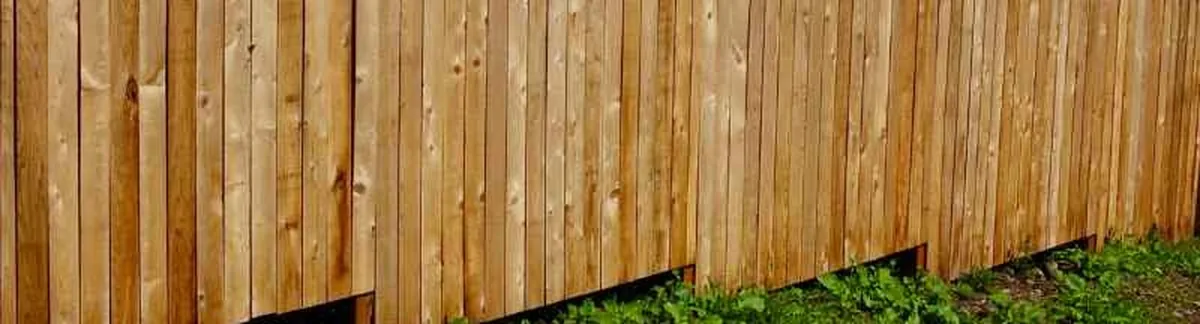
Stepping is an installation method where each fence panel drops down one step from the panel before it, so the top of the fence follows the slope in stairs rather than a straight line. Racking is a method where the horizontal rails tilt at an angle inside the posts so the panel itself follows the grade in one continuous, gap-free run. Most pre-assembled panels can only be stepped; racking requires either purpose-built racked panels or building rails and pickets on site.
Not every panel on the shelf can be racked — check the manufacturer’s spec before you buy if you’re planning to angle them, since a panel built for stepping will crack at the joints if you force it.
| Method | Works Best On | Gap Under Fence | Best For |
|---|---|---|---|
| Stepping | Steep or irregular slopes, any grade | Yes — even gap along the whole run | Keeping pets in, standard pre-assembled panels |
| Racking | Gentle, consistent slopes — rails tilt up to about 20-30° | None — panel follows the ground | A clean continuous top line, moderate grade |
Quick Steps: Installing a Wood Fence on Uneven Ground
- Choose your method: Step panels down a steep or irregular slope, or rack the rails on a gentle, consistent grade.
- Mark the fence line: Drive stakes at the corners and stretch a string line to keep post spacing even.
- Dig and set posts: Dig each hole 2 to 3 feet deep on sloped ground, starting from the highest point and working down.
- Plumb and pour: Check every post with a magnetic level before the concrete sets — a lean of even a few degrees compounds down the line.
- Attach rails: Tilt racked rails to match the grade, or keep stepped rails level and drop each panel one step down.
- Hang panels and close gaps: Trim stepped-panel bottoms to follow the contour, then add gravel boards if you want to seal the gap underneath.
Setting Fence Posts on a Slope
Fence posts on level ground typically go at least 2 feet deep. On sloped or uneven terrain, extend that to 2.5-3 feet — the slope puts extra leverage on the post, and a shallow hole is the single most common reason a fence on a hill leans within a year or two.
📊 Set posts 2.5-3 feet deep on sloped ground — versus the standard 2-foot minimum on level ground — to counter the added leverage a grade puts on each post.
Size the concrete footing to two to three times the diameter of the post, and use pressure-treated posts or a waterproof coating at the base — concrete absorbs and holds moisture against the wood, which is what starts rot at the buried end. If the ground itself is uneven where a post lands, raise the low side with fill dirt or gravel before you pour, rather than leaving the post proud and packing soil around it later.
Start digging at the highest point of the slope and measure down from there for every other hole — it keeps your reference line consistent instead of compounding small errors post to post. For a full walkthrough of post spacing and depth on flat ground first, see our guide on installing wood fence posts, and run your layout through our fence post spacing calculator before you dig.
Attaching Rails and Panels on Sloped Ground
Once posts are set and cured, attach rails to match whichever method you chose. For a racked fence, tilt each rail to follow the grade and check it with a level held parallel to the slope, not the horizon. For a stepped fence, keep every rail level, drop each panel one step down from the last, and cut the bottom of the panel frame at an angle where it needs to follow the ground more closely than a clean step allows.
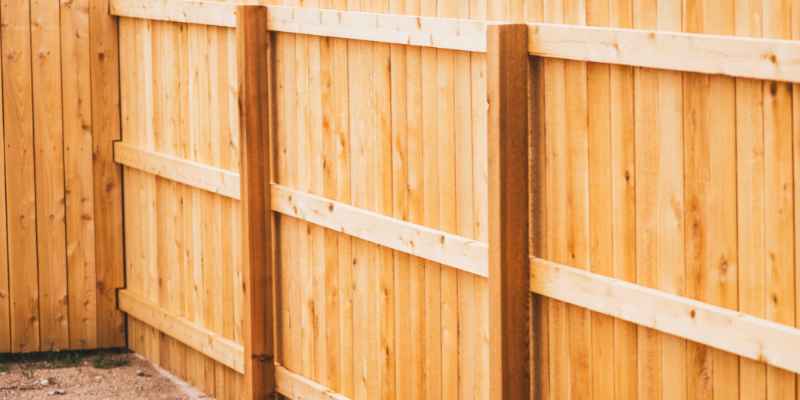
Set your line posts at the correct spacing before attaching anything, using the string line from your layout step to keep every post in line. Gravel boards along the bottom of a stepped fence close the gap left by stepping, cut down on rot from soil contact, and can raise the fence’s effective height where the grade drops off fastest. Fasten rails with corrosion-resistant screws rather than nails on a sloped fence — the extra load from a racked or stepped run works fasteners loose faster than a flat installation.
Best Fence Types for Sloped or Uneven Yards
Wood isn’t the only option, and on a steep or irregular grade it isn’t always the easiest one either. Here’s how the common alternatives compare:
- Chain link: The mesh flexes to follow almost any grade, it’s the cheapest per foot, and it needs the least maintenance — but it offers no privacy.
- Vinyl: Weather-resistant and low-maintenance; some vinyl panels can be racked, but many can’t, so confirm with the manufacturer before you commit to angling them.
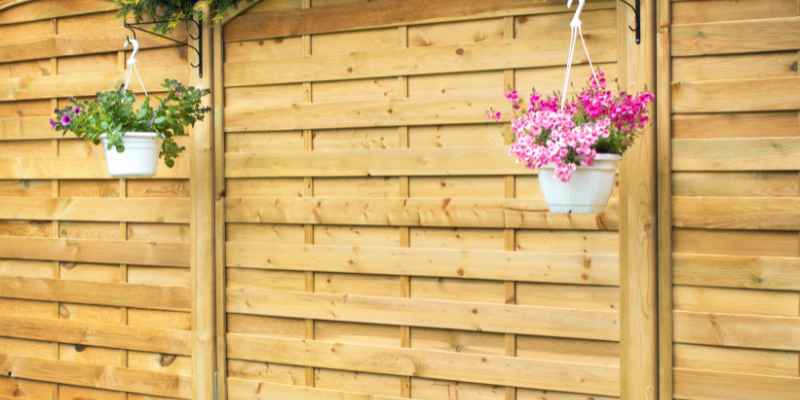
- Horizontal wood: A step-down or step-up design follows the slope in clean, level sections and reads as more modern than vertical picket fencing.
- Retaining wall plus fence: On an extreme slope, a short retaining wall levels the grade first, then a standard fence sits on top of it — more work and cost, but it sidesteps stepping and racking entirely.
Mistakes to Avoid When Fencing Uneven Ground
Most sloped-fence failures trace back to a handful of repeatable mistakes: digging every hole the same depth regardless of grade, skipping the level check on posts because “it looks close enough,” racking panels that were only rated for stepping, and setting fasteners with nails instead of screws on a run that’s under constant sideways load from the slope.
“Skipping the level check on every post is the mistake we see most. A post that’s off by even a couple of degrees doesn’t look wrong on its own — but rack or step six or seven panels off a bad reference post, and the top rail can be inches out of true by the far end of the run.”
Also skip the gap-underneath compromise: leaving a stepped fence’s bottom edge more than a few inches above grade to “save trimming” invites both erosion under the fence line and gaps large enough for small pets to squeeze through. Trim panel bottoms to the contour instead, or add a gravel board.
Should a wood fence touch the ground?
No. The bottom of the boards should sit a couple of inches above the soil to prevent rot from constant ground contact and moisture buildup. On uneven ground, stepped panels naturally leave this gap; a racked or contour fence needs the bottom trimmed to hold the same clearance along the whole run.
How do you make a fence even on uneven ground?
Use modular panels and either step them down the slope in even increments or rack the rails to angle with the grade. Set the highest post first, work downhill from there, and check every post with a level before the concrete sets — that single check is what keeps the top line straight instead of wandering.
What is racking a fence?
Racking is angling a fence’s horizontal rails inside the posts so the panel follows the slope of the ground in one continuous line instead of stepping down in stairs. It only works with panels rated for it or with rails built on site — a standard pre-assembled panel forced into a rack angle will crack at the joints.
How many degrees can a fence panel be racked?
Most racked panels tolerate roughly 20 to 30 degrees of rail tilt before the boards bind or the joints stress. Beyond that range, switch to stepping instead — forcing a steeper rack past what the panel is rated for is what causes premature cracking at the rail-to-picket joints.
What is the best fence for uneven ground?
For the steepest or most irregular ground, chain link remains the easiest to fit since its mesh flexes to almost any grade. For a wood privacy fence, stepping is the more forgiving method — racking looks cleaner but only suits gentle, consistent slopes and panels rated to take the angle.
How deep should fence posts be on a slope?
Set posts 2.5 to 3 feet deep on sloped or uneven ground, deeper than the roughly 2-foot minimum used on level ground. The extra depth counters the added leverage a grade puts on the post, and always check your local frost line requirements as well.
Conclusion
Stepping and racking solve the same problem two different ways: stepping is more forgiving and works on almost any slope, while racking gives a cleaner line but only on gentle, consistent grades with panels rated to take the angle. Whichever method fits your yard, the post depth and the level check at every post are what actually hold the fence straight over time. For the build itself, see our guide on building a wood fence on a slope, or start from our full woodworking projects and tips hub for related outdoor builds.
Sponsored / affiliate links. As an Amazon Associate I earn from qualifying purchases. I may earn additional commission from eligible campaigns.