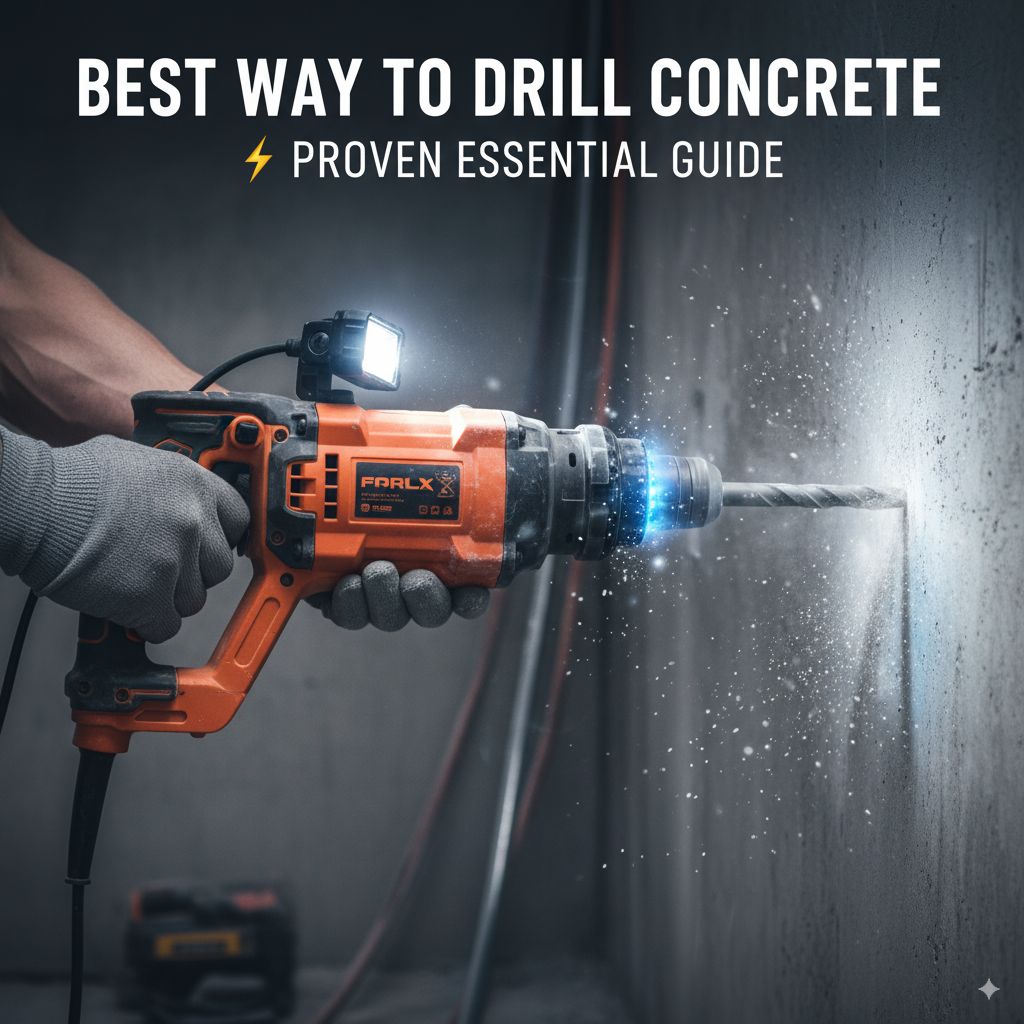
Best Way To Drill Concrete: Proven Essential Guide
The best way to drill concrete for beginners is to use a hammer drill with a masonry bit, set to the hammer function. Start slow, apply steady pressure, and use the correct bit size for your needs. This guide will walk you through every step safely and effectively.
Drilling into concrete can seem like a daunting task, especially if you’re new to DIY projects. You might worry about damaging your tools, making a mess, or simply not getting the hole you need. But don’t let that stop you! With the right guidance and a few simple tips, drilling concrete can be a straightforward and even satisfying part of your home improvement journey.
This guide is designed to make the process easy to understand, safe, and effective. We’ll cover everything from choosing the right tools to drilling that perfect hole. You’ll feel confident and ready to tackle any concrete drilling task in no time!
Why is Drilling Concrete Different?
Concrete is a tough material made of cement, water, and aggregates like sand and gravel. Unlike wood or drywall, it’s incredibly hard and dense. This means you can’t just grab any drill and expect results. Regular drills often lack the power and the specialized action needed to break through such a rigid surface without overheating or damaging the drill bit, or even the drill itself.
Essential Tools You’ll Need
Having the right gear makes all the difference. Here’s what you’ll want to have on hand:
- Hammer Drill: This is your best friend for drilling concrete. It combines a rotating action with a hammering motion, which is perfect for breaking up hardened material. A standard drill won’t cut it for most concrete tasks.
- Masonry Drill Bits: These are specially designed with hardened tips (often carbide-tipped) to withstand the abrasive nature of concrete and its aggregates.
- Safety Glasses: Essential for protecting your eyes from flying debris.
- Dust Mask: Concrete dust can be harmful if inhaled, so a mask is crucial for your respiratory health.
- Work Gloves: To protect your hands and improve grip.
- Measuring Tape and Pencil: For marking your drill spot accurately.
- Vacuum Cleaner or Dustpan and Brush: For cleanup after drilling.
- Water (Optional): A spray bottle of water can help keep the drill bit cool and reduce dust.

Choosing the Right Masonry Drill Bit
Masonry bits come in various sizes. The size you need depends on what you’re trying to do:
- Small Bits (1/8″ to 1/4″): Good for lighter tasks like hanging small pictures or anchors for shelves.
- Medium Bits (5/16″ to 1/2″): Suitable for installing larger anchors, mounting brackets, or running small conduits.
- Large Bits (9/16″ and up): Used for more robust applications like installing larger anchors, plumbing, or structural bolts.
Always choose a bit that’s slightly larger than the anchor or fastener you plan to use. If you’re unsure, it’s better to have a bit that’s a little too big than too small. More information on proper fastener installation can be found at sites like the Concrete Construction Magazine website, which offers in-depth technical guides.
Step-by-Step Guide to Drilling Concrete
Let’s break down the process into simple, manageable steps.
Step 1: Mark Your Spot
Decide exactly where you want to drill. Use a measuring tape to get the location just right. Then, mark the spot clearly with a pencil. If you’re drilling into a tricky spot or want to ensure perfect alignment, you can even use a piece of painter’s tape over the concrete and mark the center of your hole on the tape.
Step 2: Prepare Your Drill
Insert the masonry drill bit into the chuck of your hammer drill. Make sure it’s securely tightened. For most concrete drilling, you’ll want to engage the hammer function on your drill. This is usually indicated by a hammer symbol on the drill’s mode selector. If your drill has variable speed, start with a moderate speed.
Step 3: Safety First!
Put on your safety glasses, dust mask, and gloves. Ensure the work area is clear of any loose materials or tripping hazards. If you’re drilling near any electrical outlets or wiring, be extra cautious and consider consulting a professional or marking out the area to avoid.
Step 4: Start Drilling
Hold the drill firmly with both hands. Position the tip of the drill bit directly on your marked spot. Start the drill at a slow speed. Once it bites into the concrete, you can gradually increase the speed and apply steady, firm pressure. Don’t force the drill; let the hammer action do the work.
Tip: If you’re drilling a deep hole, it’s a good idea to periodically pull the drill bit out partway while it’s still spinning. This helps clear out dust and debris from the hole, preventing the bit from getting bogged down and overheating.
Step 5: Drilling Deeper Holes
For deeper holes, you might need to drill in stages. Drill a few inches, pull the bit out to clear dust, and then continue. This is where a vacuum cleaner can be very helpful to suck up the dust as it’s created. Some people also use a spray bottle to lightly mist water into the hole; this helps lubricate the bit and keeps dust down, but be mindful of any electrical work nearby if you choose this method.
Step 6: Clearing the Hole
Once you’ve reached the desired depth, continue to run the drill for a few more seconds to clear out any remaining dust. Then, slowly withdraw the bit. Use a vacuum cleaner or a brush to thoroughly clean the hole of all dust and debris.
Step 7: Checking the Depth
Use your measuring tape or even the drill bit itself to check if the hole is the correct depth for your anchor or fastener. If it’s not deep enough, repeat steps 4-6 until you achieve the required depth.
When to Use a Rotary Hammer vs. a Hammer Drill
While a hammer drill is excellent for most DIY tasks, for very hard concrete or for drilling multiple large holes, a rotary hammer is a more powerful option. Rotary hammers use a piston mechanism to deliver a much stronger hammering action, making them more efficient for heavy-duty work. For most homeowners, a good quality hammer drill is perfectly adequate.
Here’s a quick comparison:
| Feature | Hammer Drill | Rotary Hammer |
|---|---|---|
| Power | Good for light to medium concrete drilling | Excellent for hard concrete and heavy-duty drilling |
| Weight | Generally lighter and more compact | Heavier and bulkier |
| Hammering Action | Cam or eccentric gear action | Pneumatic piston action (stronger) |
| Best Use | Hanging shelves, anchors, light fixtures | Demolition, drilling large holes, frequent concrete work |
| Cost | More affordable | More expensive |
For the average homeowner tackling a few projects a year, a hammer drill is the most practical and cost-effective choice. Reputable tool manufacturers often provide detailed specifications on their websites, such as those found on Bosch’s tool guide, which can help you understand the differences further.
Tips for Success and Safety
Here are some extra tips to ensure you have a smooth experience:
- Let the Drill Do the Work: Don’t push or lean on the drill excessively. Applying too much force can overheat the motor or break the bit.
- Keep it Cool: Periodically lift the drill bit out of the hole to let it and the concrete cool down. If using water, do so sparingly and with caution.
- Listen to Your Drill: If the drill starts making strange noises or smells hot, stop immediately. Let it cool down.
- Cleanliness is Key: Always clean out the hole before inserting an anchor. A clean hole ensures the anchor holds securely.
- Know Your Concrete: Older concrete can be more brittle. Newer concrete might be harder. Adjust your pressure and technique accordingly.
- Avoid Rebar: If you hit metal (rebar or wire mesh), you’ve likely hit reinforcement. Trying to drill through it can damage your bit and drill. You’ll need to adjust your hole location if possible.
Troubleshooting Common Problems
Even with planning, you might run into a few snags. Here’s how to handle them:
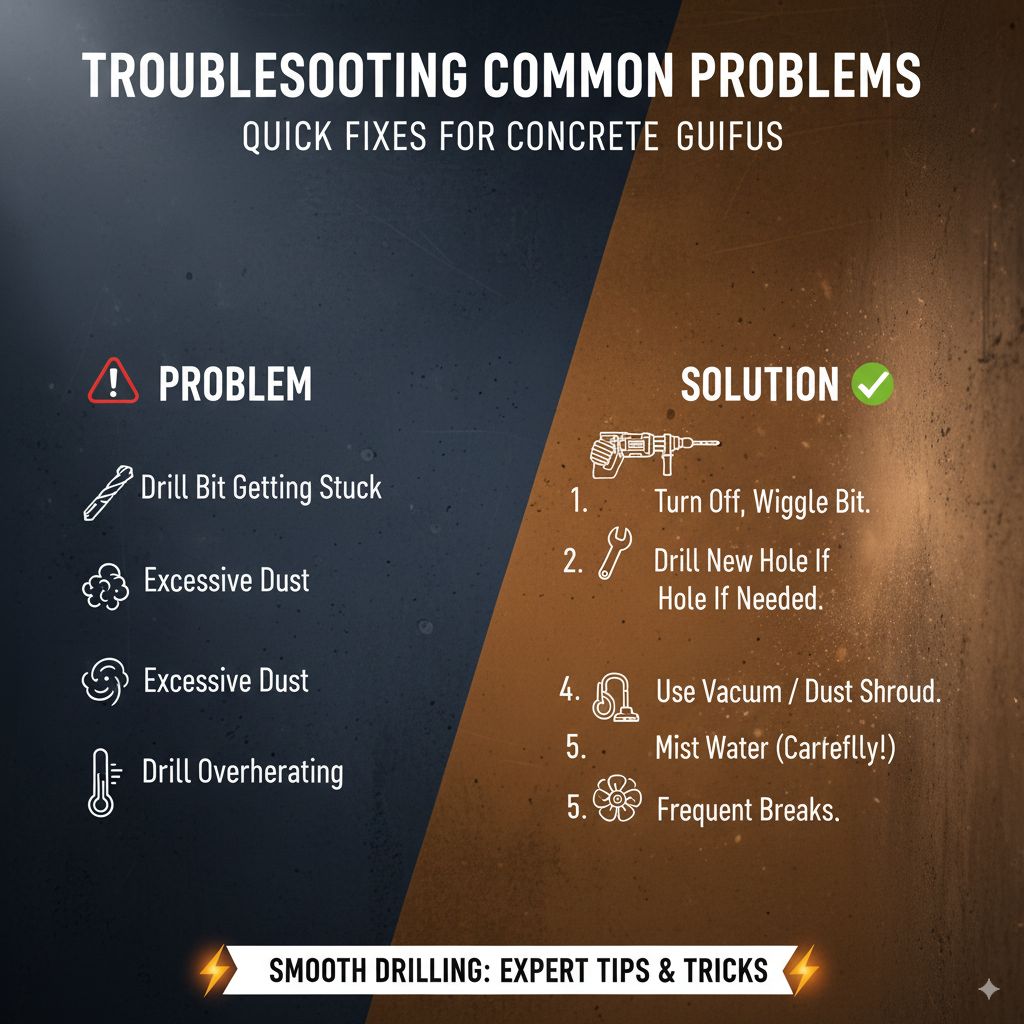
- Drill Bit Getting Stuck: If the bit jams, turn off the drill immediately. Try to carefully wiggle the drill bit free. If it’s really stuck, you might need to drill a new hole nearby.
- Excessive Dust: Use a vacuum cleaner to suck up dust as you drill, or a dust collection shroud if you have one. Lightly misting with water can also help, but be cautious around electricity.
- Drill Overheating: This usually means you’re pushing too hard or drilling for too long without a break. Stop, let the drill cool down, and try again with less force and more frequent pauses.
- Hole Not Deep Enough: If you’ve hit something solid or the drill is struggling, re-evaluate. You might be hitting rebar, or the bit may be worn. Ensure your bit is sharp and correctly engaged.
Frequently Asked Questions About Drilling Concrete
Q1: Can I use a regular drill to drill concrete?
A1: It’s not recommended. Regular drills lack the hammering action needed to break through concrete efficiently and safely. You risk damaging the drill or bit, and it will be very slow and difficult.
Q2: What is the difference between a hammer drill and a regular drill?
A2: A hammer drill has a setting that adds a rapid hammering motion to the rotation. This is what allows it to break apart tough materials like concrete and masonry.
Q3: How do I choose the right size masonry bit?
A3: Select a bit that matches the size of the anchor or fastener you are using. Always check the packaging of your anchor for the recommended drill bit size.
Q4: How deep should I drill the hole?
A4: Drill the hole to the depth recommended by the anchor manufacturer. This is usually slightly deeper than the length of the anchor itself, to ensure a secure fit.
Q5: How can I reduce the dust when drilling concrete?
A5: You can use a vacuum cleaner connected to your drill (if it has a dust port), or a dust shroud. Lightly misting the hole with water can also help, but use caution around electrical outlets.
Q6: What if I hit rebar while drilling?
A6: Stop drilling immediately. You’ve likely hit steel reinforcement. If possible, adjust the location of your hole to avoid the rebar. Trying to drill through rebar can damage your drill bits and drill motor.
Q7: How do I clean out the hole after drilling?
A7: Use a vacuum cleaner, a can of compressed air, or a brush to thoroughly remove all dust and debris from the hole before inserting an anchor.
Conclusion
Drilling into concrete doesn’t have to be intimidating. By using the right tools, particularly a hammer drill and masonry bits, and following these simple, step-by-step instructions, you can confidently create the holes you need for your projects. Remember to prioritize safety by wearing protective gear and taking breaks when needed. With a little practice, you’ll be drilling concrete like a pro, making your DIY tasks easier and more successful.