How to Drill Into a Metal Stud (+ Mounting Wood Shelves & Trim)
A cobalt or titanium twist bit run at a slow 700-1,000 RPM cuts cleanly through standard 25-gauge (0.018-inch) steel studs, but drywall-anchor advice stops short of what woodworkers actually need. Use the wrong screw and it strips the thin steel or a shelf sags within weeks. This guide covers the right bit and technique for the stud itself, then how to anchor wood cleats, trim, and cabinets to a steel-stud wall so they stay put.
Quick Answer
Center-punch the spot, then drill with a cobalt or titanium bit at low speed (700-1,000 RPM) using steady, gentle pressure. For screws alone, self-drilling (not self-tapping) screws skip the pilot hole in thin-gauge steel. To hang wood shelving, trim, or cabinets, either drive #8-#12 self-drilling wood-to-metal screws through the wood into the stud, or install a wood cleat/blocking screwed directly to the stud for anything over about 25-30 lbs.
Tools and Materials Needed
Best Wood-to-Metal Screw Pick
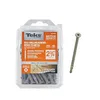
Teks #12 x 2-3/4″ Wood-to-Metal Self-Drilling Screws (40 Pack)
Purpose-built to drive wood cleats, ledgers, or trim straight into up to 16-gauge steel without a separate pilot hole.
- Best for: wood ledgers, cleats, and trim fastened directly to a steel stud
- Why we picked it: wings ream the wood clear before the point self-drills the steel, so it won’t bind mid-drive
- Main drawback: T-25 star bit sold separately — check your driver bits first
Compare more wood-to-metal fastener options
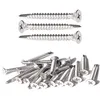 Option 1 IMSCREWS #12 Teks Wood-to-Metal Screws
|
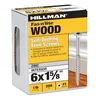 Option 2 Hillman Self-Drilling Trim Screws #6
|
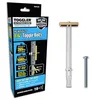 Option 3 TOGGLER SNAPTOGGLE Heavy-Duty Anchor
|
As an Amazon Associate we earn from qualifying purchases.
Beyond a basic drywall-anchor kit, drilling and fastening into a metal stud for a real woodworking task calls for a slightly different toolkit than a simple picture-hanging job.
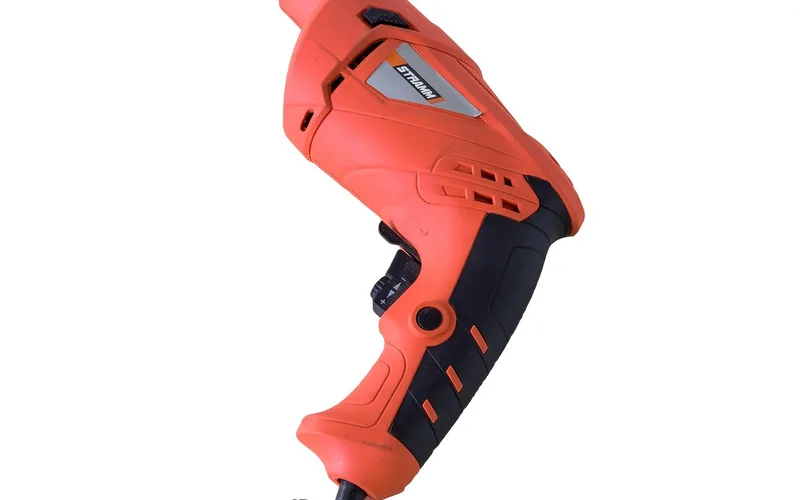
- Variable-speed drill/driver: a corded or cordless drill with a low-RPM clutch setting — high-speed drills overheat and dull bits fast in steel.
- Cobalt or titanium twist bits: HSS (high-speed steel) bits work but dull quickly; cobalt lasts noticeably longer in repeated stud work.
- Center punch or awl: dents the steel so the bit doesn’t wander or “walk” before it bites.
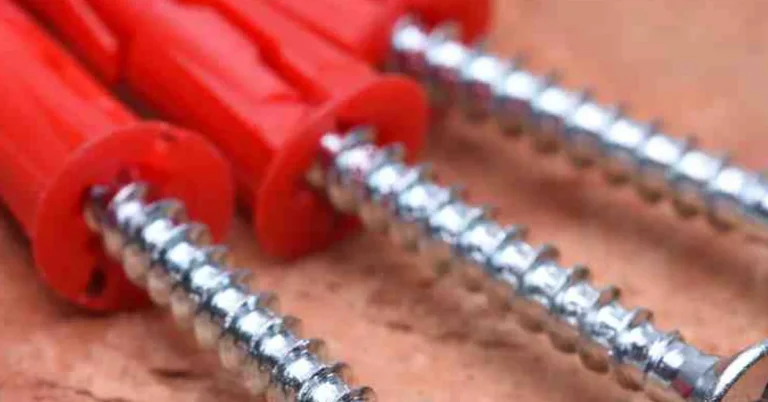
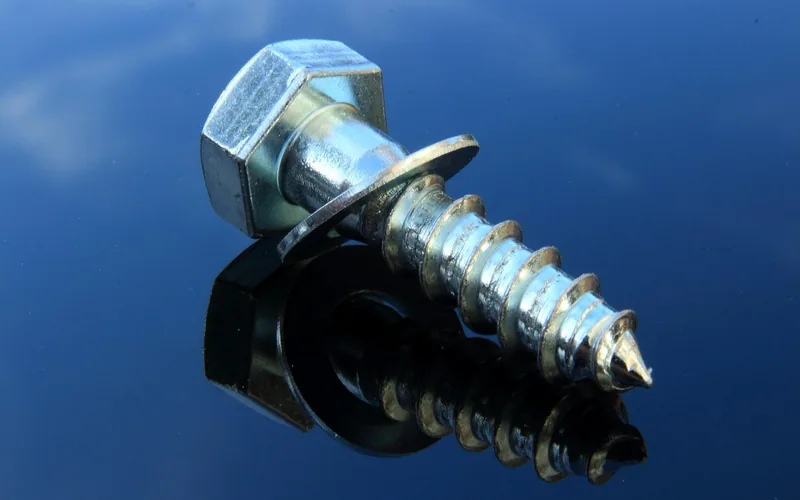
- Self-drilling screws (#8-#12, wood-to-metal rated): for driving wood directly into the stud without a separate pilot hole.
- Wood for blocking/cleats: 3/4-inch plywood or a solid 1x is the standard choice when a shelf or cabinet needs more bearing surface than the bare stud edge offers.
- Toggle or hollow-wall anchors: for anything mounted between studs, in the drywall field.
- Stud finder: magnetic or electronic — metal studs read differently than wood, covered below.
- Safety glasses, gloves, and a dust mask: metal shavings are sharp and get everywhere.
How to Find a Metal Stud Before You Drill
A stud finder set to “metal” mode picks up steel studs more reliably than the standard drywall setting — magnetic stud finders will also snap toward the screws already holding the drywall to the stud, which is a fast, low-tech way to confirm a hit. Mark the stud’s edges with painter’s tape on both sides, not just a single center dot, so you know exactly how much flange width you’re working with before committing to a fastener layout for a shelf bracket or cleat.
Choosing the Right Drill Bit for Metal Studs
Cobalt and titanium-coated twist bits are the right call for standard interior metal studs — both cut cleanly through 25-gauge (about 0.018 inch) and 20-gauge (about 0.035 inch) steel without excessive heat buildup. Plain high-speed steel (HSS) bits will get through thin studs too, but they dull noticeably faster if you’re drilling more than a handful of holes, which matters on a real trim or shelving job with a dozen or more fastener points.
Match bit size to the screw or anchor going in — oversized holes leave a loose, wobbly fastener with almost no holding power in thin steel, while an undersized hole can strip the screw head trying to force it through. Start with a smaller pilot bit and step up only if needed.
Self-Drilling vs. Self-Tapping — They Are Not the Same Screw
Self-drilling screws are the ones you want for direct-to-stud fastening: they have a drill-point tip (rated #2 through #5 depending on the steel gauge) that bores its own starter hole and taps threads in one motion, with no pre-drilled pilot hole needed on standard 20-25 gauge studs. Self-tapping screws only cut threads into a hole that already exists — they cannot start their own hole in raw steel and will need a pre-drilled pilot hole sized to the screw’s root diameter first. Mixing the two up is the single most common reason a “metal screw” fails to grab on a first attempt.
How to Drill Into a Metal Stud: Step-by-Step
- Locate and mark the stud: confirm the flange width with a stud finder and painter’s tape, then mark your exact hole location with a pencil.
- Center-punch the mark: tap a small dent with a center punch or awl so the bit doesn’t skate across the smooth steel surface.
- Set a low, steady speed: keep the drill in the 700-1,000 RPM range — high speed generates heat that dulls the bit and can warp thin steel.
- Drill a pilot hole first: a 1/8-inch bit gets a starter hole going and guides a larger bit or self-drilling screw afterward.
- Apply gentle, even pressure: let the bit do the cutting; forcing it causes slipping, snapped bits, or an oversized, sloppy hole.
- Check progress and clear shavings: back the bit out periodically to clear metal curls — packed shavings generate extra heat.
- Drive the fastener: switch to a self-drilling screw for the wood-to-metal connection, driving slowly until snug — stop as soon as it seats, since overtightening strips the thin steel threads.
Mounting Wood Trim, Shelving, and Cabinets on a Metal Stud Wall
Steel studs frame most commercial interiors, plenty of finished basements, and a growing number of multi-family residential builds — so trim carpentry and shelving work eventually meets a wall with no wood to bite into. A metal stud’s flange is only about 1-1/4 to 1-5/8 inches wide and, at 20-25 gauge, doesn’t have the thickness to hold long threads the way a 2×4 does. The right approach depends on what’s going up.
Baseboard, Casing, and Light Trim
For baseboard, door casing, and crown molding, self-drilling trim-head screws driven straight through the wood and drywall into the stud flange are enough — there’s no separate pilot hole needed on standard 25-gauge steel, and the small head countersinks and putties over cleanly. Space fasteners at stud locations as normal, exactly the way you would with wood-frame trim, just with a self-drilling screw in place of a finish nail.
Wood Shelving and Closet Systems
A single screw into a metal stud’s thin flange holds far less shear and pull-out strength than the same screw in solid wood. For a light shelf, a few #8-#10 self-drilling screws directly through a shelf bracket into the stud can be enough. For anything heavier — a loaded bookshelf or a closet system — building the shelf frame off wood blocking between the studs spreads the load across more fastener points than the stud alone provides. Heavy-duty toggle anchors are the other reliable option for a load hung mid-span between studs rather than directly into one.
Cabinets and Built-Ins: Why Wood Blocking Wins
Cabinets are the case where drilling straight into the stud usually isn’t enough on its own. The standard trade solution — used by cabinet installers working commercial steel-stud walls every day — is wood blocking: a continuous 3/4-inch plywood strip or 2x solid stock screwed horizontally across the studs at cabinet-hanging height, ideally installed before drywall goes up so the screws land in real wood rather than thin steel. If the blocking is already covered, it can still be added by cutting the drywall open at the hang-rail line, screwing the blocking to the studs with self-drilling screws, and patching around it.
A French cleat is the other trade-tested approach: a continuous beveled wood strip screwed to the studs (or blocking) carries a matching cleat on the back of the cabinet, distributing weight along the entire cleat length instead of concentrating it at a handful of screw points. Either method beats relying on individual screws straight into unsupported stud flanges, which tends to work loose or “belly” the wall over time under sustained weight.
| Fastener / Method | Approx. Load | Best For |
|---|---|---|
| Self-drilling screw direct to stud (#6-#8) | Under 15 lbs | Trim, casing, light picture ledges |
| Self-drilling screw direct to stud (#10-#12) | 15-25 lbs | Small shelf brackets, light closet rods |
| Heavy-duty toggle anchor | 25-100 lbs | Mid-span shelving, mirrors, TV mounts between studs |
| Wood blocking or French cleat across studs | 100+ lbs | Wall cabinets, built-ins, heavy closet systems |
“On steel-stud commercial jobs we never fasten a cabinet run straight to the studs — the blocking or a French cleat carries the load, and the screws into the stud are really just holding the blocking in place, not the cabinet itself.” — a common note among cabinet installers working steel-framed builds, and the reasoning behind the load table above.
Common Mistakes to Avoid
- Using a hammer drill: the hammer action can dent or deform thin steel studs instead of cleanly cutting through — use a standard drill/driver setting only.
- Drilling at full speed: high RPM overheats the bit fast in steel, dulling it and increasing the chance of it snapping.
- Confusing self-tapping with self-drilling: grabbing a self-tapping screw expecting it to bore its own hole is the most common on-site mix-up — check the tip before you buy.
- Hanging heavy loads mid-span between studs on a single screw: without a toggle anchor or blocking, the wall can “belly” as the thin steel flexes under sustained weight.
- Skipping the pilot dent: without a center-punch mark, the bit tends to skate across smooth steel before it finally catches, chewing up the surrounding surface.
Safety Precautions
Wear safety glasses any time you’re cutting metal — steel shavings come off sharp and hot. Gloves protect against the same shavings and against the stud’s cut edges, which are often sharp enough to cut skin. A dust mask is worth it if you’re drilling more than a few holes, since fine metal particles are easy to inhale in an enclosed room. Before drilling anywhere near an outlet, switch, or plumbing chase, check for wiring and pipes routed through the stud bay — metal studs are common conduits for both.
Frequently Asked Questions
How do you drill into a metal stud?
Center-punch the mark, then drill with a cobalt or titanium bit at a low, steady 700-1,000 RPM using gentle pressure. Start with a small pilot hole and step up in size only if the fastener needs it.
What drill bit works best for metal studs?
Cobalt and titanium-coated twist bits both cut cleanly through standard 20-25 gauge steel studs and hold an edge far longer than plain high-speed steel bits over repeated holes.
Can you screw wood directly into a metal stud?
Yes, for light loads like trim or a small shelf bracket — use self-drilling wood-to-metal screws sized #6-#12. For anything heavier, like a loaded shelf or wall cabinet, wood blocking or a French cleat fastened to the studs distributes the weight far more reliably than screws alone.
Is a self-drilling screw the same as a self-tapping screw?
No. A self-drilling screw has a drill-point tip and bores its own hole in thin steel with no pilot hole needed. A self-tapping screw only cuts threads into a hole that already exists and cannot start a hole in raw steel on its own.
How do you find metal studs in a wall?
Set a stud finder to metal mode, or use a magnetic stud finder, which will snap toward the screws already fastening the drywall to the stud. Metal studs give a sharper, more consistent signal than wood studs.
Conclusion
Drilling into a metal stud is a quick job once you’re using a cobalt or titanium bit at low speed with a center-punched starting point. The part most guides skip is what happens after the hole: light trim can go straight into the stud with a self-drilling screw, but real weight — a loaded shelf, a closet system, a wall cabinet — needs wood blocking, a French cleat, or a rated toggle anchor behind it, not just a screw into thin sheet steel.
Good luck with your project, and if you’re planning built-ins for a steel-framed room, check out our guide to building shelves between wall studs and our breakdown of cabinet screws vs. wood screws before you buy fasteners.
Sponsored / affiliate links. As an Amazon Associate I earn from qualifying purchases. I may earn additional commission from eligible campaigns.