How to Remove Paint From Cabinets Without Sanding (Citrus Stripper Method)
The fastest way to remove paint from cabinets without sanding is a citrus-based chemical gel stripper: brush on a thick coat, let it dwell until the paint bubbles and lifts, then scrape it off with a plastic putty knife. No dust, no orbital sander, and on cabinets with several old coats, one thick application can cut through all of them at once.
Sanding painted cabinets is slow, it throws fine dust into your kitchen or shop air, and if the cabinets were painted before 1978 that dust can carry lead. A citrus gel stripper avoids all three problems – it works chemically instead of abrasively, so the old paint lifts off in soft curls instead of becoming airborne powder. Below is the exact process, what to buy, and the one safety check most guides skip entirely.
Why Chemical Stripping Beats Sanding On Cabinets
Cabinet doors have panels, profiled edges, and hardware cutouts that a sander chews up or simply can’t reach. A gel stripper flows into those details, softens the paint bond at every layer at once, and lets you lift it off with a scraper instead of grinding it down. This is the citrus-based stripper that worked well for this exact job:
Best No-Sand Stripper For Cabinets
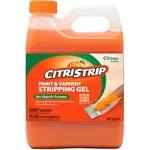 |
Citristrip Paint & Varnish Stripping Gel, 1 Quart – $21.90 The citrus-gel stripper used in the steps below – it clings to vertical cabinet doors instead of running off like a thin liquid stripper.
|
What You Need Before You Start
- A citrus-based paint and varnish stripping gel (or a homemade paint remover if you’d rather mix your own)
- Chemical-resistant gloves – nitrile, not thin latex
- Safety goggles and a respirator or well-fitted mask rated for organic vapors
- A cheap natural-bristle brush for applying the gel
- A plastic or nylon putty knife (metal can gouge softer woods)
- Old rags, mineral spirits or water for cleanup, and plenty of ventilation – open windows and a fan, even for “low-odor” gels
Take the doors off their hinges and lay them flat on a bench or sawhorses if you can. Gel strippers are formulated to cling to vertical surfaces, but working flat still gives you more control and less drip onto the floor.
Step-By-Step: Stripping Cabinet Paint With A Citrus Gel Stripper
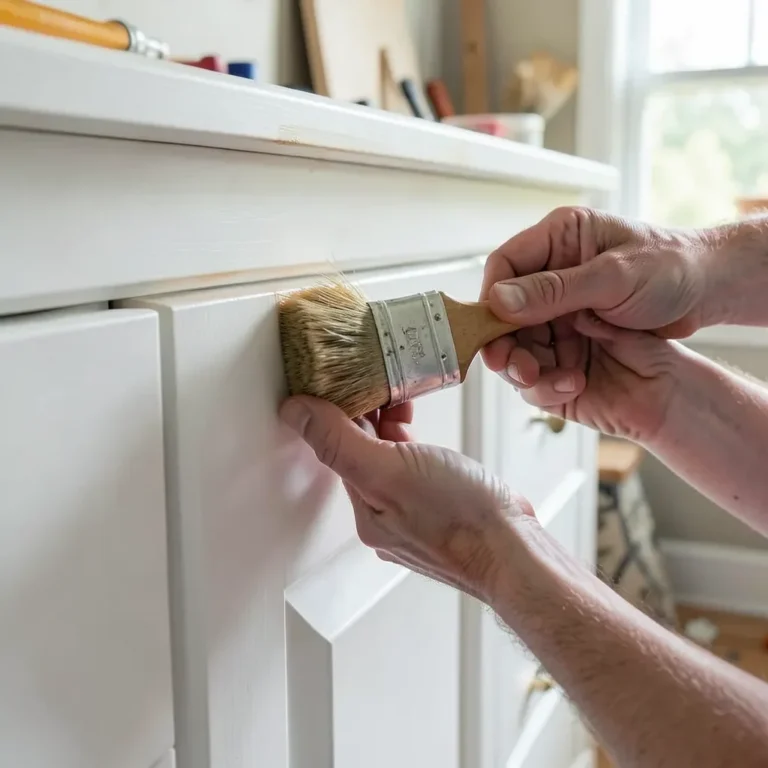
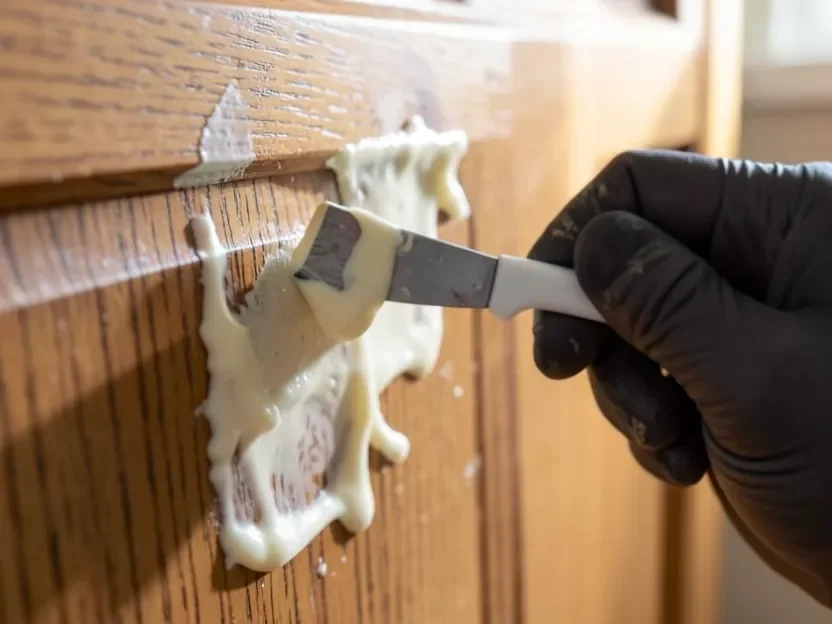
- Brush on a thick, even coat – thicker than you think you need. A thin coat dries out before it finishes working.
- Let it sit. Most citrus gels stay active for hours, not minutes, which is exactly what lets one coat cut through two or three old layers instead of one. Check the label, but don’t rush this step – the paint needs to fully bubble and wrinkle, not just soften on the surface.
- Once the paint has lifted into soft ridges, scrape it off with your plastic putty knife, working with the wood grain.
- For paint trapped in panel edges or carved details, a stiff-bristle brush or an old toothbrush pulls out what a flat scraper can’t reach.
- If a layer is still stubborn after scraping, apply a second coat directly over the residue rather than starting from bare wood again – it re-softens what’s left instead of fighting dried gel.
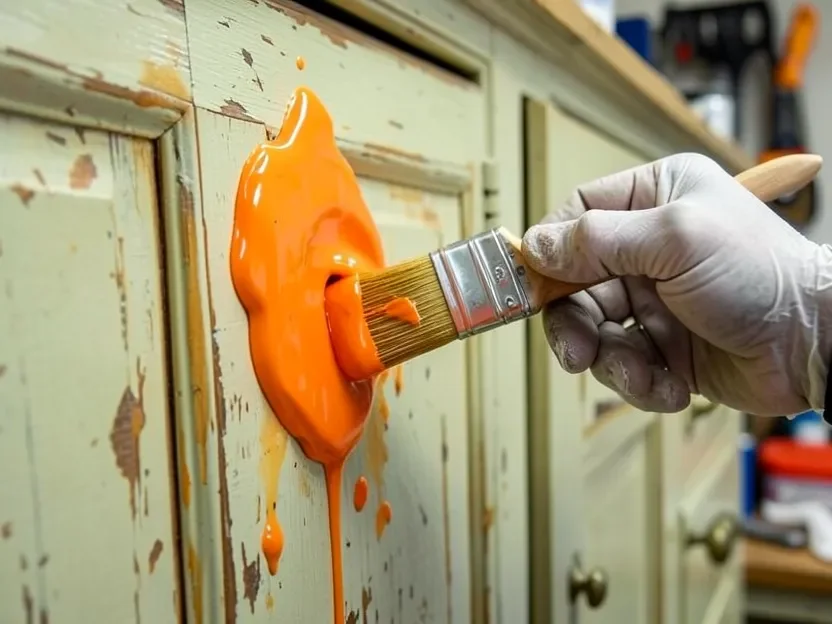
Once you’ve scraped off as much paint as you can, wipe the surface down with a rag dampened in mineral spirits or water, depending on what the product label calls for. This step matters more than it seems – leftover residue can prevent primer or new stain from bonding evenly, and neutralizing the stripper residue properly is what keeps that from happening.
Before You Strip Anything: Check For Lead Paint On Older Cabinets
This is the step most “no-sanding” guides skip, and it’s the actual reason a chemical stripper is the safer choice here, not just the easier one. If your cabinets were painted before 1978, the paint may contain lead. Under the EPA’s Renovation, Repair and Painting (RRP) rule, if you don’t test and confirm otherwise, you’re supposed to assume lead paint is present and work accordingly.
- Use an EPA-recognized lead test kit on the paint layer before doing anything abrasive to it. A negative result (below roughly 1.0 mg/cm² or 0.5% by weight) means the RRP requirements don’t apply to that surface.
- If lead is present or you skip testing, this is exactly why chemical stripping is the better call over sanding: it lifts paint as soft curls instead of grinding it into airborne dust that’s hard to contain and easy to inhale.
- Wet-wipe cleanup, work in a well-ventilated area, keep kids and pets out of the room, and bag paint scrapings and used rags for disposal rather than sweeping them loose.
- For a heavy job on a home you know predates 1978, or if a test comes back positive, an EPA RRP-certified contractor is worth the cost – this rule exists because lead dust exposure is a real, cumulative health risk, especially for children and pregnant people.
Common Mistakes That Waste Stripper And Time
- Applying too thin a coat. A thin layer dries out before it finishes softening the paint, which is the single biggest reason people think their stripper “isn’t working.”
- Scraping too early. If the paint hasn’t visibly bubbled and wrinkled yet, scraping just smears it around and gouges the wood underneath.
- Letting dried residue sit. Sanding dried gel residue clogs sandpaper almost instantly. Re-wetting it with a fresh thin coat and scraping while soft is faster and uses far less sandpaper than trying to sand it off cold.
- Skipping the neutralizing wipe-down. Leftover stripper residue can interfere with how well primer, paint, or stain bonds to the bare wood afterward.
- Working in a closed room. Even “low-odor” citrus gels release solvent vapor as they work – open a window or run a fan the whole time, not just when you notice a smell.
Getting Cabinets Ready For New Paint Or Stain
Once the surface is clean and dry, check it under a bright light or a raking angle – stripper residue and leftover paint traces are much easier to spot that way than under overhead light. Any spots the gel didn’t fully lift usually just need a second, more targeted application rather than a return to sanding. If you do need a light touch-up pass afterward – on trapped residue in carved details, for example – a fine grit used sparingly is enough; you’re smoothing a few remaining spots, not stripping the whole surface by hand. Let the wood dry fully before priming, painting, or staining – rushing this step is a common reason a fresh coat doesn’t bond well.
Frequently Asked Questions
What is the fastest way to remove paint from cabinets without sanding?
A citrus-based gel stripper is the fastest no-sand method. Brush on a thick coat, let it dwell until the paint bubbles and wrinkles, then scrape it off with a plastic putty knife. Thicker coats and full dwell time matter more than the specific brand.
How long should paint stripper sit on cabinets before scraping?
Long enough for the paint to visibly bubble and wrinkle across the whole surface, not just start to soften – check the specific product label, but citrus gels are formulated to stay active for hours so they can work through multiple old paint layers in one application.
Do I need to test for lead paint before stripping cabinets?
If the cabinets were painted before 1978, yes – test first with an EPA-recognized lead test kit, or assume lead is present and follow lead-safe work practices. Chemical stripping is the safer no-sand option here because it lifts paint without generating the airborne dust that sanding does.
Can I sand off dried paint stripper residue instead of scraping it?
You can, but it’s the least efficient option – dried gel clogs sandpaper almost immediately. Re-wetting the residue with a fresh thin coat of stripper (or mineral spirits) and scraping it off while soft again is faster and uses far less sandpaper.
Will a chemical stripper damage the wood underneath the paint?
Used correctly, no. Follow the dwell time on the label, scrape with a plastic (not metal) putty knife working with the grain, and neutralize the residue with water or mineral spirits as directed. Testing on a hidden spot first is still a good habit before treating the whole cabinet.
Sponsored / affiliate links. As an Amazon Associate I earn from qualifying purchases. I may earn additional commission from eligible campaigns.