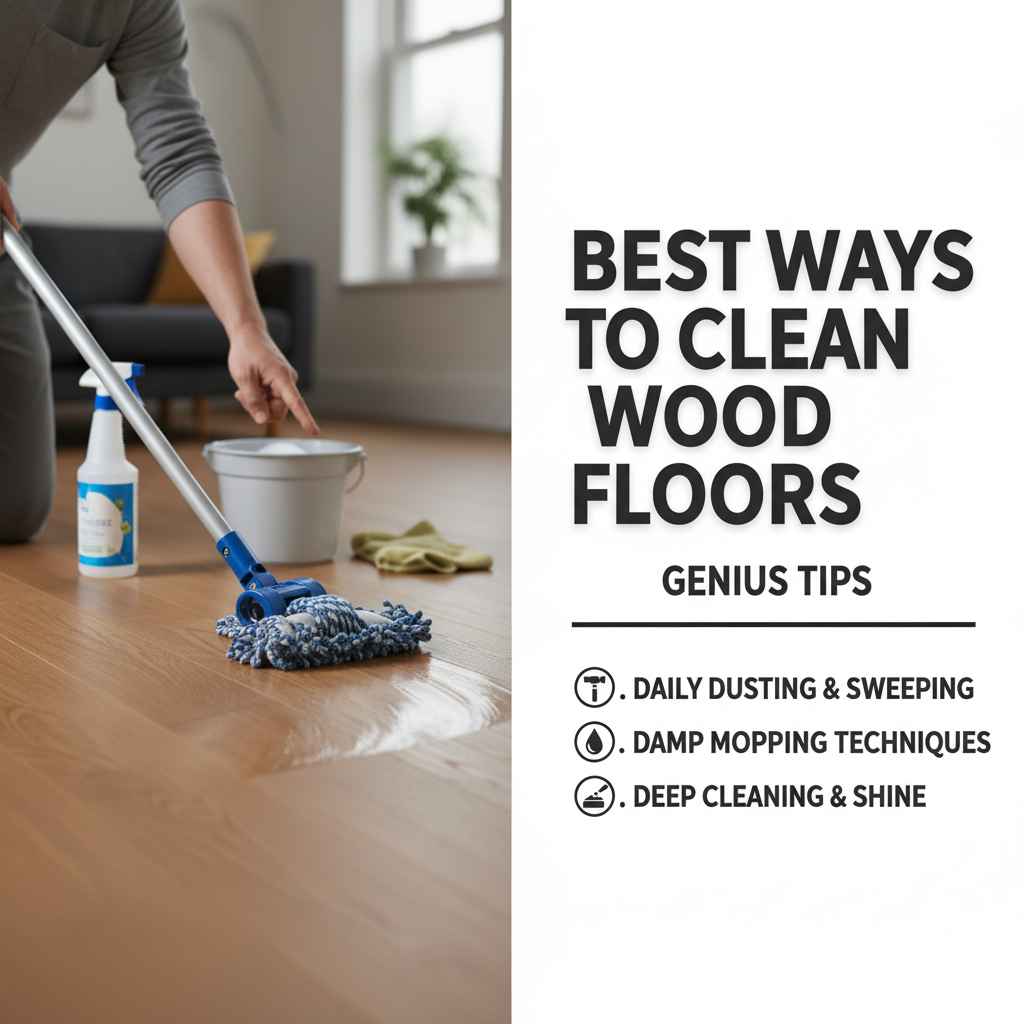
Best Ways To Clean Wood Floors: Genius Tips
To keep your wood floors looking their best, use a combination of gentle sweeping or vacuuming, damp mopping with a pH-neutral cleaner specifically for wood, and immediate spill cleanup. Avoid harsh chemicals and excessive water to protect the finish and the wood itself. Regular maintenance with these simple steps is key.
Wood floors add so much warmth and beauty to a home. But keeping them clean can feel like a puzzle, right? Are you worried about damaging that lovely finish with the wrong cleaner or too much water? Many homeowners feel the same way. It’s easy to get confused by all the advice out there. But don’t you worry! I’m here to share some tried-and-true, genius tips that will make cleaning your wood floors simple, safe, and incredibly effective. We’ll cover everything from daily tidying to deep cleaning, so your floors will shine for years to come!
Your Wood Floor Cleaning Toolkit
Before we dive into the cleaning process, let’s make sure you have the right tools. Having these on hand will make the job much easier and more effective. Think of this as your go-to list for keeping your wood floors pristine.
- Soft-Bristle Broom: Look for one specifically designed for hardwood floors. This will pick up dirt and debris without scratching the surface.
- Microfiber Duster/Mop: Microfiber is a superhero material for cleaning. It traps dust and dirt efficiently and is gentle on wood finishes. A good quality microfiber mop will be your best friend.
- Vacuum Cleaner with Hard Floor Setting: If you use a vacuum, ensure it has a setting for hard floors. Crucially, it should have a brush roll that can be turned off or a soft brush attachment. A spinning brush roll designed for carpet can easily scratch your wood floors. Check out the Consumer Energy Center’s guide on vacuum cleaner efficiency for more on choosing the right one.
- pH-Neutral Wood Floor Cleaner: This is super important! Using harsh chemicals can strip the finish or dull the shine. Always opt for a cleaner specifically formulated for sealed wood floors.
- Two Buckets: This is a pro-tip for mopping. One bucket for your cleaning solution, and another for rinsing your mop. This prevents you from spreading dirty water back onto your clean floor.
- Clean, Dry Microfiber Cloths: For quick spot cleaning and drying.
The Best Daily and Weekly Cleaning Routines
The secret to beautiful wood floors isn’t just about the occasional deep clean; it’s about consistent, gentle maintenance. These simple steps, done regularly, will prevent dirt from becoming ingrained and keep your floors looking fantastic.
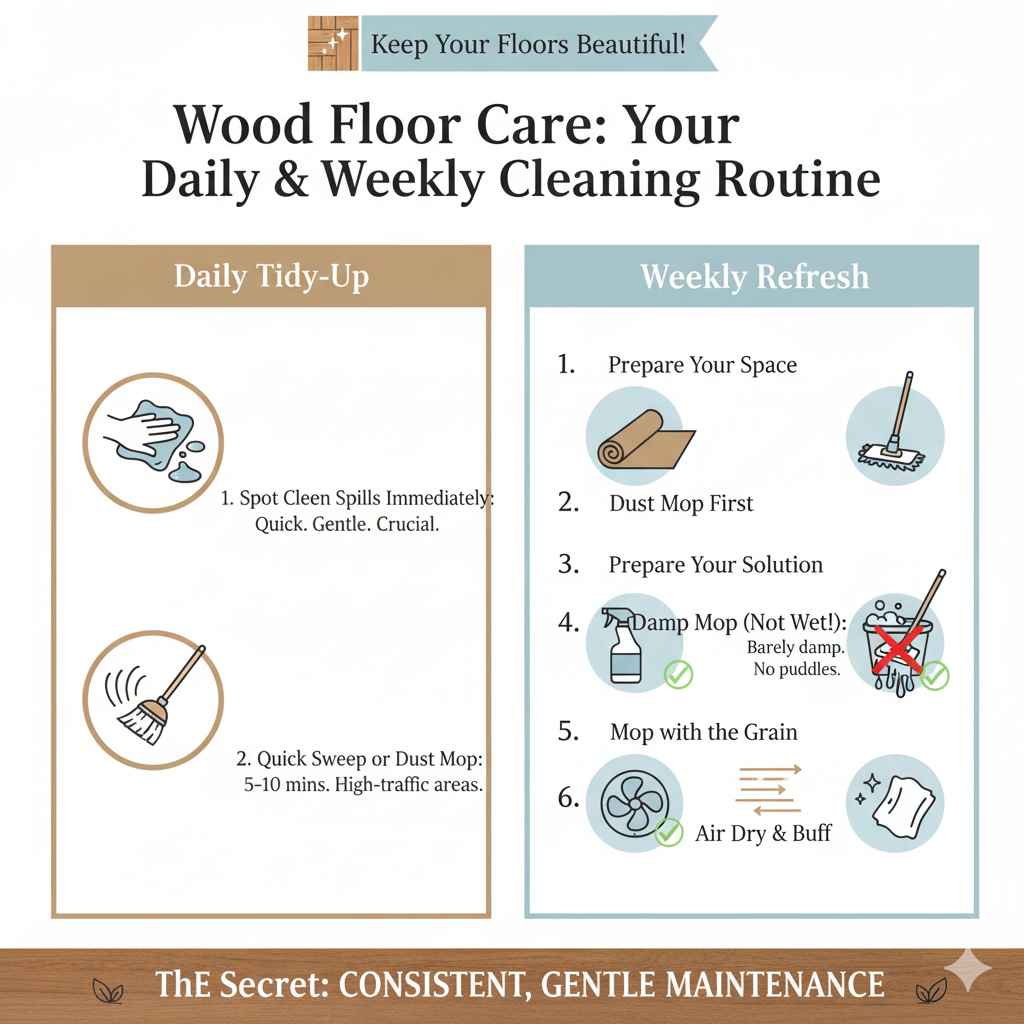
Daily Tidy-Up: Beat the Dirt Before It Settles
Think of this as a quick sweep to keep things under control. It takes just a few minutes but makes a world of difference.
- Spot Clean Spills Immediately: Coffee spill? Dropped something? Grab a soft cloth and wipe it up right away. Wood and moisture aren’t best friends, so the quicker you act, the better.
- Quick Sweep or Dust Mop: Spend 5-10 minutes each day (or every other day, depending on your household traffic) with your soft-bristle broom or microfiber dust mop. Pay attention to entryways and high-traffic areas. This prevents grit from being tracked around and scratching the floor.
Weekly Clean: The Gentle Refresh
This is where you give your floors a more thorough but still gentle clean. The goal is to remove accumulated dust and light grime without getting the wood too wet.
- Prepare Your Space: Clear any furniture or rugs from the area you’ll be cleaning.
- Dust Mop First: Always start by dust mopping the entire floor to remove loose debris. This ensures you’re not just pushing dirt around with a wet mop.
- Prepare Your Cleaning Solution: Mix your pH-neutral wood floor cleaner with water according to the product’s instructions. If using a spray mop, fill its reservoir with the diluted solution.
- Damp Mop (Not Wet!): This is the golden rule. Dip your microfiber mop into the cleaning solution and wring it out thoroughly. It should feel barely damp, not dripping wet. If you can see puddles, it’s too wet.
- Mop in the Direction of the Grain: Work in small sections, moving the mop back and forth along the direction of the wood grain. This helps lift dirt and ensures an even clean.
- Rinse Your Mop: If you’re using two buckets, rinse your mop in the clean water bucket after each section before dipping it back into the cleaning solution. This is key to avoiding streaks.
- Dry as You Go (If Needed): For stubborn spots or if you feel you may have used slightly too much moisture, have a clean, dry microfiber cloth ready to buff the area dry immediately.
- Allow to Air Dry: Let the floor air dry completely before placing furniture or rugs back. This usually only takes 15-30 minutes.
Deep Cleaning Strategies: For When Life Gets Messy
Sometimes, daily and weekly routines aren’t enough. Maybe you have muddy paw prints, scuff marks, or just feel the floor needs a little extra love. A deep clean doesn’t mean soaking your floors; it means using the right techniques for tougher jobs.
Tackling Scuff Marks
Scuff marks are common, especially with kids and pets. Here are a few ways to gently remove them:
- Tennis Ball Trick: For light scuffs, rub a clean tennis ball gently over the mark. The mild abrasion can lift the scuff without harming the finish.
- Microfiber Eraser: Some specialized microfiber cleaning pads work wonders on scuff marks. Use them with a bit of your regular wood floor cleaner.
- Toothpaste (Non-Gel): For stubborn, dark scuffs, a tiny dab of white, non-gel toothpaste on a soft cloth can act as a very mild abrasive. Rub gently, then wipe clean with a damp cloth and dry immediately.
Dealing with Stubborn Stains
For tougher stains that don’t come up with a regular clean, proceed with caution. Always test any method in an inconspicuous area first.
- For Grease/Oil Stains: Sprinkle a bit of baking soda or cornstarch directly onto the stain. Let it sit for several hours (or overnight) to absorb the grease. Then, gently sweep it up. You might need to repeat this. You can find more detailed stain removal advice on resources like This Old House’s guide to removing stains from wood floors.
- For Water Stains (Light marks): Light water spots or rings might be removed by gently buffing with a soft cloth slightly dampened with mineral oil or your wood cleaner.
- For Dark Water Stains (Deeper marks): These can be tricky. Sometimes, a very fine grade steel wool (#0000) used with extreme caution and a bit of mineral oil can lift the stain. You are essentially very lightly abrading the finish. This should only be a last resort, and you must reapply a wood floor polish or wax to the spot afterward if recommended by its manufacturer.
Rejuvenating the Shine
Over time, even with regular cleaning, wood floors can lose some of their luster. Instead of a full refinishing, a good quality wood floor polish or refresher can bring back that gleam.
- Choose the Right Product: Ensure the polish is compatible with your floor’s finish (e.g., urethane, wax, oil). Read the product label carefully.
- Clean Thoroughly First: Your floor must be impeccably clean and dry before applying any polish. Any dirt trapped underneath will be sealed in.
- Apply Thinly and Evenly: Use a clean microfiber applicator or mop. Work in manageable sections, applying a thin, even coat. Avoid pooling or drips.
- Allow to Cure: Follow the manufacturer’s instructions for drying and curing times. Avoid walking on the floor during this period.
What to Absolutely AVOID
Just as important as knowing what to do is knowing what NOT to do. These common mistakes can cause permanent damage to your beautiful wood floors.
| What to Avoid | Why? | Potential Damage |
|---|---|---|
| Excessive Water (Soaking or Pooling) | Wood expands when wet and can warp or rot. Standing water can seep into seams and cause damage. | Warping, swelling, cupping, buckling, mold, mildew, delamination of planks. |
| Steam Mops | The heat and moisture from steam mops can penetrate the wood’s finish and the wood itself, causing damage. | Swelling, warping, lifting of the finish, dulling of protective coatings. |
| Abrasive Cleaners (e.g., Comet, Ajax) | These contain harsh grit that will scratch the floor’s finish. | Permanent scratches, dulling of the finish, removal of protective layers. |
| Vinegar (Undiluted or Frequent Use) | Vinegar is acidic. While diluted vinegar can sometimes be used on very tough jobs with caution on certain finishes, frequent or undiluted use can break down polyurethane finishes over time. Always check your floor manufacturer’s recommendations. | Dulling of the finish, degradation of the protective coating. |
| Ammonia-Based Cleaners | Ammonia can dull the finish and may even discolor the wood. | Dulling, discoloration, damage to the finish. |
| Oil Soaps (e.g., Murphy Oil Soap) | Many traditional oil soaps can leave a residue that attracts dirt and dulls the finish of modern polyurethane-coated floors. They are better suited for older waxed or oiled floors, but even then, caution is advised. | Residue buildup, dulling of the finish, potential for slipperiness. |
| Wax on Polyurethane Floors | Wax does not bond well with polyurethane finishes and can create a slippery, difficult-to-clean buildup. You’ll often need to strip the wax before recoating with poly. | Slippery surface, dull appearance, difficult-to-remove buildup, potential for needing professional stripping and recoating. |
| Using the Wrong Vacuum Setting | A rotating brush roll designed for carpet can easily scratch hard wood floors. | Surface scratches, gouges, dulling of the finish. |
Protecting Your Floors: Prevention is Key
The best way to keep your wood floors looking amazing is to prevent dirt and damage from happening in the first place. A little preventative care goes a long way!
- Use Doormats: Place sturdy doormats both outside and inside every exterior door. This traps a significant amount of dirt, sand, and moisture before it ever reaches your wood floors.
- Use Rugs and Runners: In high-traffic areas like hallways and living rooms, use area rugs or runners. In kitchens and bathrooms, consider placing mats near sinks. Ensure these rugs have rubber backing or place a rug pad underneath to prevent slipping and to protect the wood from being scratched by the rug itself.
- Felt Pads on Furniture: This is a must! Put felt pads on the bottom of all furniture legs – chairs, tables, sofas, even potted plants. Regularly check and replace worn-out pads. This is one of the smartest investments you can make to prevent scratches.
- Trim Pet Nails: Keep your pets’ nails trimmed short. This significantly reduces the chance of them scratching the floors.
- Remove Shoes: Implement a “shoes off” policy indoors. Shoes track in grit, moisture, and asphalt from outside, which can be incredibly abrasive.
- Be Careful with Liquids: Always use coasters under drinks. Clean up water spills from pet bowls immediately.
Understanding Different Wood Floor Finishes
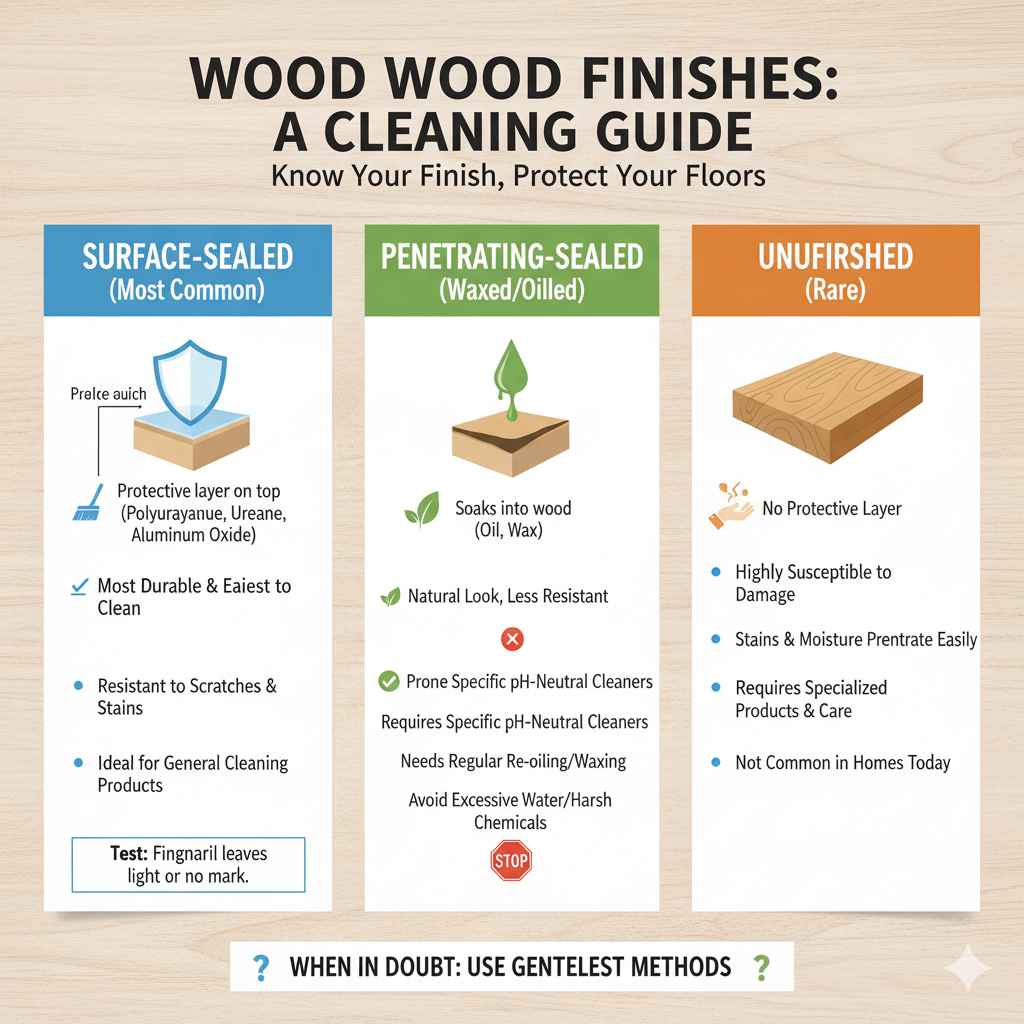
Knowing what type of finish your wood floors have can help you choose the best cleaning products. Most modern wood floors have a surface seal, while older floors might have an oil finish or be unfinished.
- Surface-Sealed Floors (Most Common): These floors have a protective coating on top, most often polyurethane (oil-based or water-based). They are generally the most durable and easiest to clean. Our cleaning advice in this article primarily focuses on these. Examples include urethane, polyurethanethe, and aluminum oxide finishes. You can often test this by scratching an inconspicuous area with a fingernail – if it leaves a mark, it’s likely a surface seal.
- Penetrating-Sealed Floors (Waxed or Oiled): These finishes soak into the wood rather than sitting on top. They offer a more natural look but are less resistant to scratches and stains. They typically require specific cleaners (often pH-neutral or specialized for oiled floors) and regular waxing or re-oiling to maintain their protection. Using water excessively or harsh chemicals can quickly damage these finishes. Check out this Wood Floor Business article on identifying finishes for more technical details.
- Unfinished Floors: These are rare in residential settings today. They are highly susceptible to damage from moisture and stains and require very careful cleaning with specialized products.
If you’re unsure about your floor’s finish, it’s always best to err on the side of caution and use the gentlest methods. When in doubt, contact the manufacturer of your flooring or a professional floor installer.
Frequently Asked Questions About Cleaning Wood Floors
Q1: Can I use a regular household cleaner on my wood floors?
A1: It’s best to avoid most regular household cleaners. Many contain harsh chemicals, ammonia, or acids that can damage the protective finish on your wood floors, causing dulling or discoloration. Always use a pH-neutral cleaner specifically designed for sealed wood floors.
Q2: How often should I really be mopping my wood floors?
A2: For most homes, a damp mopping once a week is sufficient. However, if you have pets, young children, or live in a high-traffic area, you might need to mop more frequently. The key is to avoid using too much water, no matter how often you mop.
Q3: My floors look dull. What’s the best way to restore shine?
A3: After thoroughly cleaning and drying your floors, you can use a high-quality wood floor polish or refresher product. Apply it thinly and evenly according to the manufacturer’s instructions. Ensure you’re using a product compatible with your floor’s finish.
Q4: Is it okay to use a Swiffer WetJet on my wood floors?
A4: Most Swiffer WetJet solutions are formulated for sealed hard floors and can be used with caution. However, always check the specific solution’s ingredients and ensure it’s safe for your type of wood floor finish. It’s generally better to use a solution specifically made for hardwood for optimal safety and effectiveness.
Q5: What’s the best way to clean muddy paw prints?
A5: For muddy paw prints, act quickly! Blot up excess mud with paper towels. Then, use a damp (not wet!) microfiber cloth with your pH-neutral wood cleaner to gently wipe the remaining residue. Follow up with a dry cloth to buff. If the mud has dried, you may need to use your damp mop as described in the weekly cleaning section.
Q6: Can I use my robot vacuum on my wood floors?
A6: Yes, many robot vacuums are safe for wood floors. Ensure your model has a hard floor setting and that its brushes are soft or can be disengaged. Avoid any robot vacuums that use aggressive spinning brushes or claim to scrub with water, as these could damage the finish.
Q7: My floors have streaks after mopping. What did I do wrong?
A7: Streaks are usually caused by one of three things: using too much cleaning solution, using dirty water, or not wringing out the mop thoroughly enough. Make sure your mop is only slightly damp and that you’re using a clean mop head and diluted, fresh cleaning solution for each section of the floor.
A Lasting Gleam for Your Beautiful Floors
Taking care of your wood floors doesn’t have to be complicated. By adopting these simple, consistent cleaning habits and knowing what to avoid, you’re well on your way to preserving the beauty and longevity of your investment. It’s all about gentle care, the right tools, and a little bit of preventative magic. Remember, a little effort goes a long way in keeping those floors looking rich, warm, and inviting for years to come. Happy cleaning!