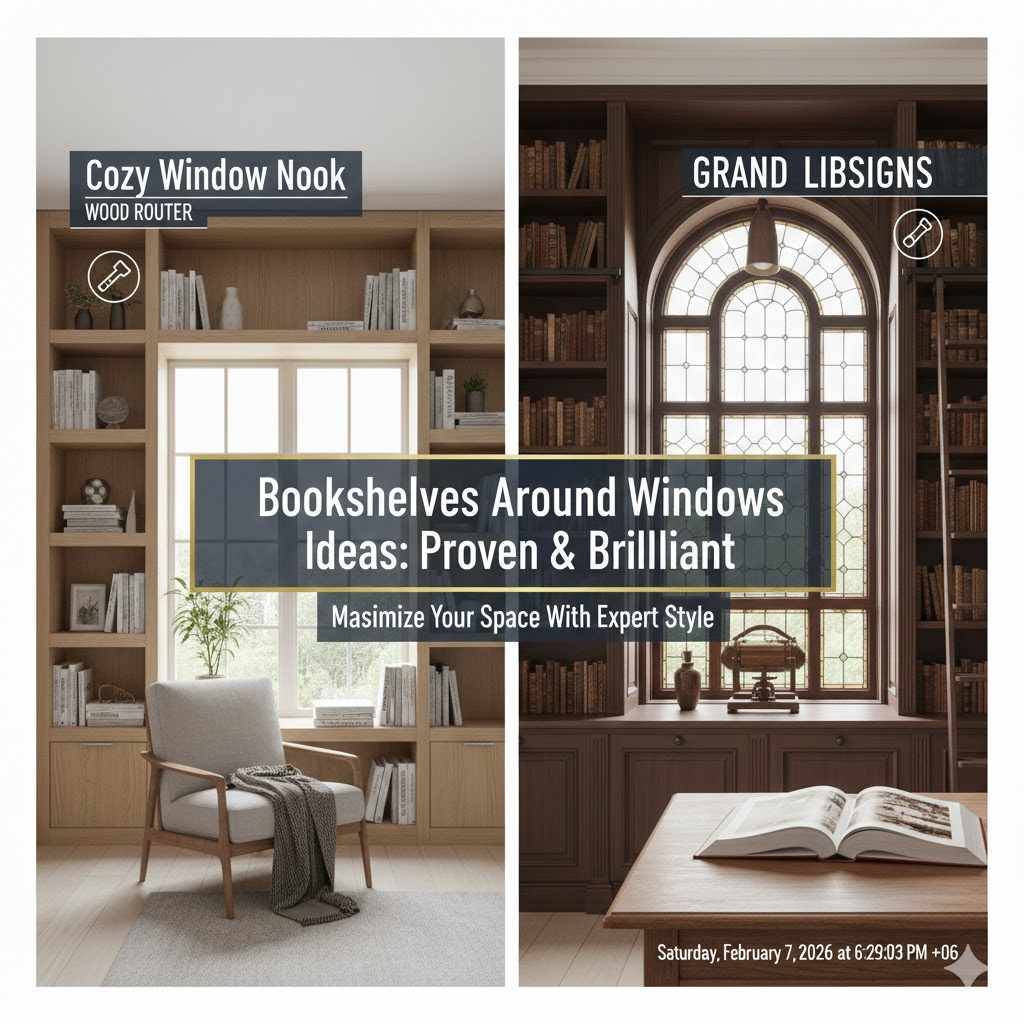
Bookshelves Around Windows Ideas: Proven & Brilliant
Building bookshelves around a window is a brilliant way to add storage, charm, and a custom focal point to any room. You can create a full wall unit, a cozy reading nook with a bench, or simple floating shelves. This project transforms unused wall space into a beautiful and highly functional feature, even for beginners.
Hello friend! Md Meraj here. Do you ever look at the wall around a window and just see… empty space? It’s a common spot in our homes that feels awkward to decorate. A picture frame looks too small, and a lonely chair looks out of place. It’s a frustrating design puzzle for so many of us.
But what if I told you that wasted space is actually a golden opportunity? With a few basic tools and a bit of guidance, you can turn that blank wall into the most charming and useful part of the room. Don’t worry, you don’t need a professional workshop or years of experience. I’m here to walk you through it, step by step. Together, we’ll explore some fantastic ideas and build your confidence to create something you’ll be proud of for years to come.
Let’s dive into some proven and brilliant ideas for adding bookshelves around your windows. We’ll cover everything from classic designs to modern twists, ensuring there’s something perfect for your home and your skill level.
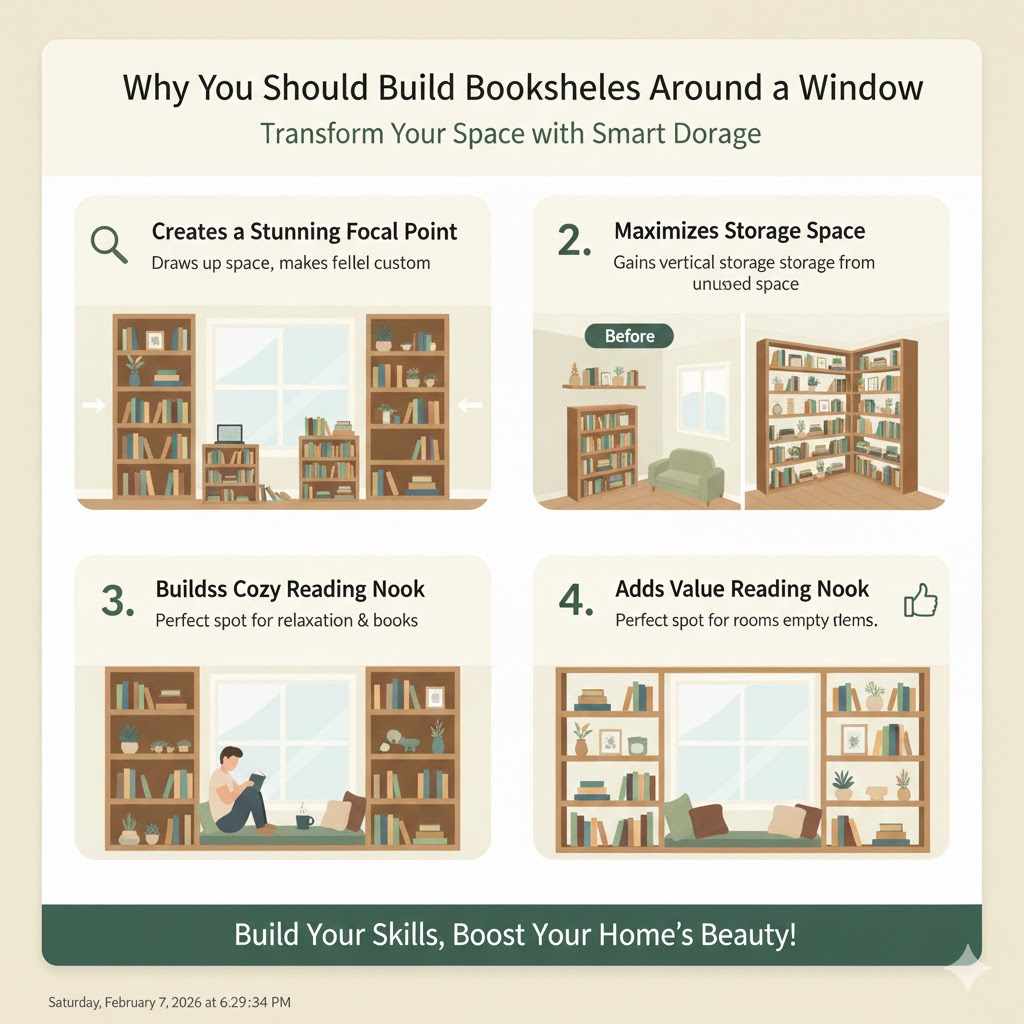
Why You Should Build Bookshelves Around a Window
Before we grab our tools, let’s talk about why this project is such a great idea. It’s more than just a place to store books. Framing a window with shelves completely transforms a room’s feel and function. It’s a project that delivers huge value.
- Creates a Stunning Focal Point: A window framed by books and cherished items instantly draws the eye. It creates a beautiful, symmetrical feature that makes a room feel custom-designed and thoughtfully arranged.
- Maximizes Storage Space: This is one of the biggest wins. You gain vertical storage in an area that was previously unused. It’s perfect for books, photos, plants, and other decorative pieces, helping you declutter the rest of the room.
- Builds a Cozy Reading Nook: If you add a window seat, you create the perfect cozy corner. Imagine curling up with a good book, a cup of tea, and natural light pouring in. It becomes a dedicated spot for relaxation and quiet time.
- Adds Value to Your Home: Custom built-ins are a desirable feature. They add character and a sense of permanence that potential buyers often appreciate. It’s an investment in both your enjoyment and your home’s equity.
- It’s an Achievable DIY Project: With the right plan, this project is very manageable for a beginner. You can build it in sections, and the basic construction uses simple, straight cuts. It’s a fantastic way to build your woodworking skills and confidence.
4 Brilliant Design Ideas for Any Skill Level
Not all window bookshelves are the same. The best design for you depends on your room, your needs, and your personal style. Here are four popular and proven ideas, ranging from simple to more involved.
1. The Classic Window Seat with Built-In Shelves
This is the design most people dream of. It features a comfortable bench under the window, flanked by two vertical shelving units. It’s the ultimate combination of seating, storage, and style.
Best For: Living rooms, bedrooms, or any room where you want to create a cozy reading nook.
Pros:
- Creates a multi-functional space.
- Offers a huge amount of storage.
- Looks incredibly high-end and custom.
- The bench can include hidden storage with a lift-up top.
Things to Consider:
- This is the most involved design to build.
- You’ll need to account for a comfortable seat height (usually 18-20 inches, including a cushion).
- Ensure any heating vents under the window are not blocked. You may need to redirect the airflow through the base of the bench.
2. The Full Wall Frame
This design creates a complete library wall feel. Bookshelves run up both sides of the window and connect with a “bridge” shelf across the top. It fully integrates the window into a large, seamless storage unit.
Best For: Home offices, dens, and living rooms where maximizing book storage is the primary goal.
Pros:
- Provides the absolute maximum amount of shelving.
- Creates a dramatic, impressive architectural feature.
- Makes a room feel taller and more grand.
Things to Consider:
- The bridge shelf across the top must be very strong to prevent sagging. It’s important to support it properly.
- This design can feel a bit heavy in a very small room, so it’s best suited for spaces with a bit of breathing room.
3. Low-Profile Shelves Under the Window
If you have a large window with a low sill, this is a fantastic option. A long, low bookcase runs the entire width of the wall underneath the window. It provides storage without blocking any light or views.
Best For: Rooms with picture windows, modern homes, or kid’s playrooms where accessible storage is key.
Pros:
- Very simple and straightforward to build.
- Keeps the room feeling open and airy.
- The top surface provides a great place for plants or decorations.
- It’s low and stable, making it a safe choice for children’s rooms.
Things to Consider:
- Offers less vertical storage than other designs.
- You must measure carefully to ensure the top of the shelf sits neatly just below the window sill.
4. Simple Floating Shelves
For a minimalist, modern, and budget-friendly approach, you can’t beat floating shelves. These are individual shelves mounted to the wall around the window without any visible brackets. You can arrange them symmetrically or asymmetrically for a custom look.
Best For: Smaller rooms, minimalist decor, or anyone on a tight budget.
Pros:
- Easiest and fastest option to install.
- Very affordable.
- Doesn’t take up any floor space, making the room feel larger.
- Highly customizable layout.
Things to Consider:
- They hold less weight than a full bookcase. Be sure to mount them directly into wall studs.
- Doesn’t provide the same “built-in” look as other designs.
| Design Idea | Best For | Beginner Difficulty | Approximate Time |
|---|---|---|---|
| Window Seat with Built-ins | Cozy nooks, bedrooms | Moderate | 2-3 weekends |
| Full Wall Frame | Home offices, libraries | Moderate | 2-3 weekends |
| Low-Profile Shelves | Picture windows, kids’ rooms | Easy | 1 weekend |
| Floating Shelves | Small spaces, modern decor | Very Easy | 2-3 hours |
Planning Your DIY Window Bookshelf Project
Alright, you’ve got an idea in mind. Now comes the most important part: the plan! Good planning is what separates a frustrating project from a successful one. Taking your time here will save you headaches later.
Step 1: Measure, Measure, and Measure Again
I can’t say this enough. Accurate measurements are the foundation of your entire project. Grab a good tape measure, a pencil, and a notepad.
- Measure the Window: Get the total width and height of the window, including the trim. You want to know exactly how big the “hole” in your bookshelf will be.
- Measure the Wall Space: Measure the width of the wall on each side of the window. Measure the height from the floor to the ceiling. Also, measure the space from the bottom of the window sill to the floor.
- Decide on the Depth: How deep do you want your shelves to be? A standard bookshelf is about 11-12 inches deep. This is enough for most paperback and hardcover books. Deeper shelves can be useful, but they also jut out into the room more. For a less intrusive feel, 10 inches can work well.
- Check for Obstacles: Look for light switches, power outlets, and heating vents. You’ll need to plan your design around them. You can cut holes in the back of your bookshelf for outlets or build around switches.
Write everything down and sketch a simple drawing of the wall with all your measurements. This will be your map.
Step 2: Choose Your Material
The material you choose affects the look, cost, and durability of your project. For a beginner, I recommend sticking with simple, easy-to-work-with options.
| Material | Pros | Cons | Best For |
|---|---|---|---|
| Pine Boards | Inexpensive, lightweight, easy to cut, takes stain well. | Soft wood, can dent or scratch easily. | A rustic, painted, or budget-friendly build. |
| Plywood (Cabinet-Grade) | Very strong, stable, won’t warp, great for long shelves. | Exposed edges need to be finished with edge banding or trim. | Sturdy, paint-grade projects like a full wall unit. |
| MDF (Medium-Density Fiberboard) | Smooth surface perfect for painting, affordable. | Very heavy, can sag under weight, not moisture-resistant. | Painted projects where a super-smooth finish is desired. |
My advice for a first-timer? Use 3/4-inch cabinet-grade plywood for the main structure (the boxes) and solid pine for the face frames and trim. This gives you the strength of plywood and the classic look of real wood.
Step 3: Gather Your Essential Tools
You don’t need a professional workshop, but a few key tools will make your project much safer and easier.
- Tape Measure: Your most important tool for planning.
- Pencil: For marking your cuts.
- Level: To make sure everything is straight. A 4-foot level is great for this.
- Circular Saw or Miter Saw: For making straight cuts. A circular saw with a straight-edge guide works well for breaking down plywood sheets.
- Drill/Driver: For drilling pilot holes and driving screws.
- Kreg Jig (Pocket Hole Jig): This is my secret weapon for beginners! It allows you to create strong, hidden joints easily without complex joinery.
- Stud Finder: Crucial for locating studs in the wall to securely anchor your bookshelf.
- Safety Gear: Safety glasses, hearing protection, and dust mask are non-negotiable. Always protect yourself!
A Simple Guide to Building Your Bookshelf
We won’t go into a full set of complex blueprints here, but I want to give you a clear, simple overview of how a project like this comes together. We’ll use the “Full Wall Frame” as our example.
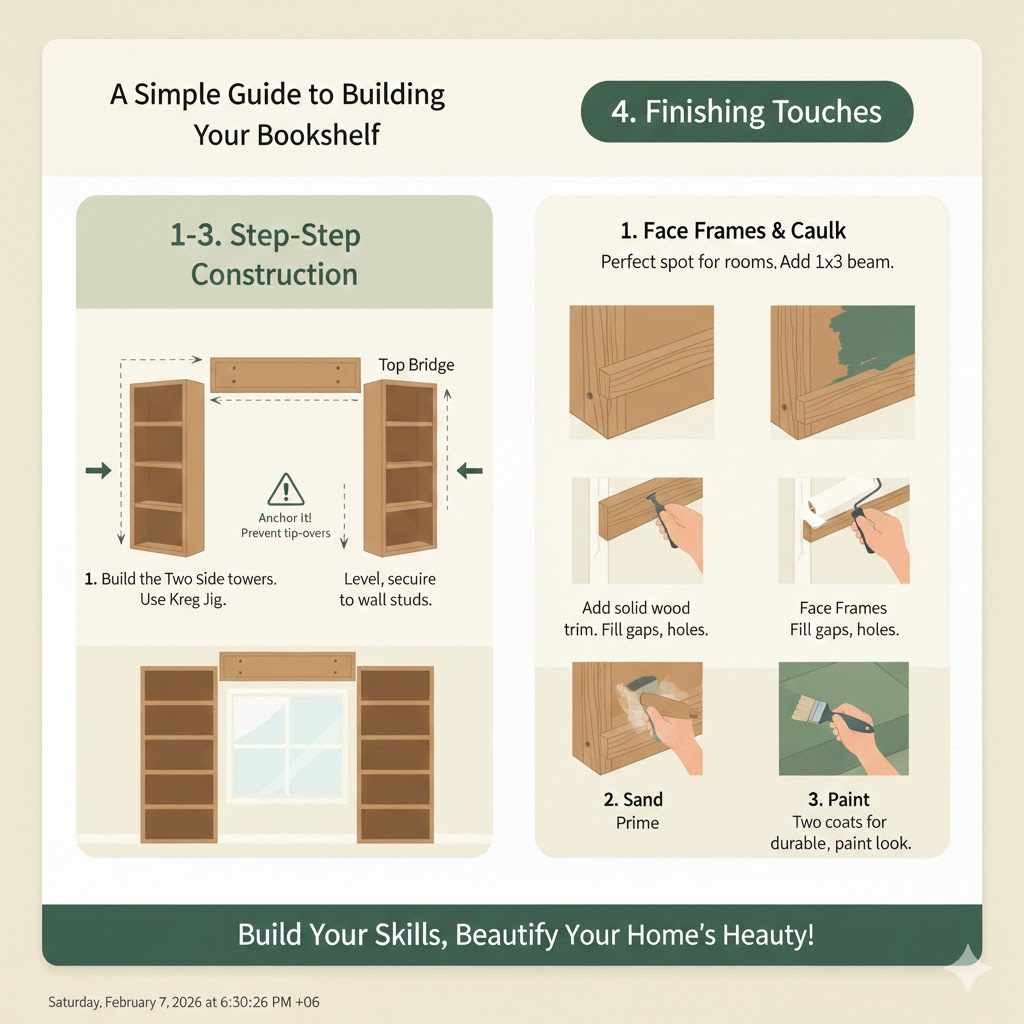
1. Build the Two Side Towers
Think of each tower as a simple box. You’ll have two long vertical pieces (the sides) and several shorter horizontal pieces (the top, bottom, and shelves).
- Cut your plywood sides to the desired height (e.g., from the floor to just below the ceiling).
- Cut your top, bottom, and shelf pieces to the same width (this will be your chosen depth, minus the thickness of the back panel if you’re using one).
- Use your Kreg Jig to drill pocket holes into the ends of each shelf piece.
- Assemble the box by attaching the top and bottom pieces to the sides with wood glue and pocket hole screws.
- Measure and mark the positions for your shelves. Install them using glue and screws. Keep everything square!
- Repeat the process to build the second tower.
2. Construct the Top Bridge
The bridge is just another, wider bookshelf that lies on its side. It will connect the two towers over the top of the window.
- Measure the distance between the two towers once they are standing in place. This will be the length of your bridge.
- Build a simple box or shelf unit to this length.
- For added strength to prevent sagging, attach a 1×3 solid wood board along the front edge (both top and bottom) of the bridge. This will act like a small beam. For a more in-depth look at shelf load capacity, you can explore resources like the Sagulator, a tool that helps calculate shelf sag.
3. Assemble and Secure Everything
This is where it all comes together. Safety is key here. Your bookshelf unit must be securely attached to the wall to prevent it from tipping over.
- Move the two side towers into place. Use shims underneath to make them perfectly level.
- Lift the bridge into place on top of the towers. Secure it to the towers with screws from the inside.
- Use your stud finder to locate the wall studs behind your unit.
- Drive long screws through the back of the bookshelves directly into the studs. Aim for at least two screws per tower and two for the bridge. According to the U.S. Consumer Product Safety Commission’s Anchor It! campaign, properly anchoring furniture is a critical step to prevent tip-over accidents.
4. Add the Finishing Touches
The final details are what make a DIY project look professional.
- Face Frames: Cut and nail thin strips of solid wood (like 1×2 pine) to the front edges of the plywood. This covers the raw edges and gives the unit a solid, built-in look.
- Caulk and Wood Filler: Fill all nail holes with wood filler and run a bead of paintable caulk along any seams where the unit meets the wall. This tiny step makes a huge difference!
- Sand, Prime, and Paint: Sand everything smooth. Start with a good quality primer, which is essential for a uniform paint finish, especially on wood and MDF. Then apply two coats of your chosen paint color. For a durable finish, a semi-gloss or satin paint is a great choice for shelves.
Frequently Asked Questions (FAQ)
What is the best wood for a beginner building bookshelves?
For a beginner, I highly recommend using a combination of 3/4-inch birch plywood for the main case and shelves, and solid pine boards (like 1x2s) for the face frame. The plywood is strong and stable, while the pine is easy to cut and covers the plywood edges for a clean look.
Do I need expensive tools to build this?
Absolutely not! You can build beautiful bookshelves with just a few core tools: a circular saw with a straight-edge guide, a drill/driver, a tape measure, a level, and a pocket hole jig. These tools are affordable and will be useful for many future projects.
How deep should bookshelves around a window be?
A standard depth of 10 to 12 inches is perfect for most books. If you have many large coffee table books, you might consider 14 inches. Before deciding, grab your largest book and measure it to ensure it will fit comfortably.
How do I make sure the shelves don’t sag?
The key to preventing sag is shelf span. For 3/4-inch plywood, a good rule of thumb is to keep the shelf span under 36 inches. If your shelves are wider than that, you should add a central vertical support or attach a 1×2 solid wood “stiffener” along the front edge of the shelf.
Can I build bookshelves in a room with a small window?
Yes, and it’s a great idea! Framing a small window can actually make it appear larger and more significant. It creates a beautiful, intentional feature and adds much-needed storage, making it a perfect solution for smaller rooms.
How do I paint my bookshelves for a professional finish?
The secret to a pro finish is prep work. First, fill any nail holes with wood filler and sand smooth. Caulk all the seams. Then, apply one or two coats of a high-quality primer. After the primer is dry, lightly sand it with fine-grit sandpaper (220-grit). Finally, apply two thin coats of a durable paint like a satin or semi-gloss acrylic enamel, letting it dry completely between coats.
Your Beautiful Window Awaits
See? That empty wall around your window isn’t a problem—it’s a canvas. It’s an opportunity waiting for you to create something both beautiful and useful for your home. Whether you choose a grand library wall or simple, elegant floating shelves, you have the power to completely transform your space.
Don’t be afraid to start small. Take your time with the planning, measure carefully, and remember that every woodworker, myself included, started with a first project. The feeling of stepping back and seeing something you built with your own two hands, a permanent and beautiful addition to your home, is truly rewarding.
So go ahead, pick a design, gather your tools, and get started. You can do this. I’m cheering for you every step of the way.