Cabinet Pull Placement Calculator for Exact Drill Marks
Use the pull-side edge as zero, set pull centers around a couple of inches from the edge on doors and drawer fronts, and consider two pulls on wide drawers only when one-hand reach feels awkward. Miss that, and the handle ends up too near the corner, feels awkward, or forces extra holes you cannot hide. This guide gives a cabinet pull placement calculator, the reference edge for each case, and the exact drilling positions for knobs, pulls, drawers, and wide fronts.
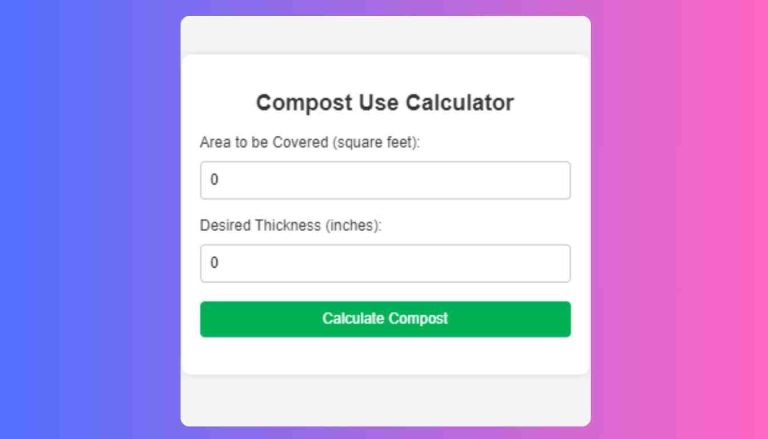
How is this calculated?
Press Calculate to see the math with your numbers.
How do you choose the right reference edge?
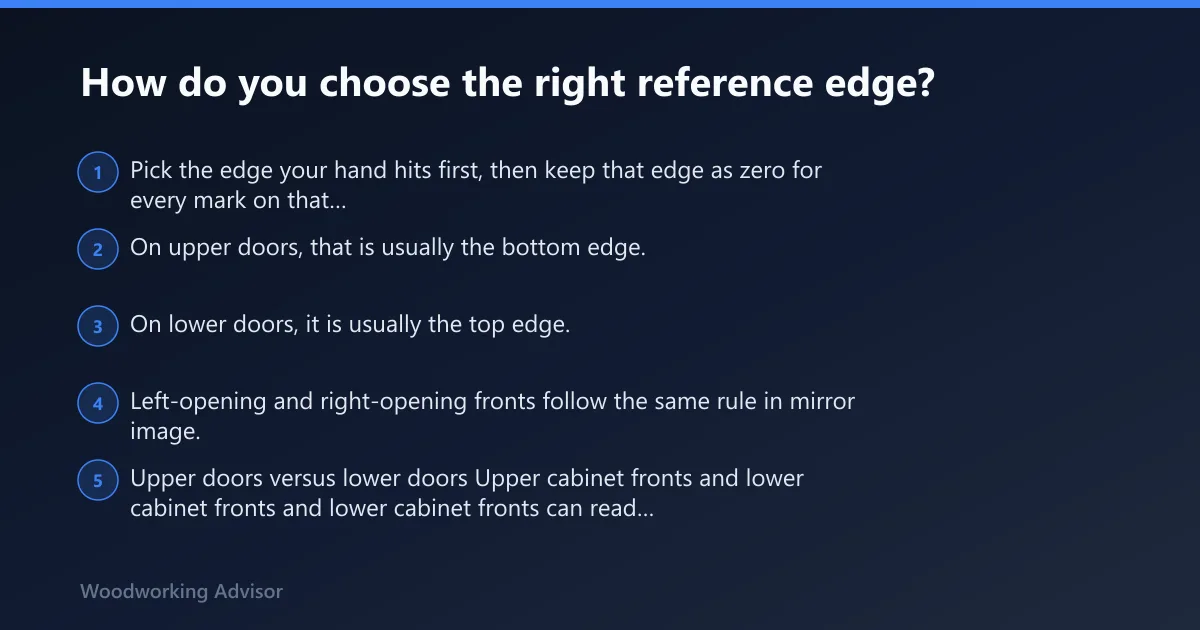


Pick the edge your hand hits first, then keep that edge as zero for every mark on that front. On upper doors, that is usually the bottom edge. On lower doors, it is usually the top edge. Left-opening and right-opening fronts follow the same rule in mirror image.
Upper doors versus lower doors
Upper cabinet fronts and lower cabinet fronts can read differently on the wall. Upper doors usually take hardware in the lower corner, while lower doors usually take hardware in the upper corner. That keeps the grip close to the hand path and cuts down on bent wrists.
Left-opening versus right-opening fronts
For a door, use the opening side, not the hinge side, as the reference edge. On a left-opening front, measure from the left edge; on a right-opening front, measure from the right edge. That keeps the pull where the hand naturally lands and avoids crowding the hinge side.
Face-frame, inset, and full-overlay differences
Face-frame cabinets can shift the usable mark point because the stile and rail sit in front of the opening. Inset doors need extra care because the door sits inside the frame. Full-overlay fronts often show more panel area, but the pull still needs clear room from the edge and from nearby parts.
Cabinet pull placement rules by cabinet type
Door hardware and drawer hardware follow different placement logic. Doors are read from the opening edge and corner orientation. Drawers are read from the center, unless the width is large enough to call for two handles. That split keeps the layout clean across a full cabinet run without repeating bad marks from one front to the next.
Upper cabinet doors
Upper cabinet knobs are placed in the top corner roughly 2.5 inches down and in. For pulls, the same corner logic applies, but the hardware stays oriented so the grip line follows the opening edge. On narrow fronts, the stile and rail can force the mark inward.
Lower cabinet doors
Lower cabinet knobs are mirrored at the bottom corner. Pulls on lower doors usually sit near the upper corner, again measured from the opening edge. That keeps the mark out of the toe-kick zone and gives the hand a natural pull point without scraping nearby trim.
Drawer fronts
Drawer fronts use center placement as the starting rule. A small drawer often takes one centered piece of hardware, while wider drawers may need two handles for balance and reach. The calculator gives exact mounting positions based on door dimensions and keeps the layout symmetrical.
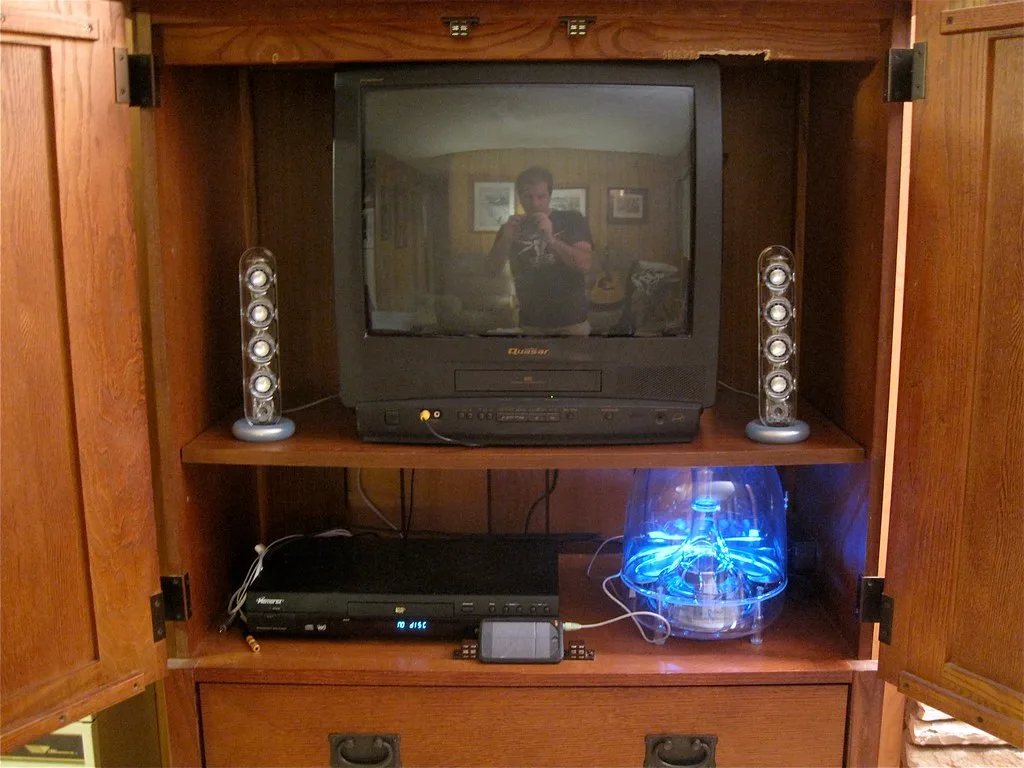
How far from the edge should cabinet pulls and knobs be?
For most doors, pulls and knobs usually sit a few inches from the relevant edge. Upper door knobs often land about 2.5 inches down and in, while lower door knobs mirror that at the opposite corner. Narrow stiles, rails, or a thick face frame can force the mark slightly inward.
Typical knob inset for upper and lower doors
Knobs are single-hole hardware, so the mark is the center of that one hole. On upper doors, place the knob in the top corner; on lower doors, place it in the bottom corner. The common 2.5 to 3 inch offset gives room for fingers and clears most edge profiles.
Typical pull inset for standard doors
Pulls should be placed 2 to 3 inches from the top edge on doors and drawer fronts. That general rule works well when the front has enough solid material around the hole line. The exact mark still depends on the opening edge, overlay style, and hardware size.
When narrow stiles or rails change the mark
If the stile or rail is too narrow, the standard offset can put the hole too close to the edge or into a profile transition. That is where the first-hole reference matters. Shift the mark only enough to keep the screw in solid material and the hand clear of the frame.
How do you calculate cabinet pull hole spacing?
Center-to-center spacing is measured from hole center to hole center, not from one outer end of the pull to the other. That is the number that matters for drilling. Pull length and hole spacing are not the same thing, so the template or product sheet must be checked before boring any holes.
Common pull sizes from 3 to 8 inches
Pull length options include 3, 4, 5, 6, and 8 inches. Those lengths describe the handle body, but the hole spacing may be shorter or different, depending on the maker. A pull sold as 6-inch may not have 6 inches between screws, so check the template and do not assume the labeled size matches the screw spacing.
Checking the maker’s template before drilling
Manufacturer template verification should happen before the first bit touches wood. Some handles need a single centered hole line, while two-hole handles use center-to-center hole spacing. When the template conflicts with a rule of thumb, the template wins because it matches the actual hardware.
Proof asset: reference-edge decision table for drill marks
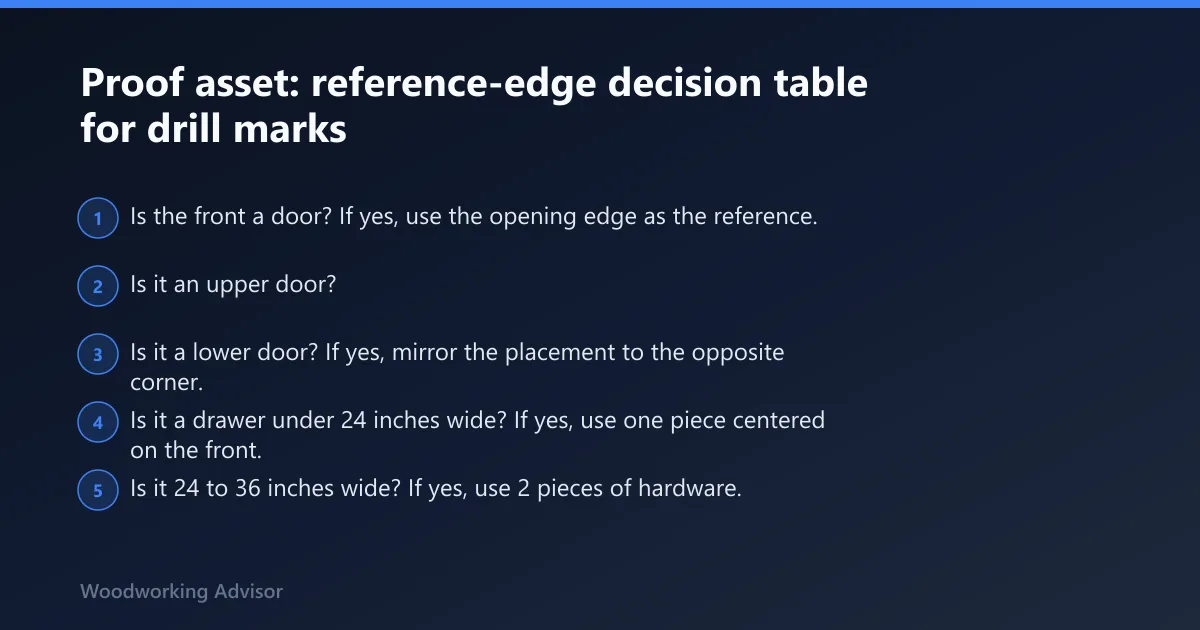
This decision table turns the layout into a simple yes/no path. Start with the cabinet type, then choose the opening edge, then pick the hardware count. That sequence helps avoid compound measuring errors and keeps the first mark in the right place.
| Front type | Use this reference edge | Knob or pull? | First mark rule | Hardware count |
|---|---|---|---|---|
| Upper door | Bottom edge or opening side | Knob or pull | Place near the top corner of the opening side | 1 piece |
| Lower door | Top edge or opening side | Knob or pull | Place near the upper corner of the opening side | 1 piece |
| Drawer under 24 inches wide | Center of drawer front | Knob or pull | Dead center on X and Y for knobs; centered pull for handles | 1 piece |
| Drawer 24 to 36 inches wide | Center of drawer front | Pulls preferred for reach | Center the layout and confirm equal spacing | 2 pieces |
| Wide drawer beyond the standard range | Centerline of the front | Pulls or dual pulls | Check whether one pull feels awkward before choosing two | 1 or 2 pieces |
Yes/no path to the right drill marks
- Is the front a door? If yes, use the opening edge as the reference.
- Is it an upper door? If yes, place hardware in the lower or top-corner logic that matches the opening edge.
- Is it a lower door? If yes, mirror the placement to the opposite corner.
- Is it a drawer under 24 inches wide? If yes, use one piece centered on the front.
- Is it 24 to 36 inches wide? If yes, use 2 pieces of hardware.
- Is the drawer extra-wide? If yes, decide between one centered pull and two pulls based on reach and balance.
How do you place hardware on wide drawers?
Wide drawers are centered first, then split into one-pull or two-pull layouts depending on reach and balance. If a single center pull feels awkward to grab, two handles may read better and pull more evenly. Keep the spacing equal from the centerline.
One pull on a wide drawer
A single pull on a wide drawer stays on the centerline, which keeps the front visually calm and simple to drill. That works best when the drawer is not too wide for a one-hand reach. The mark is still measured from the true center, not from a side edge.
Two pulls on an extra-wide front
Two-pull layouts are useful when one handle would sit too far from one hand’s natural reach. Place each pull symmetrically around the centerline and confirm equal spacing before drilling. This avoids a lopsided look and gives both hands the same access.
Finding dead-center without compounding errors
Measure the drawer front once, mark the midpoint, then work outward from that midpoint. Do not remeasure from the edges for each handle. That habit compounds tiny errors and creates a layout that looks slightly off even when each individual number seemed right.
Template, jig, or tape: what should you use before drilling?
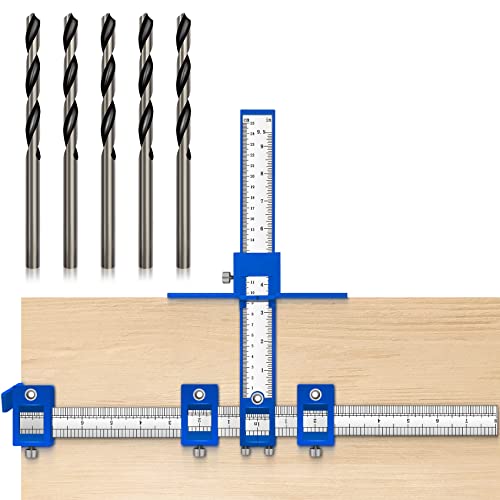
A drill template or jig is the best way to repeat marks across a run of cabinets. Painter’s tape mockups help confirm the first hole before drilling, especially on painted or finished fronts. The goal is to verify the first mark, then repeat it cleanly.
First-hole reference method
Set the first hole from the correct reference edge, then use that hole location to guide the rest of the run. This method reduces remeasuring and keeps the same offset across all matching doors or drawers. It also helps if the cabinet style changes halfway through the job.
Painter’s tape mockup
Painters tape gives a quick visual check before the bit goes in. Lay the template on the tape, mark the hole centers, and open and close the front once to confirm hand clearance. If the grip feels wrong, adjust the tape, not the wood.
Repeatability across a cabinet run
Cabinet hardware looks best when every matching front reads the same way. A template or jig keeps hole height, edge inset, and spacing consistent from one door to the next. That matters more than a perfectly measured single door if the full run needs to line up.
What is the difference between pull placement on doors and drawers?
Doors are placed from the opening edge and corner orientation. Drawers are centered first, then adjusted only if the drawer is wide enough to justify two handles. That difference matters because a door swings, while a drawer slides straight out and asks for a different hand path.
Doors: edge-driven placement
On doors, the opening edge controls the layout. The goal is to keep the hand near the side that moves first, with enough inset to clear the edge profile. Left-opening and right-opening fronts mirror each other, so the mark changes with the swing direction.
Drawers: center-driven placement
On drawers, the centerline is the starting point. The handle usually sits centered on the front, and knobs on one calculator are centered on both X and Y axes. That gives a balanced look and helps the drawer open evenly.
Frequently asked questions
Where should cabinet pulls be placed?
Cabinet pulls should be placed from the opening edge on doors and from the center on drawers. On most doors, the hole center sits about 2 to 3 inches from the relevant edge. On drawers, the pull is usually centered unless the drawer is wide enough to justify two handles.
How far from the edge should cabinet pulls be?
For standard doors and drawer fronts, a common starting point is 2 to 3 inches from the edge. That gives enough room for fingers and keeps the hole away from the very corner. Narrow stiles, rails, or inset frames can push the mark slightly inward.
How high should cabinet pulls be on cabinet doors?
On upper doors, place the pull near the lower side of the door opening logic, and on lower doors place it near the upper side. Upper cabinet knobs are placed in the top corner roughly 2.5 inches down and in, while wall cabinet knobs are mirrored at the bottom corner.
How do I calculate cabinet pull hole spacing?
Use center-to-center spacing, which means the distance from one hole center to the other hole center. Do not confuse that with overall pull length. Pull length options include 3, 4, 5, 6, and 8 inches, but the maker’s template is the number that controls drilling.
Should cabinet knobs go on the top or bottom corner?
Upper cabinet knobs usually go in the top corner, and lower cabinet knobs go in the opposite corner so the hand meets the hardware naturally. Wall cabinet knobs are mirrored at the bottom corner. That keeps the layout consistent and avoids awkward reach paths.
Are drawer pulls centered on the drawer front?
Yes, drawer pulls are generally centered on the front, and knobs on one calculator are centered on both X and Y axes. Drawers under 24 inches wide use 1 piece of hardware. Drawers 24 to 36 inches wide use 2 pieces of hardware, which changes the centered layout.
Sponsored / affiliate links. As an Amazon Associate I earn from qualifying purchases. I may earn additional commission from eligible campaigns.