Clear Coat Dry Film Thickness Calculator
Use a commonly used formula: wet gallons = (target dry film thickness × area ÷ solids-by-volume) ÷ 1604, then add about 15% to 30% for test boards, edges, and normal waste. Skip that allowance, and you can come up short on the last coat, miss your target film build, or buy too little finish. This guide shows how to turn dry film thickness into real finish quantities for clear coats, including solids content, wood surface area, and practical loss on real projects.
How is this calculated?
Press Calculate to see the math with your numbers.
What dry film thickness means
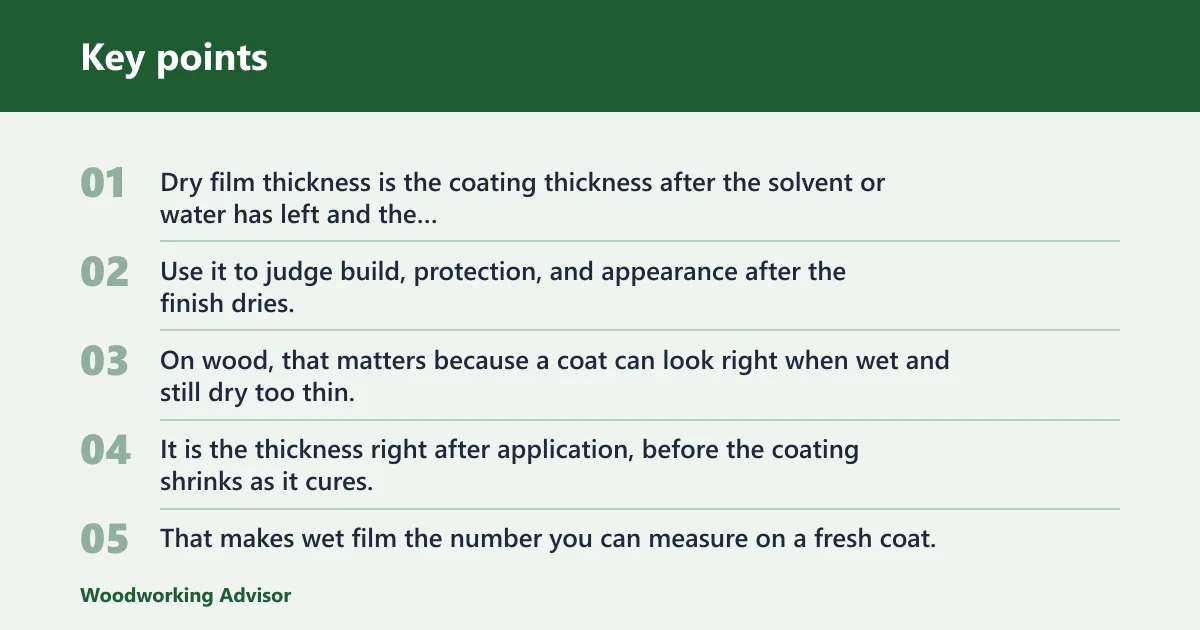


Dry film thickness is the coating thickness after the solvent or water has left and the film has cured. Use it to judge build, protection, and appearance after the finish dries. On wood, that matters because a coat can look right when wet and still dry too thin, too thick, or uneven across flats, edges, and profiles.
Wet film thickness is different. It is the thickness right after application, before the coating shrinks as it cures. That makes wet film the number you can measure on a fresh coat, while dry film is the result you are trying to predict or verify.
Dry film thickness vs wet film thickness
Wet film thickness and dry film thickness are linked, but they are not interchangeable. Wet film tells you what went on the surface. Dry film tells you what stayed behind. For clear coat on wood, that distinction matters because end grain, profile edges, and spray loss can make the final build differ from the wet reading.
Why DFT matters on wood
Too little dry film can leave a finish short on protection, wear resistance, or sheen uniformity. Too much can blur grain, trap solvents, slow cure, or create runs and witness lines along edges. Clear coats on wood need enough build to protect the surface, but not so much that the film looks heavy or hides detail.
Common thickness units
Mils and microns are the common units for both calculator inputs and inspection. Keep the units consistent from start to finish. If a product sheet gives microns and your calculator expects mils, convert before you calculate. Mixed units are one of the easiest ways to get a wrong result.
One mil equals 0.001 inch. Microns are a metric unit. Some tools also accept millimetres, but the rule stays the same: use one unit system throughout the calculation, then measure the cured film with the same unit family.
Convert wet film to dry film by multiplying the wet film thickness by the coating’s volume solids fraction. That fraction comes from the technical data sheet, not from the product name. If the finish has about 50% volume solids, a 4-mil wet coat should dry to about 2 mils, assuming even application and normal cure.
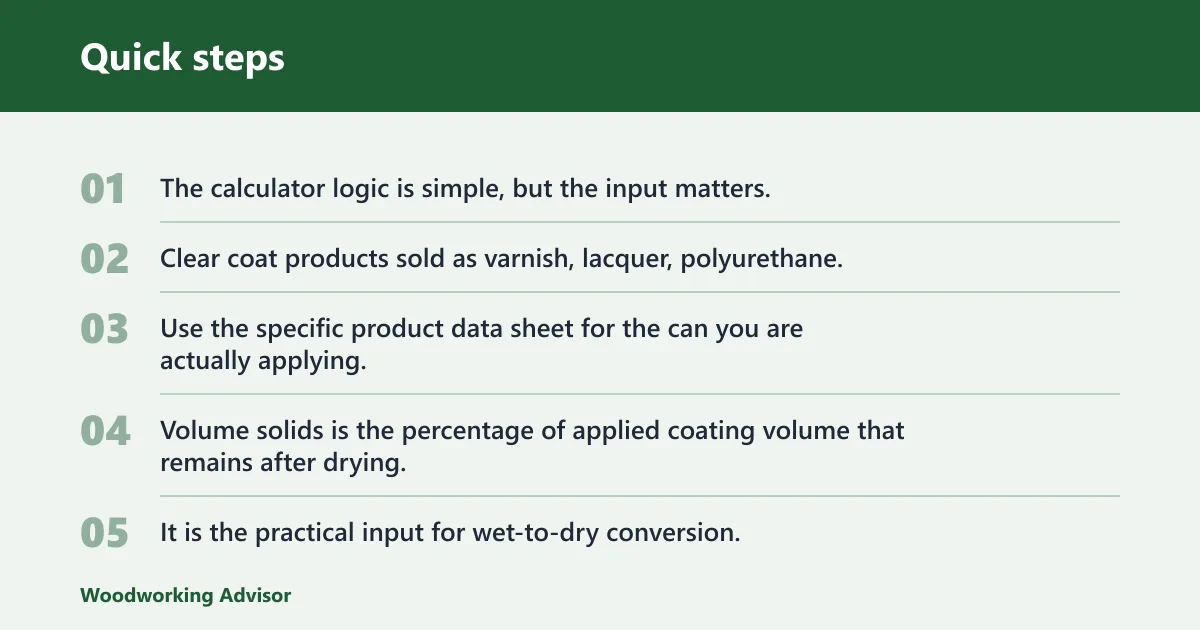
The calculator logic is simple, but the input matters. Clear coat products sold as varnish, lacquer, polyurethane, or conversion varnish can have different solids content and different target builds. Use the specific product data sheet for the can you are actually applying.
Use volume solids from the TDS
Volume solids is the percentage of applied coating volume that remains after drying. It is the practical input for wet-to-dry conversion. Some calculators call it solids content, and many technical data sheets list it directly. If a sheet gives only weight percent solids, do not substitute it unless the calculator specifically asks for weight solids.
CalcSpec notes that DFT is estimated from wet film thickness and volume solids, and it supports Imperial and metric units. It also lists epoxy at 65% volume solids in its presets. That is a useful reminder that product family matters, but the finish data sheet still beats a generic preset.
Basic WFT-to-DFT formula
Use this formula:
DFT = WFT × volume solids
Keep the units matched. If WFT is in mils, DFT will be in mils. If WFT is in microns, DFT will be in microns.
Sample calculation
Suppose a clear polyurethane has 40% volume solids on its TDS, and you apply 5 mils wet on a flat test board. The estimated dry film thickness is 2 mils. The same math works in microns: 125 microns wet at 40% solids gives 50 microns dry.
That is an estimate, not a field acceptance check. Spray pattern, brushing loss, and edge buildup can move the actual dry film above or below the calculator output.
Which solids content should you enter?
Use the volume solids value from the product’s technical data sheet. Do not guess from the label, sheen name, or product family alone. The right number is the one tied to the exact finish you are applying, because two clear coats sold in the same category can have different solids and different coverage.
Sunshine Supply says its calculator estimates material based on film thickness and solids content, supports both wet and dry mil inputs, and recommends rounding up to the nearest gallon. That matches the practical workflow: read the TDS, enter the coating’s solids, then add a real allowance for loss.
Finding volume solids on the data sheet
Look for “volume solids,” “solids by volume,” or “nonvolatile volume.” If the sheet lists a range, use the specific value shown for that product. If the sheet gives a solids percentage by volume and by weight, use the volume figure for dry film math.
- Open the technical data sheet for the exact clear coat.
- Find the volume solids percentage.
- Convert the percentage to a decimal for the formula.
- Confirm the calculator is using the same thickness units you plan to measure.
- Enter the square footage for the actual project, not the room or shop footprint.
Why product labels are not enough
Labels often name the coating type and sheen, but not the field-ready solids value you need for calculation. A satin lacquer and a gloss lacquer may not carry the same solids. A conversion varnish and a brushing varnish may also behave differently on wood. The TDS gives the usable number.
When to check multiple clear coat types
If you are comparing finishes for a project, compare the data sheets side by side. A lower-solids lacquer may need more coats to reach the same build as a higher-solids polyurethane. For a tabletop, that can affect drying time, sanding between coats, and the total amount of finish you need to buy.
Clear coat planning table
This table shows how to source solids from a data sheet, how to estimate DFT from WFT, and how to budget extra material for small woodworking jobs. The allowance column is for planning, not for acceptance. It accounts for test boards, edge loss, small containers, and touch-up.
| Clear coat type | Typical TDS source for volume solids | Sample WFT to DFT calculation | Small-job material allowance |
|---|---|---|---|
| Brushing varnish | Find “volume solids” on the finish data sheet | 4 mil WFT × 0.45 solids = 1.8 mil DFT | Panels: add 15% |
| Lacquer | Use the product-specific TDS, not the general label | 3 mil WFT × 0.35 solids = 1.05 mil DFT | Doors: add 20% |
| Polyurethane | Use the manufacturer’s solids by volume figure | 5 mil WFT × 0.50 solids = 2.5 mil DFT | Trim: add 25% |
| Conversion varnish | Check the TDS for the mixed product, if applicable | 4 mil WFT × 0.55 solids = 2.2 mil DFT | Tabletops: add about 30% |
Use the allowance column as a planning floor, not a ceiling. Small jobs waste more finish per square foot because containers, gun cups, brush holdout, and setup loss take a bigger share of the total.
How much clear coat do you need?
Start with theoretical coverage, then reduce it for application losses. Theoretical coverage is the best-case quantity based on ideal transfer and no waste. Practical coverage is lower because of overspray, brush loss, edge buildup, test boards, and cleanup. For wood finishing, practical planning is the number that keeps you from running short.
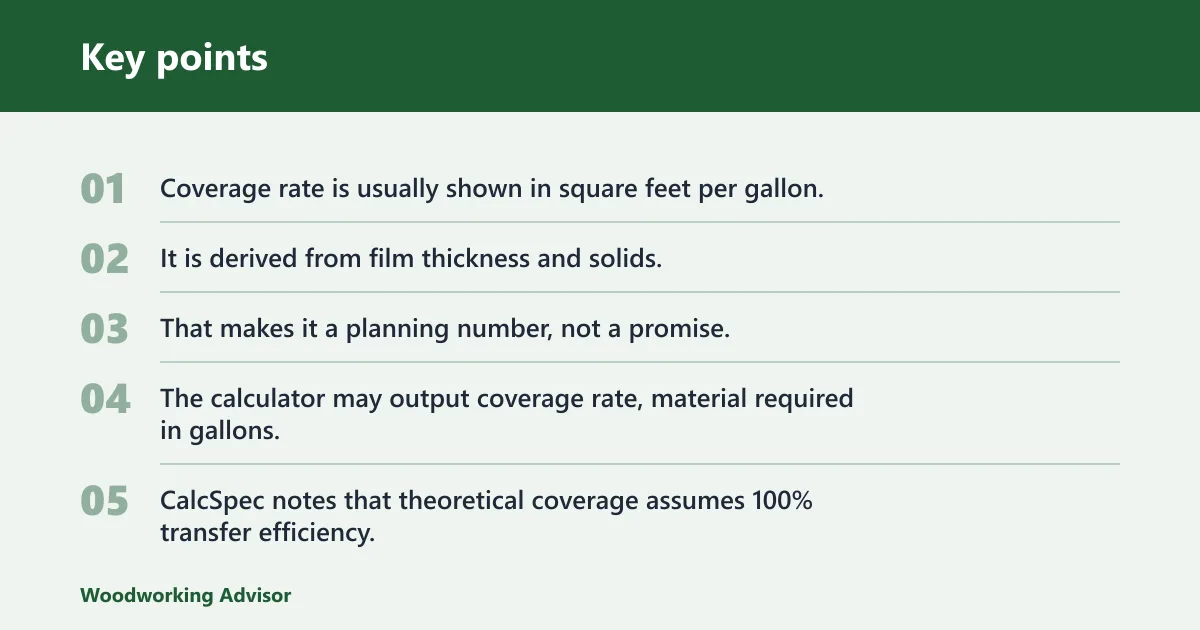
Coverage rate is usually shown in square feet per gallon. It is derived from film thickness and solids. That makes it a planning number, not a promise. The calculator may output coverage rate, material required in gallons, and the wet-to-dry ratio, but you still need to adjust for the way the finish is applied.
Theoretical coverage rate
The same source notes that theoretical coverage assumes 100% transfer efficiency. That is the clean math case. It tells you how far a gallon can go at a given film build if every drop lands and stays on the work. Real woodworking almost never runs that cleanly.
Practical coverage after application losses
Application efficiency is the part that lowers the theoretical number to a usable one. Brushing usually wastes less than spraying, but it can leave more variation on edges and profiles. Spraying can produce a finer finish on large panels, yet overspray and setup loss often lower practical coverage.
A common first-timer mistake is planning a cabinet door job from square footage alone and forgetting the extra finish lost on the stile edges, hinge mortises, and a test board. That small omission can matter on a last coat, when the can is nearly empty and you still need one more pass.
Rounding up for waste and touch-up
Round up after you calculate the base quantity. For small projects, about 15% to 30% is a practical planning band for test boards, edges, and normal waste. If the project has many parts, profiles, or end grain, use the higher end of that range. The same source recommends rounding up to the nearest gallon, which fits this approach.
Say your project is a 48-square-foot tabletop and you need three coats. The calculator may show a clean theoretical gallon count, but the real purchase should cover the test panel, sanding loss between coats, and a little left for touch-up after assembly.
Why calculator output can differ from the finish on wood
Wood is not a flat steel panel. Edges, end grain, grooves, raised panels, and open grain can all pull finish away from flat coverage math. The calculator gives you a planning estimate. The cured film on the workpiece can still vary because wood absorbs, pools, and releases finish differently across the part.
That gap is normal. It is also why field checks matter more than the formula when you need a confirmed build. A field thickness gauge is for cured coating measurement. A wet-film comb is for fresh application checks. They answer different questions.
Edges, profiles, and end grain
Edges often build thicker because finish pools there. End grain can do the opposite and drink in more material. Profiles and grooves can hide thin spots until the coating cures. If the part has a lot of detail, plan extra material and measure several locations instead of trusting one flat area.
Leveling, sags, and nibs
Too much wet film can sag before it cures. Too little can leave nibs, dry spray, or a rough surface that needs more sanding. A finish that flows well on a flat panel may still leave a heavy edge or a thin ridge beside a profile. The same formula does not control every surface condition.
Test boards and cured-film checks
Measure wet film on a test board with a wet-film comb right after application. Then verify the cured film with a field thickness gauge on flat areas, edges, and profiles after the coat has dried. SSPC-PA 2, ASTM D7091, and ISO 19840 are commonly used field inspection standards, so use them for measurement practice rather than calculator output.
Suppose a cabinet side reads 4 mils wet on the flat but only 2 mils near a routed edge. That difference can happen because the edge holds more finish at first, then levels and shrinks differently as it cures. The calculator still helped, but the gauge tells you where the film ended up.
Frequently asked questions
How do you calculate dry film thickness?
Multiply wet film thickness by volume solids. If a finish reads 6 mils wet and the TDS lists 50% volume solids, the estimated dry film thickness is 3 mils. Keep the units consistent, and remember that this is a planning estimate, not a cured-film acceptance check.
How do you measure dry film thickness?
Use a field thickness gauge on the cured coating. Magnetic or electronic gauges are used for DFT checks on flat areas, edges, and profiles, depending on the surface and standard in use. For wood finish work, measure after cure, not right after application, and compare several spots.
What is dry film thickness?
Dry film thickness is the thickness of the coating after it has cured and the volatile portion has left the film. It is the number used to judge build, coverage, and protection on the finished wood surface. It is different from the wet thickness you apply.
What is the difference between wet film thickness and dry film thickness?
Wet film thickness is the immediate thickness after application. Dry film thickness is what remains after cure. The wet number is the input you can measure fresh with a comb; the dry number is the final build you verify with a gauge or estimate from volume solids.
What volume solids should I use in the formula?
Use the volume solids listed on the exact product’s technical data sheet. Do not rely on the product name alone. If the sheet gives a range or multiple values, use the number tied to the product mix you are actually applying, because different clear coats can vary a lot.
How much clear coat do you need for a given square footage?
Calculate from target dry film thickness, area, and volume solids, then add waste for test boards, edges, profiles, and touch-up. Theoretical coverage may look generous, but practical coverage is lower. For small woodworking jobs, rounding up is usually the safer buy.
Sponsored / affiliate links. As an Amazon Associate I earn from qualifying purchases. I may earn additional commission from eligible campaigns.