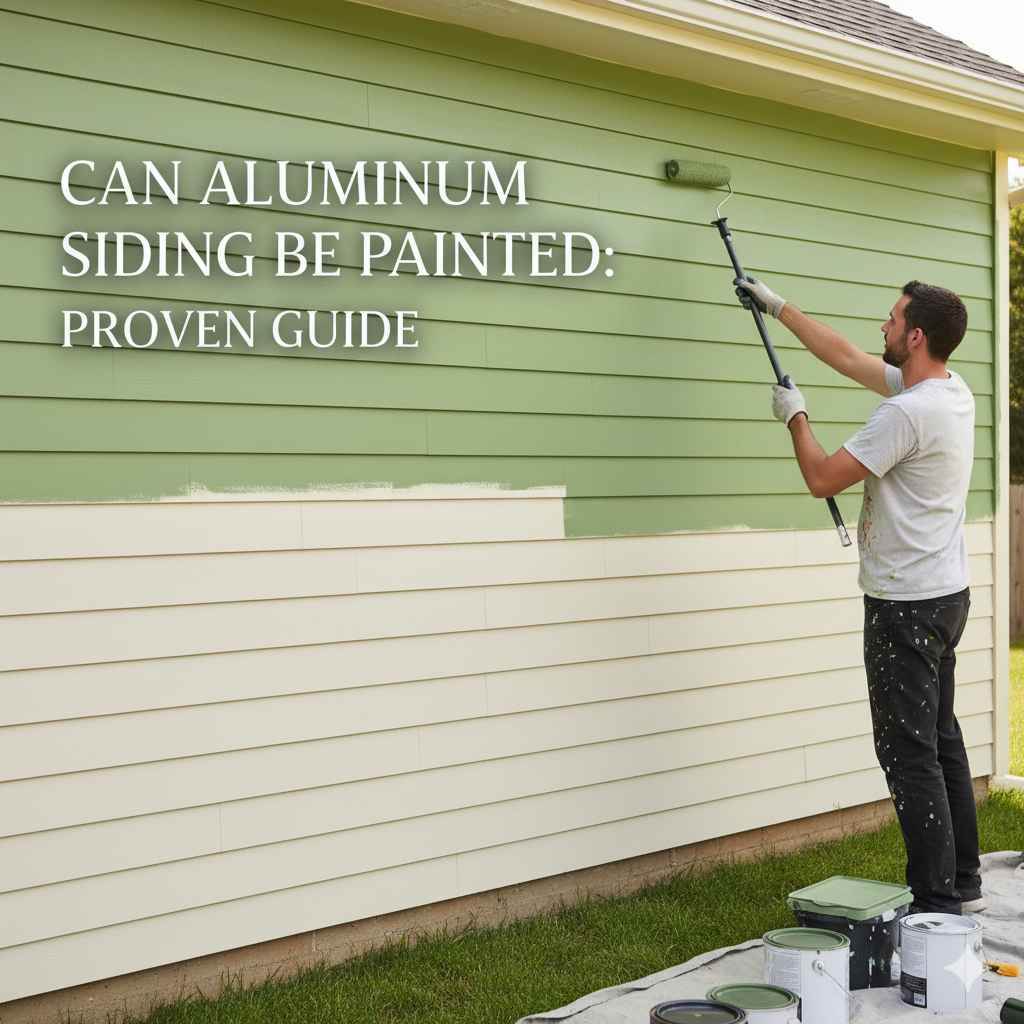
Can Aluminum Siding Be Painted: Proven Guide
Yes, aluminum siding can absolutely be painted! With the right preparation and materials, including a quality primer and exterior paint, you can refresh your home’s look, cover up faded or damaged sections, and even achieve a brand-new color, all while extending the life of your siding. This guide will walk you through everything you need to know to get beautiful, lasting results.
Is your aluminum siding looking a little tired? Maybe it’s faded from the sun, showing some scratches, or you’re simply ready for a fresh new look for your home. You might be wondering if painting aluminum siding is even an option, or if it’s a project best left to the professionals. As your go-to woodworking mentor and DIY enthusiast, I’m here to tell you that painting aluminum siding is indeed a very achievable project for homeowners like you! It’s a fantastic way to boost your home’s curb appeal without the hefty cost of replacing the siding. We’ll walk through each step together, from understanding why painting works to the actual hands-on process. Get ready to transform your home’s exterior with confidence!
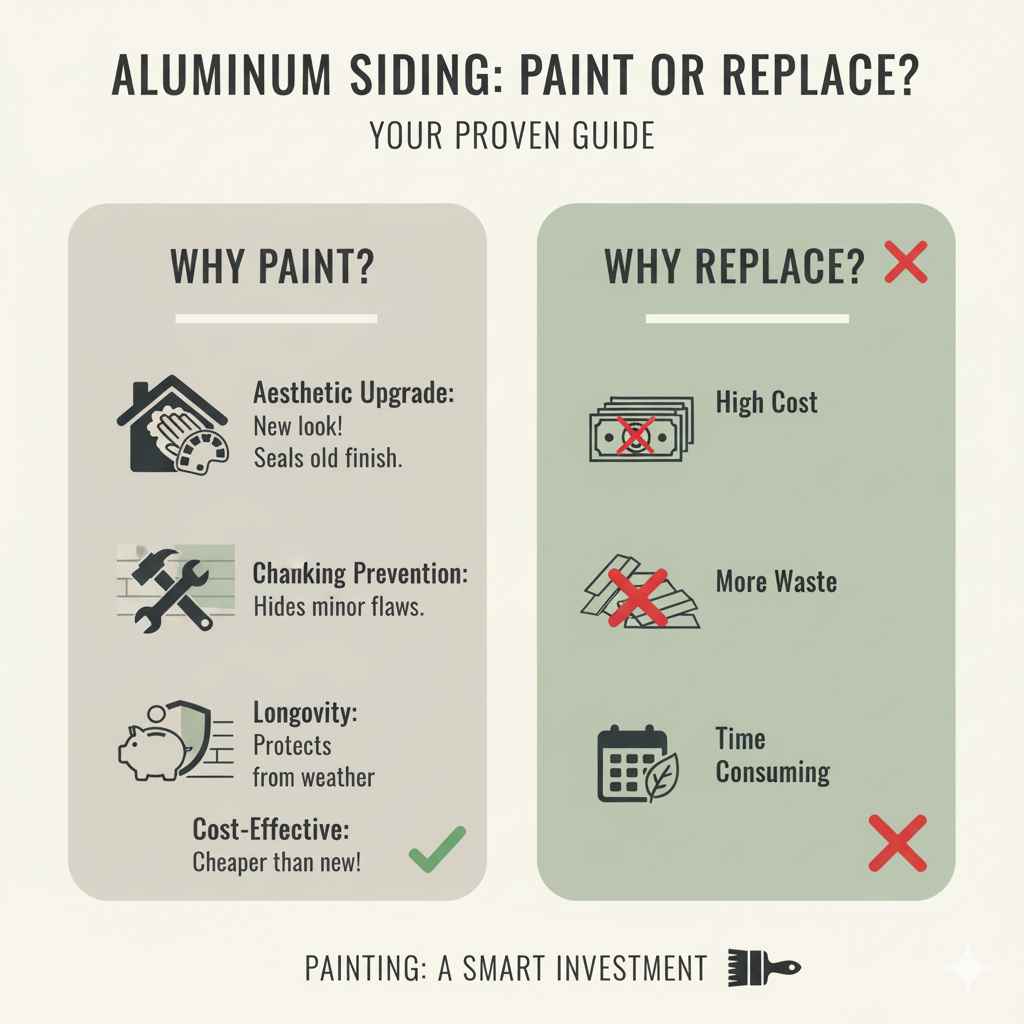
Why Paint Aluminum Siding?
Aluminum siding was a popular choice for homes for many years, known for its durability and low maintenance. However, over time, its original factory finish can wear down, fade, chalk, or become scratched. Painting offers a powerful solution:
- Aesthetic Upgrade: Completely change your home’s color scheme to match current trends or your personal style. It’s like giving your house a brand-new outfit!
- Chalking Prevention: The original finish can degrade and “chalk,” leaving white residue on surfaces it comes into contact with. Painting seals this in and stops it from happening.
- Damage Repair: Small scratches and dents can be less noticeable once painted.
- Longevity: A fresh coat of paint can help protect the aluminum from further weathering, potentially extending the life of your siding.
- Cost-Effective: Painting is significantly cheaper than replacing an entire siding system.
Can ALL Aluminum Siding Be Painted?
Generally, yes! Most aluminum siding can be painted. However, certain conditions might make it more challenging or less advisable. The key is the condition of the existing paint or finish. If the siding is severely corroded, has extensive rust (which, while rare for actual aluminum, can occur if steel fasteners are used and corrode through), or if the existing paint is flaking off in large patches, you may have a more difficult job ahead. For most typical fading or chalking, painting is a great solution. Always do a small test patch in an inconspicuous area if you’re unsure.
Choosing the Right Paint and Primer
This is arguably the most crucial step. Using the wrong products can lead to peeling, chipping, and a finish that doesn’t last. You need products specifically designed for exterior use and suitable for metal.
What Kind of Primer?
A high-quality exterior-grade metal primer is essential. It acts as a binder, helping the paint adhere strongly to the aluminum surface and preventing future peeling. Look for primers that are:
- Direct-to-Metal (DTM): Some primers are formulated to adhere directly to metal surfaces.
- Rust-Inhibitive: Even if you don’t see rust, this adds an extra layer of protection.
- Flexible: Aluminum expands and contracts with temperature changes, so a primer that can flex is beneficial.
Popular choices include acrylic latex primers designed for metal. Avoid oil-based primers unless the siding has a very specific, old oil-based finish, as they can sometimes react poorly with the existing surface. Always check the primer’s manufacturer recommendations.
What Kind of Paint?
For the topcoat, you’ll want a premium exterior-grade paint with good adhesion and durability. The best options are typically:
- 100% Acrylic Latex Paint: This is the most recommended type. It’s flexible, durable, breathable, and adheres well to properly primed surfaces. It also handles temperature fluctuations better than older oil-based paints.
- Mineral House Paint: Some homeowners opt for mineral-based paints, which offer excellent durability and a natural finish, though they can be more expensive and harder to find.
Crucial Note: Never use chalky, flat-finish house paints. They won’t adhere well and will likely peel. Always opt for paints with at least a satin or semi-gloss finish for better durability and washability.
Essential Tools and Supplies
Gathering all your tools and supplies before you start will make the painting process much smoother. Here’s a list of what you’ll need:
| Category | Item | Why You Need It |
|---|---|---|
| Safety Gear | Gloves, Safety Glasses, Dust Mask/Respirator | To protect yourself from cleaning chemicals, paint fumes, and dust. |
| Cleaning Supplies | Hose with a spray nozzle, Buckets, Stiff-bristled scrub brush, Mild detergent (like TSP substitute or a dedicated house wash), Mold and mildew cleaner (if needed) | To thoroughly clean the siding and remove dirt, chalking, and any organic growth. |
| Scraping & Sanding | Putty knife or scraper, Medium-grit sandpaper (100-150 grit), Sanding block or pole sander | To remove loose paint, smooth rough spots, and create a surface for primer adhesion. |
| Repair Materials | Exterior caulk, Caulk gun | To seal gaps, cracks, and around windows/doors, preventing moisture intrusion. |
| Priming & Painting | High-quality metal primer, Exterior-grade 100% acrylic latex paint (satin or semi-gloss), Extension pole for rollers/brushes, Paint tray, Small trim brushes, High-quality paint rollers (1/2″ to 3/4″ nap) | The essential materials for applying the primer and your chosen paint color. An extension pole makes reaching high areas safer and easier. |
| Protection | Painter’s tape, Drop cloths or plastic sheeting | To protect windows, doors, trim, decks, and landscaping from paint. |
| Access | Sturdy ladder or scaffolding | SAFE access to all areas of your home’s exterior. |
The Prep Work: Your Foundation for Success
Don’t skip this part! Proper preparation is key to a long-lasting, beautiful finish on aluminum siding. Rushing through prep is the most common reason for paint failure.
Step 1: Safety First!
Before you touch anything, put on your safety gear: gloves, safety glasses, and a dust mask or respirator, especially if you’11 be doing any sanding. Always use a sturdy ladder and ensure it’s positioned on firm, level ground. If you’re working at heights, consider borrowing or renting scaffolding for improved stability and safety.
Step 2: Thorough Cleaning
Aluminum siding needs to be squeaky clean for paint to adhere. You’ll want to remove all dirt, mildew, chalking, and any other residues.
How to Clean:
- Rinse: Start by rinsing the entire house with a hose to remove loose dirt and dust.
- Prepare Solution: Mix a cleaning solution. A good option is a mild detergent (like a dedicated house wash, or a TSP substitute – Trisodium Phosphate is a strong cleaner, but its use is restricted in some areas, so a substitute is often recommended. Check local regulations.) in a bucket of water, or use a specific mold and mildew cleaner if you see any growth. Follow the manufacturer’s instructions carefully.
- Scrub: Using a soft-bristled brush or a sponge mop, scrub the siding from the bottom up. Work in small sections. A brush with an extension pole can be very helpful here.
- Rinse Again: Thoroughly rinse the siding with the hose, working from the top down. Ensure all soap residue is removed. If you used a TSP substitute or mold cleaner, rinse extremely well according to product directions.
- Inspect for Chalking: After the siding dries, rub a section with a dark cloth. If a white, powdery residue comes off, you have chalking. This needs to be removed entirely, or the paint will bubble and peel. You might need to repeat the scrubbing process or use a stronger cleaner. A dedicated “degreaser” or “chalk remover” product might be necessary.
Let the siding dry completely, which can take 24-48 hours depending on the weather. Any moisture trapped beneath the paint will cause problems later.
Step 3: Inspect and Repair
Once clean and dry, carefully inspect the siding for any:
- Loose or peeling paint: Use a putty knife or scraper to remove any areas that are not firmly attached.
- Cracks and holes: Use an exterior-grade caulk to fill small gaps, cracks, and around window/door frames. Ensure the caulk you use is paintable.
- Dents: Minor dents are usually okay and can be painted over. However, significant damage might require panel replacement.
Step 4: Light Sanding (Optional but Recommended)
For optimal adhesion, a light sanding can make a world of difference. You don’t need to remove the existing finish unless it’s severely damaged or peeling. The goal is to create a slightly roughened surface for the primer to grip onto. Use 100- to 150-grit sandpaper. You can do this by hand with a sanding block or use a pole sander attachment for your extension pole. Be sure to wear a dust mask!
Important: After sanding, you MUST clean off all the dust. A damp cloth or sponge (rinse frequently) is usually sufficient. If you don’t remove the dust, your primer won’t adhere properly.
Step 5: Masking and Protecting
This is where you protect everything you don’t want to paint. Use painter’s tape along window frames, door trim, light fixtures, shutters, and any other architectural details you want to keep clean. Lay down drop cloths or plastic sheeting to protect your lawn, walkways, and any surrounding decks or patios. Trim those bushes back from the house if they’re in the way!
Applying the Primer
Now for the first layer of new color – the primer! Applying primer correctly is just as important as painting.
How to Prime:
- Stir Well: Make sure the primer is thoroughly mixed. Never shake a can of paint or primer, as this can create air bubbles.
- Start with Cut-in Areas: Use a quality brush to “cut in” along all the taped edges, corners, and any areas a roller can’t reach.
- Roll the Siding: Load a roller (with a 1/2″ to 3/4″ nap for textured surfaces) with primer and apply it evenly. Use an extension pole to work efficiently from top to bottom. Overlap your roller marks slightly to ensure full coverage.
- Maintain a Wet Edge: Always work from one end of a wall to the other, overlapping your strokes to maintain a “wet edge.” This prevents roller marks and ensures a uniform finish.
- Second Coat (If Necessary): Some very faded or chalky surfaces might benefit from a second coat of primer for best results. Check the primer manufacturer’s recommendations.
- Dry Time: Allow the primer to dry completely according to the manufacturer’s instructions. This is crucial – don’t rush this step! Skipping drying time often leads to adhesion issues.
Painting the Aluminum Siding
With the primer dry and the surface ready, it’s time for the main event: your new paint color!
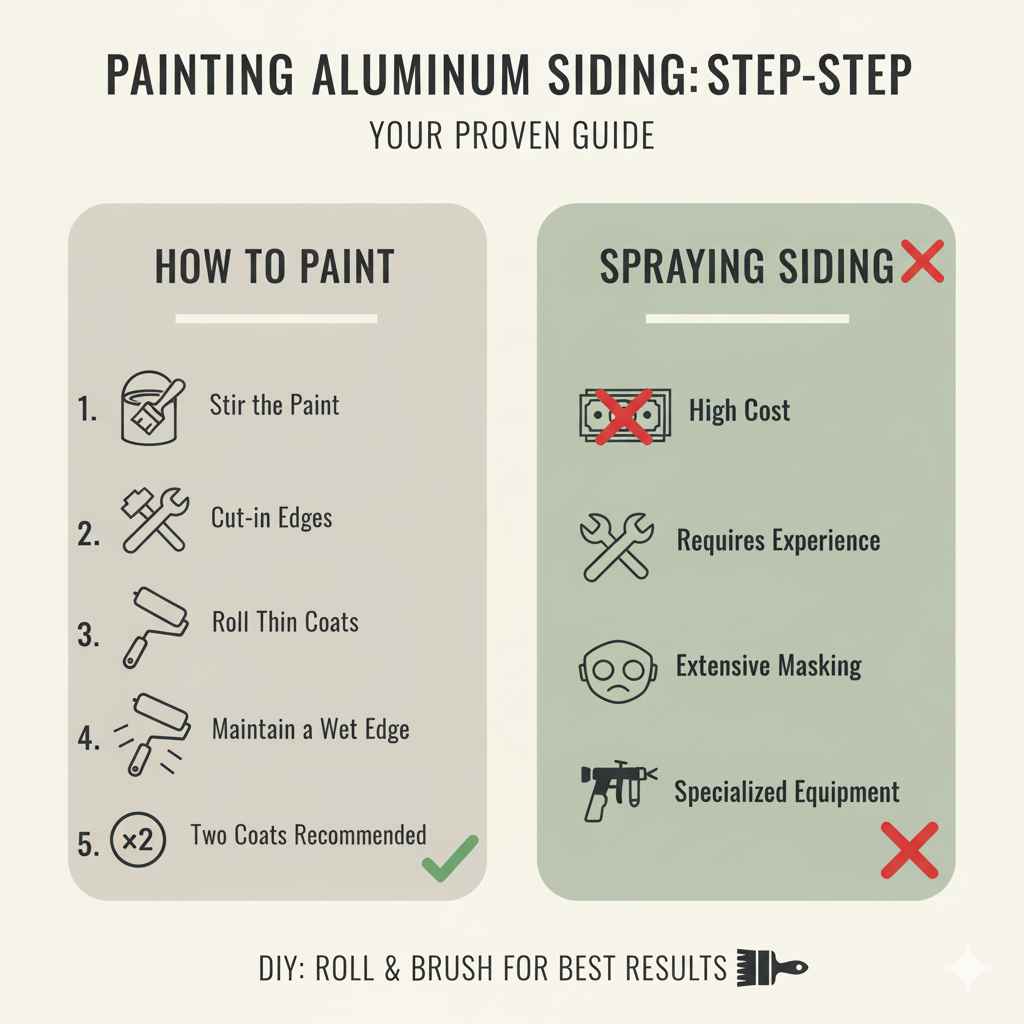
How to Paint:
- Stir the Paint: Thoroughly stir your paint.
- Start with Cut-in Areas: Just like with the primer, use a brush to paint along all the edges, corners, and trim areas.
- Roll the Siding: Apply the paint with your roller, using the extension pole. Apply thin, even coats. This approach is far better than trying to cover everything with one thick, gloppy coat.
- Maintain a Wet Edge: Again, work from one end to the other, overlapping your strokes to create a seamless finish and avoid lap marks.
- Two Coats Recommended: For the best coverage, durability, and color richness, two thin coats of paint are almost always recommended.
- Allow Drying Time: Let the first coat dry completely according to the paint can’s instructions before applying the second coat.
Spraying Aluminum Siding: While spraying can offer a very smooth finish, it requires significant experience, masking, and specialized equipment. For most DIYers, rolling and brushing are the most manageable and effective methods for aluminum siding.
Tips for a Professional Finish
Work in Consistent Weather: Aim for dry, mild days. Avoid painting in direct sun, excessive heat, high winds, or when rain is expected. Ideal temperatures are usually between 50°F and 80°F (10°C and 27°C).
Check Manufacturer Guidelines: Always refer to the specific instructions provided by the primer and paint manufacturers for drying times, recoat windows, and application methods.
Inspect Joints and Seams: Pay close attention to overlap areas and seams where water can penetrate. Ensure these are properly sealed and painted.
Don’t Forget the Undersides: If your eaves or soffits are also aluminum, don’t neglect them!
When to Consider Professional Help
While painting aluminum siding is a DIY-friendly project, there are times when calling in the pros makes sense:
- Extensive Damage: If your siding has significant corrosion, rust, or large areas of severe damage, a professional might be able to assess if repair or replacement is more cost-effective in the long run.
- Height and Accessibility: For very tall homes or complex architectural features, the safety risks and equipment required might be beyond a typical DIYer’s comfort level.
- Time Constraints: If you have limited time and a large home, hiring a professional painting crew can get the job done much faster.
- Desire for a Spray Finish: If you’re set on a factory-smooth finish achieved through spraying, a professional painter is your best bet.
Frequently Asked Questions About Painting Aluminum Siding
Q1: How long does painted aluminum siding last?
With proper preparation, quality primer, and good exterior paint, a well-painted aluminum siding job can last anywhere from 10 to 20 years. Regular cleaning and minor touch-ups can extend its lifespan even further.