Can I Paint Aluminum Siding: A Proven, Essential Guide
Yes, you can absolutely paint aluminum siding! With proper surface preparation—thorough cleaning, scuff sanding, and a quality metal primer—a fresh coat of 100% acrylic latex paint will adhere beautifully. This project is a cost-effective way to boost your home’s curb appeal and extend the life of your siding for many years to come.
Does your home’s aluminum siding look a little tired? Maybe it’s faded from the sun or has that chalky film that gets on your clothes. You might think your only option is an expensive replacement. But I’m here to tell you there’s a much simpler, more affordable way to make your house look brand new again.
Painting aluminum siding is one of the most rewarding DIY projects a homeowner can tackle. It instantly transforms your home and protects your investment. Don’t worry if you’ve never done it before. I’m going to walk you through every single step, from prep to the final coat, making it easy and achievable. Let’s get started!
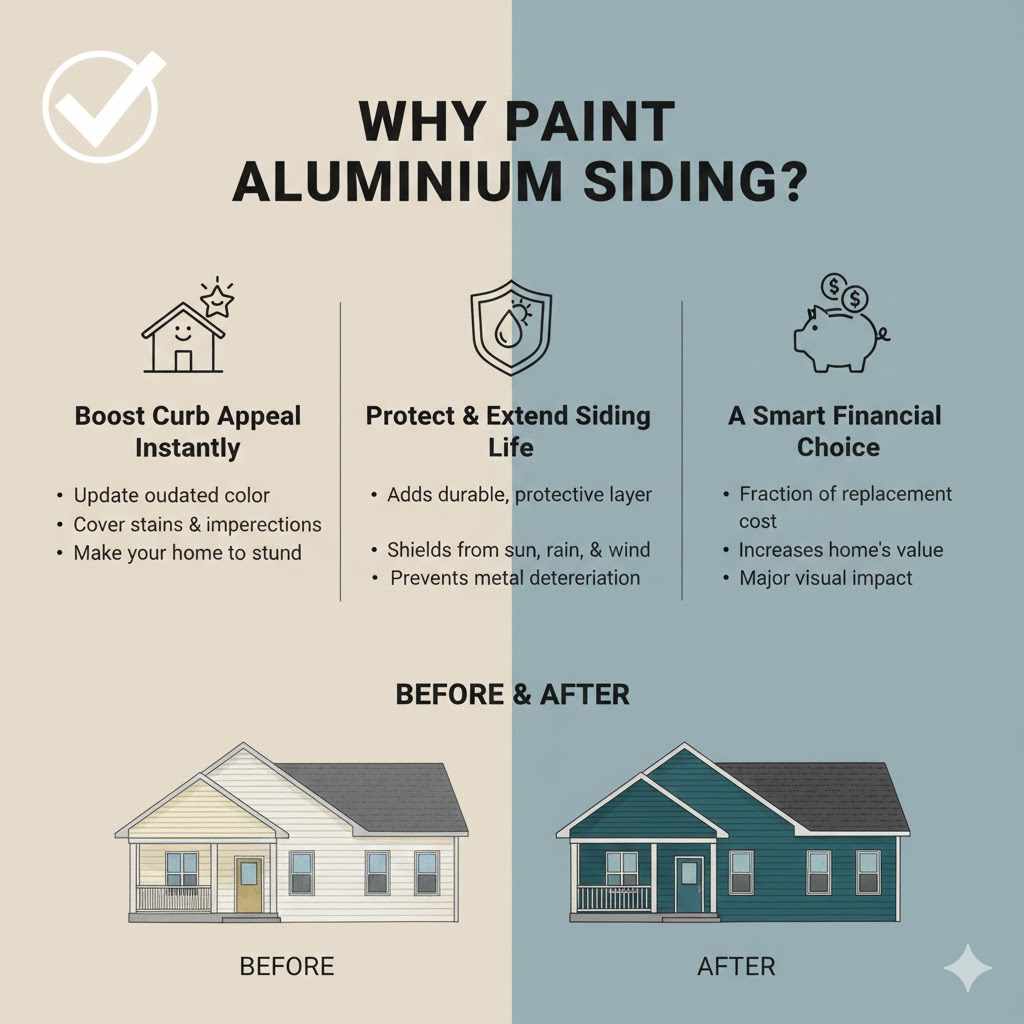
Why Should You Consider Painting Your Aluminum Siding?
Before we grab our brushes, let’s talk about why this is such a great idea. It’s not just about looks; it’s a smart homeowner move. A professional paint job can save you thousands of dollars compared to the cost of new siding, making it a budget-friendly renovation with a huge impact.
- Boost Curb Appeal Instantly: Nothing changes a home’s appearance faster than a fresh coat of paint. You can update an outdated color, cover stains, and make your home the star of the neighborhood.
- Protect and Extend Siding Life: High-quality paint adds a durable, protective layer against the elements. It shields your siding from sun, rain, and wind, preventing the metal from deteriorating and helping it last longer.
- A Smart Financial Choice: Replacing siding is a major expense. Painting costs a fraction of that and delivers a similar visual result. It’s an excellent way to increase your home’s value without breaking the bank.
Before You Start: Is Your Siding Ready for Paint?
Most aluminum siding is a perfect candidate for paint, but it’s wise to do a quick inspection first. Taking a few minutes to check its condition ensures your hard work will last for years. Walk around your house and look closely at the siding.
Key Signs Your Siding is a Good Candidate for Painting:
- The Finish is Faded or Chalky: If you wipe your hand across the siding and a chalky powder comes off, that’s a perfect sign it’s ready for a repaint. This oxidation is normal and easy to clean off.
- You See Minor Scratches or Dings: Small imperfections are no problem. We can easily fill and sand them during the prep stage.
- The Panels are Straight and Secure: As long as the siding isn’t heavily warped, dented, or pulling away from the house, you are good to go.
When to Consider Replacing Siding Instead of Painting:
- Widespread Dents or Damage: If large areas are badly dented, punctured, or corroded, paint won’t fix the underlying structural issue.
- Loose or Warped Panels: Panels that are pulling away or significantly bent may indicate bigger problems and won’t hold paint well.
- Signs of Moisture Damage: Look for soft spots or evidence of water getting behind the siding. This should be addressed by a professional before any painting begins.
Gathering Your Tools and Materials: A Complete Checklist
Having everything ready before you start makes the whole process smoother. Think of it like gathering your ingredients before you cook. Here’s a detailed list of what you’ll need, broken down by task.
| Category | Item | Purpose |
|---|---|---|
| Safety First | Goggles, Gloves, Dust Mask | Protects your eyes, hands, and lungs from cleaning agents and paint. |
| Drop Cloths or Plastic Sheeting | Protects plants, walkways, windows, and doors from paint splatter. | |
| Cleaning & Prep | Pressure Washer (or Garden Hose with a scrub brush) | To thoroughly clean dirt, mildew, and chalkiness from the siding. |
| TSP (Trisodium Phosphate) or Siding Cleaner | A powerful cleaning agent that removes stubborn grime and oxidation. | |
| Buckets and Sponges/Rags | For mixing cleaner and manual scrubbing. | |
| Metal Putty or Auto Body Filler | For filling small dents, dings, or holes. | |
| Putty Knife | To apply the filler smoothly. | |
| Fine-Grit Sandpaper (180-220 grit) | To smooth filled areas and lightly scuff the siding for better paint adhesion. | |
| Painting | High-Quality Exterior Metal Primer | Crucial for helping the topcoat bond securely to the aluminum. |
| 100% Acrylic Latex Exterior Paint | The best choice for flexibility, durability, and weather resistance on aluminum. | |
| Paint Sprayer (Recommended) | Provides the fastest, smoothest, and most professional-looking finish. | |
| Paint Roller with Extension Pole | A good alternative for flat, open areas if you don’t have a sprayer. | |
| 2-3 inch Angled Paint Brush | For “cutting in” around windows, doors, and trim. | |
| Painter’s Tape | To mask off areas you don’t want to paint, like trim and windows. |
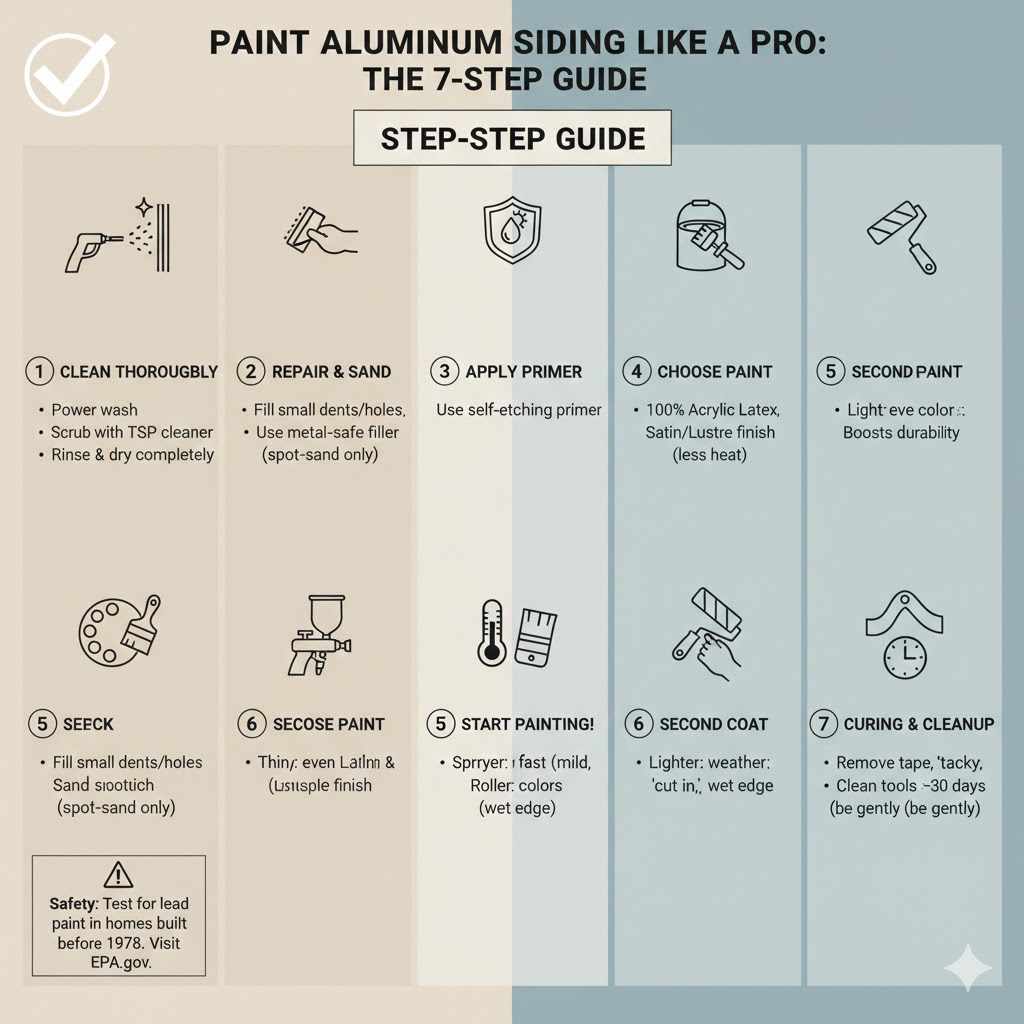
The Step-by-Step Guide to Painting Aluminum Siding Like a Pro
Alright, you’ve done your inspection and gathered your gear. Now comes the fun part! Just follow these steps one by one, and you’ll achieve a beautiful, lasting finish. Don’t rush the process—good preparation is the true secret to success.
Step 1: The All-Important Cleaning
You cannot skip this step. Paint needs a perfectly clean surface to stick to. Your goal is to remove every trace of dirt, mildew, and that chalky residue.
- Start with a Power Wash: Use a pressure washer on a low-pressure setting (around 1500-2000 PSI) to wash the siding. Keep the nozzle moving and stay at least 1-2 feet away from the surface to avoid damage. If you don’t have a pressure washer, a garden hose with a spray nozzle and a long-handled scrub brush will work just fine.
- Scrub with a Cleaner: Mix your TSP or siding cleaner in a bucket according to the manufacturer’s instructions. Apply the solution with a sponge or brush, working from the bottom up to prevent streaking. Gently scrub the entire surface.
- Rinse Thoroughly: Rinse all the cleaner off, this time working from the top down. Let the siding dry completely, which might take a full day or two depending on the weather.
Important Safety Note: If your home was built before 1978, the original paint on your siding could contain lead. Before scraping or sanding, it’s crucial to test for it. You can learn more about safe practices from the Environmental Protection Agency (EPA).
Step 2: Repair and Sand Minor Flaws
Now that the siding is clean, you can easily spot any minor imperfections. Use a putty knife to apply a small amount of metal-safe exterior filler or auto body filler to any small dents, holes, or deep scratches. Overfill it slightly. Once it’s completely dry, sand the filled spots smooth with fine-grit sandpaper until they are flush with the surrounding siding. You don’t need to sand all the siding, just the repaired spots and any peeling areas.
Step 3: Apply a High-Quality Primer
Primer is the bridge between the aluminum and the paint. It ensures the paint will stick properly and not peel or chip later. For bare aluminum or areas where you sanded, a self-etching primer is excellent. For a surface with old paint, a high-quality acrylic or oil-based exterior metal primer is perfect.
Apply one thin, even coat of primer to the entire surface of the siding using your sprayer, roller, or brush. Let it dry completely as directed on the can. Don’t worry if the coverage looks a bit uneven—its job is to bond, not to look perfect.
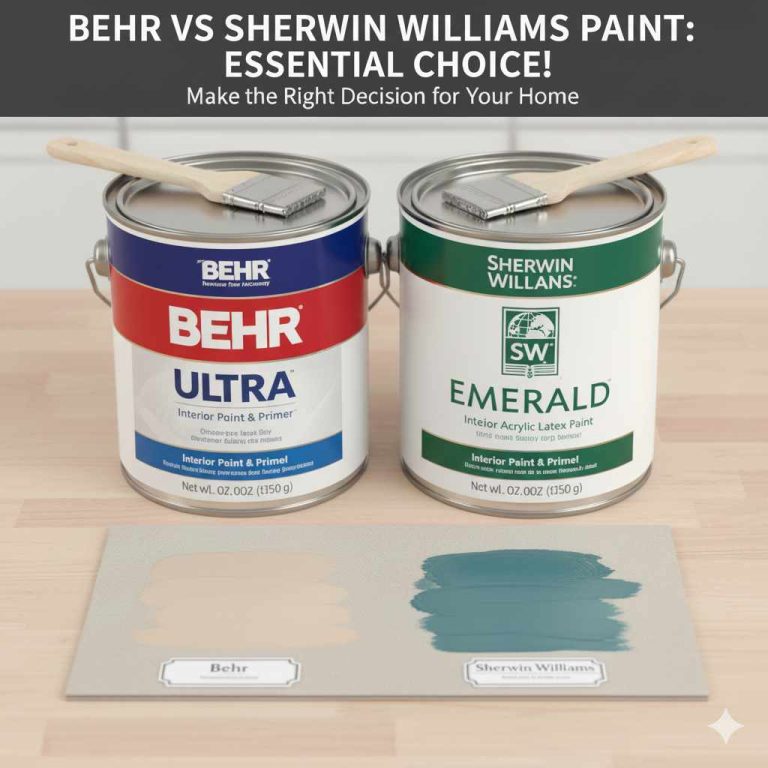
Step 4: Choosing the Perfect Paint
The type of paint you choose is critical for a long-lasting finish. The hands-down best choice is a 100% acrylic latex exterior paint. This type of paint is flexible, which allows it to expand and contract with the metal as temperatures change. It’s also breathable, durable, and easy to clean up with soap and water.
| Paint Feature | Why It’s Important for Aluminum Siding |
|---|---|
| 100% Acrylic Latex Formula | Provides superior flexibility and adhesion to metal. Avoid vinyl or acrylic blends. |
| Paint Sheen | A satin or low-lustre finish is ideal. It hides imperfections better than a high-gloss paint and is easier to clean than a flat finish. |
| Color Choice | Stick with lighter shades. Very dark colors absorb more heat from the sun, which can cause the aluminum panels to expand excessively and potentially warp over time. |
Step 5: Time to Paint! Application Techniques
Check the weather forecast! You want a mild, dry day with low humidity and no rain expected. Extreme heat or direct sunlight can cause the paint to dry too fast, leading to brush marks.
Using a Paint Sprayer (Fastest and Smoothest Method)
An airless paint sprayer will give you a factory-like finish. Start by masking off windows, doors, lights, and anything else you don’t want painted. Hold the sprayer tip about 10-12 inches from the siding and move in long, steady passes. Overlap each pass by about 50% to ensure even coverage. Keep the sprayer moving to prevent drips.
Using a Roller and Brush (The Classic Method)
This method works great, too! Use your angled brush to “cut in” around the edges of trim, corners, and windows. Then, use a small-to-medium nap roller to paint the large, flat sections. Work in small, manageable sections (about 3×3 feet) at a time to maintain a “wet edge,” which helps prevent lap marks.
Step 6: Apply the Second Coat
Let the first coat of paint dry completely—check the paint can for recommended recoat times. It might be dry to the touch in a few hours but needs more time before you can add another layer. A second coat is essential. It provides a deeper, richer color and significantly boosts the durability and weather resistance of the paint job.
Step 7: Curing and Cleanup
Once the second coat is on, the hardest part is over! Remove your painter’s tape while the paint is still slightly tacky to get a clean line. Clean your brushes, rollers, or sprayer immediately with soap and water (for latex paint). Although the paint will be dry to the touch relatively quickly, it can take up to 30 days to fully cure and harden. Be gentle with the siding during this time.
Frequently Asked Questions (FAQ)
What is the best kind of paint for aluminum siding?
The best paint is a high-quality, 100% acrylic latex exterior paint. It’s specifically designed to be flexible enough to handle the expansion and contraction of metal siding while offering excellent durability and color retention.
How long does painted aluminum siding last?
When prepared and painted correctly, a good paint job on aluminum siding can easily last 10 to 15 years, or even longer. The quality of your prep work and the paint you use are the biggest factors in its longevity.
Do I really need to use a primer on aluminum siding?
Yes, absolutely. Primer is non-negotiable. It creates a strong bond between the bare metal (or old paint) and your new topcoat. Skipping primer is the number one cause of paint peeling and failure on aluminum siding.
Should I use a brush, roller, or sprayer to paint my siding?
A paint sprayer provides the fastest application and the smoothest, most professional finish. However, a high-quality roller for the main surfaces and a brush for detail work is a great and very effective alternative for the DIYer.
Can I paint over chalky aluminum siding?
No, you must remove the chalkiness first. The chalky substance is oxidized paint that will prevent the new paint from adhering properly. A thorough cleaning with a TSP solution and a good rinse is essential to remove it completely.
How much does it cost to paint aluminum siding?
As a DIY project, you can expect to spend between $400 and $1,200 on materials (paint, primer, tools) for an average-sized home. This is significantly less than the $8,000 to $15,000 or more that it can cost to replace the siding entirely.
What colors should I avoid for aluminum siding?
It’s best to avoid very dark colors like black, dark brown, or deep navy blue. Dark colors absorb a lot of solar heat, causing the aluminum to expand more than it was designed to. This can lead to warping, buckling, and other damage over time. Stick with light to mid-tone colors.
A Fresh Look for Your Home: The Final Word
There you have it! Painting your aluminum siding is not only possible, but it’s also one of the best home improvement projects you can do yourself. It’s a project that asks for your patience and attention to detail, but the payoff is enormous. You get the look of a brand-new home for a fraction of the cost of replacement.
By following these steps, you’re not just slapping on a coat of paint—you’re adding protection, value, and a huge dose of curb appeal to your home. Take your time with the prep work, choose quality materials, and you’ll be amazed at what you can accomplish. I have full confidence that you can do this. Happy painting!