How to Restore Wood: Clean, Repair & Refinish Old Furniture
Restore old wood by working from the least to the most invasive step: clean it, repair the damage, revive the finish, and refinish only if nothing else works. Stripping a piece that only needs cleaning removes the patina that gives old furniture its value. This guide gives a triage chart, the solvent test that identifies your finish, repair and refinishing steps, and the lead-paint precautions for pieces made before 1978.
Clean, Repair or Refinish? How to Decide
Best Finish Restorer Pick
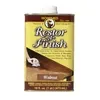 |
Howard Restor-A-Finish, 16 fl oz, Walnut, $10.98 A wipe-on, wipe-off restorer for the “revive” rung of the ladder below: it works through the existing finish instead of stripping it, so it suits pieces whose finish is dull, faded or marked but still sound.
|
As an Amazon Associate we earn from qualifying purchases.
Most restoration advice jumps straight to sanding. A better method is a ladder: start on the lowest rung that fixes the problem, and move up only when it fails. Failing costs little, because a revival that does not work simply leaves you where you would have been anyway, with a piece that needs refinishing.
| What you see | Likely cause | Start here |
|---|---|---|
| Dull, grimy or sticky surface | Built-up dirt, wax or polish | Clean (step 2) |
| White rings or hazy patches | Heat or moisture trapped in the finish | Revive: see getting rings out of wood |
| Light scratches, faded color | Surface wear, finish still sound | Revive: restorer, wax or stain marker |
| Deep scratches, dents, chips | Damage through the finish | Repair, then touch up: see removing scratches |
| Loose joints, wobble | Failed glue | Repair: reglue and clamp |
| Crazed, cracked or alligatored finish | Finish has broken down | Revive with paste wax, or refinish |
| Peeling, flaking, sticky-gummy finish | Failed finish | Refinish: see removing old varnish |
| Soft, crumbling wood | Rot or insect damage | Repair, or replace the part |
Flexner’s four reviving procedures, from least to most work: apply polish or paste wax; clean and add more finish; sand the old finish smooth and rub it out; sand smooth and apply new finish. Source: Bob Flexner, Popular Woodworking
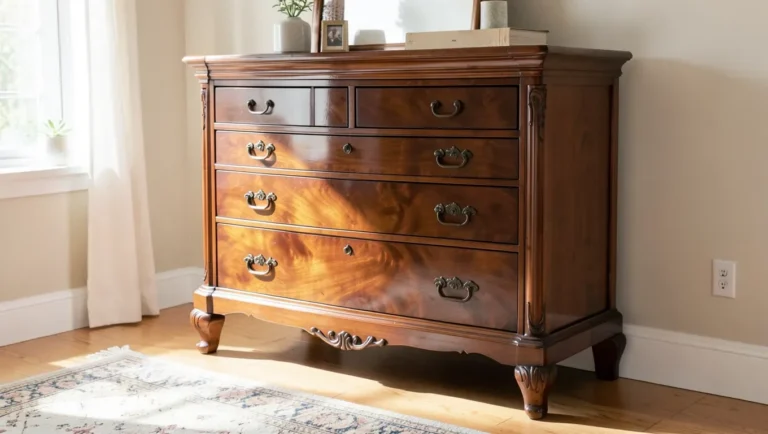
The chart is a triage tool, not a recipe. Antiques deserve extra caution: Minwax’s guidance for antique pieces is to clean gently, preserve the original finish, and touch up with stain markers and wax rather than refinish. If you are unsure of a piece’s age or value, stay on the lower rungs.
Step 1: Identify the Finish Before You Touch It
What you can safely do depends on what is on the wood. Two quick solvent tests in a hidden spot, such as under a table edge or inside a drawer, narrow it down. Dab denatured alcohol first, then lacquer thinner if the alcohol does nothing.
| Test result | Finish it points to | What it means for restoration |
|---|---|---|
| Alcohol softens or dissolves it | Shellac | Easy to revive: on a finish in decent shape, a wipe of alcohol and a fresh coat of shellac may be enough |
| Lacquer thinner softens it (alcohol did not) | Lacquer | A new coat of lacquer bonds into the old one, so repairs blend well |
| Neither softens it | Varnish or polyurethane | Hard and durable; revival works best with a restorer or wax, and repairs are harder to blend |
The full walkthrough, including what to do when results are ambiguous, is in our guide to telling what finish is on wood furniture.
One more thing to find out: has the piece been polished or waxed? Two products matter here and most guides skip them. Silicone-based polishes have a bad reputation among professional finishers, because silicone can cause fish-eye craters in a new finish, and Flexner suggests a sealing coat of shellac as the first coat over a surface that may be contaminated. And no finish will adhere to paste wax, so wax has to come off before any refinishing. If you cannot tell what a piece has been treated with over the years, assume the worst and plan for a test patch.
Step 2: Clean the Wood Gently
Cleaning is both the cheapest rung and the one that reveals what you really have. Plenty of “ruined” finishes turn out to be decades of grime and old polish. Start with the mildest option and work toward stronger ones only if it fails.
- Vacuum first with a brush attachment to pull dust out of carvings and corners.
- Dish soap in warm water on a well-wrung cloth is the mildest cleaner; dry the surface right away.
- Mineral spirits or naphtha on a cloth cuts through wax and oily grime on finished wood. Minwax suggests a cloth moistened with mineral spirits for the initial clean.
- Household ammonia and water is another option listed for old finishes in a Utah State University extension guide. It is stronger, so test it on a hidden spot first.
- Work small sections and change cloths often, so you lift dirt instead of spreading it.
A tacky or gummy surface is a special case: it is usually sticky residue or a breaking-down finish, not plain dirt. Our guide to cleaning a sticky wood table covers how to tell which it is. Safety note: mineral spirits and naphtha are flammable, so ventilate the room and keep cleaning rags away from heat. Spread used rags flat to dry outdoors rather than bunching them.
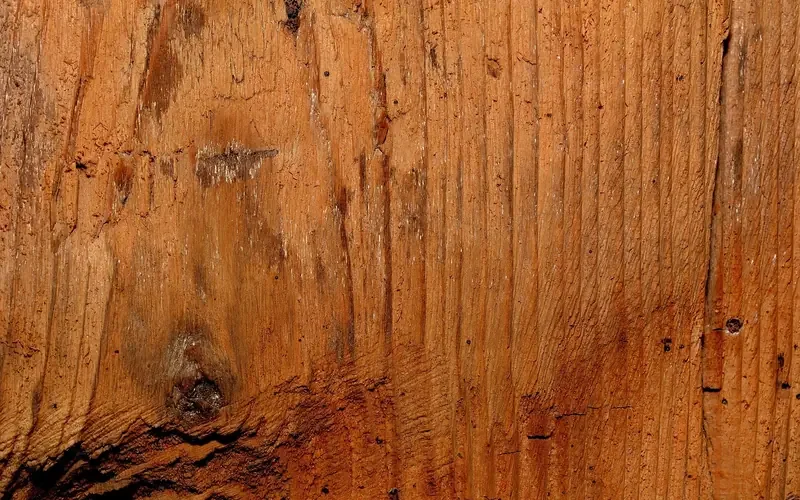
After cleaning, let the piece dry and look at it in raking light from a window. You now know whether it needs repair, a revival, or a new finish, and you have the evidence to make that call.
Step 3: Repair Damage Before Touching the Finish
Structural problems come first, because glue and filler need clean surfaces and cured repairs get sanded flush later.
- Loose joints: clean out the old glue as best you can, apply fresh wood glue, press the parts together and hold them with clamps until the glue has cured fully.
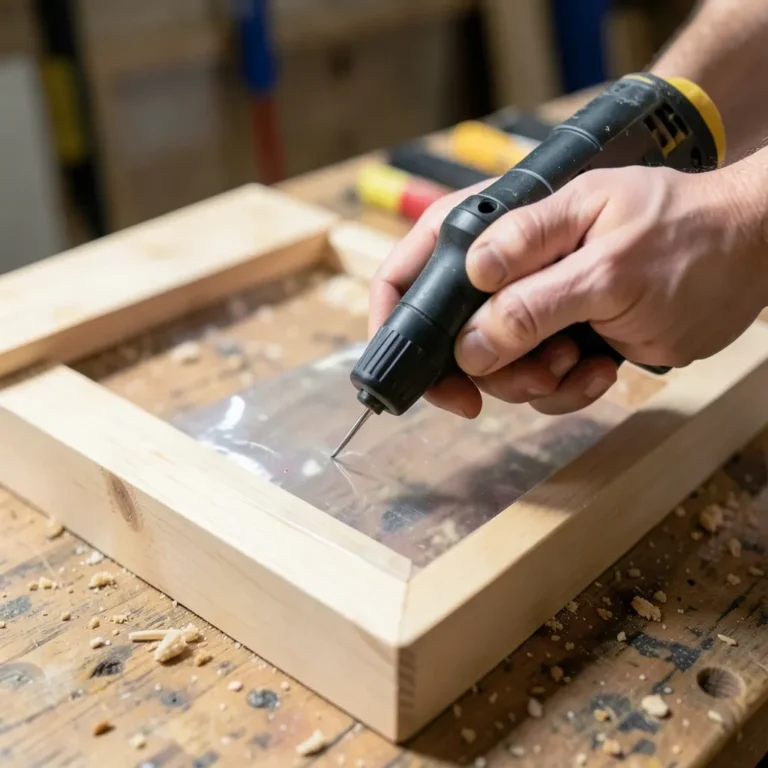
- Cracks, holes and dents: press wood filler in with a putty knife, let it dry completely, then sand it flush with fine paper, working with the grain.
- Chips and scratches: stain markers and fill-pencils are designed for small touch-ups, and are a better choice than sanding a whole panel to remove a scratch.
- Soft or rotted wood: remove the softened fibers back to firm wood, apply a wood hardener, then fill the cavity with wood filler, as Minwax describes. If the damaged part carries load, such as a chair leg or rail, replace or splice it instead.
- Water rings: try the revive methods in the next step before you consider sanding.
Keep repairs in proportion to the piece. A visible, well-done repair on an antique usually costs less value than an over-restored surface.
Step 4: Revive the Finish Without Stripping It
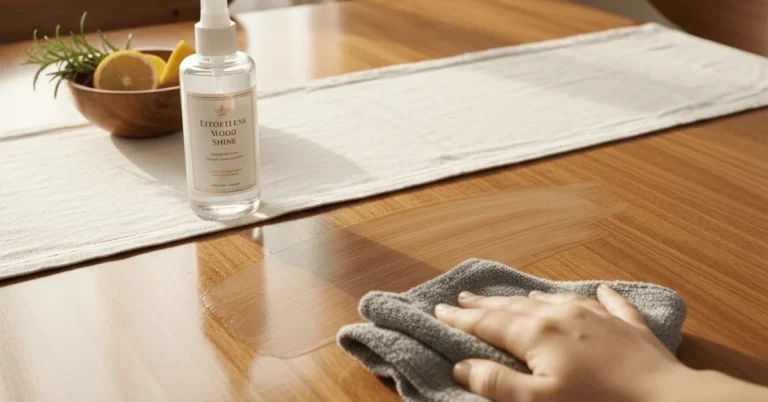
If the finish is intact but dull, faded or marked, revive it. Two choices cover most cases. A wipe-on restorer, like the product above, works into the existing finish to even out fade and blend minor scratches and white heat rings, and the maker describes it as restoring the finish without removing it. Paste wax adds shine and some protection, and it is the better choice for a crazed or cracked finish.
That last point comes from Flexner, who notes that liquid polishes do not work well on crazed surfaces because the liquid highlights the cracks, while paste wax performs better.
- Clean and dry the piece (step 2).
- Test the restorer in a hidden spot and check the shade against the surrounding finish before you commit to the whole surface.
- Wipe on with a soft cloth, working with the grain and one section at a time, then wipe off the excess as directed on the can.
- Let it dry, then add paste wax if you want extra protection, and buff with a clean cloth.
- Stop if it is not working. A finish that stays patchy after two attempts is a refinishing candidate, not a polishing candidate.
A wipe-on restorer will not do much for a finish that has worn completely through to bare wood, where there is nothing left to revive. That is the point to move to the next section.
Step 5: When Refinishing Is the Right Call
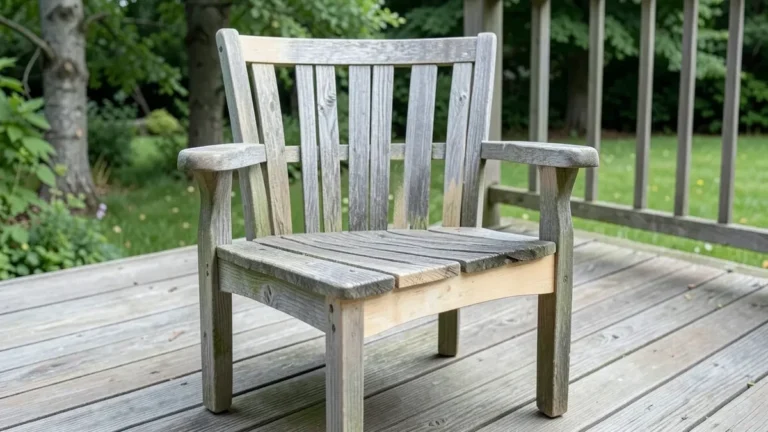
Refinish when the finish is peeling, flaking, cracked through, gummy, or when revival has failed. Refinishing means removing the old finish before applying a new one, which is the opposite of restoration.
- Remove the old finish. Chemical strippers and careful scraping are usually gentler on the wood than heavy sanding, and the varnish guide linked in the chart above covers the options in detail.
- Remove all wax and polish residue. New finish will not stick to wax, and silicone can leave fish-eye craters.
- Sand through the grits from a medium grit to a fine grit, always with the grain, then remove every trace of dust.
- Test finish compatibility on a hidden spot before committing, as Minwax recommends, and pick your color on a scrap or hidden area. Our guide to restaining wood goes through stain choices and preparation.
- Apply thin coats and let each cure fully before the next.
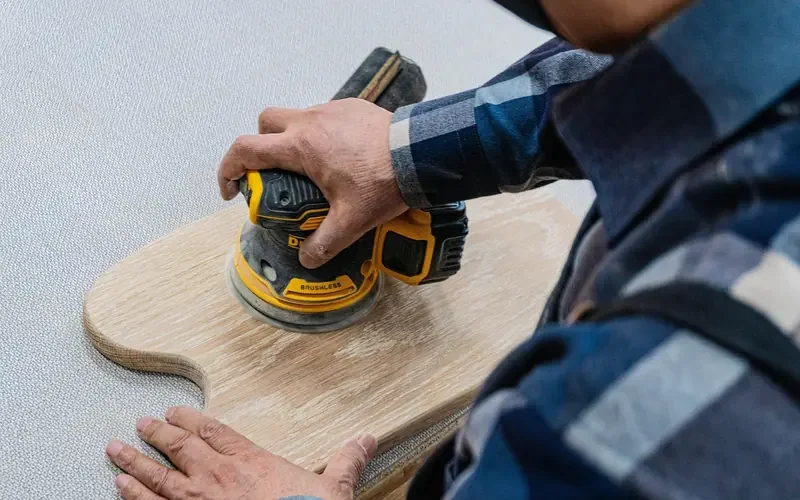
Lead Paint Warning for Old Painted Furniture
If the piece is painted and may predate 1978, test the paint before you sand, scrape or strip it. The U.S. banned lead-based paint for homes in 1978, and the EPA says about three-quarters of homes built before then still contain some. Sanding and scraping are exactly the kind of preparation that creates lead dust.
- Test first. EPA-recognized lead test kits exist, and a lab can analyze a paint chip sample. The EPA’s Renovation, Repair and Painting rule requires paid contractors working in pre-1978 homes to use lead-safe practices; it does not generally cover homeowners working on their own homes, but the hazard is the same.
- Do not dry-sand or dry-scrape paint that may contain lead.
- Keep children and pregnant women away from the work area, and clean up with wet wipes and a HEPA vacuum rather than a broom.
- If the test is positive, consider leaving the paint intact and sealed, or hire a certified lead-safe professional.
Per the EPA, work that disturbs paint in pre-1978 housing, such as sanding and scraping, can create dangerous lead dust. Source: U.S. EPA, Lead Renovation, Repair and Painting Program
Common Wood Restoration Mistakes
- Stripping first. Skipping the cleaning and revival rungs destroys patina and creates work you did not need.
- Using spray polish as a shortcut. Silicone polish can come back to haunt a later refinish.
- Refinishing over wax. The new finish will fail to adhere.
- Sanding dirty wood. Grit pushes grime and old polish deeper into the grain.
- Skipping the hidden-spot test. Solvents, restorers and new finishes can all react unpredictably with an unknown old finish.
- Sanding unknown paint. See the lead warning above.
Frequently Asked Questions
How do you restore old wood without stripping it?
Work from the gentlest step up: wipe the surface clean, repair damage, then revive the finish with paste wax, a wipe-on restorer or a fresh coat of the same finish type. Strip only if the finish is peeling, cracked through or badly stained. Many pieces never need to go past the revive step.
What is the best thing to restore old wood furniture with?
It depends on the problem. A mild cleaner handles grime, wood filler or a stain marker handles chips and scratches, and a wipe-on restorer or paste wax revives a dull finish. There is no single best product, which is why identifying the finish and the damage first saves money.
Can you restore rotted or soft wood?
Sometimes. Remove the softened fibers back to firm wood, treat the area with a wood hardener, then fill the cavity with wood filler and refinish. If the rot runs through a structural joint or leg, replace or splice the part instead of filling it.
Should you sand old wood before restoring it?
Not first. Clean the piece before anything else, because sanding grinds dirt and old polish into the surface. Sand only to smooth a repair or to prepare for a new finish, and never dry-sand painted furniture made before 1978 until the paint has been tested for lead.
How do you bring back the shine on dull old wood?
Clean off built-up wax and grime, then apply paste wax or a wipe-on finish restorer to a sound finish, and buff once it dries. If the dullness is a cloudy, crazed or worn finish, the finish itself may need a fresh coat, or refinishing.
Bottom Line
Identify the finish, clean the piece, repair the damage, revive what you can, and refinish only when the finish itself has failed. Test every solvent, restorer and finish in a hidden spot, remove wax before a new finish goes on, and test old paint for lead before you sand it.
Sponsored / affiliate links. As an Amazon Associate I earn from qualifying purchases. I may earn additional commission from eligible campaigns.