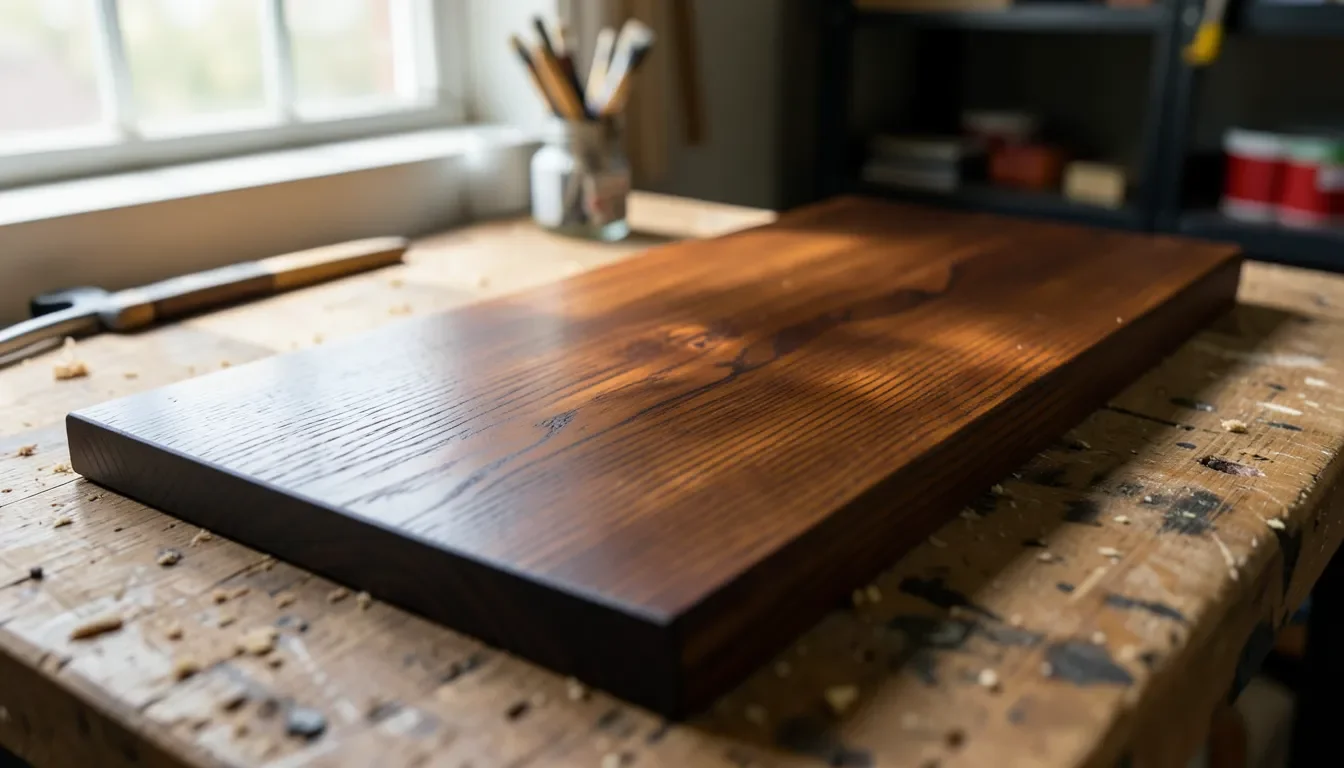
Can Maple Wood Be Stained Dark? Yes, Here’s How to Avoid Blotching
Yes, maple wood can be stained dark, but its tight, uneven grain is genuinely prone to blotching if you skip the right prep. Maple’s density varies from board to board, and even within the same board, so a straight oil-based stain often goes on patchy instead of the deep, even espresso or walnut tone you’re picturing. The fix is either a gel stain or a pre-stain conditioner paired with a penetrating stain, and picking the wrong one for your project is the most common reason maple staining jobs come out blotchy.
Why Maple Blotches When You Stain It Dark
Best Gel Stain for Blotch-Prone Maple
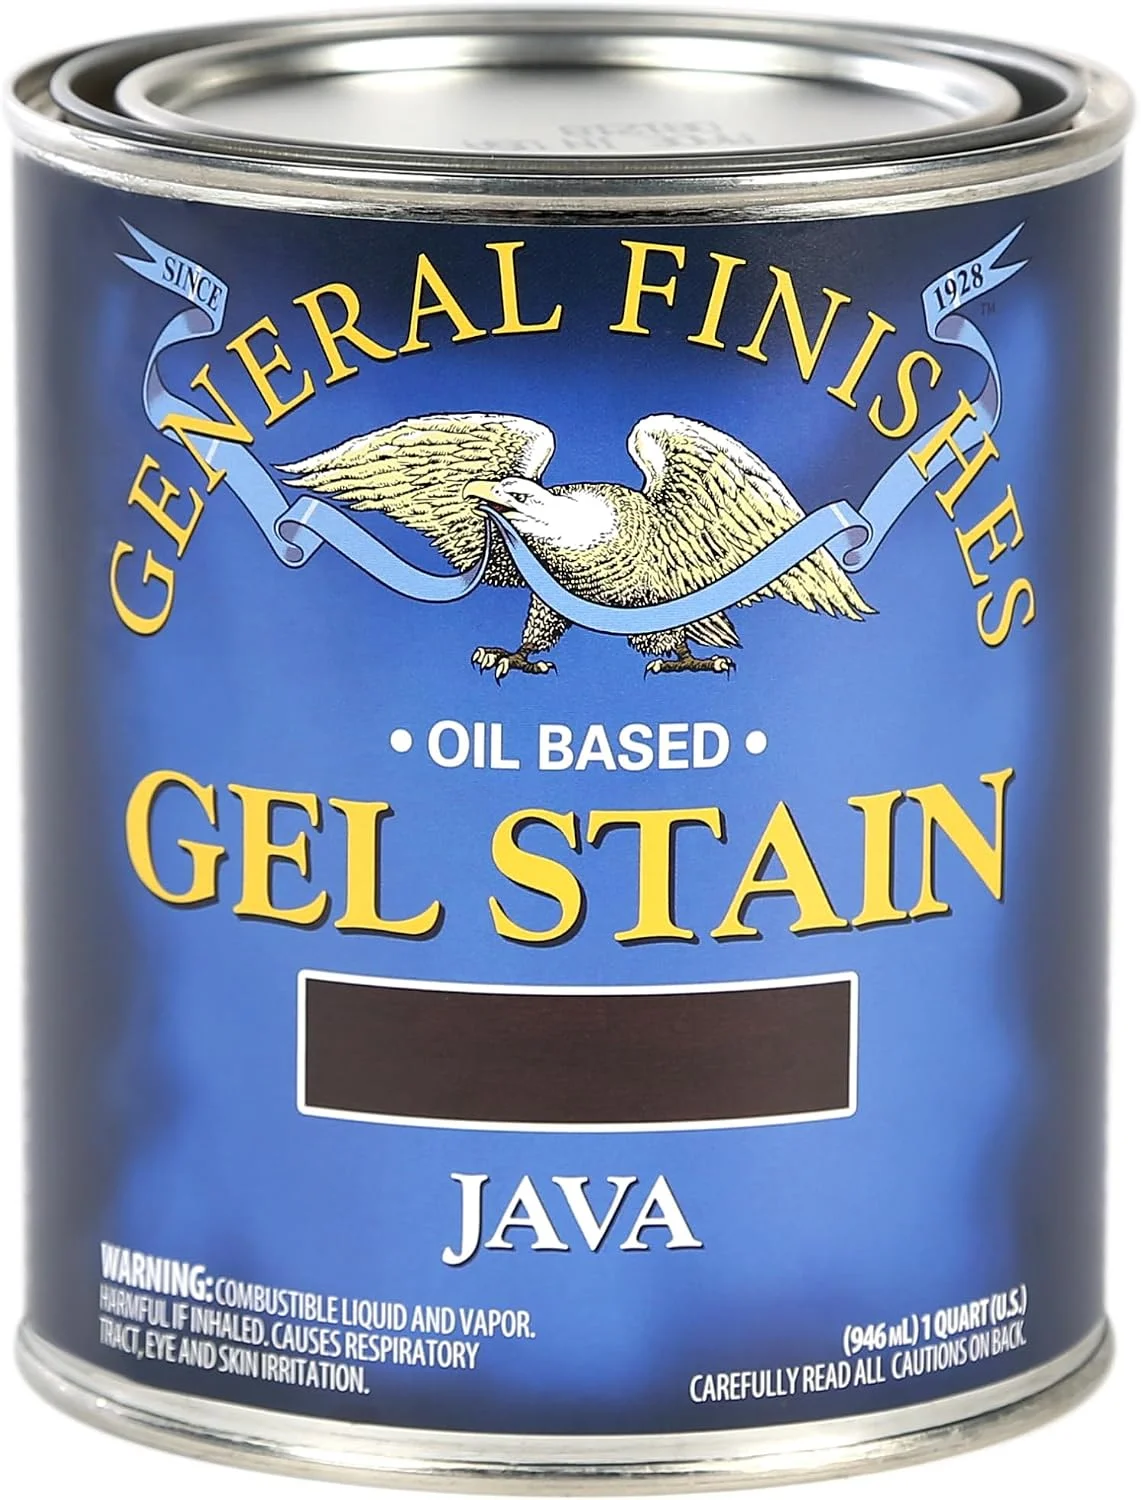 |
General Finishes Java Gel Stain, 1 Quart – $59.74 This is the exact type of stain that sidesteps maple’s blotching problem, since it sits on the surface instead of relying on uneven absorption into the grain.
|
Maple has a tight, closed grain, which sounds like it should stain evenly, but the wood’s density is not actually uniform. Curly and figured grain patterns, common in maple, create pockets of lower and higher density within the same board. A thin, oil-based penetrating stain soaks into those low-density pockets faster than the surrounding wood, and the result is the classic blotchy, patchy look that shows up worst with dark colors, since a bigger jump in color makes uneven absorption far more visible than a light stain would.
This is real, well-documented behavior in maple specifically, not a myth or a beginner mistake. Hard maple, soft maple, and figured maple (curly, birdseye, quilted) all show some version of this tendency, which is why most professional finishers treat maple the same way they treat pine, birch, and cherry: as a blotch-prone species that needs a deliberate staining approach, not a straight can-to-brush application.
Pre-Stain Conditioner or Gel Stain: Which One Actually Works Better on Maple
Most general staining guides tell you to always apply a pre-stain conditioner before staining any blotch-prone wood. For maple, that advice is not automatically correct. A conditioner works by partially sealing the wood’s pores so a liquid stain absorbs more evenly, which does reduce blotching with a traditional oil-based penetrating stain. But sealing the pores also means less surface area is available to hold pigment everywhere, not just in the blotch-prone spots, so the final color often comes out noticeably lighter than the stain chip promised.
Gel stain sidesteps the absorption problem entirely. It’s a heavily pigmented, urethane-based formula thick enough to sit on top of the wood rather than soak into it, so you work it in like a paste and wipe off the excess. Because color depth doesn’t depend on how much the wood absorbs, maple’s uneven density stops being the deciding factor, and most people get a more predictable, truly dark result with gel stain alone than with conditioner plus a liquid stain.
That said, gel stain reduces blotching risk, it does not eliminate it on every board. Heavily figured or curly maple can still show some unevenness even with gel stain, and if that happens, a conditioner pass first is still worth doing. The practical rule: reach for gel stain first on maple, and keep a pre-stain conditioner in reserve for figured boards or if you’re committed to a traditional oil-based penetrating stain for a specific sheen or look.
How to Prepare Maple for a Dark Stain
Preparation matters more on maple than on almost any other common furniture wood, since sanding mistakes and stain mistakes both show up more clearly under a dark color. Sand the surface properly, working up through progressively finer grits: start around 120-grit to level the surface, then move to 150-grit and finish at 220-grit. Always finish sanding by hand, with the grain, even if you used a random orbital sander for the earlier passes – cross-grain scratches are nearly invisible on bare maple but turn into dark, obvious lines the moment stain hits them.
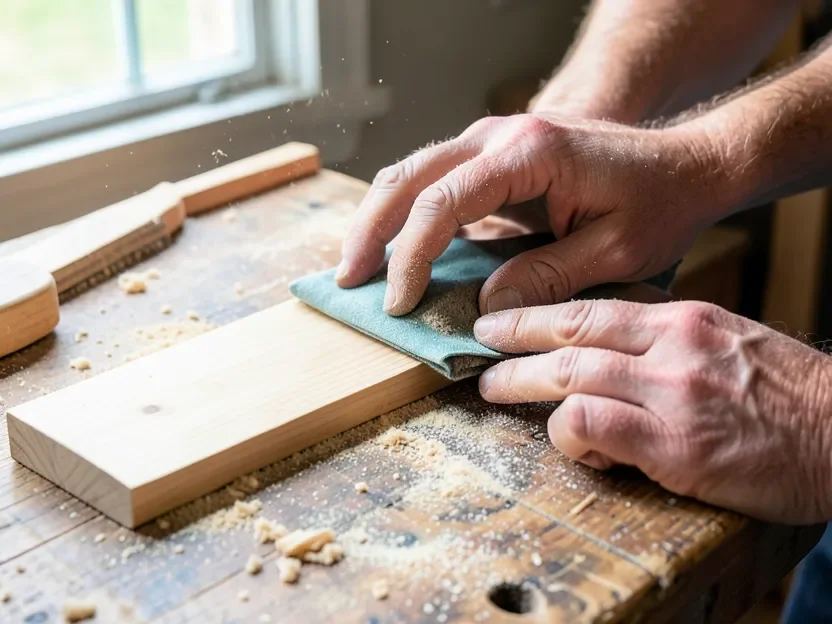
Wipe the sanding dust off with a tack cloth rather than a dry rag, which just redistributes fine dust instead of lifting it. Before staining the actual project, test your chosen stain on a real offcut from the same board or panel, not a separate scrap of maple from a different tree or board – density and figure vary enough between individual boards that a generic maple test piece can give you a misleading preview of your specific project.
Applying Dark Stain to Maple Step by Step
If you’re using gel stain, work in small sections so it doesn’t start to skin over before you wipe it. Apply with a rag or brush in the direction of the grain, let it sit for two to five minutes to build color, then wipe firmly with the grain using a clean cloth. Let it dry fully per the can’s instructions, typically about 24 hours, before deciding whether a second coat is needed for a deeper, more espresso-toned finish.
If you’re using a traditional oil-based penetrating stain with a conditioner, apply the conditioner evenly, then apply the stain within the window listed on the conditioner’s label, usually five to fifteen minutes later, while the wood is still receptive. Waiting too long lets the conditioner fully seal the surface, which can lighten your result even further than intended. Wipe off excess stain after a few minutes with the grain, and always work in manageable sections so you’re not fighting stain that’s already started to set up.
Choosing the Right Type of Dark Stain for Maple
Beyond gel stain and conditioner-plus-oil-stain, a water-based dye stain is worth considering for maple specifically. Dye stains use much finer color particles that penetrate more evenly than pigment-based stains, even on tight, closed-grain wood, which makes them a strong option for a clean, consistent dark tone. The tradeoffs are a faster dry time, the need to raise and re-sand the grain first since water-based products swell wood fibers, and less local retail availability in deep espresso or walnut shades compared to gel and oil stains.
| Stain Type | How It Handles Maple’s Blotching |
|---|---|
| Gel Stain | Sits on the surface instead of soaking in – best default for even, dark color on maple |
| Oil-Based Penetrating Stain + Conditioner | Conditioner evens out absorption but lightens the final color somewhat |
| Water-Based Dye Stain | Very even penetration; dries fast and needs a grain-raising pre-step |
Sealing and Protecting Dark-Stained Maple
Once the stain has fully cured, a topcoat protects the color and the wood underneath. Oil-based polyurethane ambers slightly as it cures, which actually deepens a dark espresso or walnut stain further and can look great on maple, but it will shift the tone a bit warmer over time. Water-based polyurethane stays clear and keeps the stain color truer to what you saw right after application, which matters more if you picked a specific cool-toned dark color. For vertical surfaces like cabinet doors, a wipe-on poly gives more control than brushing and is less likely to show drips. See our full wood finishing guide for a complete rundown of topcoat options and how to apply them.
Frequently Asked Questions
Can maple wood be stained dark?
Yes. Maple takes dark stain well once you address its uneven density – the wood itself isn’t the problem, blotchy application is. Use a gel stain or a pre-stain conditioner with a penetrating stain, sand properly through 220-grit, and test on an actual offcut from your project board before committing.
Do you need a pre-stain conditioner for maple, or is gel stain better?
It depends on the stain type. A pre-stain conditioner is genuinely useful with a traditional oil-based penetrating stain, since it partially seals the pores so color absorbs more evenly – though it also lightens the final result somewhat. Gel stain skips this tradeoff because it sits on the surface instead of soaking in, so most people get a more predictable, deeper dark color on maple with gel stain alone.
How do you prepare maple wood for staining?
Sand through progressively finer grits, starting around 120-grit and finishing at 220-grit, always finishing with the grain by hand to avoid cross-grain scratches that show up darker under stain. Wipe the dust off with a tack cloth rather than a dry rag, then test your chosen stain on a scrap offcut from the same board before staining the actual project.
Why does maple wood absorb stain unevenly?
Maple has a tight, closed grain with density that varies within the same board, including common curly or figured areas. Thin, oil-based penetrating stains soak faster into the lower-density pockets and slower into denser ones, which is what creates blotching – and it becomes more visible the darker the stain color is.
Conclusion
Maple can absolutely be stained a rich, dark espresso or walnut tone, but treat it like the blotch-prone wood it actually is. Reach for gel stain first for the most predictable dark color, keep a pre-stain conditioner on hand for figured boards or if you’re set on a traditional oil-based stain, sand carefully through 220-grit, and always test on a real offcut from your own project board before committing to the whole piece.
Curious how maple stacks up against other species? See our full breakdown of which woods take stain best, from evenly-absorbing walnut and oak to other blotch-prone woods like pine and birch.
Sponsored / affiliate links. As an Amazon Associate I earn from qualifying purchases. I may earn additional commission from eligible campaigns.