Can Metal Be Painted: Proven Best Method
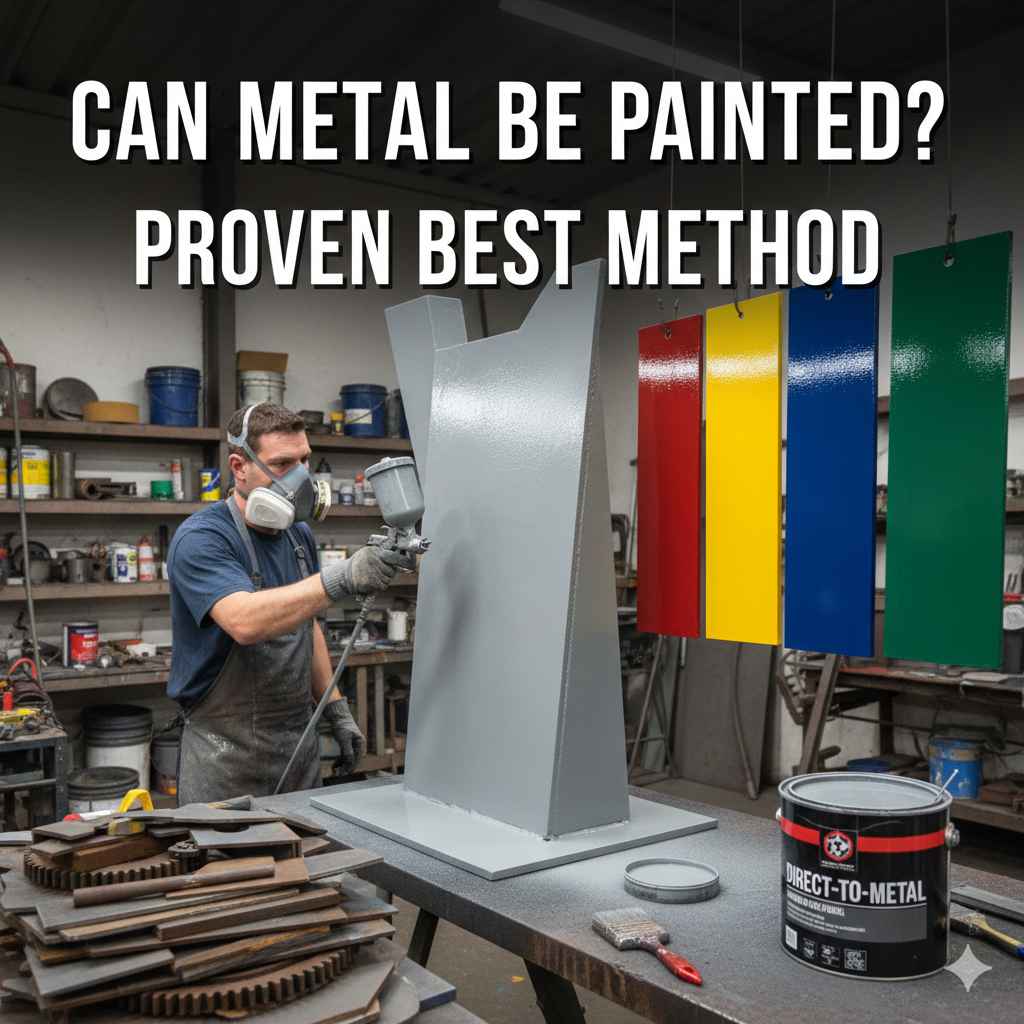
Yes, metal can absolutely be painted! With the right preparation and products, you can give almost any metal surface a beautiful, durable finish that lasts. This guide will show you the proven best method, step-by-step, making it easy for even DIY beginners to achieve professional-looking results.
Ever looked at a rusty garden gate, a faded metal chair, or even a plain old filing cabinet and wondered, “Can I really paint this metal?” The answer is a resounding yes! It’s a fantastic way to refresh old items, protect them from the elements, or simply give your décor a complete makeover. Many people think painting metal is tricky or messy, but that’s usually because they skip a few crucial preparation steps.
Don’t worry, I’m here to walk you through everything, just like we do in the workshop. We’ll break it down into simple, easy-to-follow steps, ensuring your project is both safe and successful. Get ready to transform your metal pieces into something truly special!
Why Paint Metal? Unlocking Its Potential
Painting metal isn’t just about making things look pretty; it’s about preservation and personalization. Metal, while strong, can be susceptible to rust and corrosion, especially when exposed to moisture and air. A good paint job acts as a protective shield, keeping your metal items looking great for years to come. Think about it: that old patio furniture that’s seen better days, the wrought iron fence that’s starting to flake, or even decorative metal art pieces. A fresh coat of paint can bring them back to life, saving you money on replacements and letting you express your unique style.
Beyond protection, painting offers an incredible opportunity for customization. You can choose any color imaginable to match your home’s aesthetic, create unique patterns, or even mimic the look of other materials. It’s a rewarding DIY project that offers tangible, beautiful results. With the right techniques, it’s surprisingly accessible for beginners, and the satisfaction of transforming a dull metal object is immense.
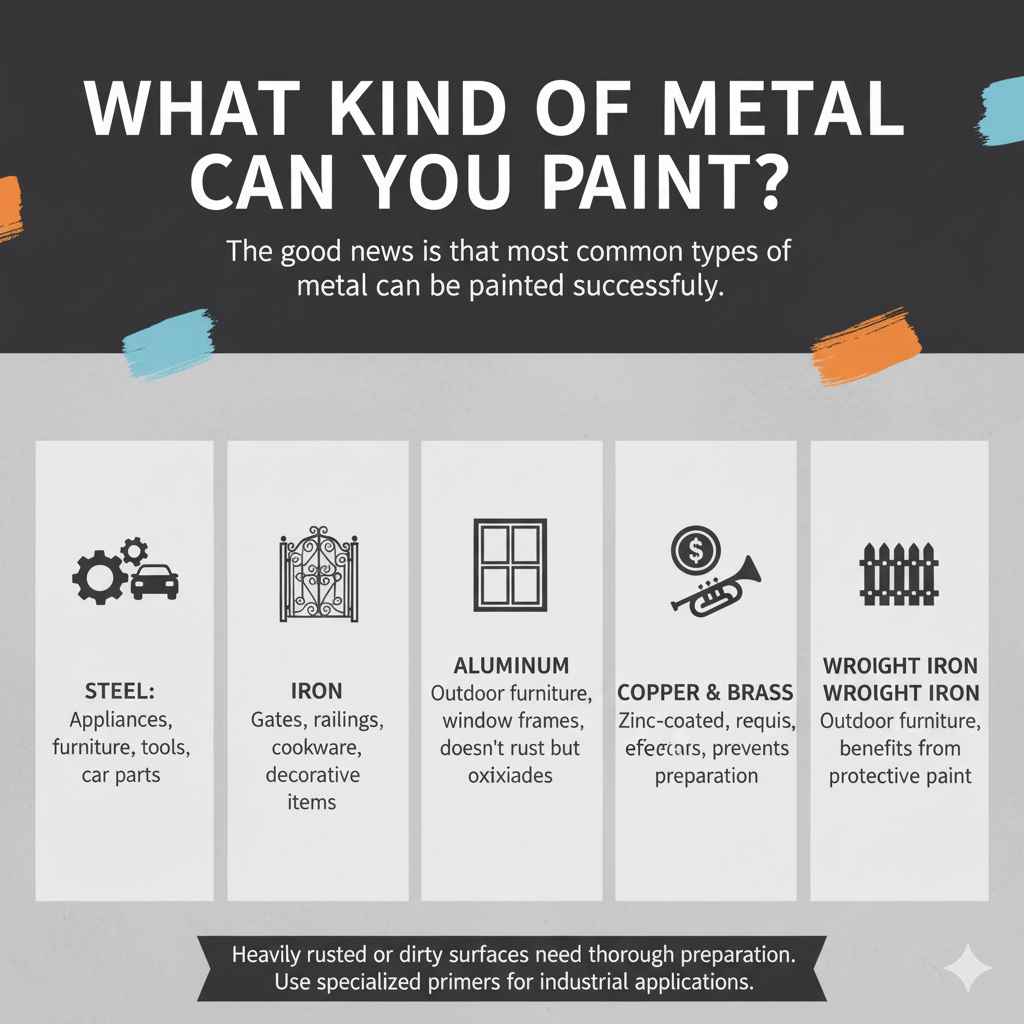
What Kind of Metal Can You Paint?
The good news is that most common types of metal can be painted successfully. This includes:
- Steel: Found in appliances, furniture, tools, and car parts.
- Iron: Common for gates, railings, cast iron cookware (with appropriate paint), and decorative items.
- Aluminum: Used in outdoor furniture, window frames, and some decorative pieces. It’s lighter than steel and doesn’t rust, but can oxidize.
- Galvanized Steel: Steel coated with zinc. It holds paint well but requires specific preparation.
- Copper & Brass: Often painted for decorative effects or to prevent tarnishing.
- Wrought Iron: A classic material for outdoor furniture and fencing, which often benefits from a protective paint layer.
While you can paint most metals, surfaces that are heavily rusted, extremely dirty, or have peeling paint will require thorough preparation. For very specialized metals or industrial applications, you might need specific primers and paints, but for typical home projects, the methods we’ll cover will work wonders.
The Proven Best Method for Painting Metal: A Step-by-Step Guide
The key to a long-lasting paint job on metal is preparation. Think of it like preparing a canvas before you paint a masterpiece. If the surface isn’t clean and smooth, the paint won’t adhere properly and will likely peel or chip quickly. Here’s the proven method:
Step 1: Gather Your Supplies
Having everything ready before you start makes the process much smoother. Here’s what you’ll need:
- Safety Gear: Gloves, safety glasses, and a mask (especially if sanding or using spray paint).
- Cleaning Supplies: Degreaser or soap, water, clean rags or sponges, wire brush, sandpaper (various grits: 80-120 for rust/old paint, 220 for smoothing).
- Primer: A metal-specific primer (e.g., rust-inhibiting primer, oil-based primer for tricky surfaces).
- Paint: High-quality exterior or interior metal paint. Options include spray paint, brush-on enamel, or latex paint formulated for metal.
- Applicators: Paintbrushes (natural bristle for oil-based, synthetic for latex), foam rollers, or spray paint cans.
- Drop Cloths or Newspaper: To protect your work area.
- Optional: Metal filer, putty, or epoxy for filling dents or holes.
Step 2: Prepare the Surface – This is CRITICAL!
This is where most DIYers run into trouble. A clean, smooth, and slightly roughened surface is essential for good adhesion. Don’t skip any of these!
Cleaning Off Dirt and Grease
Start by scrubbing the metal object thoroughly with a degreaser or a strong soap and water solution. Use a rag or sponge to get into all the nooks and crannies. Rinse it off completely and let it dry thoroughly. Any oil, grease, or dirt will prevent the primer and paint from sticking properly.
Dealing with Rust and Old Paint
This is the most labor-intensive part, but it’s absolutely necessary.
- Light Rust: Use sandpaper (around 80-120 grit) or a wire brush to scrub away all visible rust until you reach bare metal.
- Heavy Rust: You might need a power tool with a wire wheel attachment or a rust remover chemical (follow product instructions carefully and wear protective gear!).
- Peeling Paint: Scrape away any loose or flaking paint with a paint scraper or putty knife. Then, sand the entire surface to create a smooth transition between the old paint and the bare metal.
Wipe down the surface with a clean, damp cloth to remove all dust, and let it dry. The goal is to have a surface free of loose debris.
Creating a Smooth, Adherent Surface
Once the rust and old paint are gone, and the surface is clean and dry, you’ll want to lightly sand the entire piece one last time. Use a medium-grit sandpaper (around 220 grit) to create a slightly dull, smooth surface. This “tooth” is what the primer will grip onto. Wipe away all sanding dust with a tack cloth or a slightly damp rag. A tack cloth is amazing for picking up fine dust particles.
Filling Imperfections (Optional)
If your metal piece has small dents, scratches, or holes, you can fill them now. Use a metal filler or epoxy putty, following the product’s instructions. Once dry, sand the filled areas smooth and flush with the surrounding surface. Clean away the dust again.
Step 3: Apply the Primer
Primer is your best friend when painting metal. It helps the paint adhere better, blocks stains, and crucially, prevents future rust. Choose a primer specifically designed for metal.
Choosing the Right Primer
- Rust-Inhibiting Primer: Excellent for outdoor items or areas prone to moisture.
- Oil-Based Primer: Often recommended for slick surfaces like galvanized metal or previously painted metal that might resist water-based primers.
- Spray Primer: convenient for intricate shapes and quick application.
You can find great primers at any hardware store. For example, Rust-Oleum’s Painter’s Touch 2X or Krylon’s rust-preventative primers are popular choices for DIYers.
Applying the Primer
- If Spraying: Hold the can about 8-12 inches away from the surface. Apply in light, even coats, using a back-and-forth motion. Overlap each stroke slightly. Don’t try to cover everything in one thick coat; multiple thin coats are better.
- If Brushing/Rolling: Apply the primer in thin, even coats. Work in one direction to avoid brush marks. For intricate areas, use a smaller brush.
Allow the primer to dry completely according to the manufacturer’s instructions, which is usually a few hours. Some products may recommend light sanding with very fine-grit sandpaper (320 grit or higher) between coats for an ultra-smooth finish, but often this isn’t necessary for beginner projects.
Step 4: Apply the Paint
Now for the fun part – adding color! Just like with primer, good application technique is key.
Choosing Your Paint
For durability and finish, consider these options:
- Enamel Paints: Oil-based enamels are very durable and offer a hard finish, great for high-traffic items. Latex or acrylic enamels are easier to clean up and more flexible.
- Spray Paints: Enormously popular for metal because they provide a smooth, even finish and are quick to use, especially for complex shapes. Many spray paints now include a primer.
- Specialty Paints: For specific needs, like high-heat paint for grills or textured paint for a unique look.
A popular and effective choice for general metal painting is often a good quality spray enamel like Rust-Oleum or Krylon. For brush-on, consider durable options from brands like Sherwin-Williams or Benjamin Moore, ensuring they are formulated for metal surfaces.
Applying the Paint
Apply paint in thin, even coats, just like you did with the primer.
- Spray Paint: Maintain the same distance (8-12 inches) and use a sweeping motion. Allow drying time between coats as recommended by the manufacturer, usually 15-30 minutes. Two to three thin coats are usually sufficient for good coverage and durability.
- Brush-On Paint: Use a good quality brush or roller. Work in one direction. Avoid over-brushing, which can create streaks. For best results, aim for thin coats and allow proper drying time between them.
Ensure good ventilation during this step, or work outdoors. Allow the final coat to dry completely. This can take 24-72 hours, depending on the paint type and humidity. Resist the urge to touch or use the item too soon!
Step 5: Curing and Finishing Touches
Paint needs time not just to dry, but to “cure.” Curing is when the paint fully hardens and reaches its maximum durability. This can take anywhere from a few days to a few weeks, depending on the product. Be gentle with your freshly painted item during this period.
Once fully cured, your metal piece is ready to use or display! You’ve successfully transformed it with a fresh, durable finish.
Common Mistakes to Avoid
Even with the best intentions, a few common pitfalls can lead to a disappointing paint job. Knowing these ahead of time can help you steer clear:
- Skipping Prep Work: This is the number one mistake. Not cleaning, de-rusting, or sanding properly will lead to peeling and poor adhesion.
- Painting Over Rust: Unless you’re using a specific rust-converting primer and paint system, painting over rust is a recipe for disaster. It will continue to spread under the paint.
- Applying Paint Too Thickly: Thick coats can drip, run, and may not dry or cure properly, leading to a weak finish. Thin, multiple coats are always best.
- Not Using Primer: Primer is essential for adhesion and protection, especially on bare or reactive metal.
- Using the Wrong Type of Paint: Not all paints are created equal. Using interior paint on an outdoor item, or a standard paint on galvanized metal, can lead to premature failure.
- Not Allowing Adequate Drying/Curing Time: Rushing the process – handling the item too soon or exposing it to harsh conditions – can damage the fresh paint.
Choosing the Right Tools and Products
Selecting the right materials makes a huge difference in the final outcome. Here’s a quick look at some key decisions:
Spray Paint vs. Brush-On Paint
This is a frequent question for beginners. Here’s a comparison:
| Feature | Spray Paint | Brush-On Paint |
|---|---|---|
| Ease of Use | High, especially for intricate items and smooth finishes. | Moderate, requires more technique to avoid strokes. |
| Finish Quality | Can achieve very smooth, factory-like finishes. | Can be smooth but may show brush marks if not applied carefully. |
| Coverage | Excellent for complex shapes, reaches nooks and crannies easily. | Good for large, flat surfaces; can be tricky on detailed areas. |
| Drying Time | Fast drying between coats. | Can vary widely; often slower between coats. |
| Cleanup | Requires mineral spirits or specific cleaners. | Easy with soap and water (for latex/acrylic) or mineral spirits (for oil-based). |
| Cost | Can be cost-effective for smaller projects. | Can be more economical for large projects. |
Primer Types
The primer is arguably more important than the paint for metal. Key types include:
- Rust-Inhibiting Primer: Contains chemicals that actively prevent rust from forming or spreading. Ideal for anything exposed to the elements.
- Direct-to-Metal (DTM) Paint/Primer: These products can often be used as both primer and paint, saving a step. They are formulated to adhere directly to metal.
- Galvanized Metal Primer: Standard primers can react with the zinc coating on galvanized metal and peel. Special primers are designed to adhere properly.
Brands like Zinsser and Valspar offer excellent primer options for metal, often available in both spray and can formats. For expert advice on coating metals, you can refer to resources from organizations like the NACE International (now AMPP), which provides standards and information on corrosion control and protective coatings.
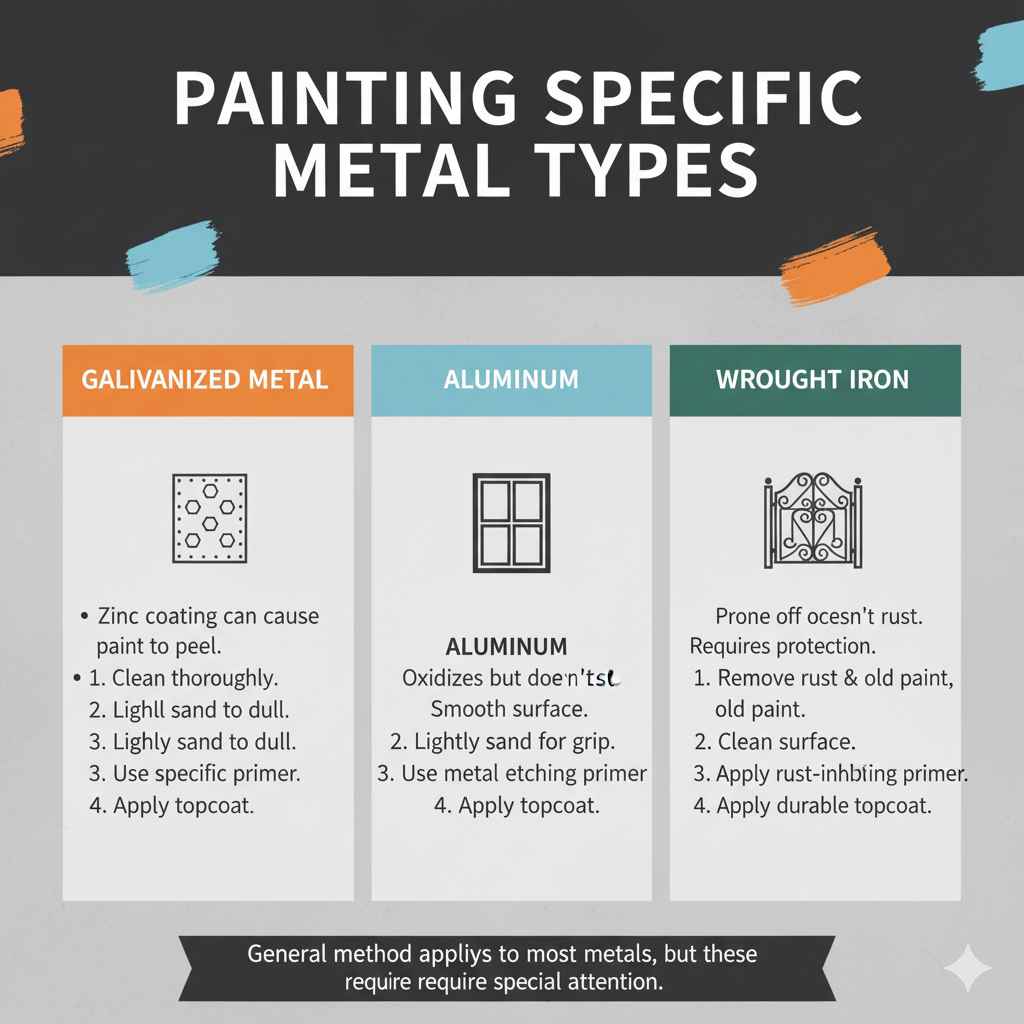
Painting Specific Metal Types
While the general method applies to most metals, a few types deserve special mention:
Galvanized Metal
Galvanized surfaces have a zinc coating that can cause paint to peel if not prepared correctly.
- Clean thoroughly to remove any oil or residue.
- Lightly sand the surface to dull the finish.
- Use a specific primer designed for galvanized metal.
- Once primed, you can use almost any type of topcoat.
Aluminum
Aluminum oxidizes but doesn’t rust. It can be painted, but smooth aluminum can be slick.
- Clean to remove any oxidation or dirt.
- Lightly sand to create a surface for the primer to adhere to.
- Use a metal etching primer or a good quality direct-to-metal primer.
- Apply your chosen topcoat.
Wrought Iron
This material is prone to rust, so thorough rust removal and a rust-inhibiting primer are essential.
- Remove all rust and old paint with a wire brush or sandpaper.
- Clean the surface thoroughly.
- Apply a liberal coat of rust-inhibiting metal primer.
- Apply your chosen topcoat, often an oil-based enamel for durability.
Frequently Asked Questions (FAQ)
Q1: Can I paint over existing rust on metal?
A1: Generally, no. For paint to adhere well and last, the metal surface must be free of loose rust and debris. While some specialized rust-converting primers exist, they work best when applied to surfaces that have had the bulk of loose rust manually removed. Always aim for bare metal or a smooth, well-adhered surface underneath your primer.
Q2: Do I really need a primer for painting metal?
A2: Yes, for the best results and longevity. Primer helps paint adhere to the metal, blocks stains, and most importantly, provides a crucial layer of rust prevention, especially for ferrous metals.
Q3: What kind of paint is best for outdoor metal furniture?
A3: For outdoor metal furniture, choose an exterior-grade paint that offers good durability and UV resistance. Oil-based enamels or high-quality acrylic/latex exterior paints formulated for metal are excellent choices. Spray paints designed for outdoor use also work very well and offer quick application.
Q4: How long does it take for painted metal to cure?
A4: Dry to the touch time is different from curing time. Paint is usually dry to the touch within a few hours. However, full curing, where the paint reaches its maximum hardness and durability, can take anywhere from 24 hours to several weeks, depending on the paint formula and environmental conditions. Always check the product label for specific curing times.