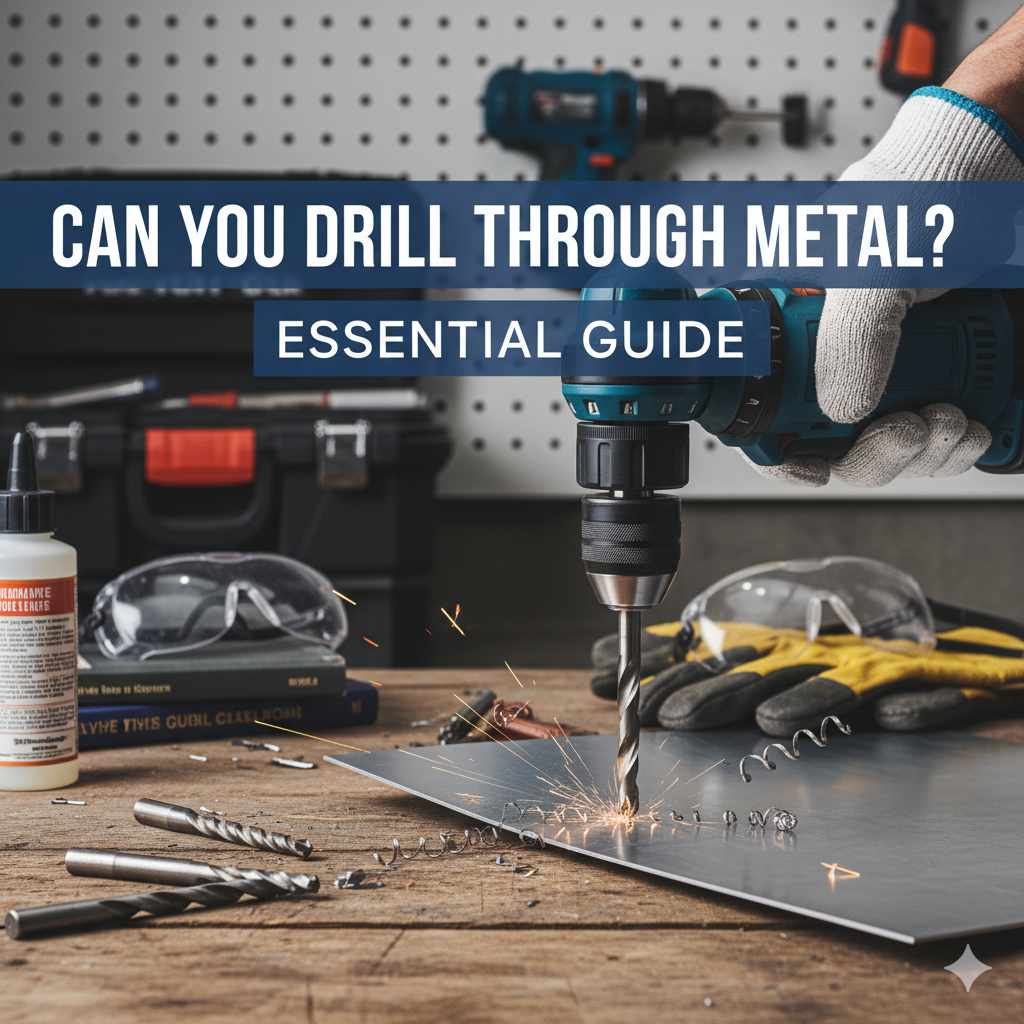
Can You Drill Through Metal: Essential Guide
Yes, you absolutely can drill through metal! With the right tools, techniques, and a little patience, drilling metal is a perfectly achievable DIY task. This guide will walk you through everything you need to know, from choosing the right drill bit to ensuring a safe and clean result for your project. Let’s get drilling!
Ever found yourself needing to attach something to a metal surface, only to stare at it wondering if your drill could even handle the job? You’re not alone! Many DIYers, especially when starting out, hesitate to tackle metal because it seems tougher than wood. The good news is, with a few key adjustments to your approach and the right gear, drilling through metal becomes as straightforward as drilling through wood. This guide is designed to demystify the process, equip you with the knowledge you need, and boost your confidence. We’ll cover the essential tools, the best techniques, and crucial safety tips to help you achieve clean, professional-looking holes every time. Get ready to expand your DIY horizons!
Understanding Metal Drilling: What Makes It Different?
Drilling into metal isn’t quite the same as drilling into wood. Metal is denser and harder, which means it generates more friction and heat. If you try to drill metal using the same methods you use for wood, you’ll likely end up with a dull drill bit, a damaged workpiece, or even a dangerous situation. The key differences lie in:
- Material Hardness: Metals vary greatly in hardness, from soft aluminum to hardened steel. This requires appropriate drill bits and drilling speeds.
- Heat Generation: Friction during drilling creates heat. Too much heat can ruin the temper of your drill bit and the metal you’re drilling, making the process much harder.
- Chip Formation: Metal shavings, or chips, are sharp and can clog the drill bit if not managed properly.
Essential Tools for Drilling Metal
Having the right tools is paramount for success and safety when drilling metal. Don’t worry, you don’t need a professional workshop – basic tools will get the job done!
The Drill
Most standard cordless or corded drills will work for drilling metal, especially for smaller holes. Look for a drill with:
- Variable Speed Control: This is crucial for drilling metal. You’ll need slower speeds for harder metals and precise starting.
- Sufficient Power: A 5-amp corded drill or a 18-volt cordless drill is generally sufficient for most common metal drilling tasks.
For very hard or thick metals, or for making larger holes, a drill press offers more stability and power, leading to more accurate holes. However, for beginner projects, a good hand drill is perfectly adequate.
Drill Bits for Metal
This is where the biggest difference lies. You cannot use standard wood drill bits for metal. You need bits specifically designed for metal drilling.
| Drill Bit Type | Material | Best For | Notes |
|---|---|---|---|
| High-Speed Steel (HSS) | Steel | General purpose drilling in mild steel, aluminum, copper, wood, plastic. | Most common and affordable. Can overheat if used improperly on harder metals. |
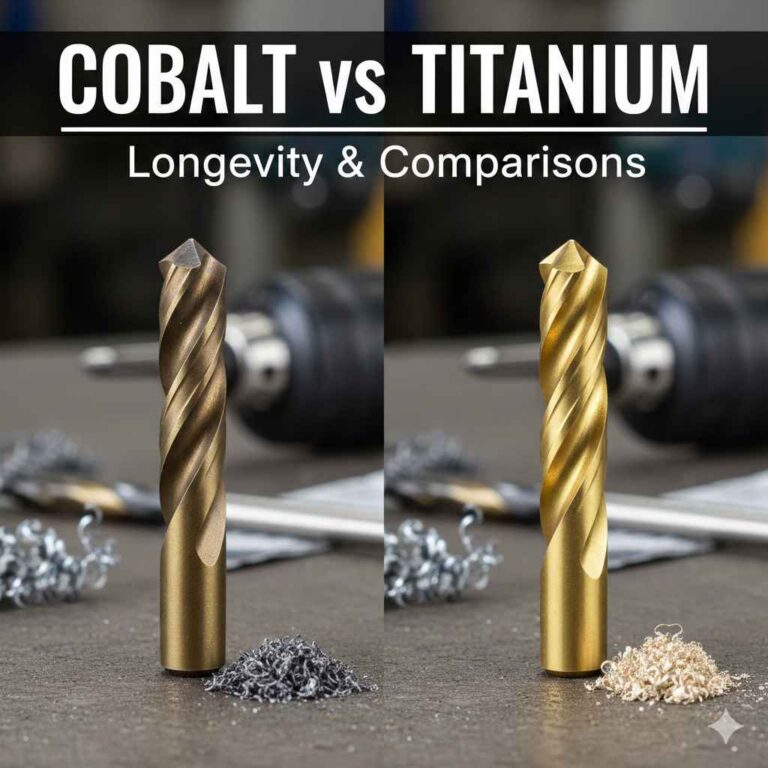
| Cobalt (HSS with 5-10% Cobalt) | Hardened Steel, Stainless Steel | Drilling high-carbon steel, stainless steel, titanium, or cast iron. | More heat-resistant than standard HSS, offering longer life when drilling tough materials. |
| Carbide Tipped | Very Hard Metals, Ceramic, Tile | Extremely hard materials where HSS and Cobalt bits would fail. | Very brittle and expensive. Typically used by professionals. |
| Step Bits | Sheet Metal | Creating multiple hole sizes with a single bit, ideal for sheet metal. | Also good for deburring holes. |
Key Considerations for Metal Drill Bits:
- Material: As seen in the table, choose bits made of HSS, increased with Cobalt, or Carbide for tougher metals.
- Coating: Some bits have coatings (like Titanium Nitride – TiN) that add hardness and reduce friction, extending their life, but they are more expensive. For beginners, a standard HSS or Cobalt bit is a great starting point.
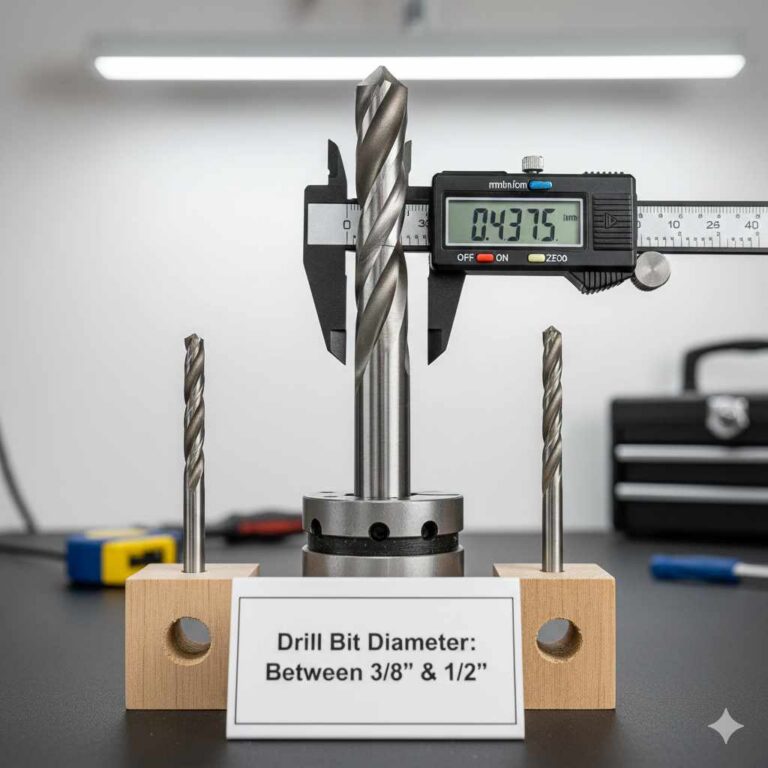
- Point Angle: Standard drill bits have a 118-degree point angle, good for softer metals. For harder metals, a 135-degree angle can be more effective as it bites into the metal more easily.
A good starter set of HSS drill bits for metal in common sizes (e.g., 1/8″ up to 1/2″) will serve you well for many DIY projects. Reputable sources like the National Institute of Standards and Technology (NIST) offer technical insights that can be helpful in understanding material properties, though for practical DIY our focus is on accessible tool choices.
Lubricant and Coolant
Heat is the enemy of metal drilling. Using a lubricant or coolant is essential to:
- Reduce Friction: This keeps the drill bit and the workpiece cooler.
- Extend Bit Life: Prevents the bit from overheating and losing its temper.
- Improve Finish: Helps to clear chips and prevent binding.
- Prevent Galling: Especially important for softer metals like aluminum.
Options include:
- Cutting Oil: Specifically designed for machining metals.
- Light Machine Oil: Can be used in a pinch for softer metals.
- Household Oil: Minimal effectiveness but better than nothing for very light tasks.
- Water-Based Coolant: Often used with drill presses for more production-style work.
For most DIYers, a standard cutting oil or a dedicated metalworking fluid from your local hardware store will work perfectly. Some people also have success with homemade solutions like a mixture of half motor oil and half kerosene, but always use this with extreme caution and good ventilation due to flammability.
Safety Gear
Never compromise on safety. You’ll need:
- Safety Glasses or Face Shield: Essential to protect your eyes from flying metal chips.
- Gloves: To protect your hands from sharp edges and oil.
- Sturdy Clothing: Avoid loose, dangling clothing that could get caught.
Other Helpful Tools
A few other items can make the job much easier:
- Center Punch: To create a small indentation where you want to drill, preventing the bit from wandering.
- Hammer: To use with the center punch.
- Clamps: To securely hold the metal piece in place.
- Deburring Tool or File: To clean up the sharp edges after drilling.
- Measuring Tape and Marker: For accurate placement.
Step-by-Step Guide to Drilling Metal
With your tools ready, let’s walk through the process. Remember, patience is key!
Step 1: Prepare Your Workspace and Workpiece
Ensure you have a stable surface to work on. If you’re drilling a small piece, clamp it firmly to your workbench. For larger pieces, make sure they are well-supported and won’t shift. If drilling through, place a scrap piece of wood underneath to prevent damaging your work surface and to help support the metal as the bit exits.
Step 2: Mark Your Drilling Location
Use a measuring tape and marker to pinpoint the exact spot for your hole. Then, using a center punch and a hammer, gently tap it to create a small dimple. This dimple acts as a guide for your drill bit, preventing it from skipping across the metal surface when you start drilling. For softer metals like aluminum, a light mark with a sharp pencil or even a permanent marker might suffice.
Step 3: Select the Correct Drill Bit and Speed
Choose the drill bit appropriate for the type and thickness of the metal. For beginners, start with a HSS bit for general metals or a Cobalt bit for something a bit tougher. Select a slow drill speed. If your drill has a speed control dial, set it to a low setting. A general rule of thumb for speed is to go slower the harder the metal and the larger the drill bit. For example, drilling a 1/4″ hole in steel might require speeds around 400-600 RPM (revolutions per minute), while a larger bit or harder metal would need even slower speeds. Many modern drills will have suggested speed ranges for different materials right on the tool itself.
Step 4: Apply Lubricant
Before you start drilling, apply a few drops of cutting oil or your chosen lubricant directly to the marked spot. You’ll want to reapply this periodically as you drill.
Step 5: Start Drilling
Position the tip of your drill bit in the center punch mark. Hold the drill firmly and apply steady, even pressure. Start the drill at a very slow speed to create a pilot hole and ensure the bit is engaged properly. Once the hole is started, you can increase the speed slightly, but always maintain control and steady pressure. Listen to the drill; a high-pitched squeal often means you’re going too fast or the bit is getting too hot.
Step 6: Drill Through the Metal
As the drill bit penetrates the metal, it will create chips. Periodically withdraw the drill bit about halfway through the cut. This helps clear the chips from the flutes of the drill bit and allows lubricant to reach the cutting edge. Don’t force the drill; let the bit do the work with consistent pressure. Continue drilling until you feel the resistance lessen significantly, indicating you’re about to break through.
Step 7: Finishing and Deburring
As you approach the exit side of the metal, ease up on the pressure. This prevents the drill bit from “catching” and creating a jagged, oversized hole on the exit. Once the hole is complete, remove the drill. Use a deburring tool, a countersink bit, or a metal file to smooth out the sharp edges around the hole on both the entry and exit sides. Metal shavings are very sharp, so wear gloves during this step. You can also use a wire brush to clean away any remaining metal dust.
Choosing the Right Drill Speed for Different Metals
Drill speed is one of the most critical factors when drilling metal. Too fast, and you’ll burn up your bit or the metal. Too slow, and you won’t cut effectively. Here’s a general guide;
| Metal Type | Drill Bit Type | Recommended RPM (Approximate) | Lubricant |
|---|---|---|---|
| Aluminum | HSS | 1000 – 2500 | Light machine oil, cutting oil |
| Mild Steel | HSS | 500 – 1500 | Cutting oil |
| Stainless Steel | Cobalt | 200 – 500 | Heavy-duty cutting oil, specialized coolant |
| Brass/Copper | HSS | 1000 – 2000 | Water, light machine oil |
| Cast Iron | HSS (pointed) or Carbide | 200 – 400 | Dry or very light oil (coolants can cause rust) |
Important Note: RPMs are highly dependent on drill bit diameter and the specific alloy of the metal. These are starting points. Always prioritize listening to your tool and feeling the resistance. A good rule of thumb is that harder metals require slower speeds.
Tips for Specific Metal Types
Different metals behave differently under the drill bit:
Drilling Aluminum
Aluminum is relatively soft and can melt or clog your bit easily. Use a sharp HSS bit and a faster speed than steel. A cutting fluid or even a bit of wax can help reduce friction and prevent buildup. Make sure to clear chips frequently.
Drilling Steel
Steel is much harder. You’ll need slower speeds and consistent use of cutting oil. For thicker steel, consider drilling in stages. A Cobalt bit is a good investment for steel. Ensure the workpiece is securely clamped, as steel can generate significant torque.
Drilling Stainless Steel
Stainless steel is notoriously difficult to drill due to its hardness and its tendency to work-harden. Use slow speeds, firm pressure, and a Cobalt or carbide-tipped bit. Generous amounts of a heavy-duty cutting fluid are essential. Let the bit do the work; forcing it will only make the job harder and potentially damage your tools.
Drilling Sheet Metal
Sheet metal is thin and can easily deform. Use a sharp bit and clamping to prevent movement. A step bit is excellent for creating clean holes of various sizes in sheet metal without needing to change bits. For smaller holes, a standard HSS bit at moderate speed with a backing piece of wood will work.
Troubleshooting Common Metal Drilling Problems
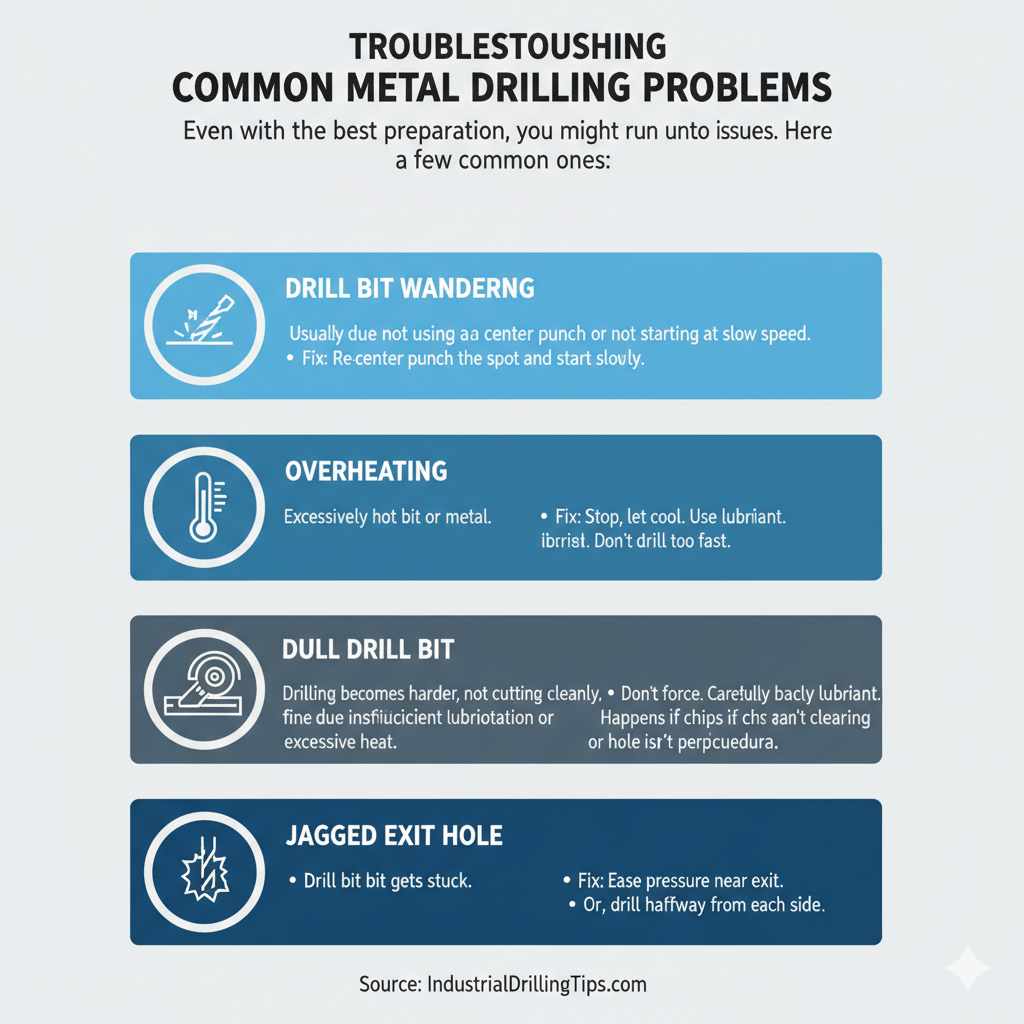
Even with the best preparation, you might run into issues. Here are a few common ones:
- Drill Bit Wandering: This is usually due to not using a center punch or not starting at a slow speed. Re-center punch the spot and start slowly.
- Overheating: If your bit or the metal feels excessively hot, stop immediately. Let it cool down. Ensure you’re using lubricant and not drilling too fast.
- Dull Drill Bit: If drilling becomes significantly harder, the bit isn’t cutting cleanly, or you’re producing fine dust instead of chips, your bit is likely dull. It’s time to sharpen or replace it. This is a sign of insufficient lubrication or excessive heat.
- Binding: If the drill bit gets stuck, don’t force it. Carefully try to back the bit out, applying some lubricant. This can happen if chips aren’t clearing properly or if the hole isn’t perpendicular.
- Jagged Exit Hole: This occurs when the drill bit tears through the metal rather than cutting cleanly. Ease up on pressure as you approach the exit, or drill halfway from each side.
Frequently Asked Questions About Drilling Metal
Q1: Can I use my regular wood drill bits for metal?
A1: No, it’s strongly recommended not to. Wood drill bits are not designed for the hardness and heat generated when drilling metal. They will quickly become dull, ineffective, and can even break, potentially causing injury. Always use drill bits specifically designed for metal.
Q2: What is the best type of drill bit for drilling through steel?
A2: For general steel, High-Speed Steel (HSS) bits are suitable. For harder steels, stainless steel, or high-carbon steel, Cobalt drill bits (HSS with added cobalt) are better because they are more heat-resistant and durable.
Q3: How do I keep the metal from overheating when drilling?
A3: The most effective way is to use a lubricant or cutting fluid. It reduces friction and dissipates heat. Additionally, drilling at the correct, slower speed and periodically withdrawing the bit to clear chips also helps manage temperature.
Q4: What kind of lubricant should I use when drilling metal?
A4: A dedicated cutting oil or metalworking fluid is ideal. For softer metals like aluminum, light machine oil can work. Water can also be used as a coolant for some metals, but it’s less effective than oil and can cause rust on ferrous metals.
Q5: My drill bit keeps slipping when I try to start drilling. What can I do?
A5: This is common. Use a center punch to create a small indentation where you want to drill. This gives the drill bit a solid point to start from, preventing it from wandering across the surface.
Q6: How fast should I drill metal?
A6: Generally, slower speeds are better for drilling metal than for wood. The exact speed depends on the type of metal, the size of the drill bit, and the hardness of the material. Always start slow and gradually increase speed if needed, but err on the side of caution with slower speeds for harder metals and larger bits.
Q7: How do I make a clean hole on the exit side of the metal?
A7: As you approach the exit, reduce your drilling pressure significantly. Alternatively, you can drill halfway through from one side, then flip the workpiece over and drill from the other side to meet the first hole. This helps create a much cleaner exit on thin materials.