How to Put Up Trim Without a Nail Gun: Hand-Nail or Glue
Yes, you can put up trim without a nail gun. Hand-drive finish nails with a hammer and a nail set, or bond the trim with a fast-grab construction adhesive and hold it with painter’s tape while it cures. Both are standard trim-carpentry methods, not workarounds.
A pneumatic finish nailer is convenient, but it’s not what makes trim stay on a wall. Nails and glue do that. Trim carpenters were hand-nailing casing and baseboard for well over a century before 16-gauge finish nailers became common on job sites, and the two methods below (plus a combo of both) still hold up fine for a one-room or one-doorway job where renting or buying a nailer and compressor isn’t worth it.
The real difference between a nail-gun job and a hand-tool job isn’t whether the trim stays up. It’s how much time you spend, and how easy it is to mar the wood if you miss a swing. Both are fixable with the right technique, covered section by section below.
Two Real Ways to Skip the Nail Gun
There are two legitimate no-nail-gun methods, and a third that combines them for anything that will see vibration or humidity swings.
Hand-nailing uses regular finish nails, a hammer, and a nail set to countersink the head below the wood surface. It’s the traditional method and it’s still what most trim was installed with before pneumatic nailers took over. Adhesive-only skips nails entirely: a construction adhesive made for paneling and molding bonds the trim to the wall or door jamb, held in place with painter’s tape or light bracing while it cures. The combination approach (adhesive plus a few hand-driven nails) is what most pros actually use when hand-nailing, since the glue holds the piece steady the instant you let go, and the nails carry the long-term structural load.
Best No-Nail-Gun Adhesive Pick
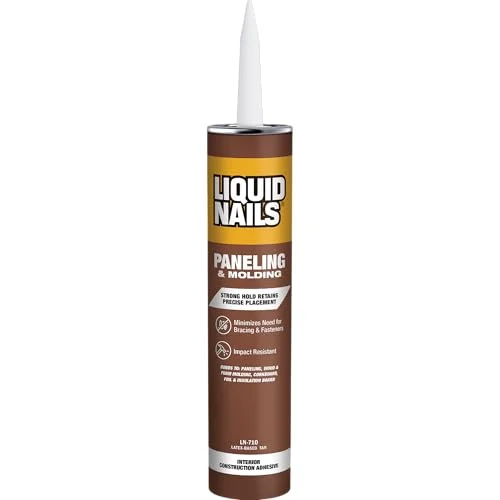 |
Liquid Nails Paneling & Molding Construction Adhesive, 10 oz – $11.58 The exact adhesive this guide’s glue-only and combo methods below are built around; a fast-grab, low-odor formula made for trim and molding specifically.
|
Tools You Actually Need
For hand-nailing: a 16 oz claw hammer, finish nails, and a nail set (a small steel punch, usually sold in a 3-piece or 4-piece set covering 1/32", 1/16", and 3/32" tips). Add a miter box or miter saw for cutting angles, a tape measure, and a pencil.
For adhesive-only: a caulking gun, a tube of construction adhesive rated for molding (not a generic all-purpose adhesive, which grabs slower and can telegraph through thin trim), painter’s tape, and the same measuring and cutting tools.
Either way, keep a putty knife and a damp rag nearby. Excess adhesive that squeezes out the sides needs to be wiped before it skins over, and it skins over fast on a fast-grab formula.
Method 1: Hand-Nailing With a Hammer and Nail Set
Cut and dry-fit the trim first (see the cutting section below), then hold the piece firmly against the wall or jamb. Drive finish nails at a slight angle through the trim into the framing or jamb, spaced roughly every 12 to 16 inches along a straight run and doubled up near each corner or joint.
For casing and baseboard, 2-inch finish nails (the hand-tool equivalent of what a 15-gauge nailer shoots) give enough bite into a stud or jamb without splitting thin trim stock. Cap and shoe molding, which is thinner, does better with 1-1/4 inch wire brads so the nail doesn’t blow through the face.
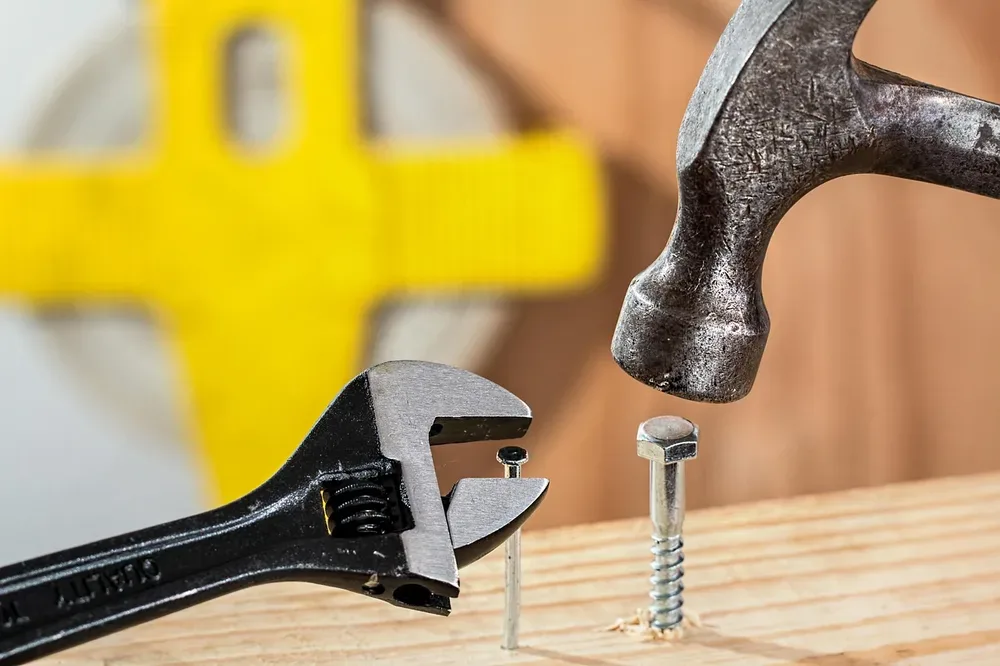
The step most guides skip: stop hammering about 1/8 inch before the nail head is flush. Switch to the nail set, place its tip on the nail head, and tap it the rest of the way so the head sinks just below the wood surface. That last fraction of an inch is where a missed hammer swing dents or marks the trim face; the nail set keeps the hammer off the wood entirely for that final strike.
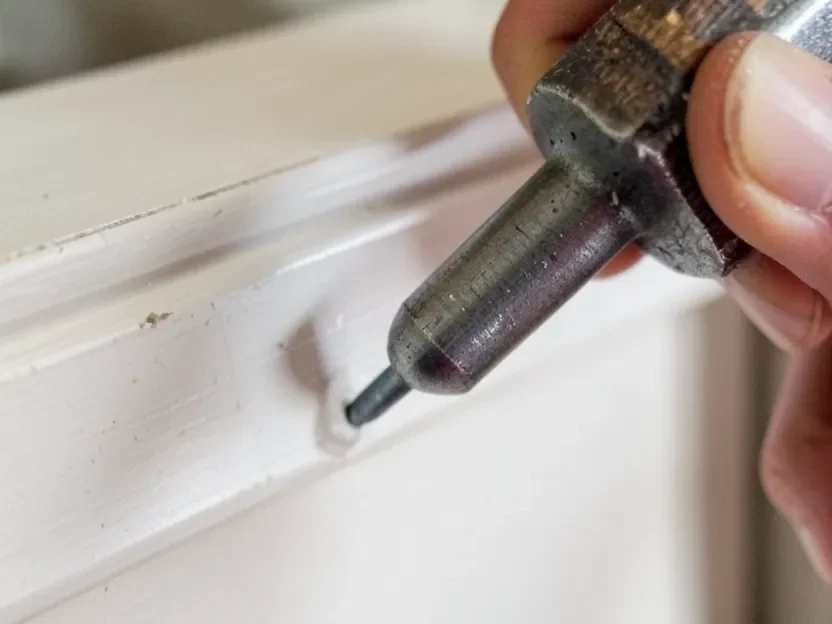
If you do mar the wood with a glancing hit, a dab of matching wood filler or a properly colored putty stick blends it out once it’s sanded and painted or finished. It’s a five-minute fix, not a reason to switch tools mid-project.
Method 2: Construction Adhesive Only (and When It’s Not Enough)
Run a continuous 1/4-inch bead of adhesive along the back of narrow trim, or a zig-zag (serpentine) bead for wider casing and baseboard, staying about 1/2 inch in from each edge so squeeze-out doesn’t reach the wall or floor. Press the trim into position and hold firm pressure along its length for 30 to 60 seconds, which is enough for the fast-grab formula to take initial hold.
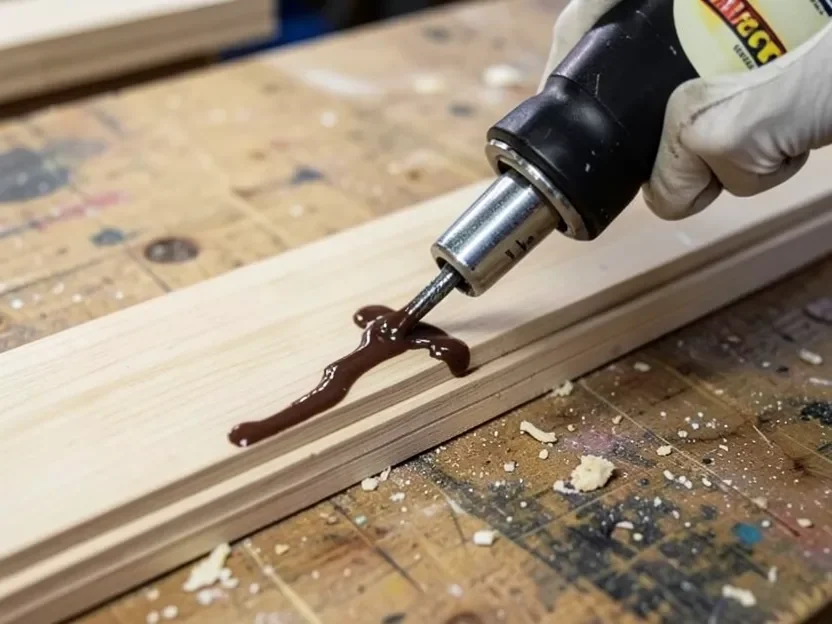
That initial grab is not full strength. A fast-grab molding adhesive typically has about 20 minutes of working time and reaches full cure in 24 to 72 hours, depending on temperature and humidity. Run strips of painter’s tape across the trim and onto the wall every 12 to 18 inches to hold it dead flat while it cures; pull the tape once the adhesive has fully set, not before.
Adhesive-only is a legitimate method for lightweight trim: shoe molding, quarter round, thin cap trim, and casing in a low-traffic room. It’s a weaker call for anything load-bearing, anything near a door that gets slammed, or a room with big humidity or temperature swings (a mudroom, a bathroom, an uninsulated addition), because wood movement can eventually work a glue-only joint loose in a way a nail resists. In those spots, use the combination method below instead of adhesive alone.
The Combination Method: Adhesive Plus Hand Nails
Apply the adhesive bead as described above, then immediately hand-nail the trim in place using the same spacing and nail-set technique from the hand-nailing section, before the glue skins over. The adhesive keeps the piece from creeping while you’re driving nails one-handed, and it fills any tiny gap between the trim and an uneven wall that a nail alone wouldn’t close. This is genuinely the sturdiest of the three no-nail-gun options and the one worth defaulting to for baseboard, door casing, or anywhere the trim will take daily contact.
Cutting and Fitting the Trim First
Measure each run with a tape measure and mark cut lines with a pencil, checking every measurement twice before cutting; trim is unforgiving of a 1/8-inch mistake at an inside corner. Cut inside corners at 45-degree miters that meet at 90 degrees, or use a coped joint (cutting the profile of one piece to fit over the face of the other) for a tighter fit on walls that aren’t perfectly square, which is most walls. Door casing gets fitted the same way; if the jamb itself is damaged or out of square before you start, it’s worth repairing the door frame first so the new trim has a solid, flat surface to nail or glue to.
Dry-fit every piece before any nail or adhesive goes on. Hold it in position, check the joints, and trim small amounts off as needed. A miter box with a hand saw works fine for this at DIY scale; a power miter saw just speeds it up.
Fixing Gaps, Marred Wood, and Misaligned Nails
A gap between trim and an uneven wall usually means the wall has a high spot pushing the trim out somewhere along the run. Find the high spot with a level, and either sand it down slightly or shim behind the trim at the low points so the whole piece sits flat before you fasten it permanently.
A nail that goes in crooked or misses the framing should be pulled, not left. Use the hammer’s claw with a scrap of wood or cardboard under the head to protect the trim’s finish, then re-drive a new nail an inch or so away rather than reusing the same hole.
Small gaps between the trim and the wall, or between mitered joints, get closed with paintable caulk after everything is fastened, not with more adhesive. Caulk flexes with seasonal wood movement; adhesive squeezed into a visible gap tends to stay lumpy and doesn’t sand or paint the same way.
Finishing: Caulk, Filler, and Paint
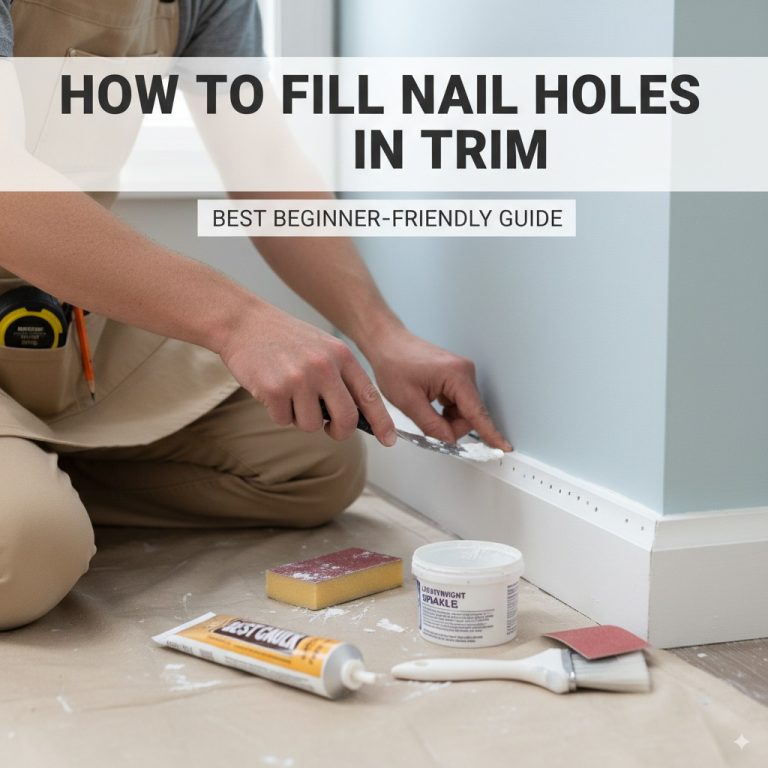
Run a bead of paintable caulk along the top edge of the trim where it meets the wall, and smooth it with a wet finger or a caulk tool. Fill each countersunk nail hole with wood filler (for a stain-grade finish, use filler tinted to match) or lightweight spackling for a paint-grade finish, let it dry fully, then sand flush with fine-grit sandpaper.
Prime any raw wood filler spots before painting so they don’t flash through the topcoat, then paint the full run of trim in one session for an even sheen. Two thin coats look better and last longer than one heavy coat; for a small room’s worth of trim, checking how much a gallon actually covers ahead of time keeps you from buying more paint than the job needs.
Conclusion
A nail gun speeds trim work up, but it’s not the thing holding the trim to the wall; nails and adhesive are. Hand-nailing with a nail set, adhesive alone on lightweight runs, or the two combined for anything higher-traffic will all get you a clean, professional-looking result with tools most homeowners already have in a toolbox.
Frequently Asked Questions
Can You Put Up Trim Without a Nail Gun?
Yes. Hand-driving finish nails with a hammer and nail set, or bonding the trim with a construction adhesive made for molding, are both standard installation methods. A nail gun only speeds up the fastening step; it isn’t required for the trim to hold.
Do You Need a Nail Gun to Install Baseboard?
No. Baseboard can be hand-nailed with 2-inch finish nails spaced every 12 to 16 inches, or combined with a construction adhesive for extra hold in high-traffic rooms. A nail gun is faster on a whole-house job, but it isn’t necessary for a single room or a short run.
How Long Does Construction Adhesive Take to Cure on Trim?
A fast-grab molding adhesive typically reaches initial grab within about 20 minutes, which is enough to hold the trim in place with painter’s tape, but full cure takes 24 to 72 hours depending on temperature and humidity. Leave the tape or bracing on until the full cure window has passed.
Will Hand-Nailed Trim Look as Good as Nail-Gun Trim?
Yes, as long as the nail heads are countersunk with a nail set rather than driven flush with the hammer alone. Countersinking lets the hole be filled and sanded smooth, which is the same finishing step used on nail-gun trim; the fastening tool doesn’t change the final look once the holes are filled and painted.
Sponsored / affiliate links. As an Amazon Associate I earn from qualifying purchases. I may earn additional commission from eligible campaigns.