How to Remove a Broken Wood Screw: 5 Methods That Work
To remove a broken wood screw, expose enough of the shank to grip it with locking pliers; if it has snapped flush, drill a small starter hole and back it out with a screw extractor. Skipping straight to the drill is the mistake that wrecks the wood and the bit. This guide covers five methods ranked by how much damage each risks, plus what to do when none of them grip.
Check How the Screw Broke First
Best Screw Extractor Set Pick | |
 |
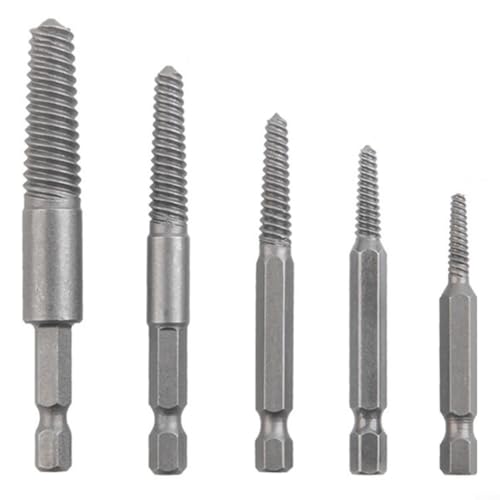
Bosch BSPE6D 12-Pc. Spiral Flute Screw Extractor Set ($24.99) Left-hand spiral flutes bite harder the more torque you apply, which is the mechanism Method 4 below relies on when a screw has snapped flush with the wood.
|
As an Amazon Associate we earn from qualifying purchases. | |
The method that works depends on one thing: how much of the screw is still reachable. Most guides jump to the extractor, but a hardened screw is the toughest material in the joint and the surrounding wood is the softest. The lowest-risk plan is to work the wood first and the metal last. Use the table to pick your starting point, then read that method below.
| What you see | Start with | Damage risk | Falls back to |
|---|---|---|---|
| Shank sticks up above the surface | Method 1: locking pliers | Very low | Method 2 |
| Snapped flush, wood is soft and unfinished | Method 2: expose the shank, then pliers | Low | Method 3 or 4 |
| Flush or just below, head gone, wood is hard or finished | Method 3: left-hand bit, then Method 4: extractor | Medium | Method 5 |
| Rusted into weathered deck or outdoor lumber | Penetrating oil, then Method 2 or 4 | Medium | Method 5 |
| Deep in a stud or structural member | Bypass: leave it and move over | Lowest | Method 5 |
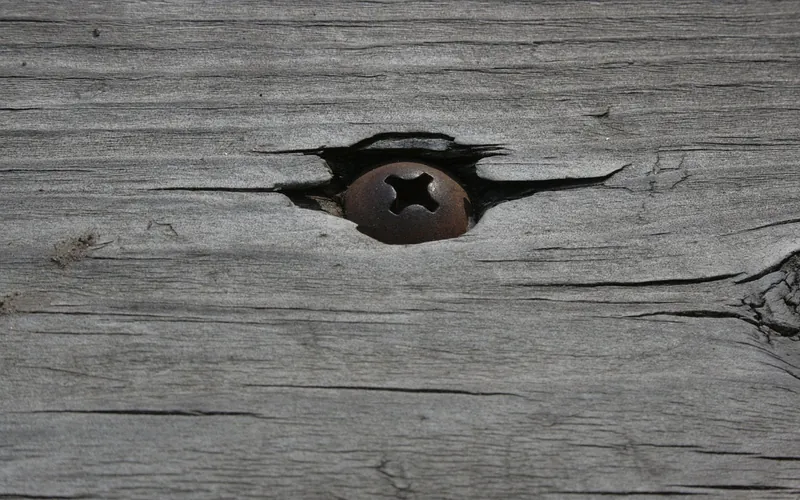
Safety First: Metal Fragments and Snapping Bits
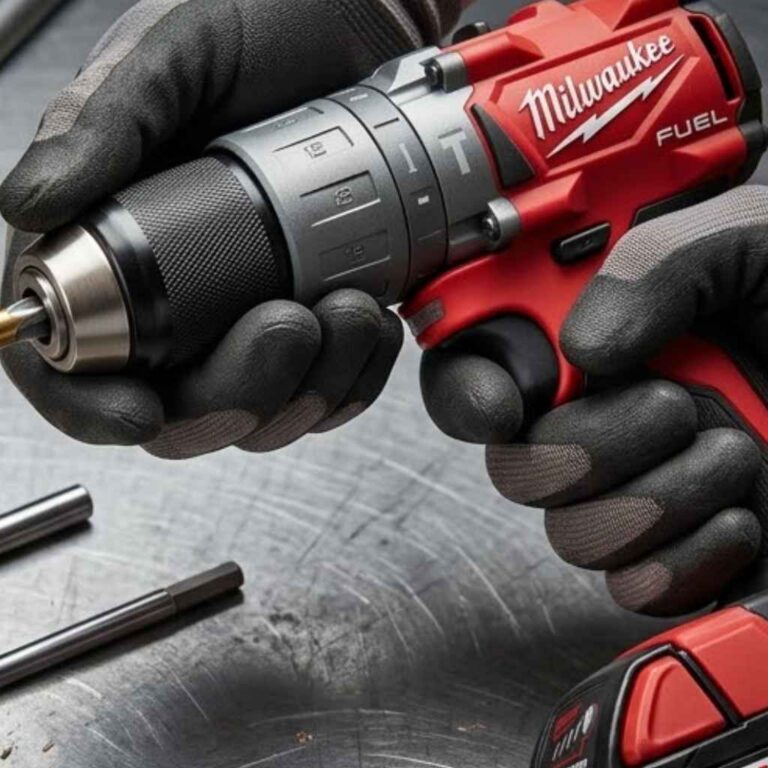
Broken-screw work is one of the few woodworking jobs where small pieces of hardened steel are under real stress close to your face. Wear safety glasses for every method below, clamp the workpiece so it cannot spin, and keep your free hand out of the line of the bit. Small drill bits, left-hand bits and extractors can snap without warning, and a shard of hardened steel can fly. Turn extractors by hand, and drill with light pressure and steady speed rather than leaning on the drill.
The 5 Methods, From Least to Most Damage
Method 1: Locking Pliers on an Exposed Shank
If even an eighth of an inch of shank stands above the wood, clamp locking pliers across it and turn counterclockwise with steady pressure. If it will not move, tap the pliers lightly with a hammer to break the grip of finish, glue or rust, then turn again. This works whether the head sheared or just spun free, and it needs no drilling.
Method 2: Expose the Shank, Then Grip It
For a screw snapped flush, make your own handle. Score a ring around it with a utility knife, then pare away a few millimeters of wood with a small sharp chisel, or bore a very shallow counterbore with a bit wider than the screw. The goal is to uncover a fingernail of shank for the pliers. On finished cabinets, apply painter’s tape around the screw first so a slip scuffs tape instead of finish. This is the step most tutorials skip, and it often removes the need for any drilling at all.
Method 3: Left-Hand Drill Bit
A left-hand bit cuts while spinning counterclockwise, the same direction that unscrews a normal right-hand thread. Center-punch the screw, run the drill in reverse at low speed, and press lightly. Sometimes the bit bites and the screw simply backs out before you ever need an extractor. If it only drills a hole, you have the starter hole an extractor needs anyway, so nothing is wasted. Many extractor kits include left-hand bits for this reason.
Method 4: Screw Extractor
A screw extractor is a hardened, reverse-threaded tool that bites into a drilled hole in the screw, so more counterclockwise torque means a tighter grip. It is the right tool when the screw is flush or below the surface and Methods 1 to 3 have not worked. Because it is hard and brittle, the technique matters more than the brand.
- Center-punch the screw: Tap a center punch or nail set into the middle of the break so the bit cannot wander.
- Drill a shallow starter hole: Use the bit size your kit’s chart pairs with the extractor, and drill straight down only as deep as the kit instructions say.
- Seat the extractor: Tap it lightly into the hole with a hammer until it grips, then confirm by hand that it is biting metal.
- Turn by hand: Use a tap wrench or locking pliers counterclockwise with steady pressure, never a power drill.
- Back off if it stalls: Reverse slightly, tap the extractor deeper, and try again instead of forcing it.
- Clear the fragments: Pick out metal shavings and debris before you fill or redrill the hole.
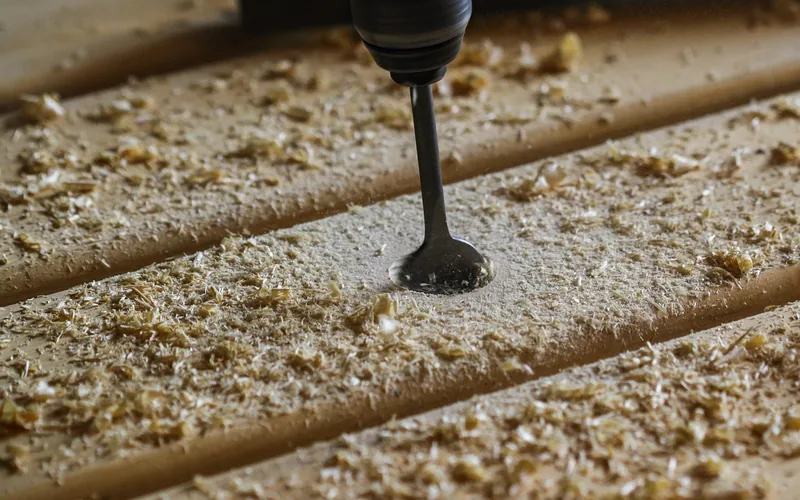
Price is rarely the obstacle: at the time of writing, a 12-piece Bosch extractor set was listed at $24.99 and a single Craftsman spiral extractor at $13.98. A single extractor only fits one size range, so check your screw gauge against the wood screw sizes chart before you buy one by itself. If you need to drill into the screw first and the bit will not start, our guide to drilling out a screw covers bit sizes and technique.
Method 5: Cut a Plug Around the Screw
When the screw will not grip or the extractor has snapped, stop fighting the steel and remove the wood around it. Choose a plug cutter, or any hollow bit without a center pilot, slightly wider than the screw shank. A standard hole saw would drive its pilot bit straight into the screw. Cut a ring of wood around the break to a depth past the broken end, then snap or pry out the core with the screw trapped inside. Glue a hardwood dowel or a plug cut from matching wood into the hole, align the grain, and trim it flush. It leaves a bigger repair than the other methods, so it is the last resort, but it works even on a screw that nothing else will grip.
Removing a Broken Screw From Tricky Spots
Deep in a Wall Stud or Framing
Do not chase a screw an inch or more into a stud with a long bit: drilling past the fragment weakens the framing and risks hitting a wire or pipe. Extract only what you can reach, then drive the replacement screw to one side. The cabinet screw guide shows how far a screw needs to reach into a stud so the new position still holds.
Finished Cabinets and Furniture
Visible surfaces punish a slipped bit. Tape around the screw, use Method 2 first, and keep the extractor under steady hand pressure so it cannot twist and gouge the wood.
Deck Posts, Fences and Outdoor Lumber
Weathered screws are often corroded as much as broken, so give penetrating oil 5 to 10 minutes to creep into the threads before you grip or drill. If the screw still will not move, read how to handle a stuck, corroded screw. For rebuilds, screws for pressure-treated wood and fence screws explain which coatings resist rust.
When to Leave the Screw and Move Over
Removing a broken screw is optional more often than people assume. If the fragment is flush or below the surface, not blocking a hinge, joint or new fastener, and the wood is not going to be cut or planed later, the safest repair is to leave it. Drill a fresh pilot hole to one side, far enough that new threads cannot touch the old shank, and drive the replacement there. Never plane, sand across or saw near a buried steel fragment, because it ruins blades and edges.
Repairing the Hole Afterward
Once the screw is out, brush the hole clean. For a hole you will re-drive a screw into, glue in a hardwood dowel or a few wood-glue-coated toothpicks, let it cure, trim flush and redrill a pilot hole so the new screw has fresh wood to bite. For a cosmetic repair, fill with wood filler, overfill slightly because it shrinks as it cures, then sand flush. If the wood split during removal, our guide on repairing split wood matches the fix to the split size.
Preventing Wood Screws From Breaking
Most snapped screws come from three habits: no pilot hole, a driver bit that slips, and driving past flush with the drill clutch set too high. Pre-drill a pilot hole sized to the screw, especially near board ends and in hardwood. Use a driver bit that fits the head exactly, and set the clutch to a low number so the drill stops before the head twists off. Our wood screw guide covers choosing the right screw and pilot hole for your wood. Screws that need frequent removal belong in a threaded insert, not directly in the wood.
Troubleshooting Common Problems
- The bit wanders off the screw: Re-punch a deeper center mark and start slowly with a smaller bit.
- The extractor spins without gripping: The starter hole is too large or the screw is too soft. Stop, and try Method 5.
- The head is stripped, not snapped: That is a different job, covered in removing a stripped screw without a drill.
- A drill bit is stuck in the wood: See how to take a drill bit out.
- The extractor itself snapped: It is harder than most bits; see drilling hardened steel or switch to Method 5.
Frequently Asked Questions
How Can I Remove A Broken Wood Screw Without Damaging The Wood?
Work the wood, not the metal, whenever you can. If any shank shows, grip it with locking pliers. If it is flush, clear a little wood from around it with a chisel or a shallow counterbore so pliers can reach it. Both approaches pull on the screw itself, so the surrounding grain stays intact.
What Tools Do I Need To Remove A Broken Wood Screw?
Safety glasses, locking pliers, a small chisel or utility knife, a center punch, a drill, and a screw extractor set cover nearly every case. A left-hand drill bit and a plug cutter are useful extras for screws that will not grip any other way.
Can I Use A Power Drill To Turn A Screw Extractor?
No. Once the extractor is seated, turn it by hand with a tap wrench or locking pliers. Extractors are hard and brittle, and the sudden torque from a power drill is the usual reason they snap off inside the screw, leaving a harder problem than the one you started with.
What Do I Do If The Screw Extractor Snaps?
Stop and do not keep drilling with an ordinary bit, because extractor steel is harder than most drill bits. Your options are a carbide bit, cutting a plug of wood around the whole assembly (Method 5), or leaving it in place and moving the new screw over. Always wear eye protection.
Can I Leave A Broken Screw In The Wood Instead Of Removing It?
Yes, if the fragment is flush or below the surface and is not in the path of the new fastener. Drill a fresh pilot hole to one side, far enough that the new threads cannot touch the old shank, and drive the replacement there. Removing it matters most when the broken piece blocks a joint or a hinge.
What If The Screw Head Is Gone And The Break Is Deep In The Wood?
Treat it as a headless screw: expose or drill into the shank, then use a left-hand bit or extractor, or cut a plug around it. Our guide to removing a screw with no head covers that case in more detail.
Conclusion
Match the method to the break: pliers for an exposed shank, exposure then pliers for a flush break, a left-hand bit and extractor when the head is gone, and a plug cutter when nothing grips. Keep safety glasses on, turn extractors by hand, and remember that leaving a buried fragment and moving the new screw over is a legitimate repair. For related screw problems, browse our drilling guides.
Sponsored / affiliate links. As an Amazon Associate I earn from qualifying purchases. I may earn additional commission from eligible campaigns.